Rainbow Tassel Wall Art (with Video)
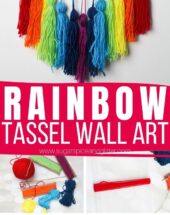
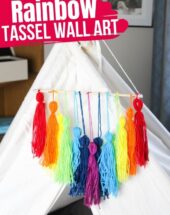
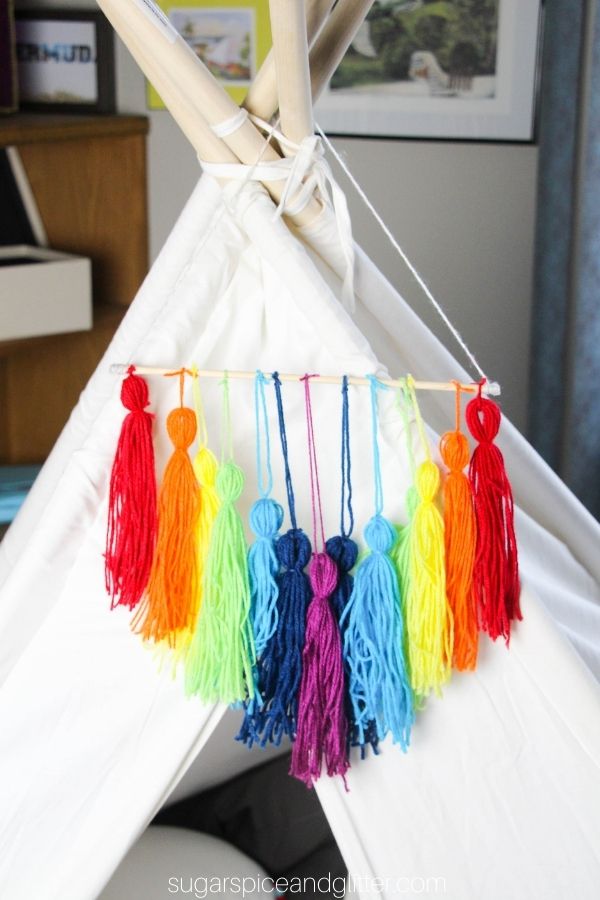
A gorgeous rainbow wall decor piece kids can make, this Rainbow Tassel Wall Art is a fun decoration that can be left up year-round or brought out for a pop of color on St Patrick’s Day or for special birthdays.
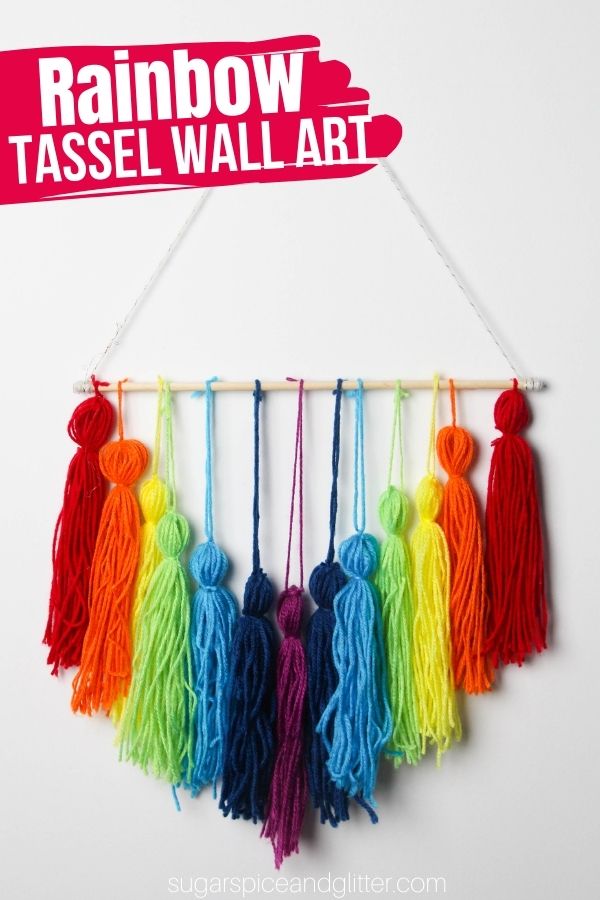
Kid-made Rainbow Tassel Mobile Craft
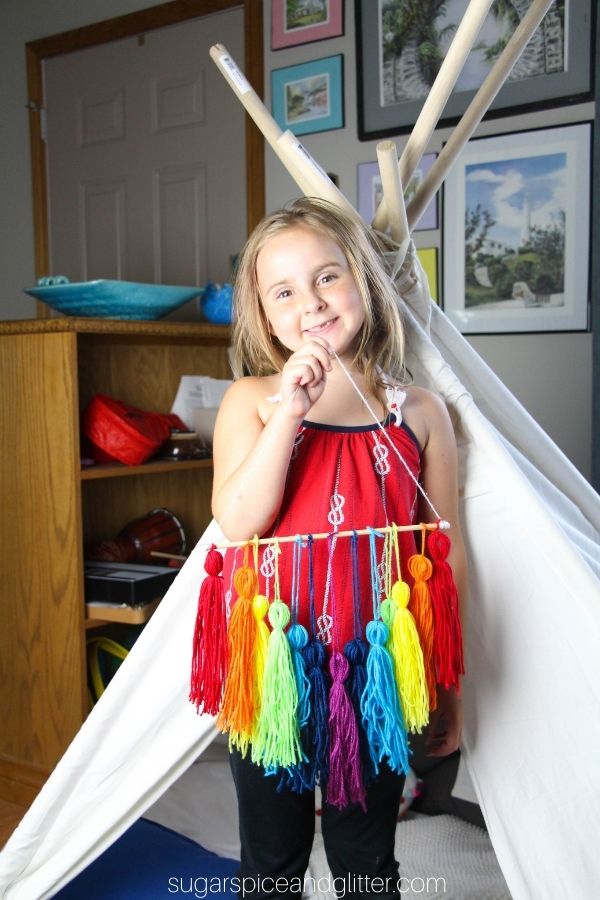
My daughter Ella is obsessed with tassels.
Obsessed.
She begs for any shirt or dress that features a tassel, any bookmark – and if something doesn’t already have a tassel attached to it, she’s likely going to add one herself. My friend was trying to get rid of some awful tasseled curtains and my Ella grabbed a pair of scissors and carefully removed each tassel to add to her collection before the curtains had even made their way into the donation box.
So, you can imagine how ecstatic she was to get to make her own rainbow tassel wall art.
You can use our easy method for making homemade tassels to make a tassel garland for a party, or make some homemade tassel curtain ties. You don’t have to turn them into a mobile/wall hanging like we did, but I think it turned out beautifully and adds a unique, colorful touch to our living room. It looks especially gorgeous displayed on a window.
More DIY Rainbow Decor Ideas:
- Rainbow Rope Wall Art
- Cricut Rainbow Ornament
- Unicorn Rainbow Mason Jar Night Light
- DIY Rainbow Roses
- Rainbow Yarn Art with Cardboard Circle Loom
Check out our quick video for how to make this rainbow tassel tapestry – and then don’t forget to scroll down to grab your free printable instructions:
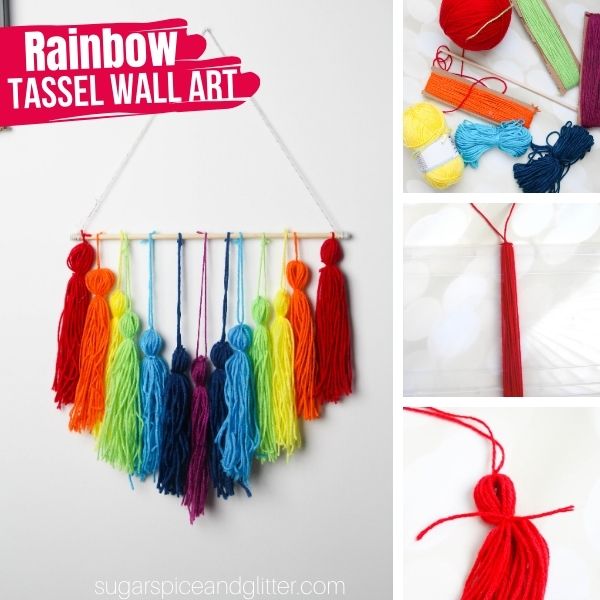
Materials for a Rainbow Wall Art Craft
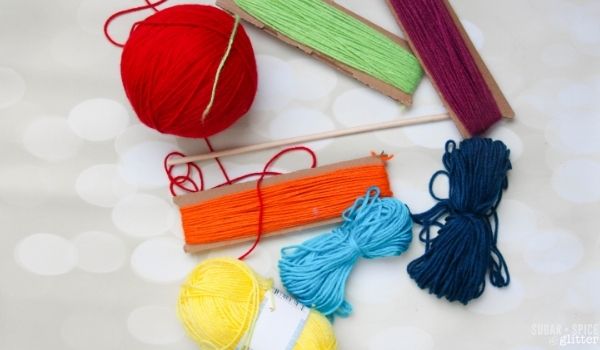
- Yarn in all rainbow colors: red, orange, yellow, green, light blue, indigo, and purple (we also used sparkly white yarn to hang the wall art)
- Scissors
- Sturdy cardboard or 6-10″ flat item
- Hot glue
- Hot glue gun
- 12″ Wooden dowel
Tip: while we chose rainbow colors, you can choose any assortment of colors you’d like for your yarn art.
How to Make Rainbow Yarn Wall Decor
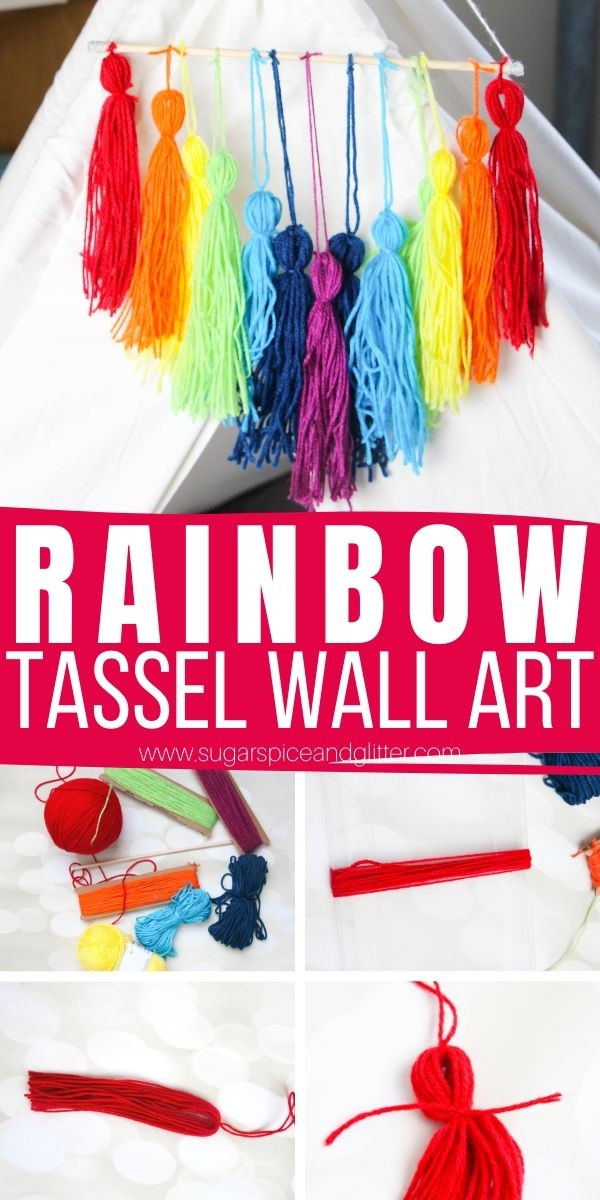
Take one color of yarn and start wrapping it around a 6″-10″ hard, flat item. You can use a book, a length of cardboard, or a storage container lid like we did.
Wrap the yarn around the item 20 times, then use a pair of craft scissors to cut the yarn from the yarn ball.
Cut a 10″ piece of yarn from the yarn ball and thread it underneath the wrapped yarn, as shown.
Slide the length yarn up to the edge of the wrapped object and tie a secure double knot around the bundled, wrapped yarn.
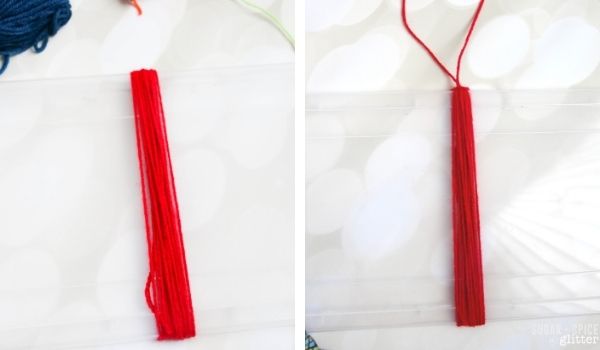
Use your scissors to trim the yarn on the opposite side from the tie. This will form a basic tassel.
To make the “loop top” of the tassel, take a second length of yarn and tie it around the yarn bundle about 1 1/2″ below the top, as shown. Double knot and trim the excess yarn.
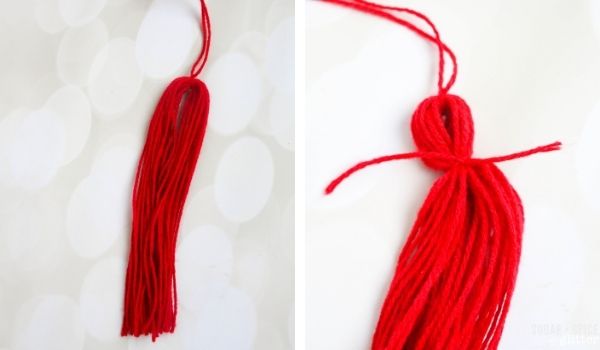
Repeat this process twice for each color of yarn, except for the color that you plan to have in the middle. (Of course, you can plan your own pattern that involves more or less tassels than we made.)
Cut a 20″ to 30″ length of white or sparkly yarn.
Take your hot glue gun and apply yarn around one end of the dowel. Carefully wrap the end of the yarn around the dowel, over the hot glue.
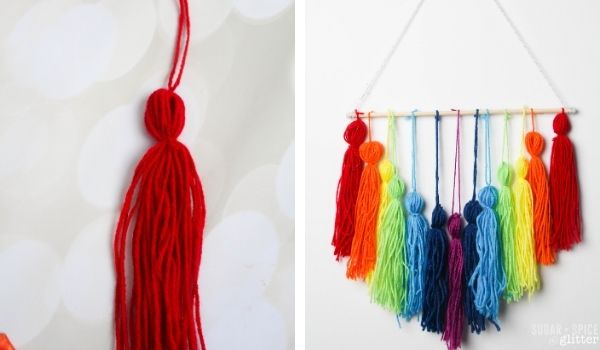
Repeat on the other end of the dowel with the other end of the yarn. This will form the triangle of yarn that you will use to hang the wall art.
Take all of the prepared tassels and tie securely on the dowel in whatever pattern you’d like. We decided to do a cascading rainbow pattern, tying each progressing color an inch lower than the one before, until we reached the middle (purple tassel) with the longest length of yarn.
Trim off any excess or longer pieces of yarn, and then hang your rainbow wall art.
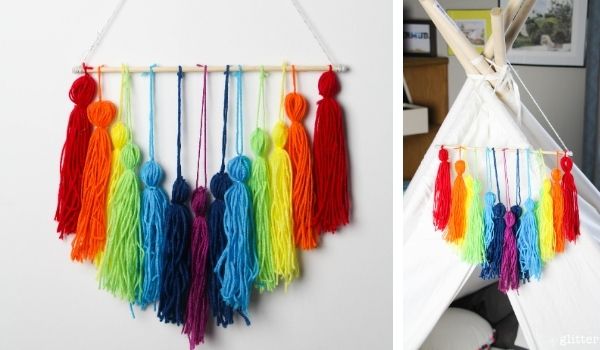
Pin this Rainbow Wall Art for a fun and colorful piece of DIY home decor:
Grab your free printable instructions for our rainbow yarn wall art:
Want to Save This Recipe?
Enter your email & I'll send it to your inbox. Plus, get great new recipes from me every week!
By submitting this form, you consent to receive emails from Sugar, Spice and Glitter.
Rainbow Tassel Wall Art

This easy step-by-step tutorial (including a how-to video) walks you through how to make yarn tassels that can be used to make a gorgeous rainbow wall decor piece, perfect for parties, kids' rooms or adding to a window treatment.
Materials
- Yarn in all rainbow colors: red, orange, yellow, green, light blue, indigo, and purple
- 20" length of yarn to hang art with
- Sturdy cardboard or 6-10" flat item
- Hot glue
- 12" Wooden dowel
Tools
- Hot glue gun
- Scissors
Instructions
- Take one color of yarn and start wrapping it around a 6"-10" hard, flat item. You can use a book, a length of cardboard, or a storage container lid like we did.
- Wrap the yarn around the item 20 times, then use a pair of craft scissors to cut the yarn from the yarn ball.
- Cut a 10" piece of yarn from the yarn ball and thread it underneath the wrapped yarn, as shown.
- Slide the length yarn up to the edge of the wrapped object and tie a secure double knot around the bundled, wrapped yarn.
- Use your scissors to trim the yarn on the opposite side from the tie. This will form a basic tassel.
- To make the "loop top" of the tassel, take a second length of yarn and tie it around the yarn bundle about 1 1/2" below the top, as shown. Double knot and trim the excess yarn.
- Repeat this process twice for each color of yarn, except for the color that you plan to have in the middle. (Of course, you can plan your own pattern that involves more or less tassels than we made.)
- Cut a 20" to 30" length of white or sparkly yarn.
- Take your hot glue gun and apply yarn around one end of the dowel. Carefully wrap the end of the yarn around the dowel, over the hot glue.
- Repeat on the other end of the dowel with the other end of the yarn. This will form the triangle of yarn that you will use to hang the wall art.
- Take all of the prepared tassels and tie securely on the dowel in whatever pattern you'd like. We decided to do a cascading rainbow pattern, tying each progressing color an inch lower than the one before, until we reached the middle (purple tassel) with the longest length of yarn.
- Trim off any excess or longer pieces of yarn, and then hang your rainbow wall art.
Notes
Tip: you can choose any yarn colors you like and change out the pattern or design to suit your home decor.
Recommended Products
As an Amazon Associate and member of other affiliate programs, I earn from qualifying purchases.
-
Dowel Rods Wood Sticks Wooden Dowel Rods – 3/8 x 12 Inch Unfinished Hardwood Sticks – for Crafts and DIYers – 25 Pieces by Woodpeckers
-
TYH Supplies 20-Pack 22 Yard Acrylic Yarn Assorted Colors Skeins - Perfect for Mini Knitting and Crochet Project
-
E.Durable Mini Glue Gun Tool Kit Kids Friendly with Glue Sticks for School Projects, DIY Crafts, Delicate Items Like Foam, Thermocal, Floral, etc (30W)
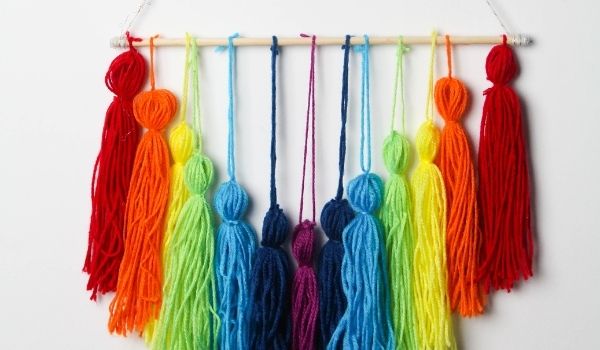
This was such a fun craft for us to do and it’s a gorgeous addition to our dining room gallery wall. I hope your kids love getting to make their own rainbow wall art, too!
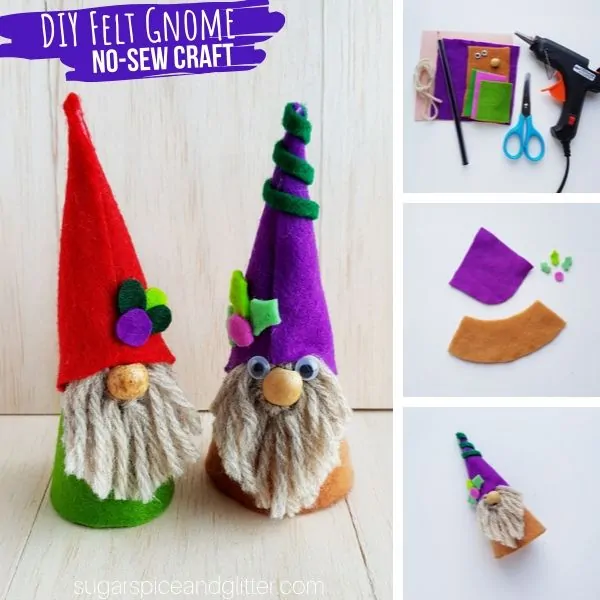
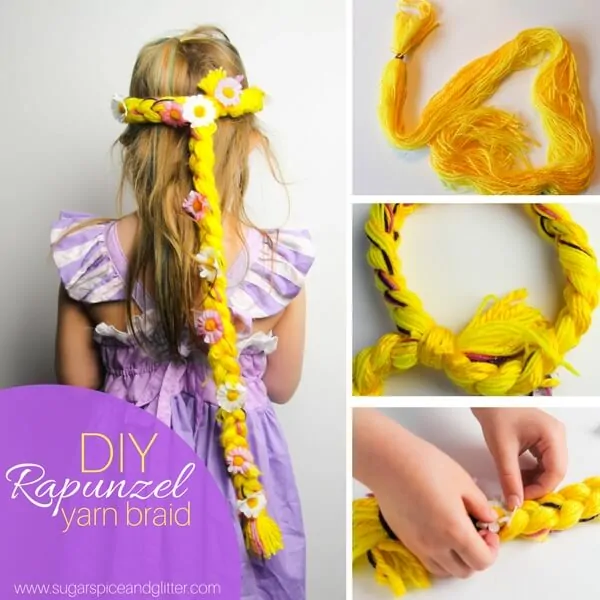
For more fun yarn crafts for kids, check out our Easy Gnome Craft for Kids or our DIY Rapunzel Braid Headband.

