
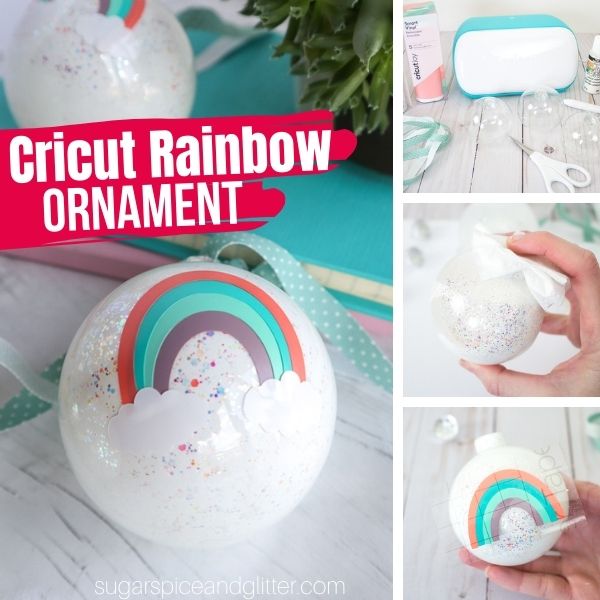
Cricut Rainbow Ornament with Free Rainbow SVG
Welcome to Sugar, Spice & Glitter! Please note, this post may contain affiliate links. For more details, see our Full Disclosure.
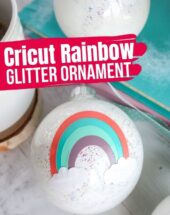

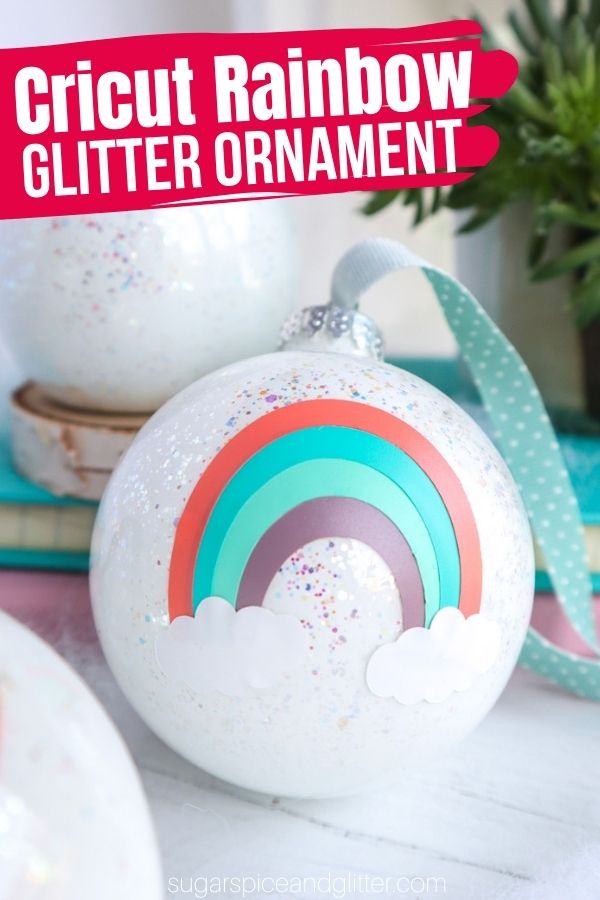
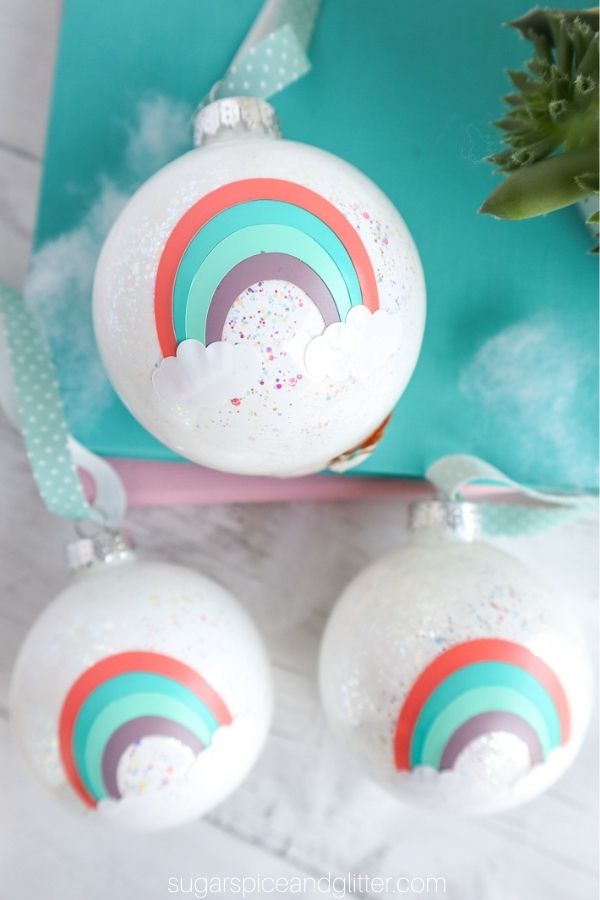
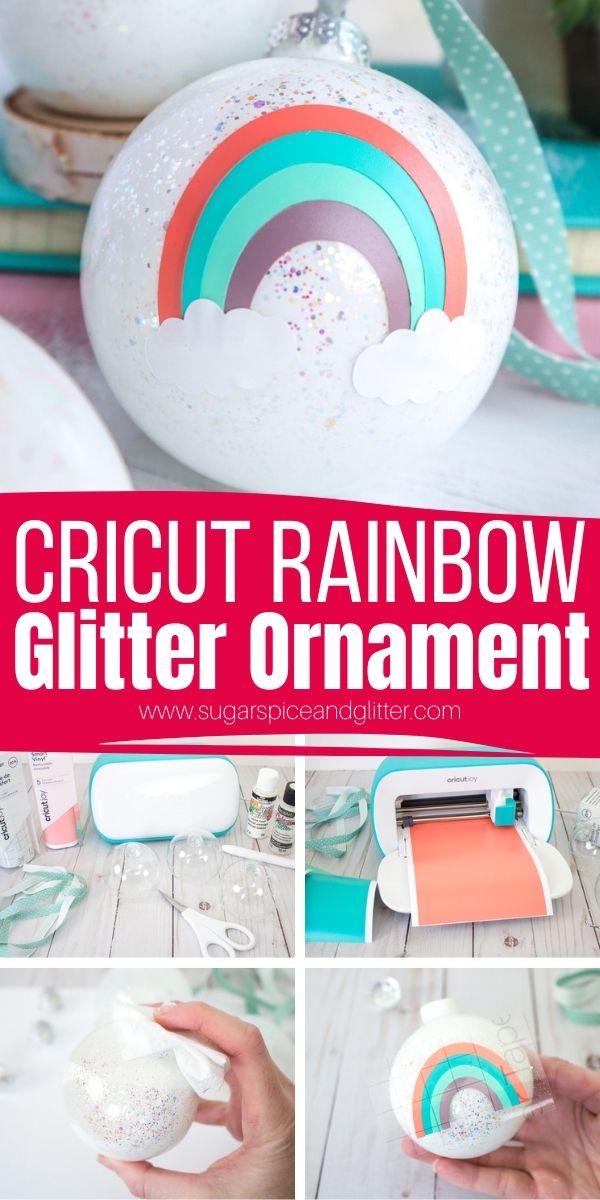
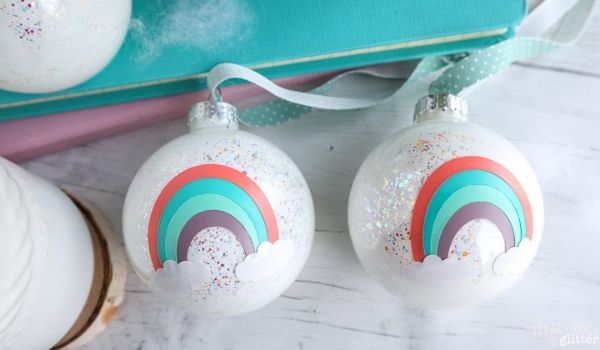
A pretty Cricut ornament craft using our Rainbow SVG file, these Cricut Rainbow Ornaments are perfect for Christmas, St Patrick’s Day or even a rainbow baby shower.
Cricut Rainbow Ornament Craft
I am having so much fun experimenting with our new Cricut machine and our latest creation is one I am super proud of!
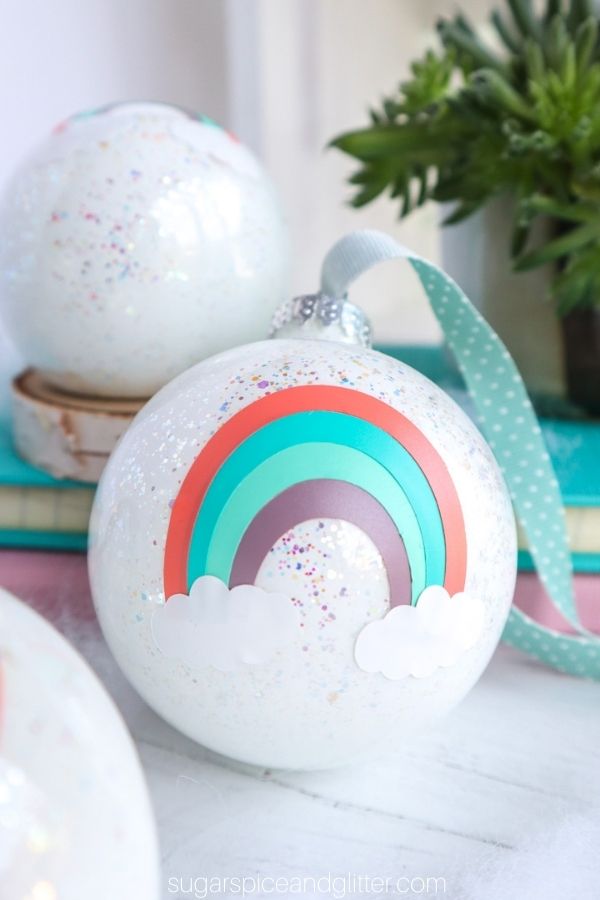
These glittery rainbow ornaments use our rainbow SVG file to add a colorful and cute rainbow using removable vinyl. We used the removable vinyl so if we choose to change out these ornaments next year, we can still keep the main glitter globe ornaments and just swap out the vinyl decoration.
You can choose your colors to suit different color schemes, whether you are making these for your Christmas tree or to decorate for a party. You can also add the year or a name to one of the clouds for an extra personal touch.
We have a mini purple Christmas tree up year round, so I’ll be using these for both Christmas and St. Patrick’s Day. I also think they would be really cute at a Rainbow Baby Shower, or as a thoughtful homemade gift for a family expecting or celebrating a Rainbow Baby.
You can also use our Rainbow SVG file to make a variety of different Cricut crafts – I would love to see what other projects you end up using it for, if you do!
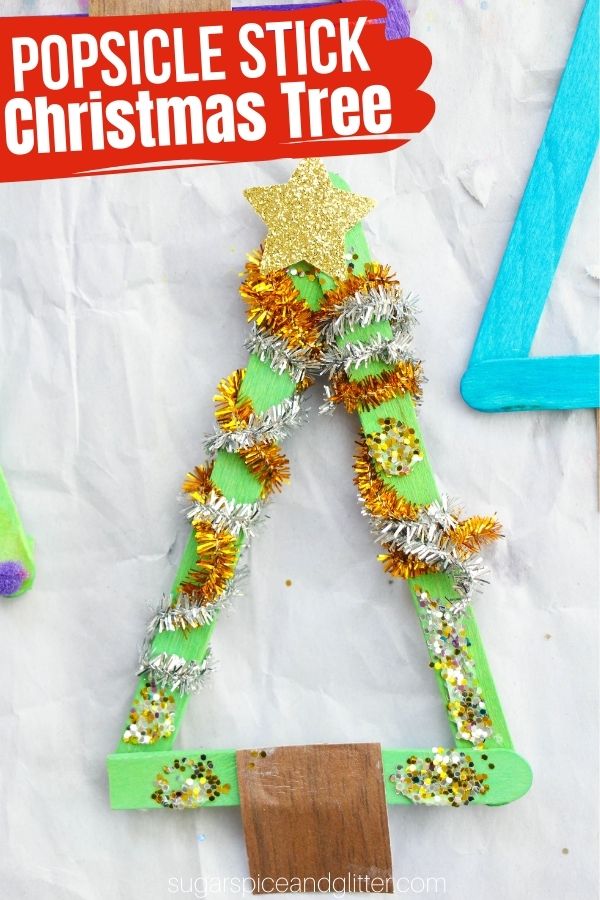
More Cricut Christmas Crafts
- Felt Penguin Ornament with Penguin SVG
- Buffalo Plaid Cricut Christmas Ornaments
- Rolling Pin Ornament with Let It Snow SVG
- Emboidery Hoop Ornaments with Noel SVG
Cricut Rainbow Ornament Materials
- Smart Vinyl Removable in Hydrangeas Sampler (coral, mint, teal and lavender) and White
- Weeding Tool
- Scissors
- Clear Glass Ornaments
- Cricut Transfer Tape
- DecoArt Crafter’s Acrylic in White
- DecoArt Galaxy Glitter in Clear Ice Comet
- Decorative Ribbon, 1/4” wide
- Rainbow SVG File
- Cricut
Tip: using removable vinyl allows you to swap out the rainbow decoration for another design if you want to change your ornaments in the future.
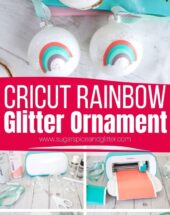
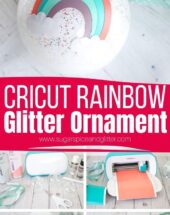
How to Make a Rainbow Ornament with our Rainbow SVG File

Painting the Glass Ornaments:
Remove cap from ornament.
Squeeze Galaxy Glitter Clear Ice Comet paint into the opening.
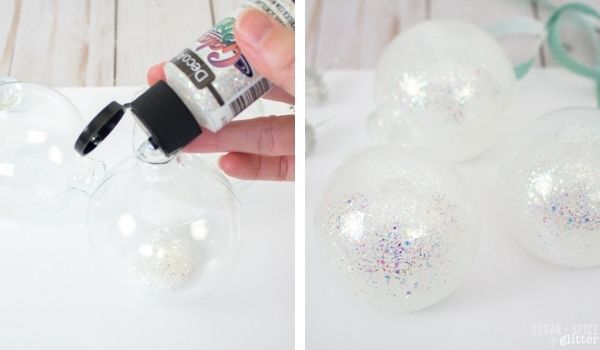
Place your covered thumb over the opening and shake the ornament until the paint inside has mixed together and covered the inside. Add more glitter paint and shake if needed.
Allow glitter paint to dry for about 10 minutes.
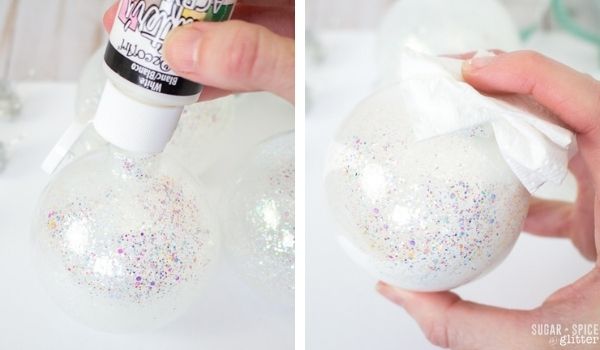
Next, squeeze some white acrylic paint into the ornament. Avoid using too much paint, better to start with a little and add more as needed.
Once again, place your covered thumb over the opening and shake the ornament until the paint inside has mixed together and covered the inside.
Repeat for remaining ornaments.
Preparing the Images:
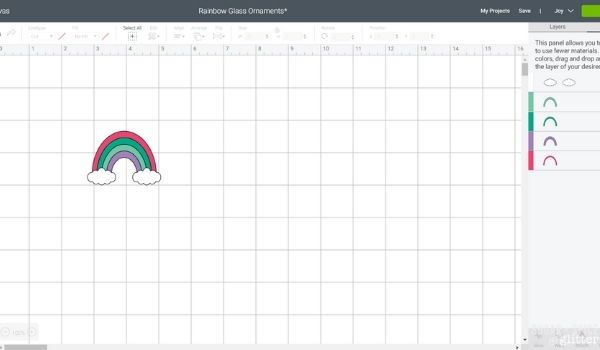
Open Cricut Design Space.
Click on the “+” sign to start a new project, opening up a blank canvas.
Click on the “Upload” button from the toolbar and browse your downloaded files to insert the SVG file.
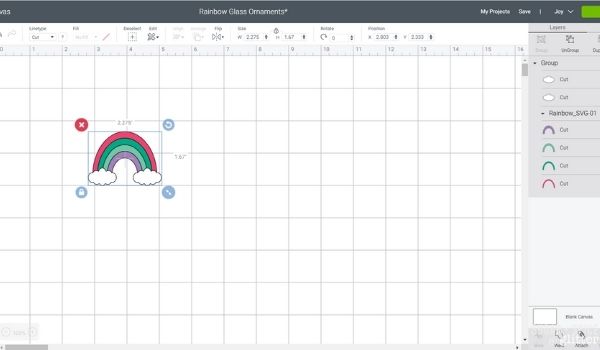
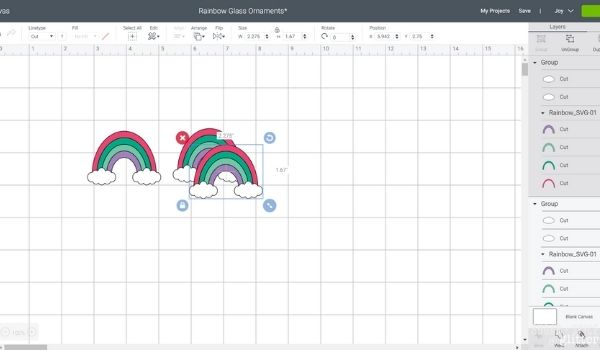
The image will appear on the canvas. With the image selected, select “duplicate” to make as many rainbow vinyl cuts as needed.
Maintain the size or adjust to fit your ornament. To adjust the size, highlight the image and click on the size box in the top toolbar. Change the measurement to suit your ornament size accordingly.
Change the image color if desired to match with the material color.
Cutting the Permanent Smart Vinyl:
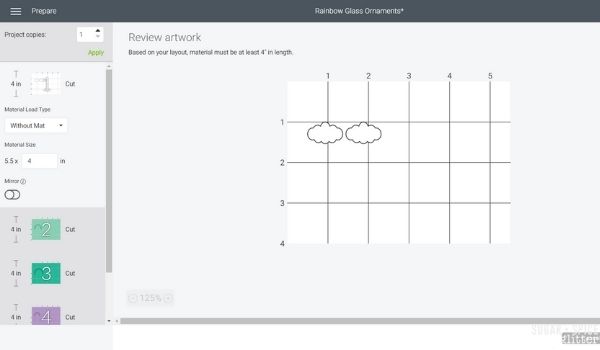
Select “Make It” in the upper right corner to proceed with cutting.
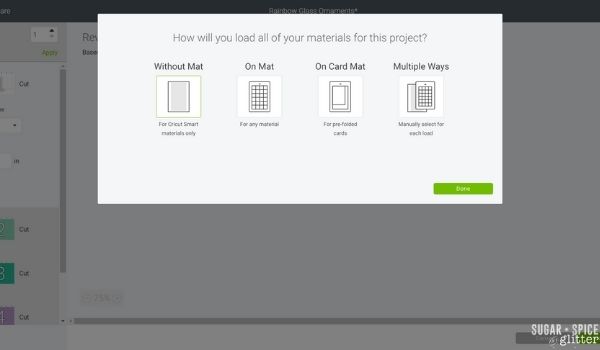
If using Cricut Joy Smart Vinyl, choose “no mat” for cutting.
Note the size of the Smart Vinyl needed and cut the length of the vinyl accordingly.
Choose the Smart Vinyl from the list of options in the drop down menu.
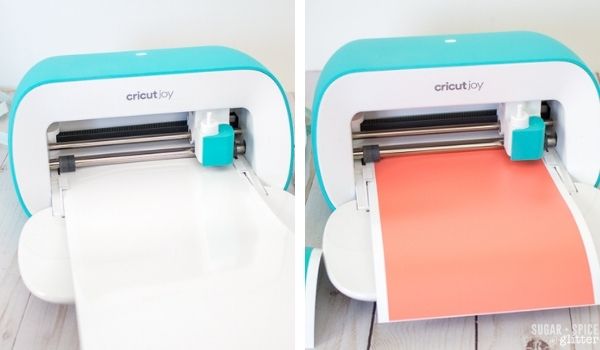
Following the instructions prompted on the screen, cut out the different colored vinyl for all the images.
How to Assemble the Ornaments
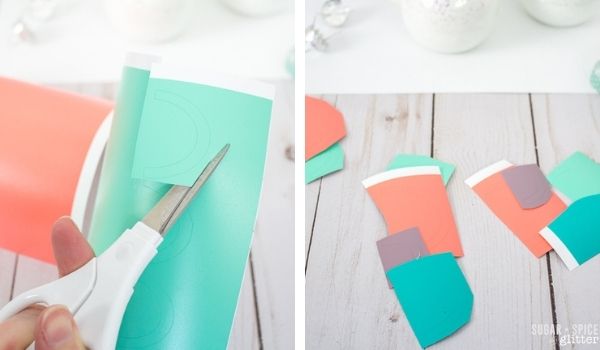
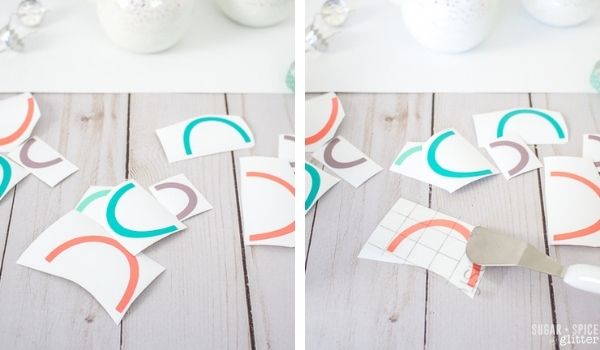
Cut around the images with a pair of scissors.
Peel away the excess vinyl around the cut images and discard.
Cut a piece of transfer tape a bit larger in size than the largest rainbow arc.
Peel away the transfer tape backing and place the transfer tape overtop of the image. Gently rub the vinyl to help it stick to the transfer tape.

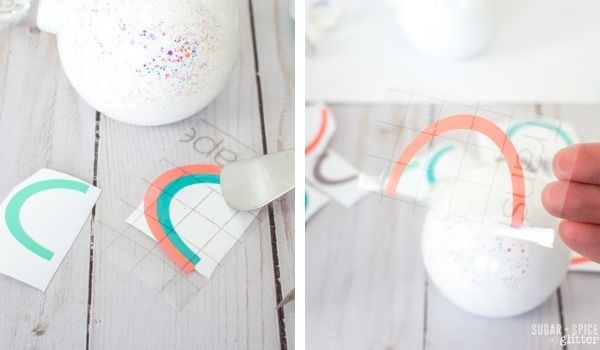
Peel away the vinyl backing, leaving just the image adhered to the transfer tape.
Next, place the transfer tape over the next rainbow arc and peel off the backing.
Continue with the remaining rainbow arc pieces until all are attached to the same piece of transfer tape.
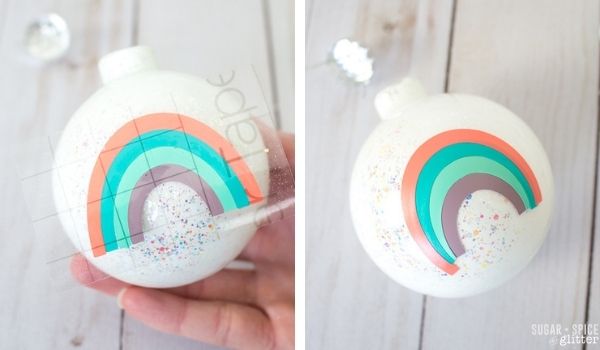
Place the image on to the center of the ornament and clip the center of the transfer tape towards the center of the rainbow.
Press the rainbow vinyl on to the ornament and peel away the transfer tape. Gently work out any bubbles that formed under the vinyl with your finger nails.
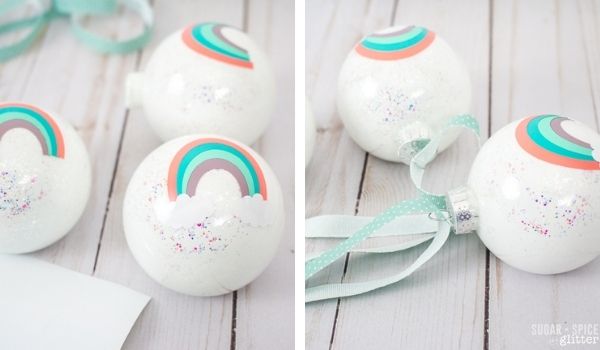
Lastly, place the cloud pieces over the ends of the rainbow covering any edges that are uneven.
Reattach the ornament caps and tie a piece of decorative ribbon to the top of the ornaments.
Pin this Cricut Rainbow Ornament for your next Cricut crafting session:
Grab your free printable instructions for our Cricut rainbow ornaments:
Want to Save This Recipe?
Enter your email & I'll send it to your inbox. Plus, get great new recipes from me every week!
By submitting this form, you consent to receive emails from Sugar, Spice and Glitter.
Cricut Rainbow Ornament with Free Rainbow SVG
An easy step-by-step tutorial for how to make these adorable glittery Cricut Rainbow ornaments using our Rainbow SVG file
Materials
- Smart Vinyl Removable in Hydrangeas Sampler (coral, mint, teal and lavender) and White
- Clear Glass Ornaments
- Cricut Transfer Tape
- DecoArt Crafter’s Acrylic in White
- DecoArt Galaxy Glitter in Clear Ice Comet
- Decorative Ribbon, 1/4” wide
- Rainbow SVG File
Tools
- Cricut
- Weeding Tool
- Scissors
Instructions
Painting the Glass Ornaments:
- Remove cap from ornament.
- Squeeze Galaxy Glitter Clear Ice Comet paint into the opening.
- Place your covered thumb over the opening and shake the ornament until the paint inside has mixed together and covered the inside. Add more glitter paint and shake if needed.
- Allow glitter paint to dry for about 10 minutes.
- Next, squeeze some white acrylic paint into the ornament. Avoid using too much paint, better to start with a little and add more as needed.
- Once again, place your covered thumb over the opening and shake the ornament until the paint inside has mixed together and covered the inside.
- Repeat for remaining ornaments.
Preparing the Images:
- Open Cricut Design Space.
- Click on the “+” sign to start a new project, opening up a blank canvas.
- Click on the “Upload” button from the toolbar and browse your downloaded files to insert the SVG file.
- The image will appear on the canvas. With the image selected, select “duplicate” to make as many rainbow vinyl cuts as needed.
- Maintain the size or adjust to fit your ornament. To adjust the size, highlight the image and click on the size box in the top toolbar. Change the measurement to suit your ornament size accordingly.
- Change the image color if desired to match with the material color.
Cutting the Removable Vinyl:
- Select “Make It” in the upper right corner to proceed with cutting.
- If using Cricut Joy Smart Vinyl, choose “no mat” for cutting.
- Note the size of the Smart Vinyl needed and cut the length of the vinyl accordingly.
- Choose the Smart Vinyl from the list of options in the drop down menu.
- Following the instructions prompted on the screen, cut out the different colored vinyl for all the images.
How to Assemble the Ornaments
- Cut around the images with a pair of scissors.
- Peel away the excess vinyl around the cut images and discard.
- Cut a piece of transfer tape a bit larger in size than the largest rainbow arc.
- Peel away the transfer tape backing and place the transfer tape overtop of the image. Gently rub the vinyl to help it stick to the transfer tape.
- Peel away the vinyl backing, leaving just the image adhered to the transfer tape.
- Next, place the transfer tape over the next rainbow arc and peel off the backing.
- Continue with the remaining rainbow arc pieces until all are attached to the same piece of transfer tape.
- Place the image on to the center of the ornament and clip the center of the transfer tape towards the center of the rainbow.
- Press the rainbow vinyl on to the ornament and peel away the transfer tape. Gently work out any bubbles that formed under the vinyl with your finger nails.
- Lastly, place the cloud pieces over the ends of the rainbow covering any edges that are uneven.
- Reattach the ornament caps and tie a piece of decorative ribbon to the top of the ornaments.
Recommended Products
As an Amazon Associate and member of other affiliate programs, I earn from qualifying purchases.


I would love to how you use these rainbow ornaments – or if you end up using the rainbow SVG file to create something completely new!
Check out our full collection of Cricut Crafts here.
Love this Cricut rainbow ornament project – such a clever way to brighten up decorations for holidays or everyday displays. I’ve been inspired to try using it to make some custom vinyl suncatchers, kind of like the decorative window films I’ve seen installed by pros at https://windowfilminstallers.com which really elevate a space with both style and function.