
Unicorn Mason Jar Night Light
Welcome to Sugar, Spice & Glitter! Please note, this post may contain affiliate links. For more details, see our Full Disclosure.
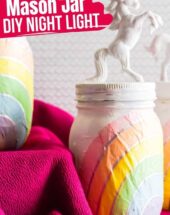
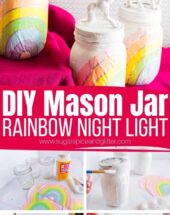
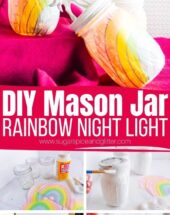
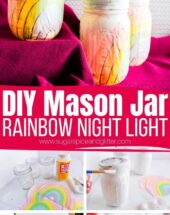
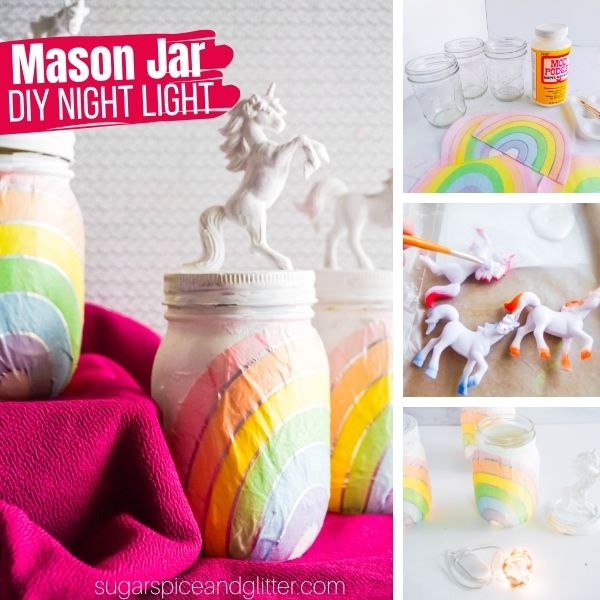
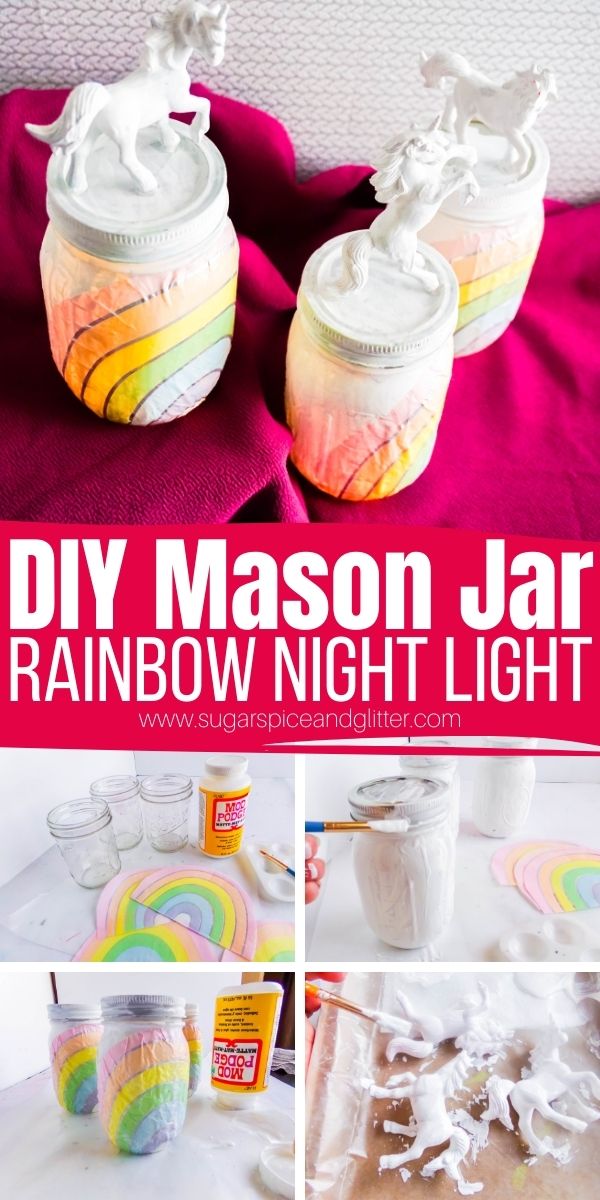
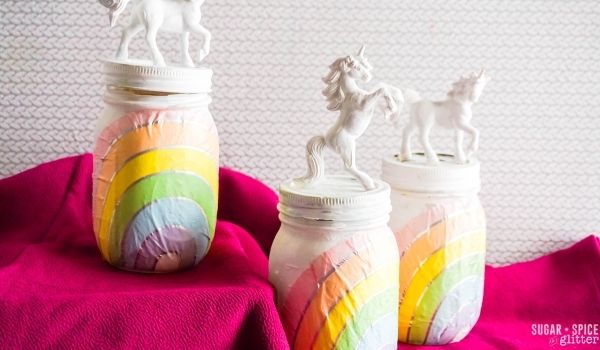
A fun mason jar craft that also serves a practical purpose, these Magical Mason Jar Night Lights are a fun addition to your child’s room. They serve as a pretty unicorn and rainbow piece of decor by day and then provide a comforting glow at night.
DIY Night Light Craft
Many people – not just children – find night lights comforting.
The luminescence that the night lights provide gives comfort and spatial awareness by serving as a landmark in the bedroom, while not interfering with REM cycles (which more bright lights can cause).
My daughter still likes having her fairy garden or moon lamp illuminated at night, so I thought it would be fun to make some mason jar night lights to mix things up.
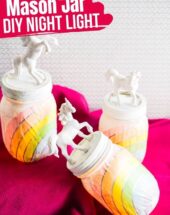
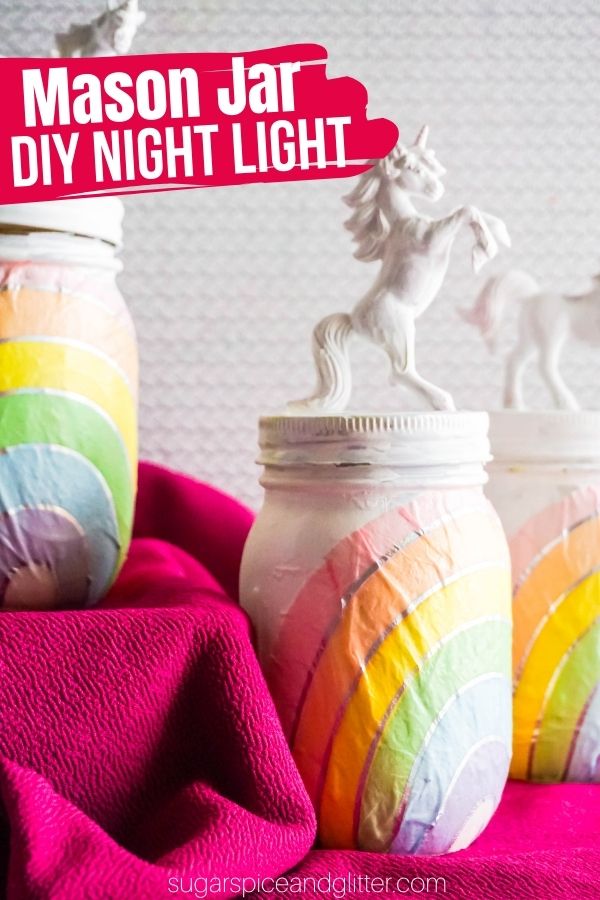
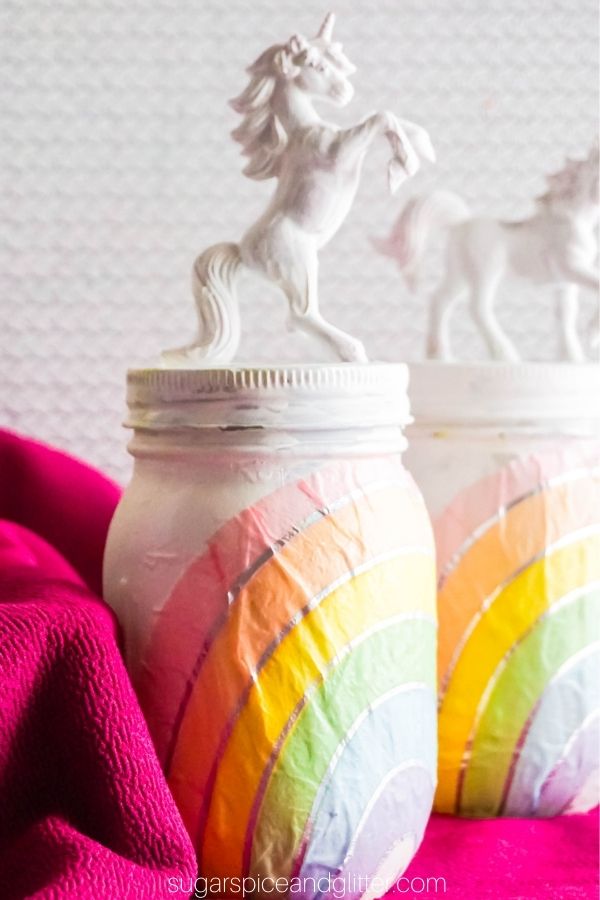
These magical mason jar night lights look casual during the day – just another piece of rainbow and unicorn-inspired piece of decor in her bedroom, but then can be switched on at night to provide a comforting glow.

You can customize the amount of light that your mason jars give off by using a sheer paint on the jars (instead of an opaque one like we used) and using more than one set of fairy string lights.
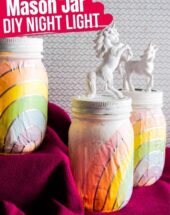
You can also swap out the rainbow napkin that we used for a different design or use a different figurine topper for a completely different design. Fairies, favorite action figures, Disney princesses, etc.
If you don’t want to use the fairy lights for your DIY night lights, you can use electric candles or even use glow in the dark paint for the mason jar and unicorn. (Follow the instructions on the bottle for the best luminescence.)
More DIY Rainbow Decor Ideas:
- Rainbow Rope Wall Art
- Cricut Rainbow Ornament
- Rainbow Tassel Wall Art
- DIY Rainbow Roses
- Rainbow Yarn Art with Cardboard Circle Loom
Mason Jar Night Light Materials
- 3 Mason Jars with Lids
- 3 Iridescent Rainbow Napkins <– these are the ones we used
- 3 3-Inch Unicorn Figurines
- White Acrylic Paint
- Craft Sealant <– we used Mod Podge
- 3 Sets Fairy Lights <– this set comes with 12 lights so you can use them for multiple crafts
- Paintbrush
- Hot Glue Gun & Glue
How to Make DIY Night Lights
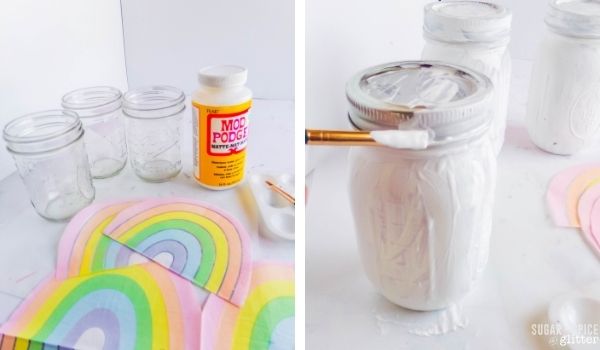
Clean and dry your mason jars completely, then paint each one white, including the lid. Allow paint to dry completely.
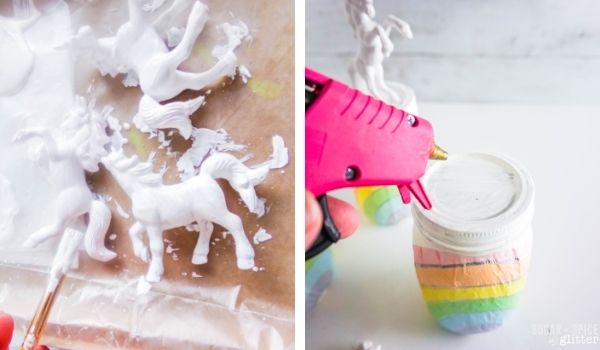
Paint each of the unicorns white. Allow the paint to dry completely.
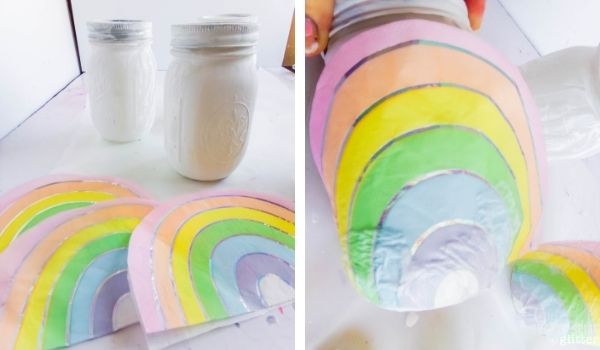
Cut out the iridescent ply side of three napkins. Discard the rest.
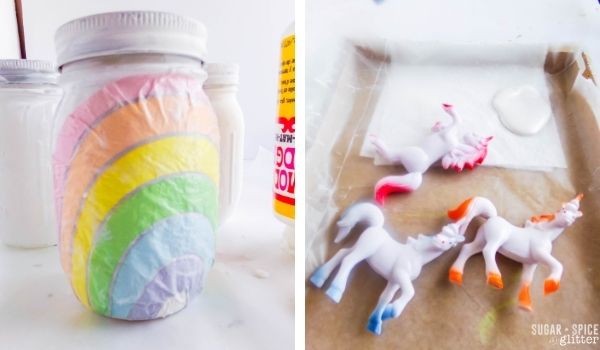
Place a thin layer of craft sealant to the face of a jar.
Position one iridescent ply side of the napkin face-up on the craft sealant, using a thin layer of craft sealant being placed on top of the napkin to help reduce wrinkles in the napkin, as the sealant is being spread. I found the most success in placing the center of the rainbow first, then working out to the edges. Allow craft sealant to dry completely.
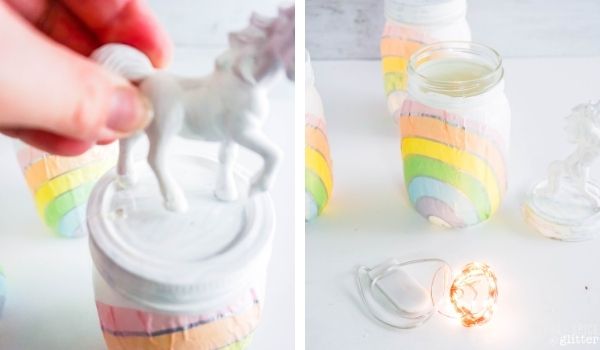
Hot glue a unicorn on the lid of each jar.

Place a set of fairy lights inside each jar. Enjoy!
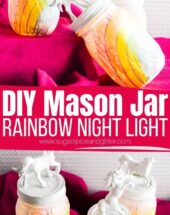
Pin this Easy DIY Night Light for a fun project to make with the kids:
Grab your free printable instructions for our DIY Mason Jar Night Light craft:
Want to Save This Recipe?
Enter your email & I'll send it to your inbox. Plus, get great new recipes from me every week!
By submitting this form, you consent to receive emails from Sugar, Spice and Glitter.
Unicorn Mason Jar Night Light
How to make a DIY Night Light using a mason jar and fairy lights. You can make our Rainbow Unicorn Night Light or customize your night light with different designs or characters - Action Figures, Disney Princesses, Fairies, etc.
Materials
- 3 Mason Jars with Lids
- 3 Iridescent Rainbow Napkins
- 3 3-Inch Unicorn Figurines
- White Acrylic Paint
- Craft Sealant
- 3 Sets Fairy Lights
Tools
- Paintbrush
- Hot Glue Gun & Glue
Instructions
- Clean and dry your mason jars completely, then paint each one white, including the lid. Allow paint to dry completely.
- Paint each of the unicorns white. Allow the paint to dry completely.
- Cut out the iridescent ply side of three napkins. Discard the rest.
- Place a thin layer of craft sealant to the face of a jar.
- Position one iridescent ply side of the napkin face-up on the craft sealant, using a thin layer of craft sealant being placed on top of the napkin to help reduce wrinkles in the napkin, as the sealant is being spread. I found the most success in placing the center of the rainbow first, then working out to the edges. Allow craft sealant to dry completely.
- Hot glue a unicorn on the lid of each jar.
- Place a set of fairy lights inside each jar. Enjoy!
Recommended Products
As an Amazon Associate and member of other affiliate programs, I earn from qualifying purchases.
-
 12 Pack Led Fairy Lights Battery Operated String Lights Waterproof Copper Wire 7 Feet 20 Led Firefly Starry Moon Lights for DIY Wedding Party Bedroom Patio Christmas Warm White
 -
Ginger Ray Pastel Rainbow Shaped Foiled Paper Party Napkins Tableware 16 Pack
-
Rhode Island Novelty 3 Inch Vinyl Unicorns, One Dozen Assorted


I hope your kids love making their own glowing mason jar night lights and they provide some comfort to them at night.
For more DIY home decor ideas, check out our full collection here:

For more unicorn crafts or recipes, check out:
")
")
")

")


")
")
")


Wow what a great idea! My daughter loves unicorns, I’m going to see if she wants to make our own.