Felt Pumpkin Sewing Pattern
Welcome to Sugar, Spice & Glitter! Please note, this post may contain affiliate links. For more details, see our Full Disclosure.
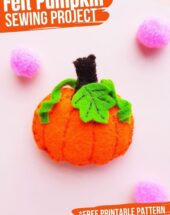


Another fun fall sewing project for kids, today’s Felt Pumpkin Sewing Project uses a free printable template and just a few basic materials to create a cute pumpkin craft that can be turned into an ornament, hair accessory, or just displayed with pride on your fall mantle.

Felt Pumpkin Sewing Craft
My daughter loves sewing, but with the whole pandemic happening right now her sewing classes have been cancelled and I am no help when it comes to helping her navigate her sewing machine.
But I can do some basic hand sewing (very basic hand sewing) so I’ve been trying to support her love of sewing with simple felt projects that can be completed with affordable supplies and in an hour or less.
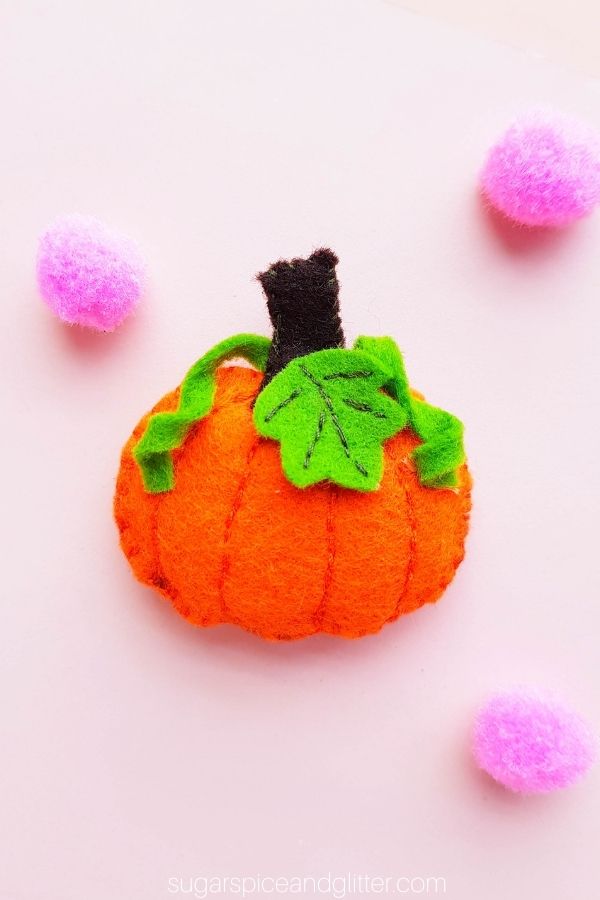
Our latest addition to our collection of cute felt plushies is this felt pumpkin craft. It was super simple to make and depending on how skilled your child is at sewing and how intricate they want to make their pumpkin’s details, they can turn out a little personal pumpkin patch in a single afternoon!
They can make their pumpkin small enough to be a pocket pal or ornament, or make it big and turn it into a seasonal throw pillow.
You can also swap out the felt colors to make a Cinderella-inspired pumpkin or add a cute saying by cross-stitching or using a vinyl cut out. There are so many ways to make this simple pumpkin craft your own.
Whenever we need to cut out intricate shapes from felt, I always grab some freezer paper and use the freezer paper trick to cut out our felt shapes, but good-quality felt and a sharp pair of scissors also makes all the difference.
This Felt Pumpkin is a great sewing project for kids, no matter their level of sewing ability. I’ve provided a free printable template for you to cut the pattern out from, and then you just need to know how to do a basic whip stitch and cross stitch. (A cross stitch is pretty easy to fake.) This craft allows kids to practice those simple stitches, but is pretty quick and not too labor-intensive.
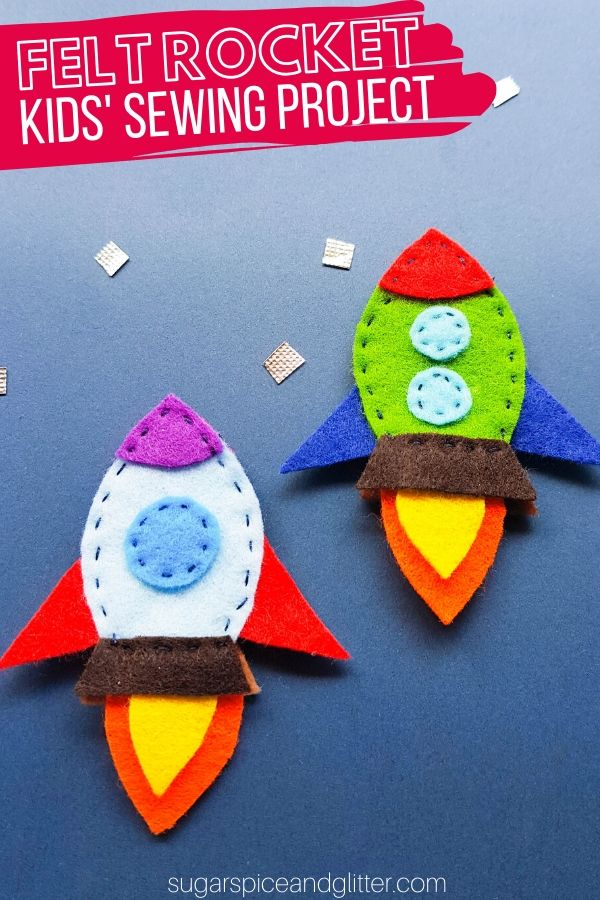
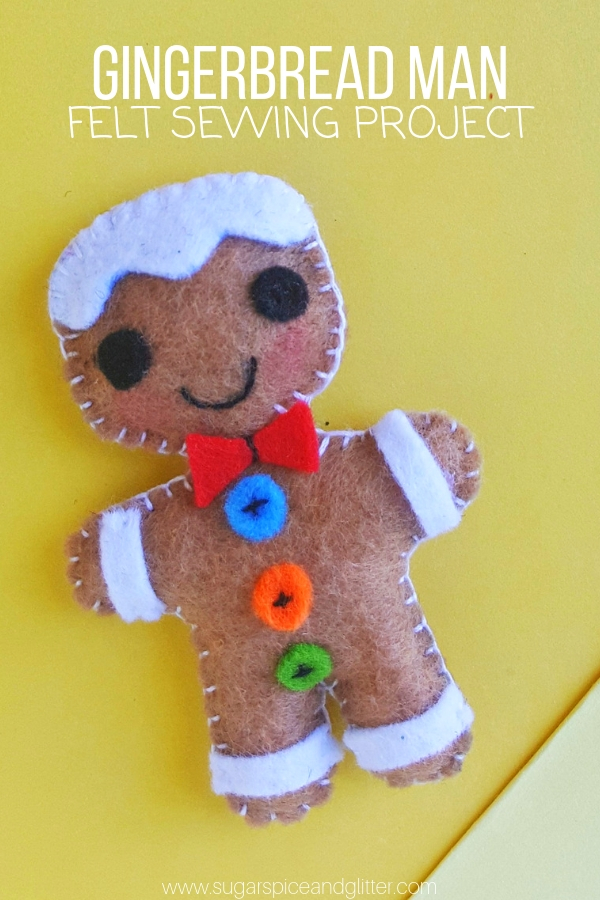
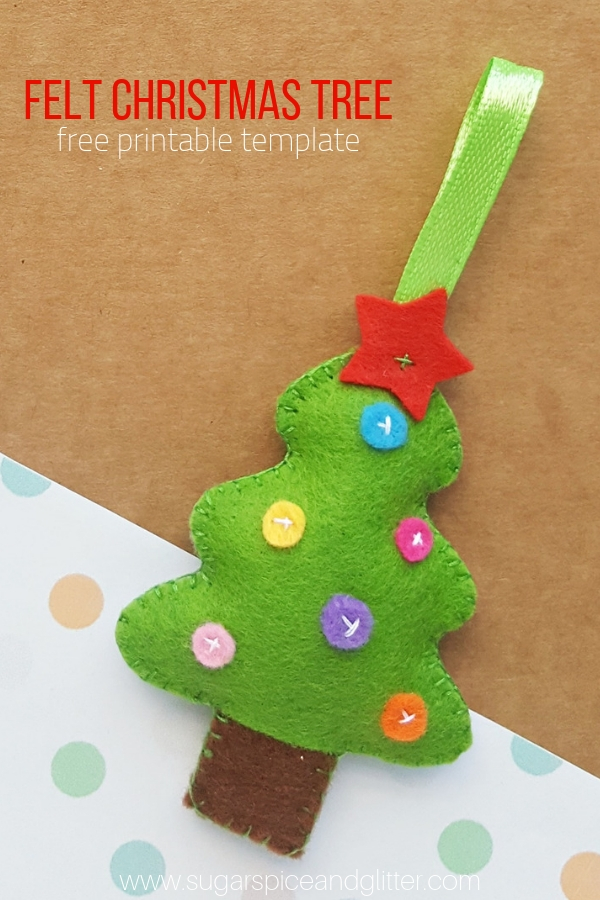
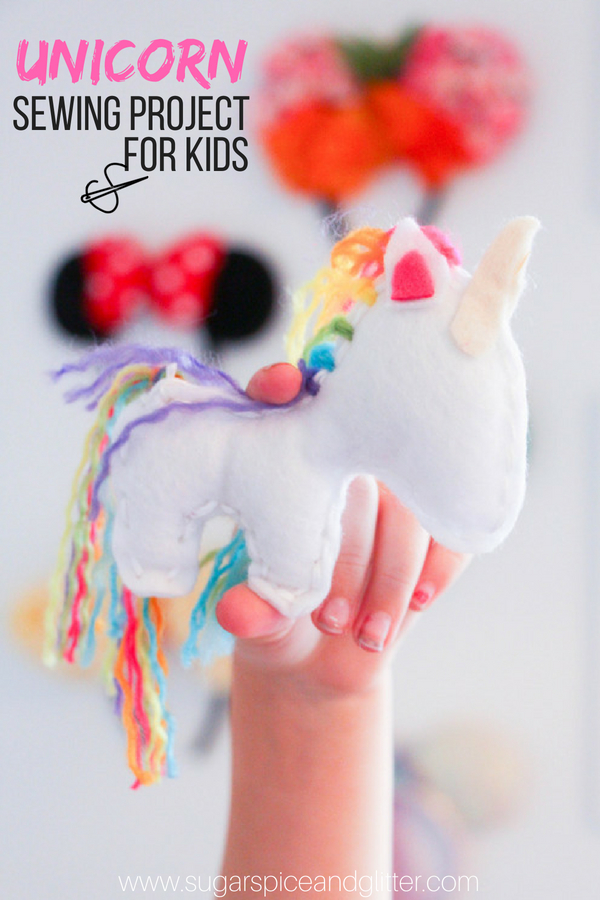
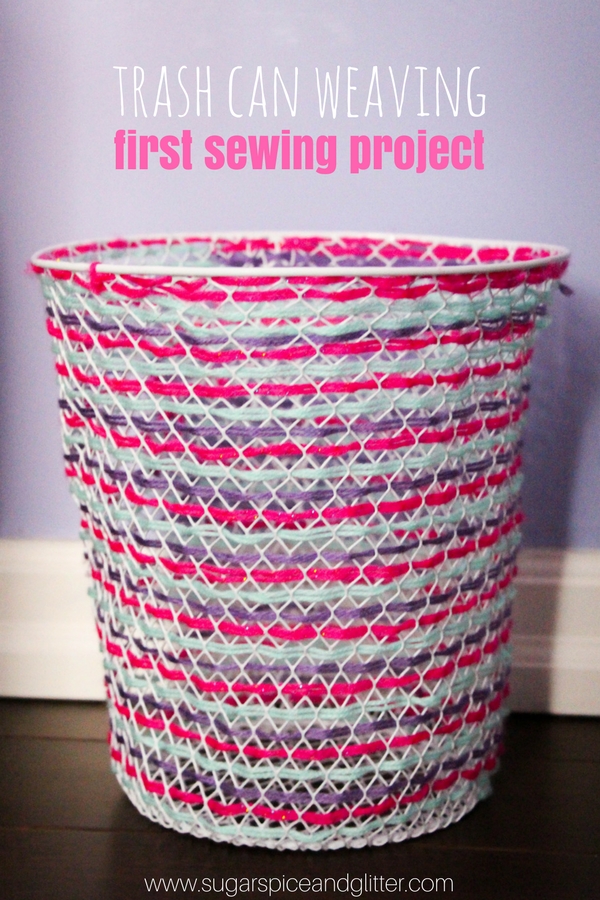
More Easy Sewing Projects for Kids:
")


")
")


")


Felt Pumpkin Craft Materials Needed
- Felt: orange, brown and green
- Pencil or fabric marker
- Scissors
- Freezer paper and iron (if using the freezer paper trick)
- Needle
- Thread: orange and brown
- Cotton
- Pumpkin Sewing Pattern
Tip: print out a couple copies of the template before getting started

How to Make a Felt Pumpkin Plushie
Select orange, brown and green colored felt fabric. Trace the pumpkin base on the orange felt; trace the leaf and strips (vine) on green felt and the stem pattern on brown felt. Cut out the traced patterns nicely.

Grab any one of the pumpkin base patterns and use a pencil or fabric marker to trace vertical curve lines on the base.
Use matching orange thread to stitch along the traced lines.

Place a stem and a green strip on the top middle part of a pumpkin base; and stitch the stem and strip with the pumpkin. Similarly prepare the other base piece with stem and vine strip.
Place the 2 pumpkin bases together, keeping the stitched one (stitched curved lines) to the front.

Work flat blanket stitch around the outer side of the pumpkin bases to join them together. Keep a small opening for stuffing.
Fill the pumpkin base with cotton through the small opening. Fill the pumpkin with enough felt to give it a nice and fluffy look. Close the small opening once the filling is complete.

Coil the vine strips and stitch its open end with the pumpkin. Similarly stitch the other vine strip.
Stitch the leaf near the stem to complete the felt pumpkin plush.
Pin this Easy Pumpkin Sewing Project:

Grab your free printable instructions for our felt pumpkin craft and don’t forget to grab your free Pumpkin Sewing Pattern:
Want to Save This Recipe?
Enter your email & I'll send it to your inbox. Plus, get great new recipes from me every week!
By submitting this form, you consent to receive emails from Sugar, Spice and Glitter.
Felt Pumpkin Sewing Pattern
A super simple sewing project for kids - this Felt Pumpkin can be made small for an ornament or pocket pal, or make it big to make a pumpkin pillow.
Materials
- Felt: orange, brown and green
- Pencil or fabric marker
- Thread: orange and brown
- Cotton
- Pumpkin Sewing Pattern
Tools
- Scissors
- Freezer paper and iron (if using the freezer paper trick)
- Needle
Instructions
- Select orange, brown and green colored felt fabric. Trace the pumpkin base on the orange felt; trace the leaf and strips (vine) on green felt and the stem pattern on brown felt. Cut out the traced patterns nicely.
- Grab any one of the pumpkin base patterns and use a pencil or fabric marker to trace vertical curve lines on the base.
- Use matching orange thread to stitch along the traced lines.
- Place a stem and a green strip on the top middle part of a pumpkin base; and stitch the stem and strip with the pumpkin. Similarly prepare the other base piece with stem and vine strip.
- Place the 2 pumpkin bases together, keeping the stitched one (stitched curved lines) to the front.
- Work flat blanket stitch around the outer side of the pumpkin bases to join them together. Keep a small opening for stuffing.
- Fill the pumpkin base with cotton through the small opening. Fill the pumpkin with enough felt to give it a nice and fluffy look. Close the small opening once the filling is complete.
- Coil the vine strips and stitch its open end with the pumpkin. Similarly stitch the other vine strip.
- Stitch the leaf near the stem to complete the felt pumpkin plush.
Recommended Products
As an Amazon Associate and member of other affiliate programs, I earn from qualifying purchases.
-
 Reynolds Freezer Paper Plastic Coated 50 Sq Ft (3 Rolls)
 -
Large Eye Blunt Needles, 15 Pcs Stainless Steel Yarn Knitting Needles, Extra Large-Eye Yarn Sewing Needles, Knitting Darning Needles with Clear Bottle, Suitable for Crochet Projects, Silver
-
flic-flac 44PCS 4 x 4 inches (10 x10cm) Assorted Color Felt Fabric Sheets Patchwork Sewing DIY Craft 1mm Thick


This easy felt pumpkin sewing project is a great first sewing project or fall sewing project for kids. They can make their stuffed pumpkin plushes as big or as little as they like!
Check out some of our other Easy Sewing Projects for Kids: