
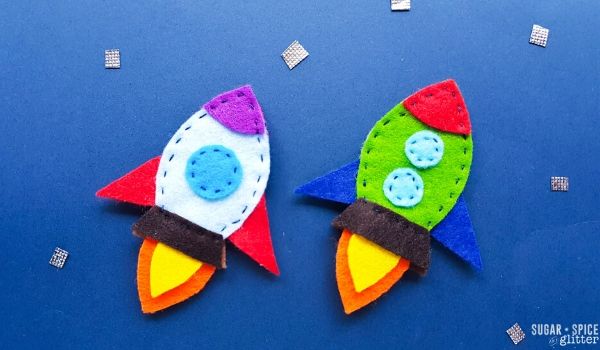
Felt Rocket Sewing Craft for Kids
Welcome to Sugar, Spice & Glitter! Please note, this post may contain affiliate links. For more details, see our Full Disclosure.
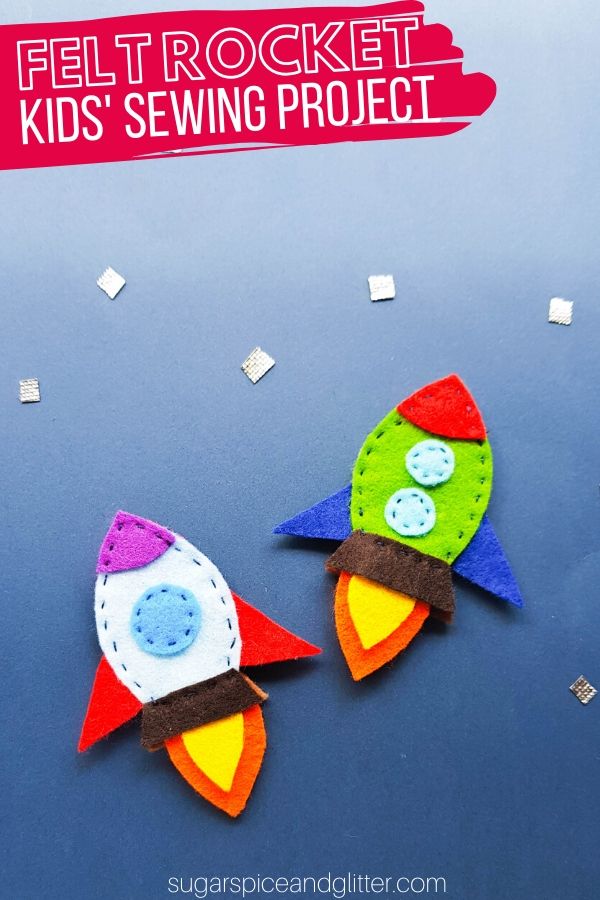
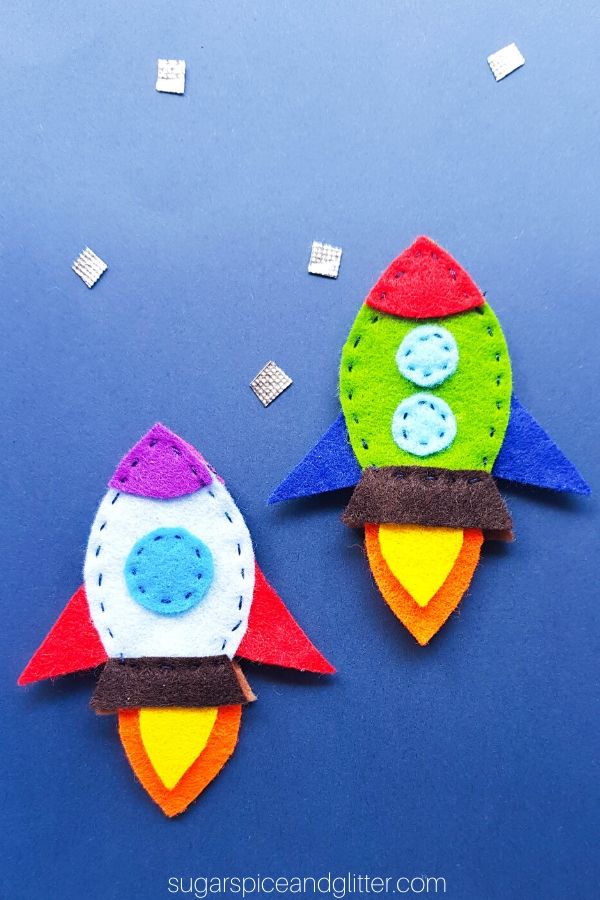
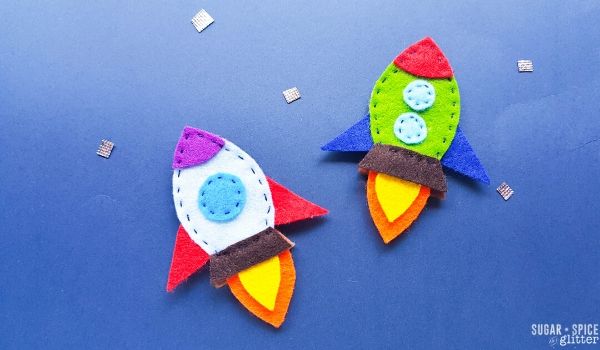
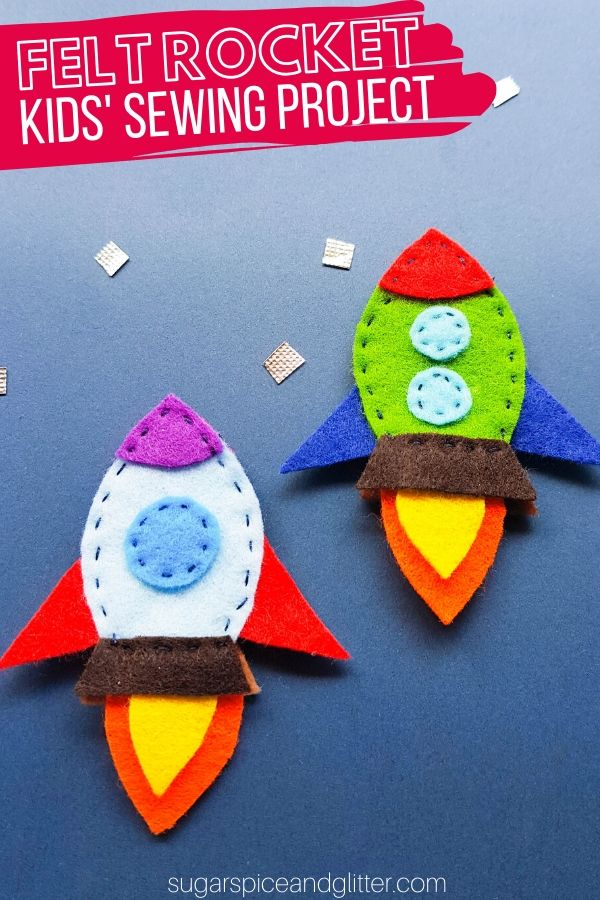
A simple sewing craft for kids, this Felt Rocket Craft for Kids is a great first sewing project for kids – no fancy stitches, no stuffing that may pull out precarious stitches, and a super simple printable pattern to ensure your rocket actually ends up looking like a rocket!
DIY Felt Rocket Craft
This super simple felt sewing project uses a free printable template and just some felt and thread to create homemade rocket toys!
These rockets can be used to make finger puppets, ornaments, or even added to a canvas to make a 3D space craft. It’s a great way to encourage kids who may be reluctant to learn how to sew, especially if they love science and rockets.
Sewing is such an underrated life skill but it has enormous value. Not only can you fix your clothing and avoid excess waste, but you can learn to make or alter clothing to suit your personal needs or tastes. (How many of us have passed up a nearly perfect shirt because it needed a small alteration, or struggled to find something that fit our needs?)
Plus, it’s a great fine motor skill for kids and can be a wonderful meditative activity.
Whenever we need to cut out intricate shapes from felt, I always grab some freezer paper and use the freezer paper trick to cut out our felt shapes, but good-quality felt also makes all the difference.
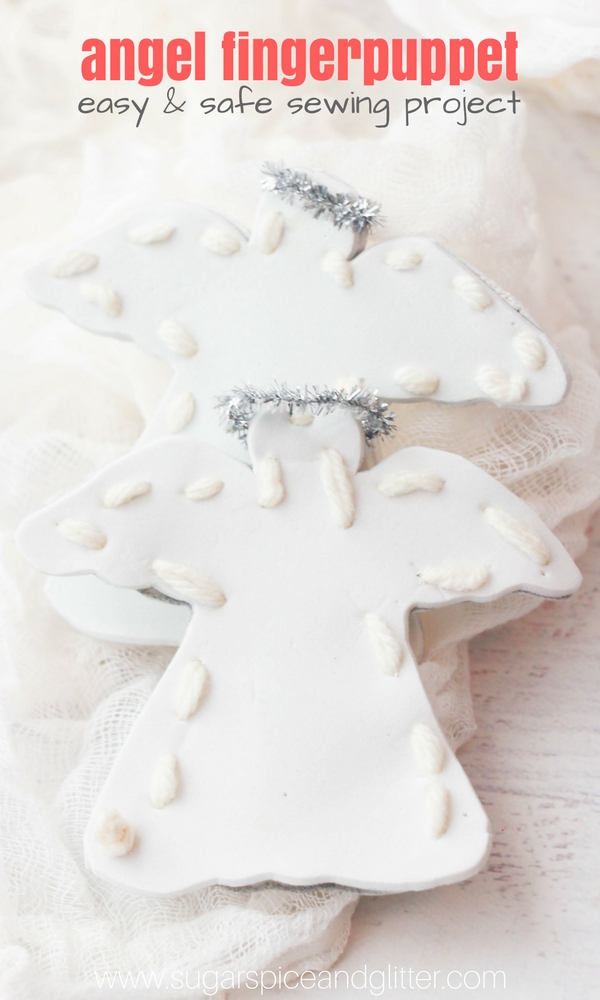
If the intricate details of this Felt Rocket craft are too difficult for your beginning sewer, I would suggest using a fabric puffy paint for the smaller details and using some felt or hot glue to attach tiny pom poms instead of those little tiny circles.
I love to pair our crafts with a book, and Ella suggest pairing this with The Guinness Book of Science and Stuff. This is the book that taught Ella how to read – it contains awesome photographs along with short blurbs, and the pictures were often interesting enough to encourage her to decipher the text. It was so hard to get this girl excited to read, but this book was our “magic bullet.”
You could also pair this book with Counting on Katherine by Helaine Becker, the story of a groundbreaking American woman who not only calculated the course of moon landings but, in turn, saved lives and made enormous contributions to history.

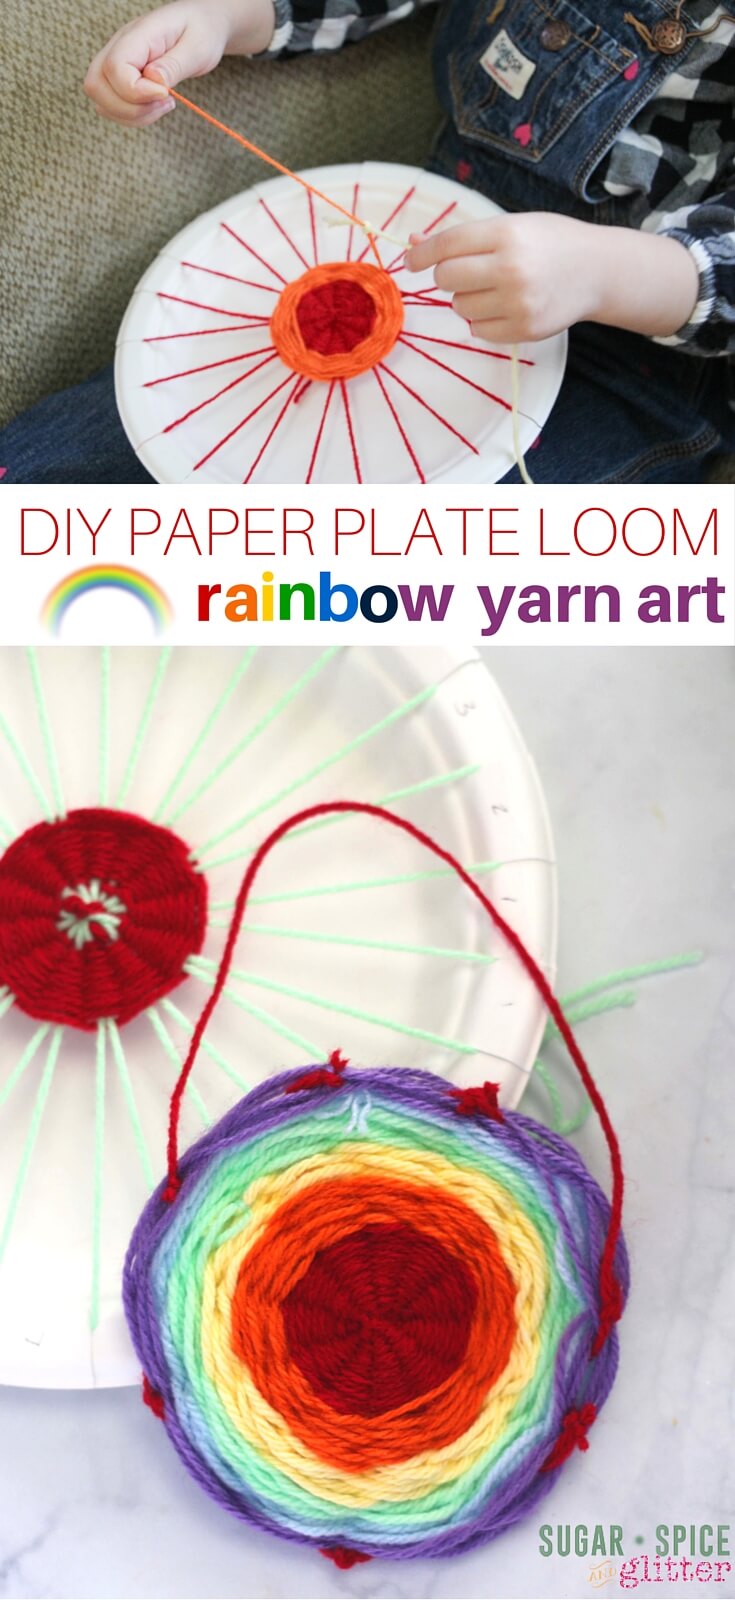
Other Rocket Crafts for Kids:
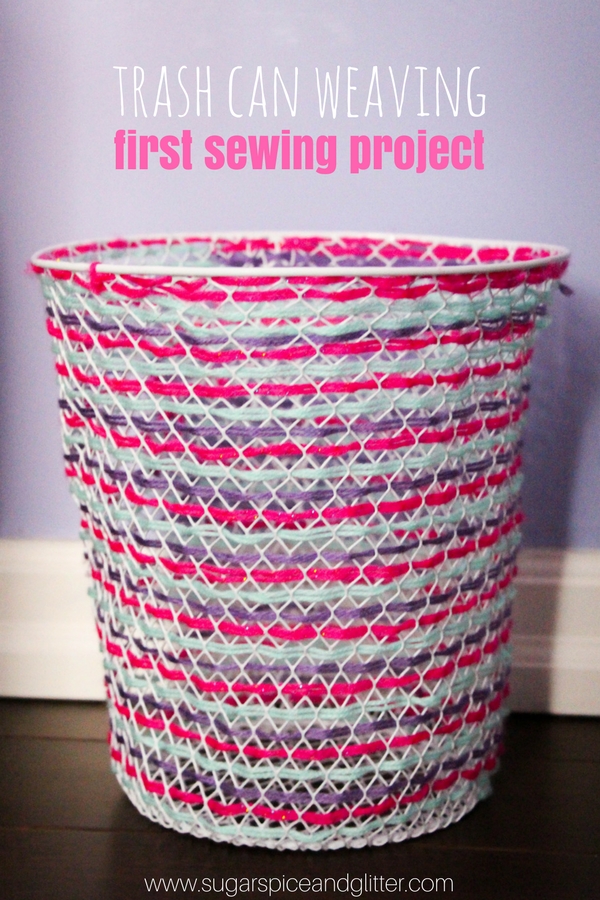
- Paper Roll Rocket Craft
- Straw Rockets (with free printable rockets)
- DIY Jet Pack costume
- DIY Launching Rocket Ship Toy from Lalymom
- Printable Space Spinner Craft from Conservamome
- Flying Rocket Ship Craft from Super Simple
- Simple Rocket Space Craft from the Kindergarten Connection
- Interactive Paper Plate Rocket Craft from Books and Giggles
- Puffy Paint Rocket Craft from Toddler Approved
Materials to Sew a Felt Rocket
- Felt
- Pencil or fabric marker
- Scissors
- Freezer paper and iron (if using the freezer paper trick)
- Needle
- Thread
- Rocket Template
Tip: if some of the smaller pieces of this sewing project are too tricky, use fabric puffy paint to add details.
How to Sew a Felt Rocket
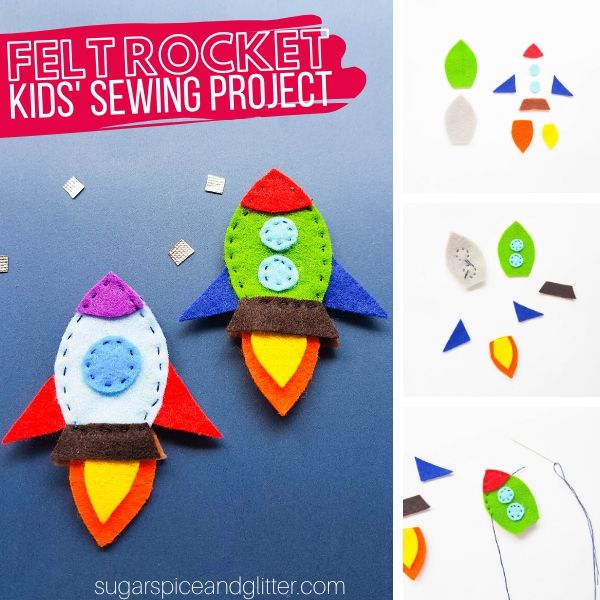
Select felt fabrics for the rocket craft.
Trace the template patterns onto freezer paper and iron onto the felt. (Or trace the template pattern directly on the felt if not using the freezer paper method.)
Use scissors to cut out the traced patterns.
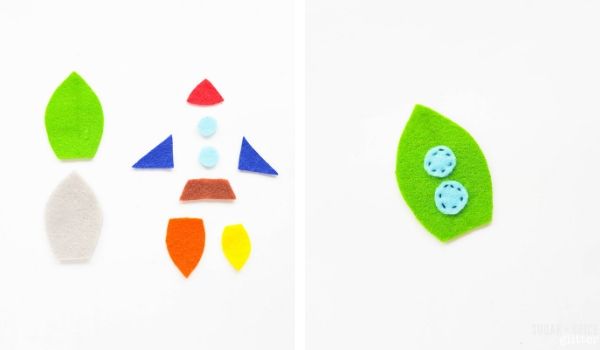
Grab the 2 circle cutouts and any one of the bullet pattern cutouts (the rocket base shape). Place the 2 circles on the rocket base and stitch around the sides to attach them. Do running stitches around the sides to attach the round felt cutouts with the rocket base. This is the front part of the rocket.
Grab the rest of the pattern cutouts. Place the small flame pattern on the big flame pattern. You can stitch the flame patterns together or keep them unstitched in this step.
Place the top corner part of the rocket and place it on the top corner of the front rocket base. Place the other rocket base under the front rocket base. Make sure that the sides of all pieces are levelled.
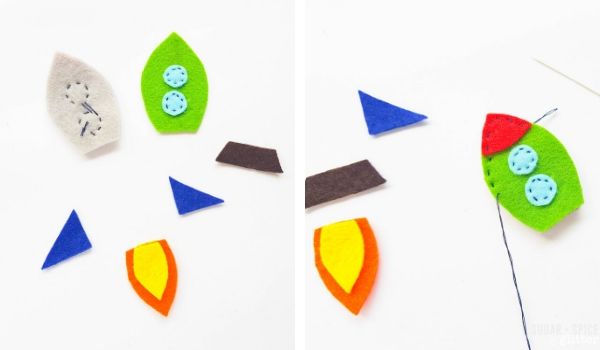
Start to stitch around the sides to attach the pieces together.
Do not stitch all the way towards the bottom side, stop stitching along the midway. Place the 2 side parts (the triangles) and the flame patterns between the rocket bases.
Flatten the rocket bases after placing the triangle and the flame patterns between the base layers. Now place the trapezium shaped pattern along the bottom side of the rocket base (above the flame).
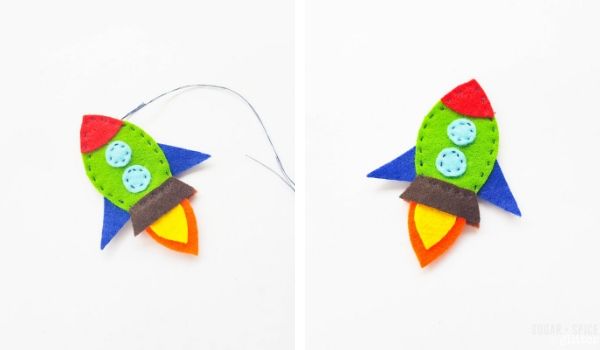
Continue to stitch along the side to attach all felt patterns together.
Once the stitching is complete, tie a knot and draw the needle between the rocket base layer. Draw the needle out again and then cut off extra thread.
Pin this Easy Sewing Project for Kids:

Grab your free printable instructions for our felt rocket sewing project and don’t forget to grab your free Rocket Template:
Want to Save This Recipe?
Enter your email & I'll send it to your inbox. Plus, get great new recipes from me every week!
By submitting this form, you consent to receive emails from Sugar, Spice and Glitter.
Felt Rocket Sewing Craft for Kids
A simple sewing project for kids to make felt rockets - use as finger puppets or make into ornaments!
Materials
- Felt
- Thread
- Rocket Template
Tools
- Pencil or fabric marker
- Scissors
- Freezer paper and iron (if using the freezer paper trick)
- Needle
Instructions
- Select felt fabrics for the rocket craft.
- Trace the template patterns onto freezer paper and iron onto the felt. (Or trace the template pattern directly on the felt if not using the freezer paper method.)
- Use scissors to cut out the traced patterns.
- Grab the 2 circle cutouts and any one of the bullet pattern cutouts (the rocket base shape). Place the 2 circles on the rocket base and stitch around the sides to attach them. Do running stitches around the sides to attach the round felt cutouts with the rocket base. This is the front part of the rocket.
- Grab the rest of the pattern cutouts. Place the small flame pattern on the big flame pattern. You can stitch the flame patterns together or keep them unstitched in this step.
- Place the top corner part of the rocket and place it on the top corner of the front rocket base. Place the other rocket base under the front rocket base. Make sure that the sides of all pieces are levelled.
- Start to stitch around the sides to attach the pieces together.
- Do not stitch all the way towards the bottom side, stop stitching along the midway. Place the 2 side parts (the triangles) and the flame patterns between the rocket bases.
- Flatten the rocket bases after placing the triangle and the flame patterns between the base layers. Now place the trapezium shaped pattern along the bottom side of the rocket base (above the flame).
- Continue to stitch along the side to attach all felt patterns together.
- Once the stitching is complete, tie a knot and draw the needle between the rocket base layer. Draw the needle out again and then cut off extra thread.
Recommended Products
As an Amazon Associate and member of other affiliate programs, I earn from qualifying purchases.
-
 Reynolds Freezer Paper Plastic Coated 50 Sq Ft (3 Rolls)
 -
flic-flac 44PCS 4 x 4 inches (10 x10cm) Assorted Color Felt Fabric Sheets Patchwork Sewing DIY Craft 1mm Thick
-
Fabric Marker, Emooqi 24 Colors Textile Marker No Bleed Non Toxic Fabric Pen Permanent and Washable T-Shirt Marker,Ideal for Decorate T-shirts, Bibs, Textiles, Shoes, Handbags, Graduation Signatures


Sewing is such an essential life skill that your kids will be so thankful for having learned! This simple rocket sewing project is a great way to get kids excited to learn how to sew.
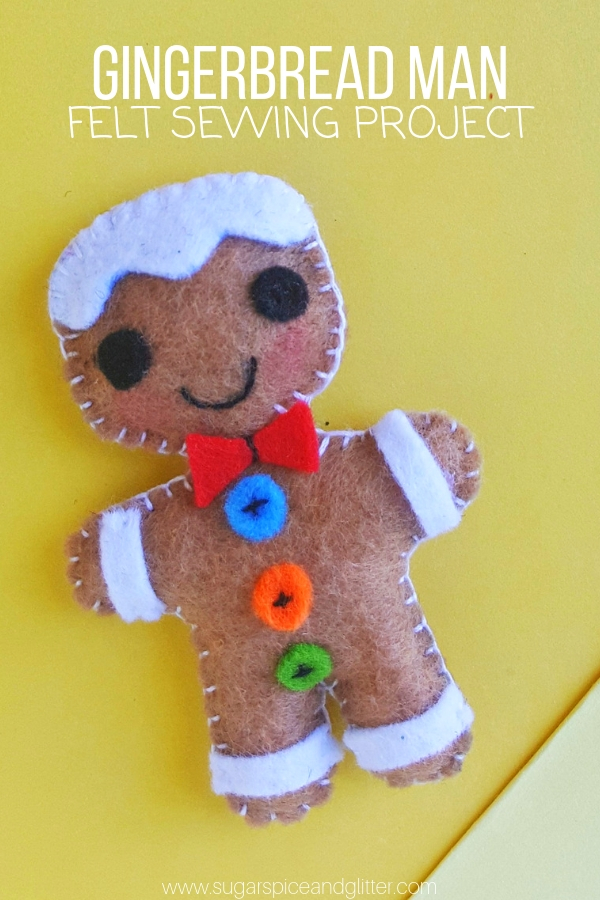
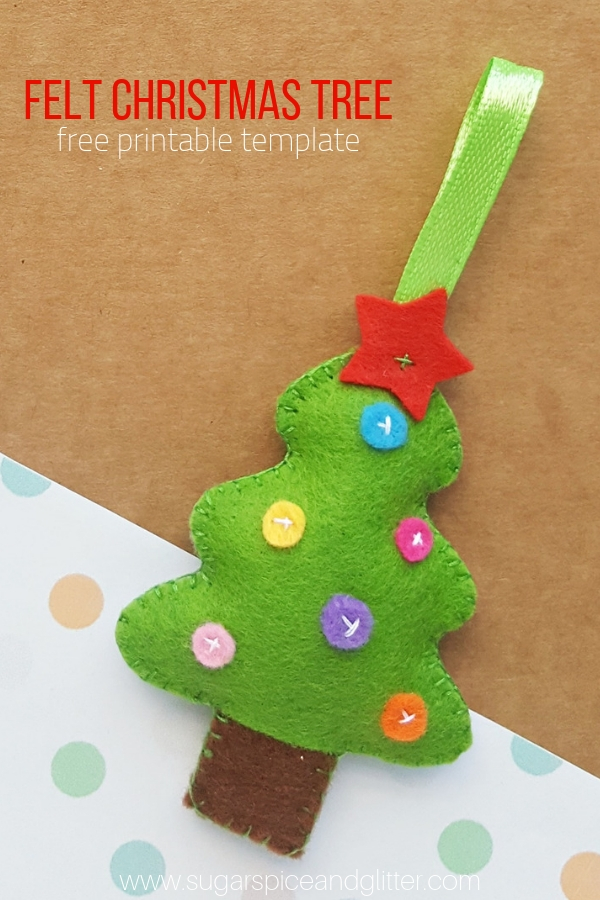
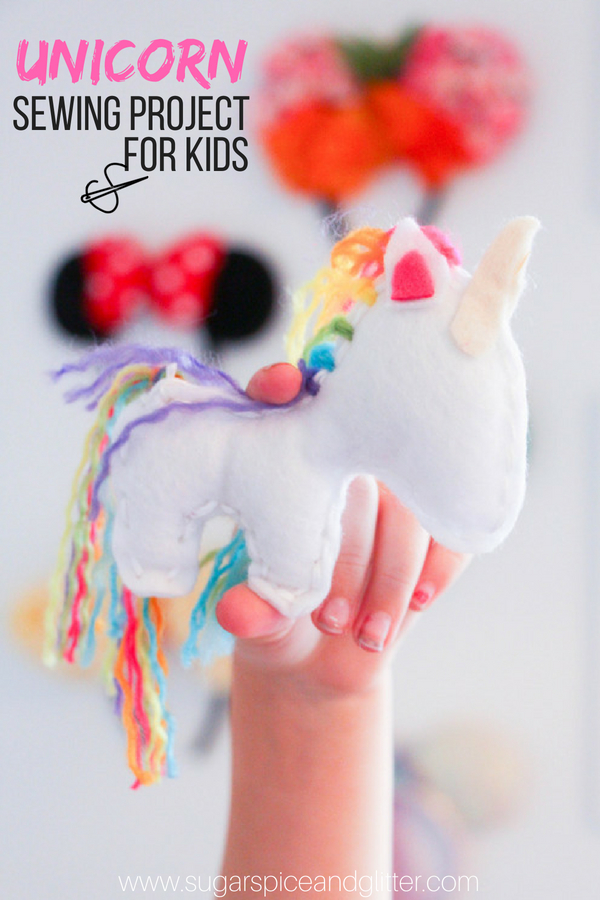
For more easy sewing projects for kids, check out:
")


")
")


")


One Comment