
Embroidered Trash Can Early Sewing Project
Welcome to Sugar, Spice & Glitter! Please note, this post may contain affiliate links. For more details, see our Full Disclosure.
This Embroidered Trash Can may seem like an odd project choice but it’s a great lacing project for kids to prepare them for sewing!
DIY Yarn Woven Waste Basket Project
This week’s Virtual Book Club for Kids selection is Trashy Town by Andrea Zimmerman. We unfortunately didn’t receive our copy of the book yet, so I can’t share any opinions on the book – but I do trust that it must be good since it was recommended by my co-hosts.
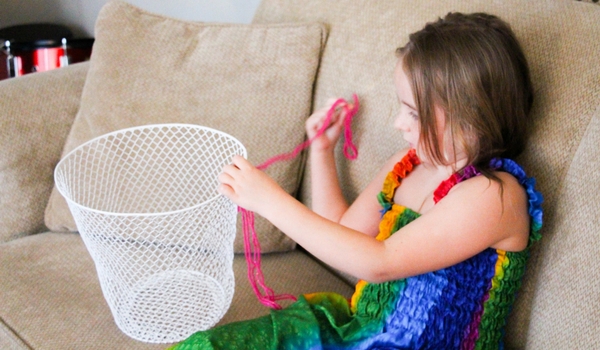
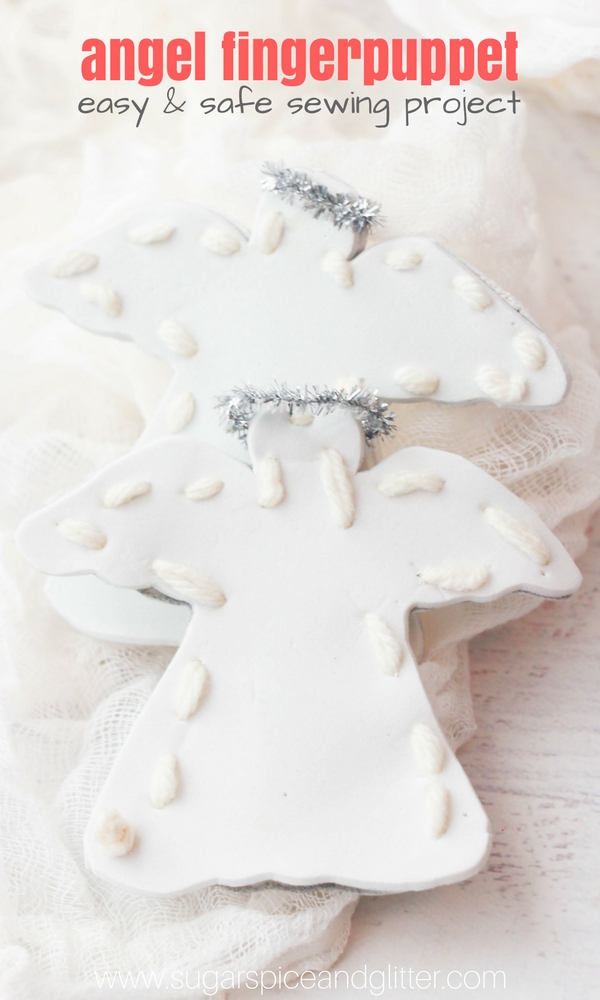
My daughter has become really interested in sewing lately, so we’ve been trying a few simple first sewing projects – like our Angel Finger Puppet sewing project.
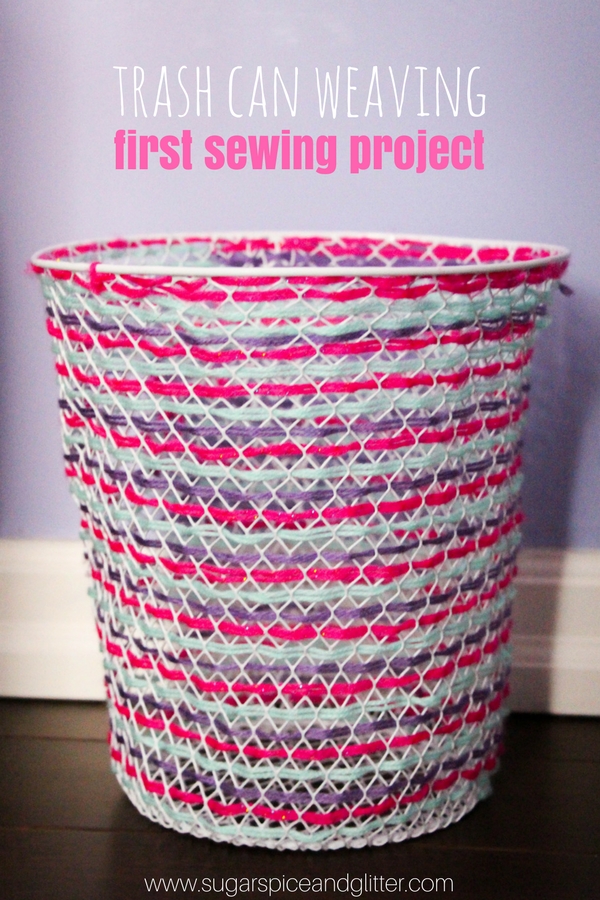
We use these Dollar Tree trash bins all over the house – for recycling organization, to coral all of Ella’s wands and light sabres, for my rolled-up photography backgrounds, and of course – for non-messy trash collection. They are perfect for organizing, but a little bit plain – but their natural mesh pattern makes them perfect for an easy threading project!
We used scraps of yarn from previous projects to jazz up Ella’s trashcan that sits near her art table in her bedroom. Nothing messy ever goes in it – mostly just paper scraps and things of that nature – so there is no risk of the wool getting gross.
You could also add in beads – or instead of weaving straight lines you could make a pattern or design with the yarn. Ella requested that we do a heart shape on the next garbage can we embroider. I guess we’ll have a house full of pretty trashcans pretty soon!
This craft took just over an hour for my new-to-sewing 6 year old to do, but could be a project that your child comes back to throughout the week. A smaller pattern would take less time. I helped with tying off the ends to add in new colors of yarn.
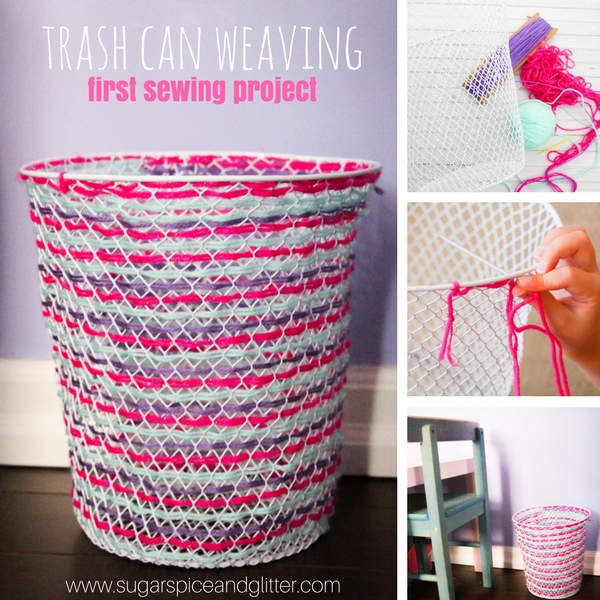
<composite square>
Materials Needed for Embroidered Trash Can
- Mesh trash can
- Scraps of wool
- Scissors
- Yarn needle
- Washable marker, optional
Tip: you can add beads or other embellishments to your threading project to jazz it up if you like!
How to Turn a Trash Can into a Kid’s Sewing Project
Ensure that your trash can is completely clean and will be used only for non-messy trash collection.
Decide on your pattern – if simply making stripes as we did, no pattern needed. If making a pattern, use a washable or whiteboard marker to outline your design on the trash can.
To determine the length of yarn needed for each stripe, wrap the yarn around the trash can and then double it and then add a bit more for tying off. (For patterns, you can estimate the amount needed by outlining the design with your yarn and then doing the same – double plus a bit more.)
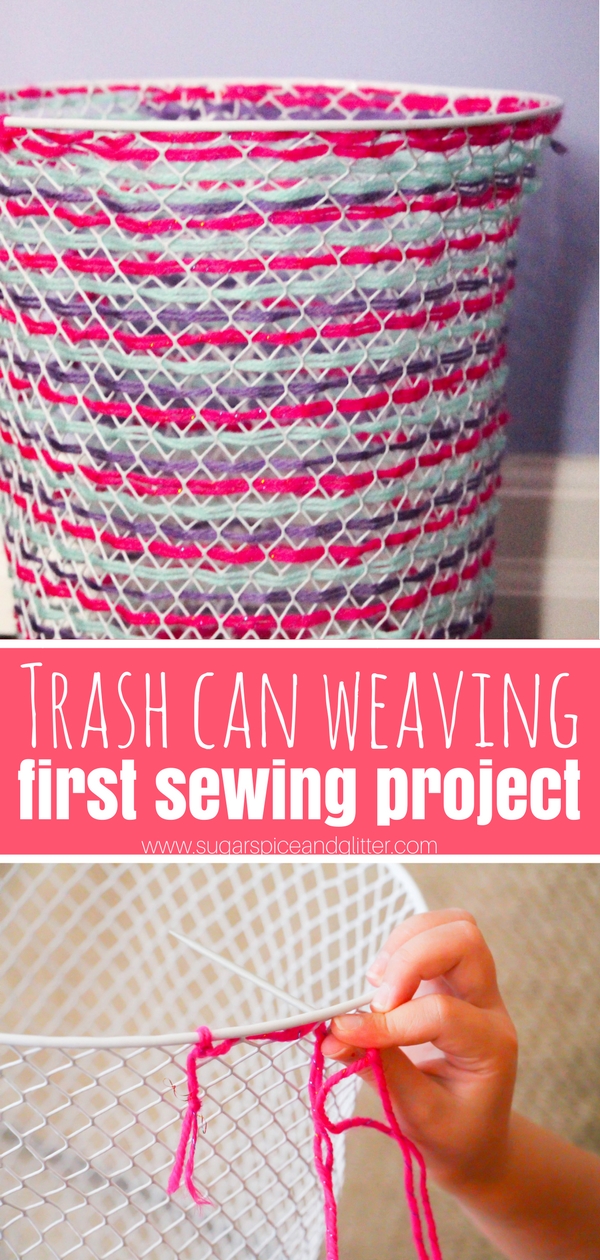
Thread the yarn needle so that it is in the middle of the length of yarn.
Tie the ends of the yarn securely to the basket using a double knot.
Thread the yarn, as desired, in and out of the natural basket weave.
When you have about 2-3″ left on the yarn, cut the yarn near the yarn needle (being careful not to cut the needle loop), and then repeat the threading process with another color of yarn.
Tie the ends of the next color of yarn to the ends of the previous color using a double knot, and continue threading.
When you are done your pattern, you can tie the ends to the basket, or weave the yarn back and forth several times to secure.
Pin this First Sewing Project Idea to Weave Your Own Waste Basket:
Grab your free printable for our Woven Trash Can Sewing Project:
Want to Save This Recipe?
Enter your email & I'll send it to your inbox. Plus, get great new recipes from me every week!
By submitting this form, you consent to receive emails from Sugar, Spice and Glitter.
Embroidered Trash Can
Ingredients
- Mesh trash can
- Scraps of wool
- Scissors
- Yarn needle
- Washable marker, optional
Instructions
- Ensure that your trash can is completely clean and will be used only for non-messy trash collection.
- Decide on your pattern - if simply making stripes as we did, no pattern needed. If making a pattern, use a washable or whiteboard marker to outline your design on the trash can.
- To determine the length of yarn needed for each stripe, wrap the yarn around the trash can and then double it and then add a bit more for tying off. (For patterns, you can estimate the amount needed by outlining the design with your yarn and then doing the same - double plus a bit more.)
- Thread the yarn needle so that it is in the middle of the length of yarn.
- Tie the ends of the yarn securely to the basket using a double knot.
- Thread the yarn, as desired, in and out of the natural basket weave.
- When you have about 2-3" left on the yarn, cut the yarn near the yarn needle (being careful not to cut the needle loop), and then repeat the threading process with another color of yarn.
- Tie the ends of the next color of yarn to the ends of the previous color using a double knot, and continue threading.
- When you are done your pattern, you can tie the ends to the basket, or weave the yarn back and forth several times to secure.

Check out the other Community Helper’s Activities from my fellow Virtual Book Club for Kids co-hosts:
Community Helpers Number’s Game – Inspiration Labratories
Community Helper Letter Sounds Activity – Rainy Day Mum
Wheels on the School Bus STEM Activity – JDaniel4’s Mom
Poetry Activity – My Storytime Corner
How Can I Be a Community Helper? Simple Ways Kids Can Help Communities – Mama Smiles
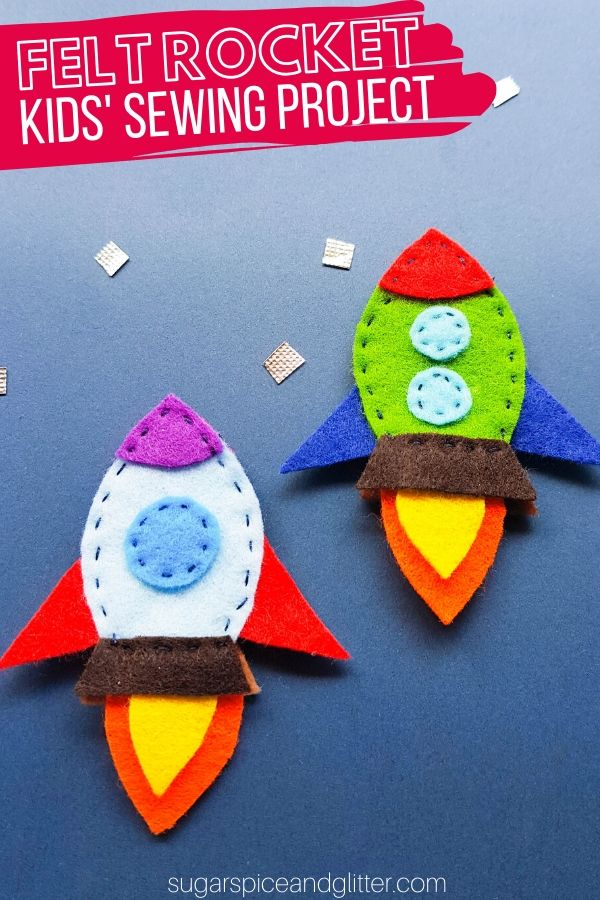
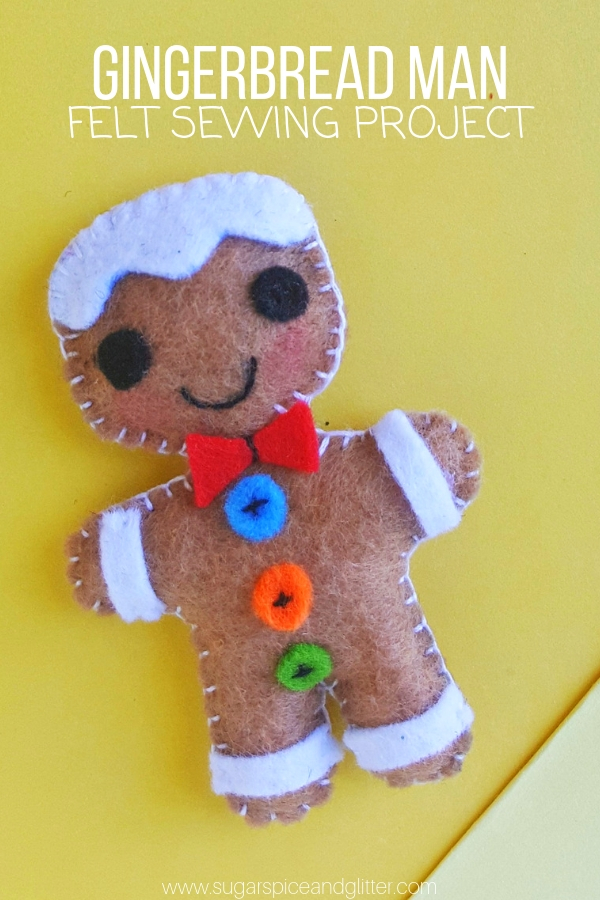
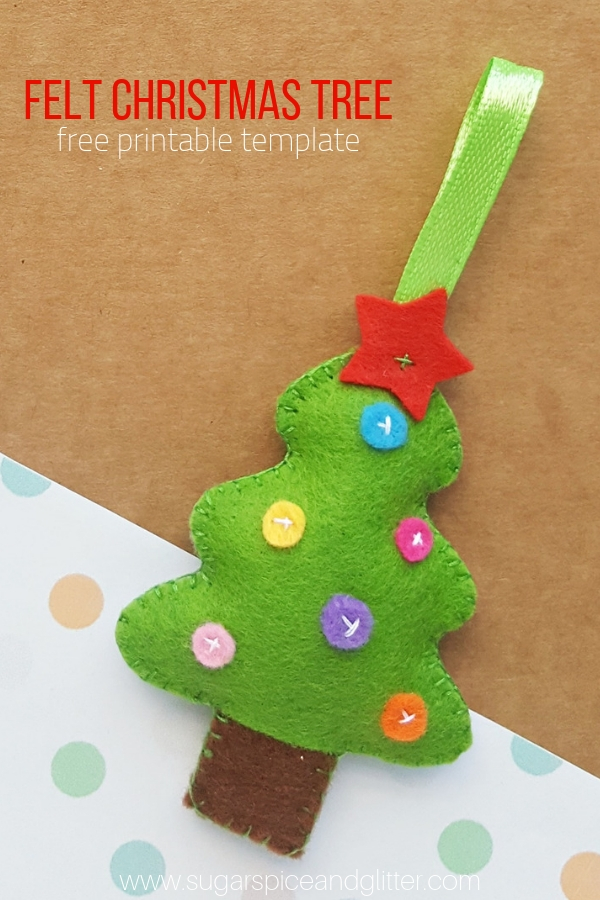
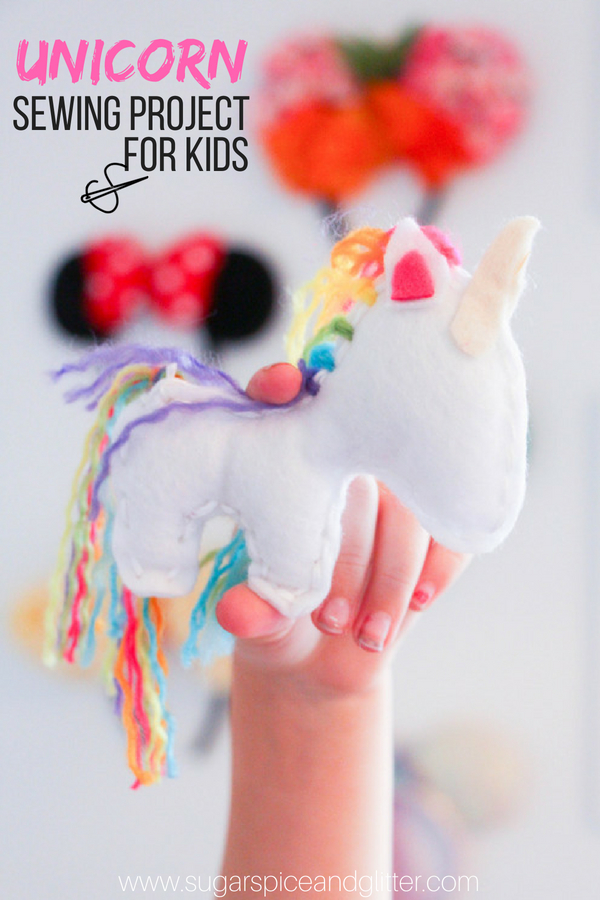
For more easy sewing projects for kids, check out:
")


")
")


")


So fun! We did this with our kids and it made them actually excited to use and empty their garbage cans. No more trash on their floors!!!!
Sounds like a win in my books!
Such a cute and creative idea! I love how it combines sewing practice with functional decor—perfect project for kids learning fine motor skills.
Thanks, I hope your kids love this project – appreciate your kind words!
I especially like that you reused scraps of yarn from other projects—it’s both eco-friendly and inspiring. Thanks for sharing such a clever and approachable project! Clashdle
What a smart way to turn a plain mesh bin into a colorful stitching project that keeps little hands busy and leaves behind a piece they’ll be proud to use every day!