
Felt Unicorn Sewing Project
Welcome to Sugar, Spice & Glitter! Please note, this post may contain affiliate links. For more details, see our Full Disclosure.
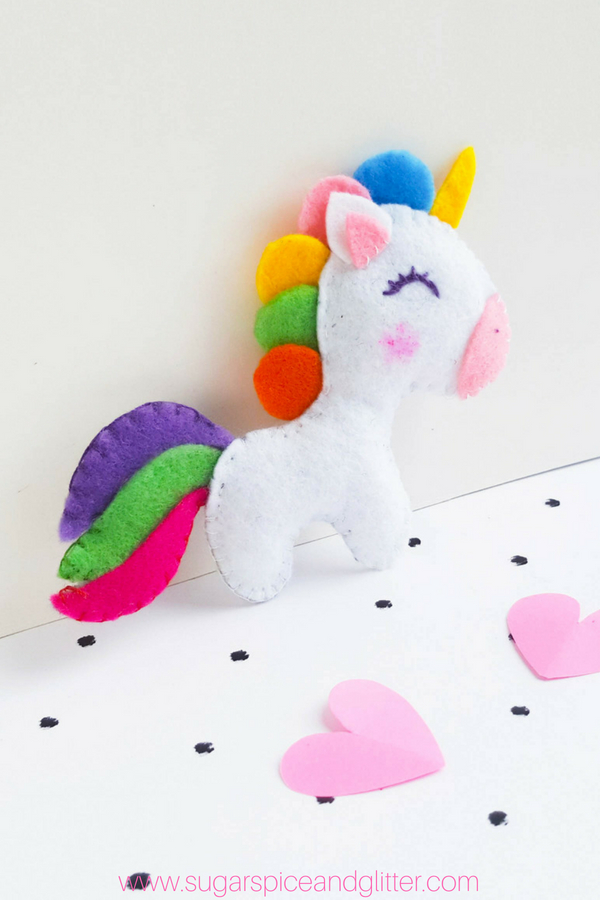
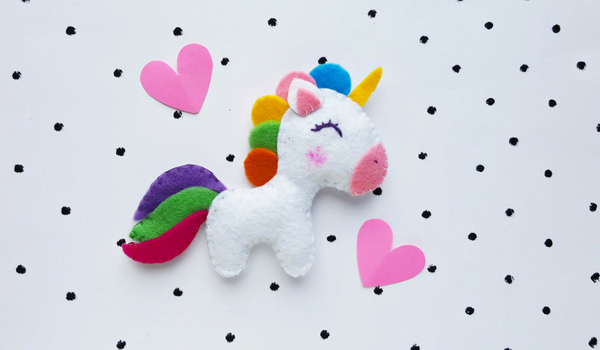
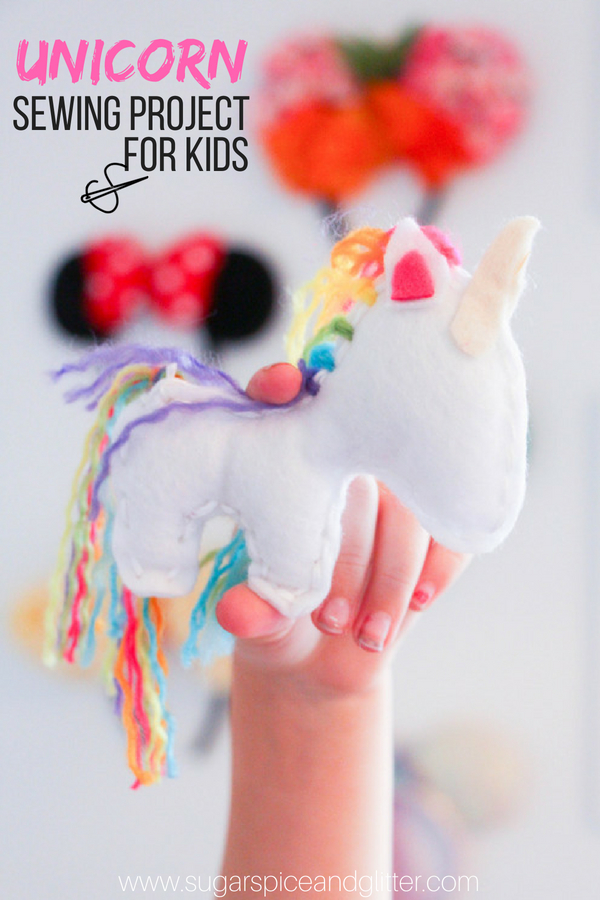
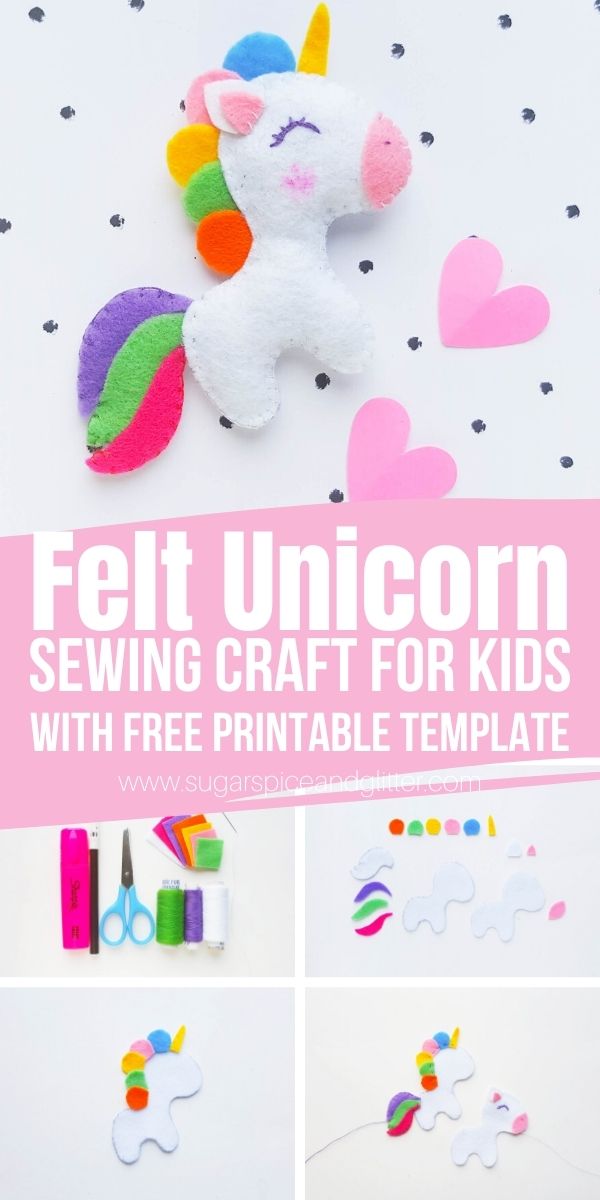
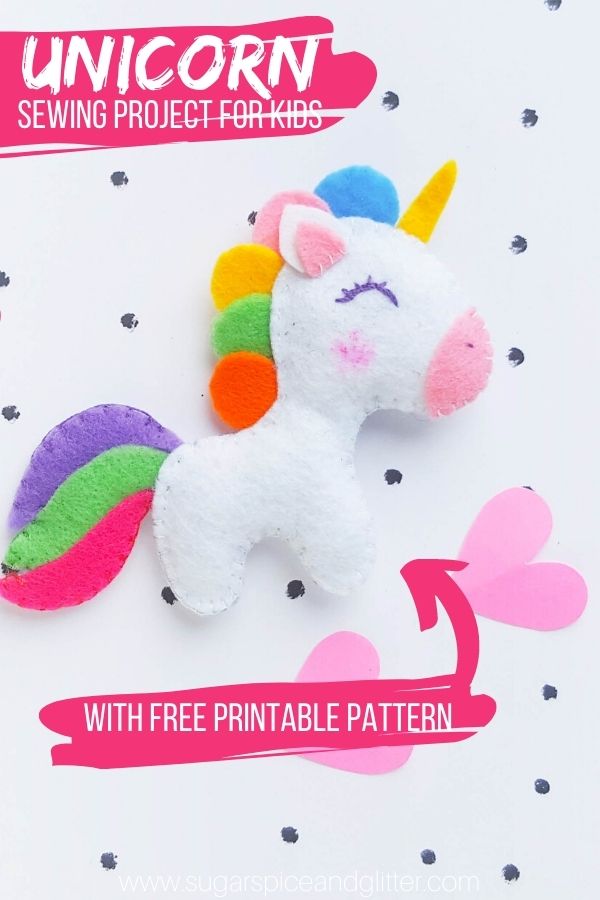
An easier take on our DIY Unicorn Sewing Project for Kids, this Simple Unicorn Felt Sewing Project is a quick and easy sewing craft for beginners.

Unicorn Sewing Craft for Kids
My daughter has become so fascinated with sewing, she’s finishing a new project every week!
Last week she made a unicorn stuffie with a pretty rainbow yarn mane and tail and wanted to make another unicorn for her BFF… but we both agreed to try something a bit simpler than the yarn mane. Instead, we opted for a felt mane and tail that ended up being faster and a little less tricky.
This DIY felt unicorn also features drawn-on features (the cute blush and eyelash) which is a great hack for beginning sewers who may find detail work like unicorn eyelashes a little daunting.
This unicorn felt sewing project was straightforward and simple enough for Ella to complete independently (at almost seven years old), and it would be a great DIY craft kit for a gift or party favor (just be sure to pop in the printable craft instructions located at the bottom of this post).
I included our printable sewing pattern so that you can be confident in your felt shapes. You can also use this same unicorn sewing pattern to make a felt horse, if your child is more interested in horses than unicorns. Feel free to make the printable larger for a larger stuffie (by altering your printer settings) – we just went for pocket sized.
Also, I highly recommend either a blunt sewing needle for this craft. It easily pokes through the felt without posing a risk of poking/stabbing your child’s fingers. Alternatively, you can poke holes along the edge of the unicorn shape and provide a yarn needle for them, but a blunt sewing needle is a good (cheap) investment if your child is interested in learning how to sew.
Check out our quick video to see how to make your unicorn craft (this one involves a yarn mane and tail but the other steps are similar) – and then don’t forget to scroll down to grab your free printable unicorn template:
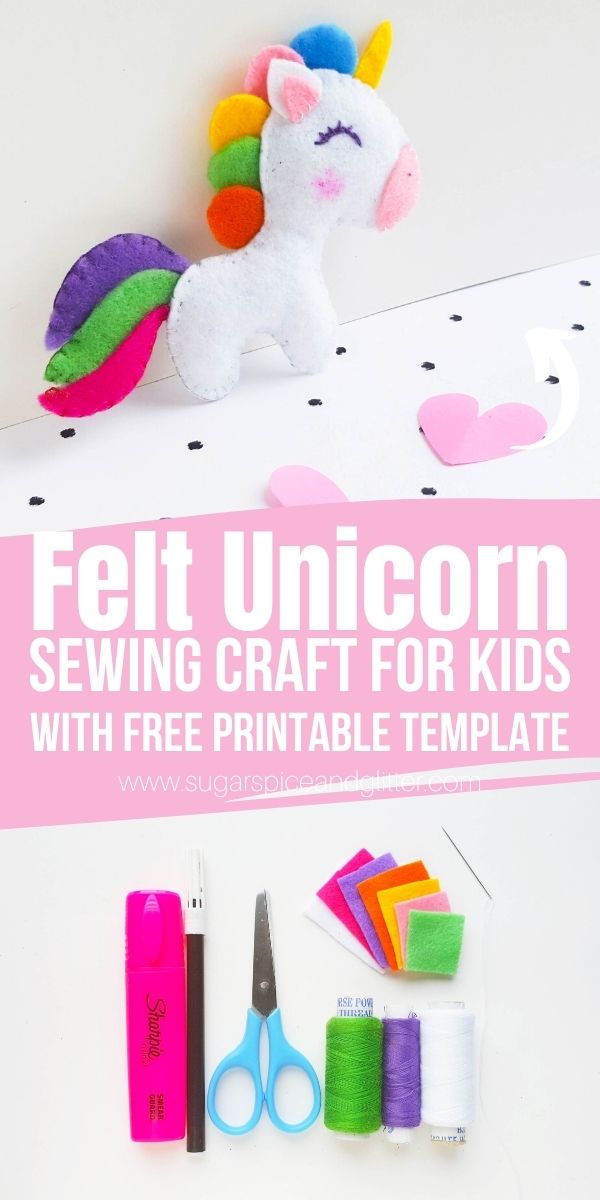
Materials for Unicorn Felt Sewing Project
- Felt
- Fabric markers<– pink and black
- Scissors
- Freezer paper and iron (if using the freezer paper trick)
- Matching threads
- Blunt sewing Needle
- Felt glue, optional
- Unicorn Plush Template
Tip: if you’re not completely confident in your ability to sew in the mane or other details, feel free to add a dab of felt glue.
Whenever we need to cut out intricate shapes from felt, I always grab some freezer paper and use the freezer paper trick to cut out our felt shapes, but good-quality felt and a sharp pair of scissors also makes all the difference.

How to Make a Felt Unicorn
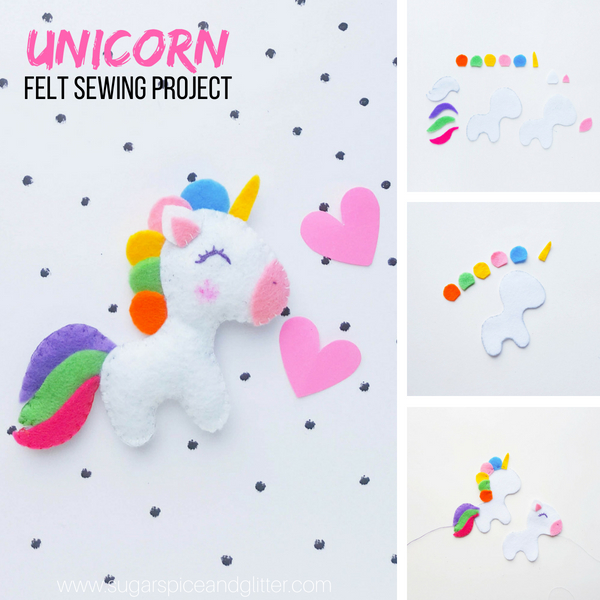
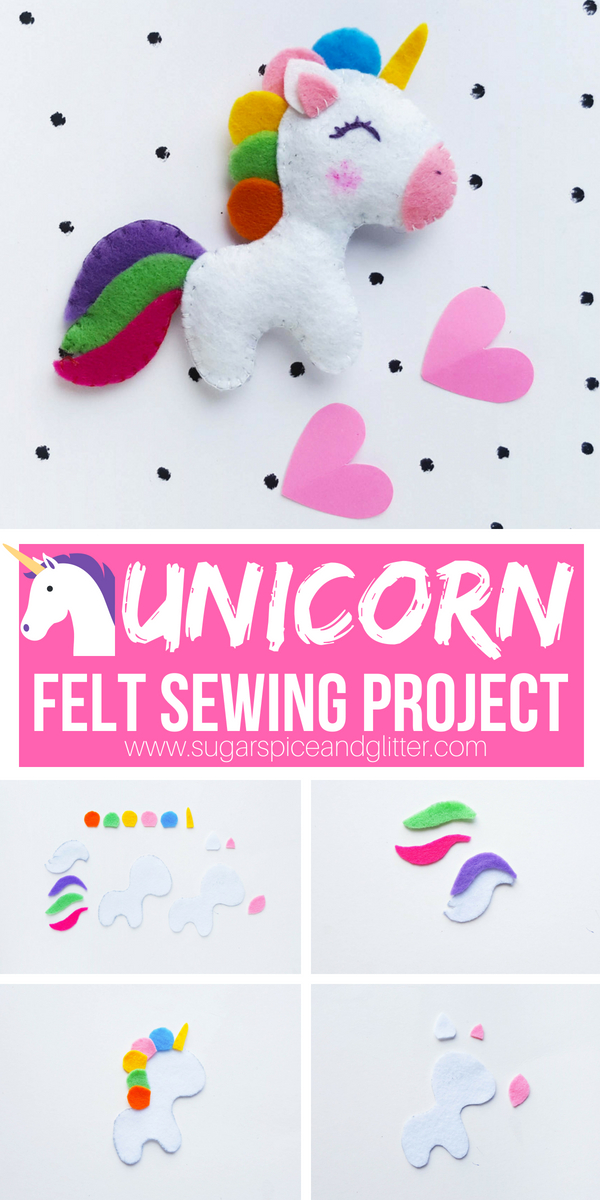
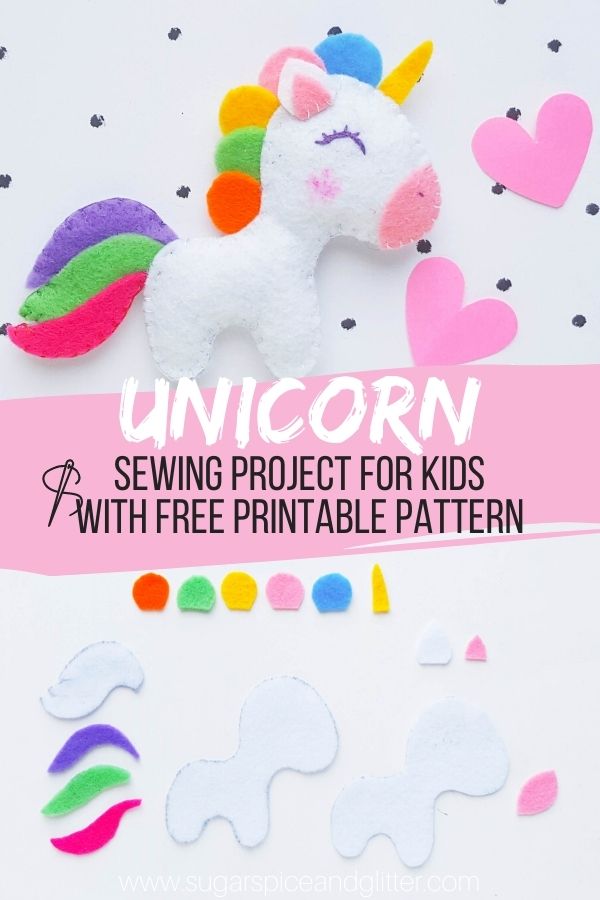
Prepare the patterns from the template by printing and cutting them out. Select the felt fabrics and trace the patterns on them. Use scissors to cut out the patterns neatly (and you may want to iron on some freezer paper to help with the cutting, as explained in this post).
Let’s start with the tail part. The large piece is the base of the tail and the 3 small pieces are 3 different parts of the tail.
Place the 3 individual parts of the tail on the base one by one.
The cut outs should be done neatly; in that case the 3 individual parts of tail will match with the base nicely.

Now take any one of the body parts (this will be the back side of the body), the 5 scallop patterns (the hair of the unicorn) and the horn.
Place the horn and the scallop patterns (hair) on the upper side of the body part, starting from placing the horn on the forehead of the body part; and then placing the hair patterns.
Place all 5 hair patterns one by one, making sure to overlap a small part of the horn and the hair patterns’ bottom part with the body part.
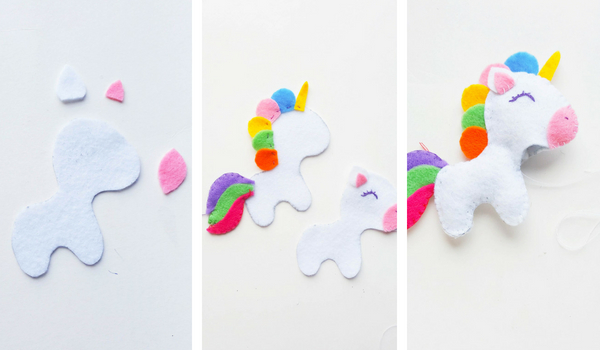
Now take the other part of the body (this will be the front part of the body), the 2 parts of the horn and the semi circular part (the mouth part of the unicorn).

Take the outer ear pattern and make a small slit on its bottom part.
Overlap the sides of the slit and stitch them together.
Place the outer part of the ear on its place (on the body part) and place the inner part of the ear on it. Place the semi circular part on the front side of the head pattern of the unicorn.
You can either use fabric glue to attach the parts prepared in the previous steps or work simple running stitch over the parts to attach them together.
Attach the tail at the back side of the back body part. Use black thread and needle to stitch the nose and the eye pattern of the unicorn on the front body part.
Place the front part of the body on the back part of the body; make sure to match all sides of both body parts. Start to stitch from the front side of the body and carefully stitch along the sides.
Stop stitching once you cross the tail. Take the leftover felt fabrics from this project and use scissors to cut them into small pieces. We’ll be using these small felt cut outs for the stuffing of the unicorn plush.
Stuff the plush with the felt cut outs and close the open ends once you’re done stuffing.
After stitching the closed end tie 2 tight knots and cut off extra thread. You may use a pink highlighter to draw blush on the cheek of the unicorn.
Pin this Easy Felt Unicorn Sewing Craft:
Grab your free printable instructions for our felt unicorn sewing craft:
Want to Save This Recipe?
Enter your email & I'll send it to your inbox. Plus, get great new recipes from me every week!
By submitting this form, you consent to receive emails from Sugar, Spice and Glitter.
Felt Unicorn Sewing Project
An easy sewing project for kids, this Felt Unicorn makes a cute homemade stuffie or kid-made gift for a unicorn fan.
Materials
- Fabric markers<-- pink and black
- Matching threads
- Felt glue, optional
- Unicorn Plush Template
Tools
- Blunt sewing Needle
- Scissors
- Freezer paper and iron (if using the freezer paper trick)
Instructions
- Print and cut out your template. Select the felt fabrics and trace the patterns on them. Use scissors to cut out the patterns neatly.
- Let’s start with the tail part. The large piece is the base of the tail and the 3 small pieces are 3 different parts of the tail.
- Place the 3 individual parts of the tail on the base one by one.
- The cut outs should be done neatly so the 3 individual parts of tail will match with the base nicely.
- Now take any one of the body parts (this will be the back side of the body), the 5 scallop patterns (the hair of the unicorn) and the horn.
- Place the horn and the scallop patterns (hair) on the upper side of the body part, starting from placing the horn on the forehead of the body part; and then placing the hair pieces.
- Place all 5 hair patterns one by one, making sure to overlap a small part of the horn and the hair patterns’ bottom part with the body part.
- Now take the other part of the body (this will be the front part of the body), the 2 parts of the horn and the semi circular part (the mouth/muzzle part of the unicorn).
- Take the outer ear pattern and make a small slit on its bottom part.
- Overlap the sides of the slit and stitch them together, creating a curved ear.
- Place the outer part of the ear on its place (on the body part) and place the inner part of the ear on it. Place the semi circular part on the front side of the head pattern of the unicorn.
- You can either use fabric glue to attach the parts prepared in the previous steps or work simple running stitch over the parts to attach them together. Attach the tail at the back side of the back body part. Use black thread and needle to stitch the nose and the eye pattern of the unicorn on the front body part.
- Place the front part of the body on the back part of the body; make sure to match all sides of both body parts. Start to stitch from the front side of the body and carefully stitch along the sides.
- Stop stitching once you cross the tail. Take the leftover felt fabrics from this project and use scissors to cut them into small pieces. We’ll be using these small felt cut outs for the stuffing of the unicorn plush.
- Stuff the plush with the felt cut outs and close the open ends once you’re done stuffing.
- After stitching the closed end tie 2 tight knots and cut off extra thread. You may use a pink highlighter to draw blush on the cheek of the unicorn.
Recommended Products
As an Amazon Associate and member of other affiliate programs, I earn from qualifying purchases.
-
 Large Eye Blunt Needles, 15 Pcs Stainless Steel Yarn Knitting Needles, Extra Large-Eye Yarn Sewing Needles, Knitting Darning Needles with Clear Bottle, Suitable for Crochet Projects, Silver
 -
Reynolds Freezer Paper Plastic Coated 50 Sq Ft (3 Rolls)
-
flic-flac 44PCS 4 x 4 inches (10 x10cm) Assorted Color Felt Fabric Sheets Patchwork Sewing DIY Craft 1mm Thick


My daughter had so much fun sewing this craft for her BFF and I have to admit, it turned out super cute!
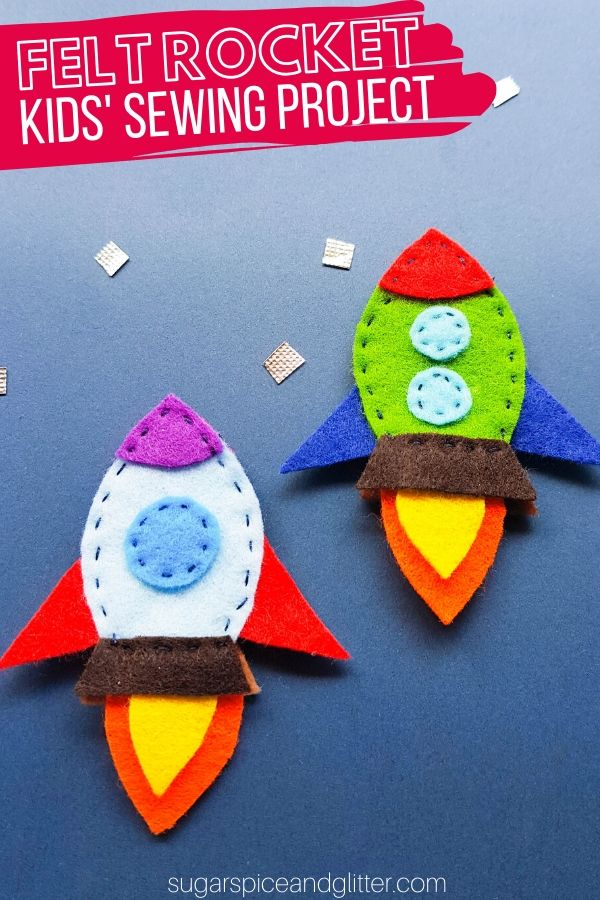
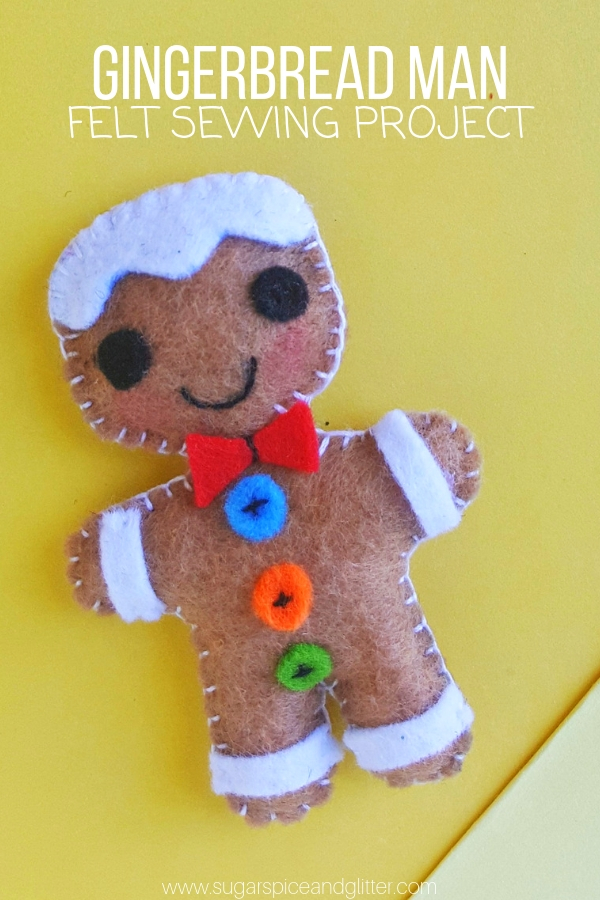
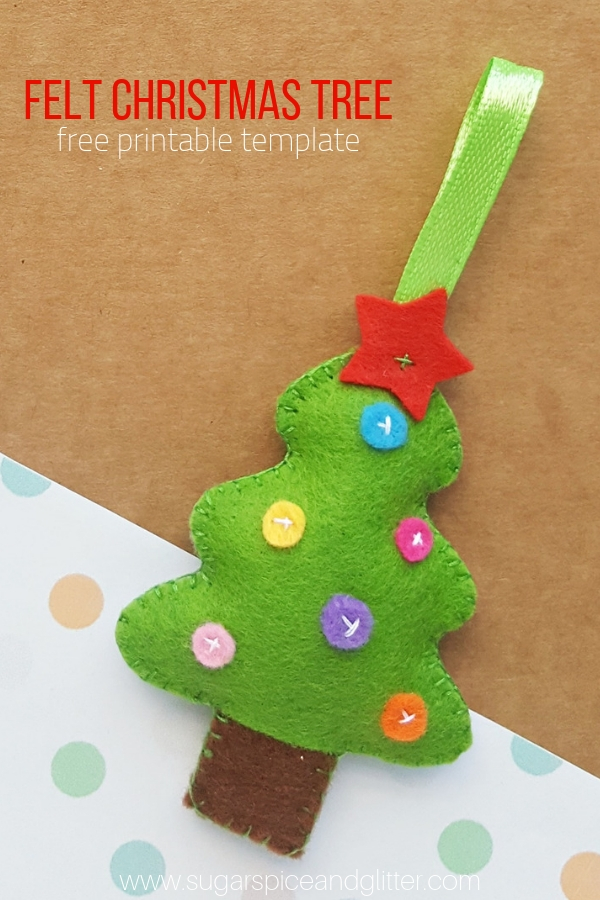
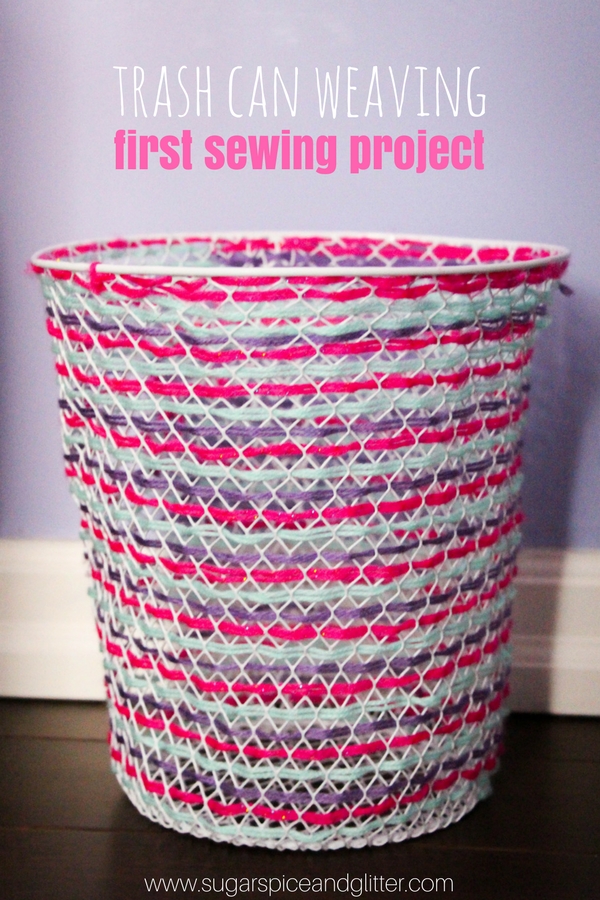
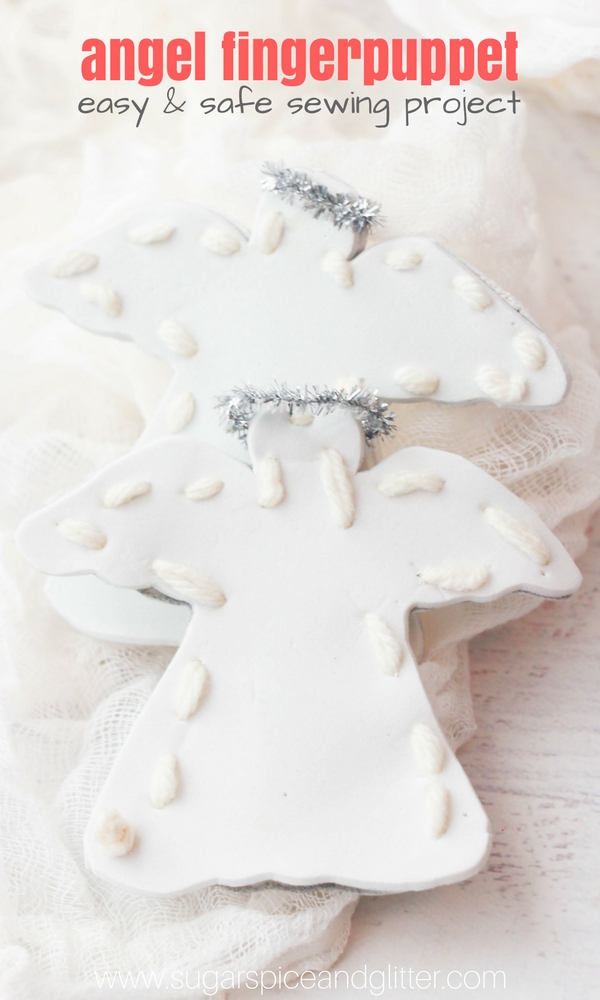
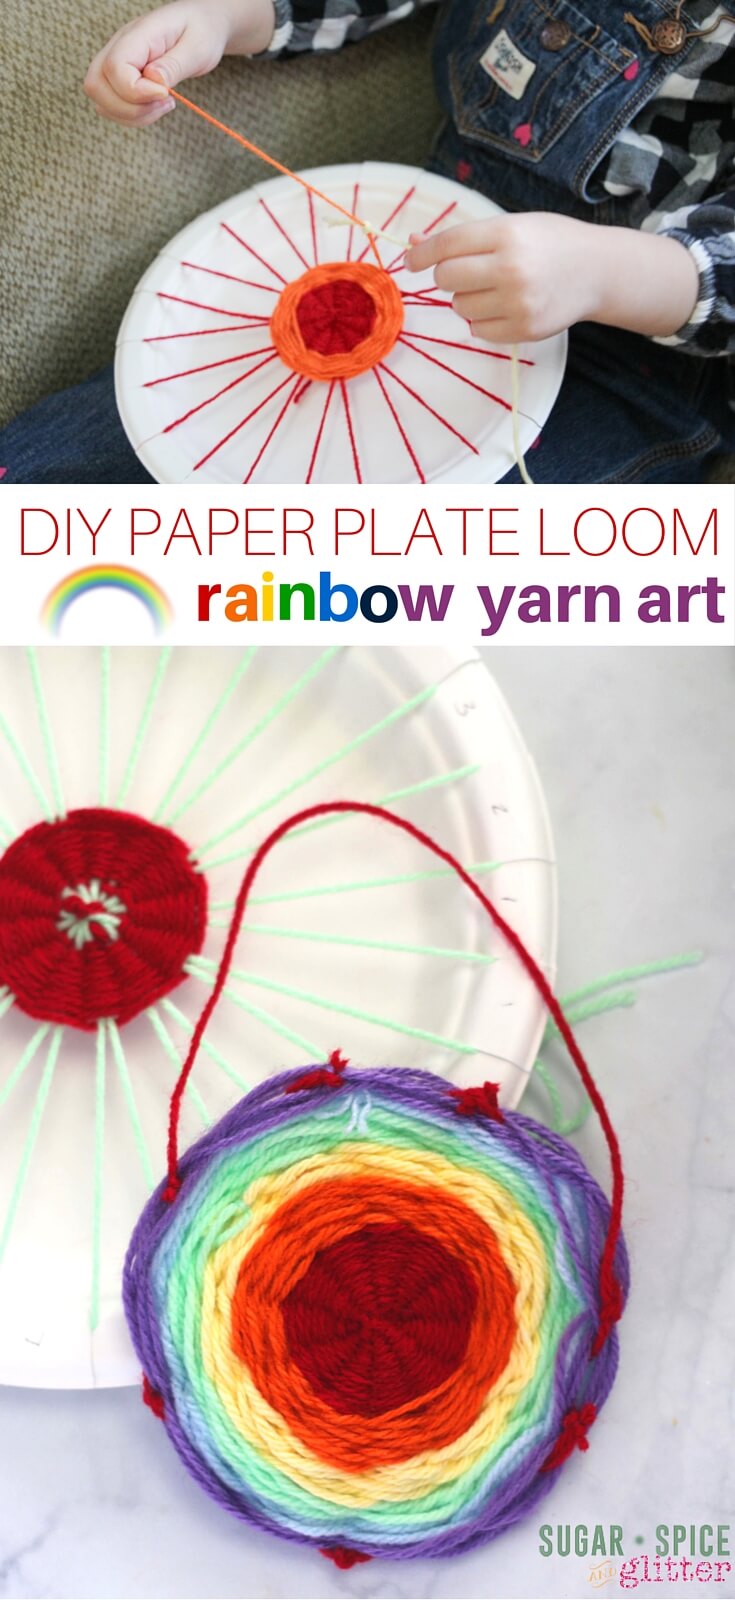
For more easy sewing projects for kids, check out:
")


")
")


")


VRAIMENT JOLIE
Can’t find the patterns
Hi Roberto, It’s linked in the materials section of the blog post but here is the direct link: https://sugarspiceandglitter.com/wp-content/uploads/2018/06/Unicorn-Plush-Template.pdf
I made this for a 8 year old girl who loves unicorns.
Oh that’s so sweet to hear! I hope she loved it!
on the upper side of the body part, starting from placing the horn on the forehead of the body part; and then placing the hair patterns.
Thanks for stopping by!