Sally Dawn Stuffie Sewing Project for Kids (with Video)
Welcome to Sugar, Spice & Glitter! Please note, this post may contain affiliate links. For more details, see our Full Disclosure.


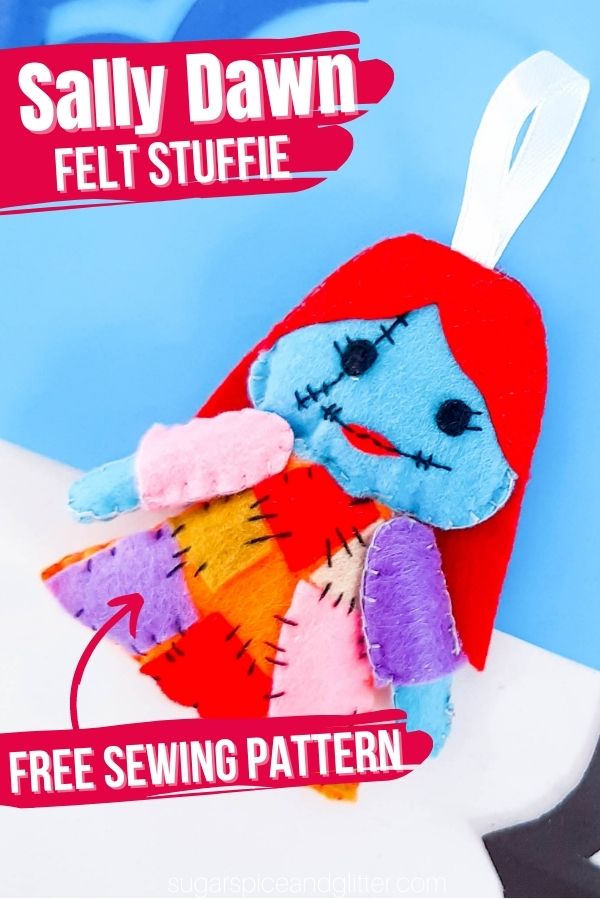
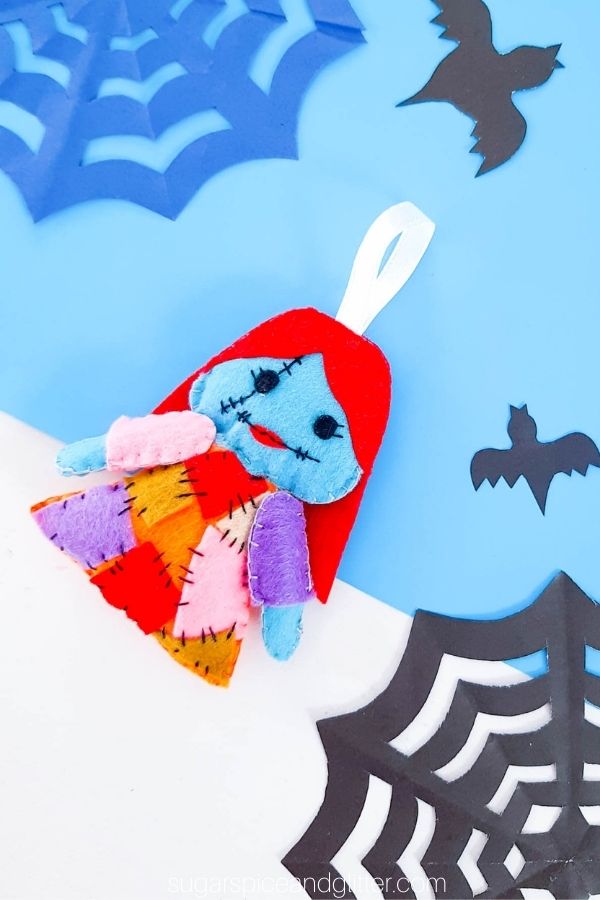
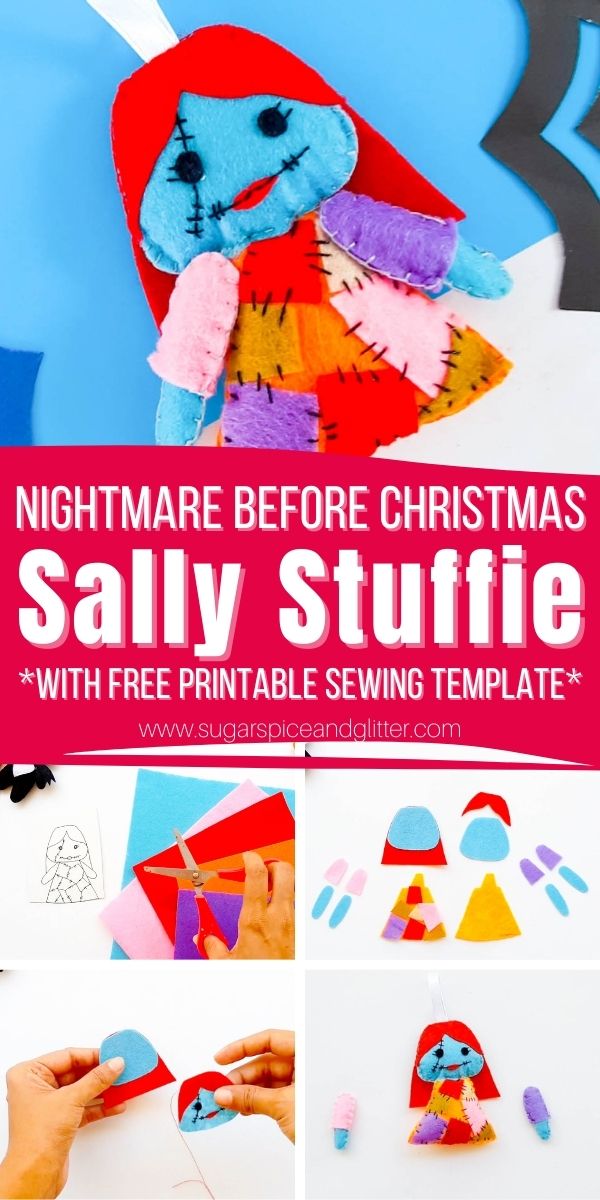
A fun Halloween sewing project for kids, today we have a free sewing pattern for Sally from Nightmare Before Christmas! Not only is she super easy to make, kids can actually show off their stitch work as part of the design.
Sewing Pattern: Sally from Nightmare Before Christmas
Do you have a Nightmare Before Christmas fan in your life?
This Sally Dawn Stuffie would be the perfect gift (or craft) to surprise them with! Whether you make it into a pocket pal, backpack charm or little ornament, this cutie is the perfect way to pay homage to the Frankenstein-esque character with her iconic patchwork dress and endearing stitches.
In our most recent stuffie crafts, daughter has taken to spritzing her cotton batting with a signature scent (usually rosewater) before using it, giving them a little, special touch. In the movie, Sally is stuffed with dead leaves which is not the most attractive scent, but at the end of the movie, Santa saves Christmas and brings along a pineapple upside down cake – I think a light spritz of a pineapple scent or pineapple extract would be a fun nod to the movie, or you could go with a classic Halloween or Christmas scent (pumpkin spice, gingerbread, etc).

Sewing Tips
Whenever we need to cut out intricate shapes from felt, I always grab some freezer paper and use the freezer paper trick to cut out our felt shapes, but good-quality felt and a sharp pair of scissors also makes all the difference.
Normally, I only publish sewing crafts that kids can make independently, but the stitching on Sally’s face may be a bit too tricky for some beginners. You might want to help out with this step, or opt for a good-quality, fine-tip fabric pen to draw on the stitches.
I kind of think that the beauty of this craft is that Sally is supposed to look roughly stitched together – so little imperfections actually add to this craft rather than detract from it.
To make this Nightmare Before Christmas stuffie craft, you just need to know how to do a basic whip stitch and a blanket stitch. (However, you can just use a whip stitch on the sides if the blanket stitch proves to be too tricky. The links above are to my friend Maggie’s channel and they are perfect for kids learning how to sew.)

More Nightmare Before Christmas Crafts and Recipes:
- Zero Stuffie Sewing Project
- Jack Skellington Sewing Project
- Jack Skellington Paper Ornaments
- Cricut Nightmare Before Christmas Coffee Cup
- Jack Skellington Sugar Cookies
- Nightmare Before Christmas Kitchen Gifts
- Jack Skellington Cupcakes
- Sally Dawn Candy Bars
- Jack Skellington Pull-Apart Cupcake Cake from my friend Stacey over at the Soccer Mom Blog
- NBC Sally Sugar Cookies from my friend Jana over at Whiskey and Sunshine
Be sure to check out our quick video on how to make your own Sally Felt Stuffie, and then don’t forget to scroll down to grab your free printable sewing pattern and instructions:

Sally Nightmare Before Christmas Stuffie Materials
- Felt: Yellow, Teal, Purple, Pink, White and Red
- Pencil or fabric marker
- Black Thread
- Cotton Batting/Stuffing
- Ribbon
- Scissors
- Freezer paper and iron (if using the freezer paper trick)
- Needle
- Hot Glue Gun, optional
- Sally Dawn Sewing Pattern
How to Make a Sally Dawn Stuffie
Print out the pattern and cut out individual shapes.

Trace the pattern pieces onto the indicated pieces of felt and cut out the felt shapes.

First, start with Sally’s facial features. Sew on her eyes and mouth to one teal head piece, then use black thread to create her stitch accents.

Lay the second head piece on top of the long red hair piece, then line the head piece with the facial features overtop and place the bang hair piece over top. Sew all 4 pieces together along the top half of the head – leaving the bottom unstitched. (If you want to make your Sally Stuffie into an ornament, insert a looped 4″-5″ length of ribbon in between the two head pieces before sewing together.)

Gently insert some cotton batting/stuffing into the head, then continue to sew around the head (being careful to just sew the head pieces together for the bottom sewing – and not sew through to the back hair piece) leaving a gap for where the neck piece will be inserted into the head. (Don’t close it completely yet.) Set head piece aside.

Sew one arm together, leaving a gap to stuff at the straight edge. Stuff and and then stitch to close up. Repeat with second arm.

Place on arm in between the pink sleeve pieces and sew together. Repeat with the purple sleeve on the other arm. Set aside.

Cut small bits of felt from your leftover felt to form the patchwork pattern on Sally’s dress. Arrange the scraps on the dress to form a design that you like, then sew down into the dress piece.

Line the patchwork front dress piece up with the back dress piece and sew together along the edges, leaving the base open for stuffing. Stuff the dress shape with cotton batting, then stitch the dress closed.

Insert the neck of the dress piece into the opening of Sally’s head and sew to attach and close up the gap.

Sew or use hot glue to attach Sally’s arms.
Pin this Unique Nightmare Before Christmas Sewing Project for your next fall crafting session:
Grab your free printable instructions for our Sally Stuffie craft – and don’t forget to grab your free printable sewing pattern here:
Want to Save This Recipe?
Enter your email & I'll send it to your inbox. Plus, get great new recipes from me every week!
By submitting this form, you consent to receive emails from Sugar, Spice and Glitter.
Sally Dawn Stuffie Sewing Project for Kids
A simple and straightforward tutorial for how to sew a Nightmare Before Christmas stuffie. This Sally Stuffie uses a free printable sewing pattern to make an adorable ornament, backpack charm or pocket pal perfect for the Disney craft lover in your life.
Materials
- Felt: Yellow, Teal, Purple, Pink, White and Red
- Black Thread
- Cotton Batting/Stuffing
- Ribbon
- Sally Dawn Sewing Pattern
Tools
- Pencil or fabric marker
- Scissors
- Freezer paper and iron (if using the freezer paper trick)
- Needle
- Hot Glue Gun, optional
Instructions
- Print out the pattern and cut out individual shapes.
- Trace the pattern pieces onto the indicated pieces of felt and cut out the felt shapes.
- First, start with Sally's facial features. Sew on her eyes and mouth to one teal head piece, then use black thread to create her stitch accents.
- Lay the second head piece on top of the long red hair piece, then line the head piece with the facial features overtop and place the bang hair piece over top. Sew all 4 pieces together along the top half of the head - leaving the bottom unstitched. (If you want to make your Sally Stuffie into an ornament, insert a looped 4"-5" length of ribbon in between the two head pieces before sewing together.)
- Gently insert some cotton batting/stuffing into the head, then continue to sew around the head (being careful to just sew the head pieces together for the bottom sewing - and not sew through to the back hair piece) leaving a gap for where the neck piece will be inserted into the head. (Don't close it completely yet.) Set head piece aside.
- Sew one arm together, leaving a gap to stuff at the straight edge. Stuff and and then stitch to close up. Repeat with second arm.
- Place on arm in between the pink sleeve pieces and sew together. Repeat with the purple sleeve on the other arm. Set aside.
- Cut small bits of felt from your leftover felt to form the patchwork pattern on Sally's dress. Arrange the scraps on the dress to form a design that you like, then sew down into the dress piece.
- Line the patchwork front dress piece up with the back dress piece and sew together along the edges, leaving the base open for stuffing. Stuff the dress shape with cotton batting, then stitch the dress closed.
- Insert the neck of the dress piece into the opening of Sally's head and sew to attach and close up the gap.
- Sew or use hot glue to attach Sally's arms.
Recommended Products
As an Amazon Associate and member of other affiliate programs, I earn from qualifying purchases.


I hope you or your kids love getting to make your own Sally stuffie – I’d love to hear how you used it and if you added any special touches to your creation!
Check out our full Disney craft collection here:

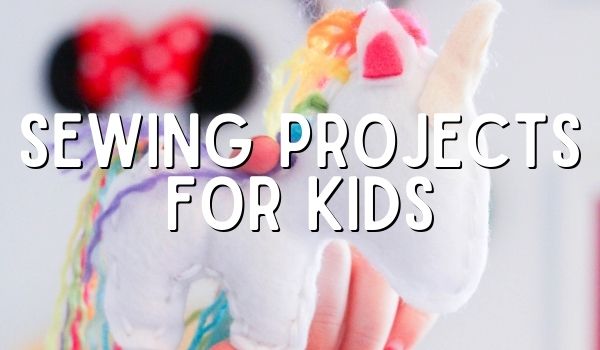
Check out our full Sewing Projects for Kids collection here:
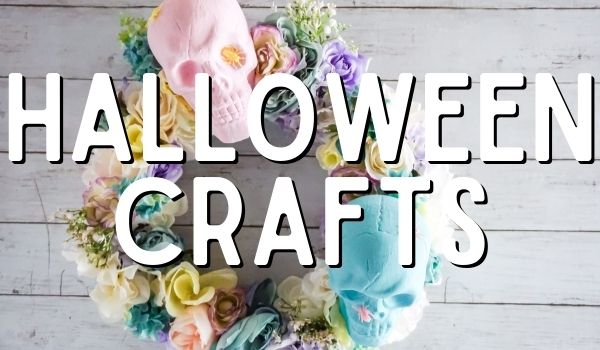
Check out our full collection of Halloween crafts here:
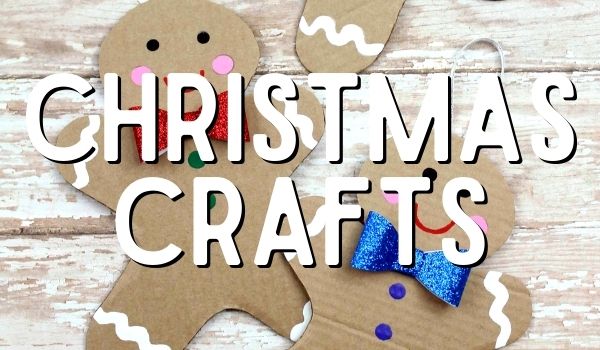
Check out our full Christmas Craft collection here: