
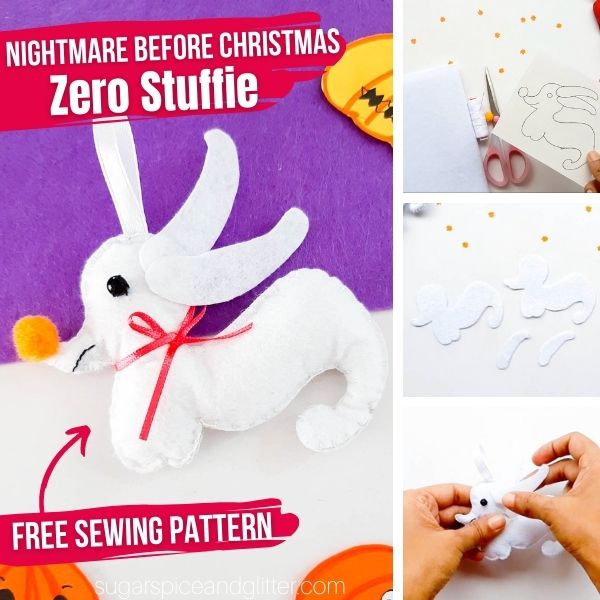
Nightmare Before Christmas Zero Sewing Project (with Video)
Welcome to Sugar, Spice & Glitter! Please note, this post may contain affiliate links. For more details, see our Full Disclosure.
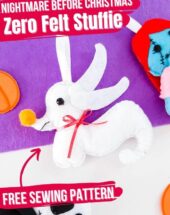
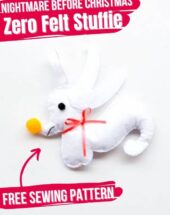
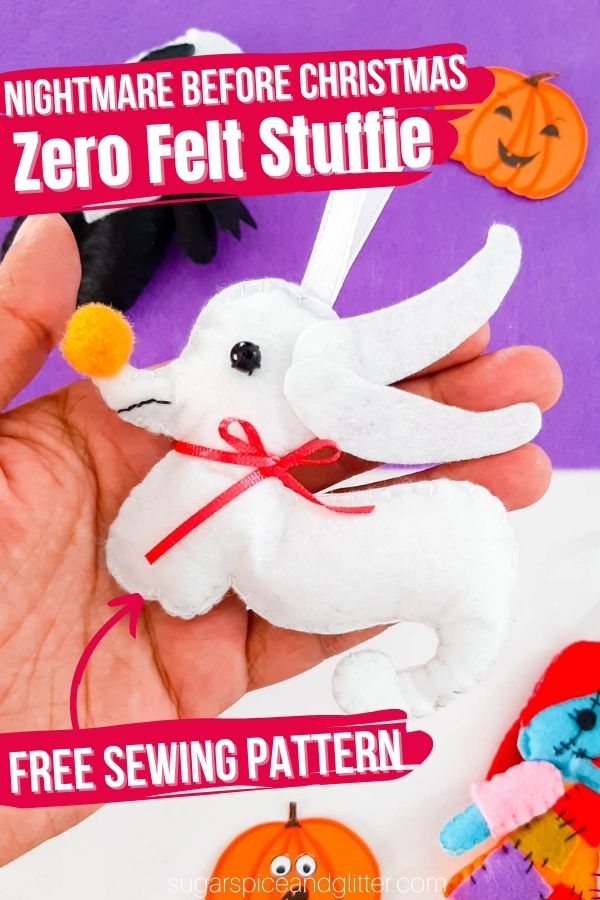
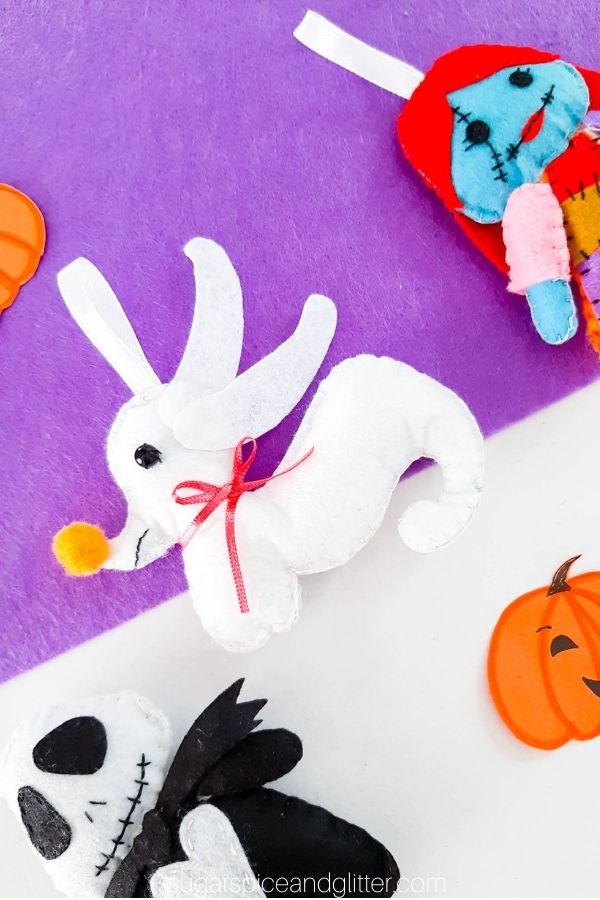
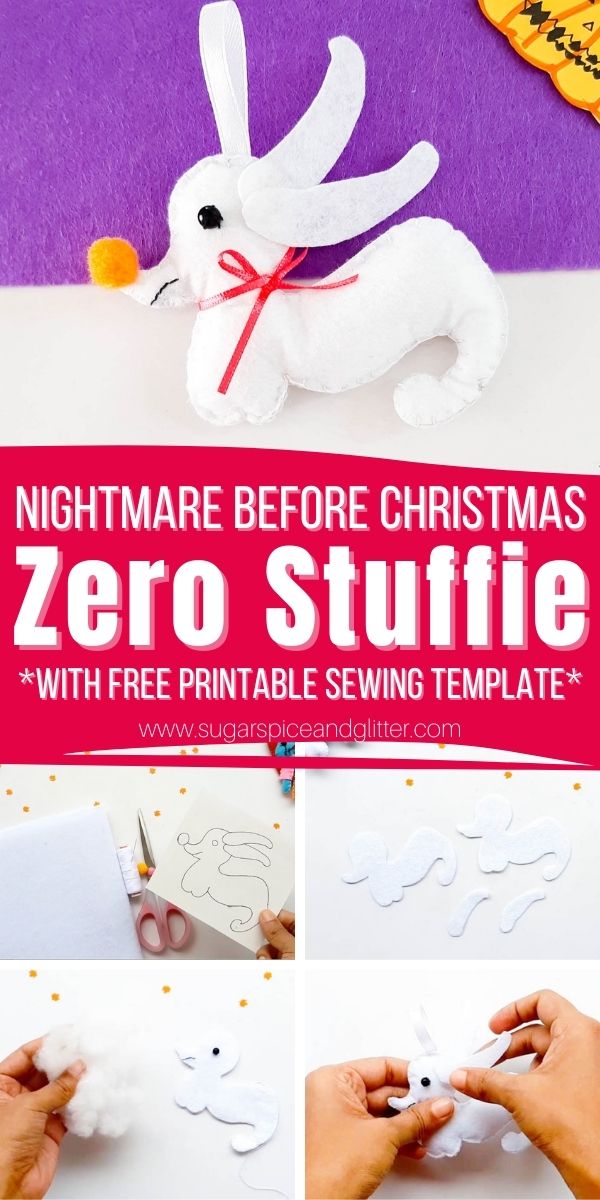
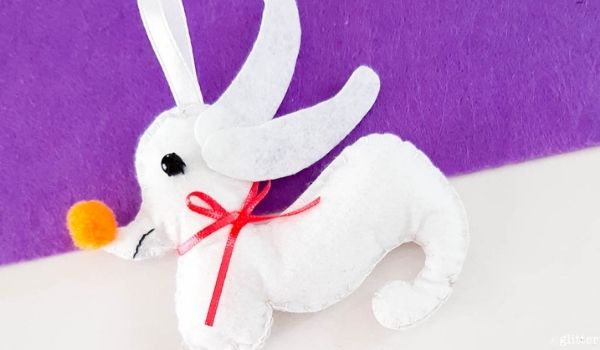
The perfect Nightmare Before Christmas sewing project for kids, today’s free sewing pattern is for a DIY Zero Felt Stuffie inspired by Jack Skellington’s ghostly pup!
DIY Zero Stuffie Craft
Last week, we shared our Sally Dawn Nightmare Before Christmas Sewing Project and while many readers loved it, I worried that it would be too difficult for some beginning sewists to make.
Today’s Nightmare Before Christmas sewing project is a lot easier – we even skipped sewing on the nose and ears and used hot glue instead, focusing on just sewing together Zero’s body and using a simple back stitch to make a line for his mouth. (Which could alternatively be drawn on with a felt marker or pen.)
This free sewing pattern is super versatile and can also be used to make little reindeer ornaments or pocket stuffies for Christmas!
We’ll be sharing our final Nightmare Before Christmas sewing craft soon – the Pumpkin King himself, Jack Skellington, so be sure to check back for that if you want to create a complete collection.
Sewing Tips
Whenever we need to cut out intricate shapes from felt, I always grab some freezer paper and use the freezer paper trick to cut out our felt shapes, but good-quality felt and a sharp pair of scissors also makes all the difference.
To make this Nightmare Before Christmas stuffie craft, you just need to know how to do a back stitch (for Zero’s mouth) and a blanket stitch for joining the felt pieces together. (However, you can just use a whip stitch on the sides if the blanket stitch proves to be too tricky. The links above are to my friend Maggie’s channel and they are perfect for kids learning how to sew.)
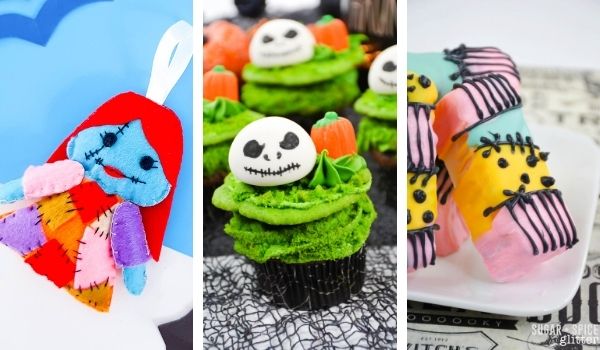
More Nightmare Before Christmas Crafts and Recipes:
- Jack Skellington Paper Ornaments
- Cricut Nightmare Before Christmas Coffee Cup
- Sally Dawn Stuffie Sewing Project
- Jack Skellington Sugar Cookies
- Nightmare Before Christmas Kitchen Gifts
- Jack Skellington Cupcakes
- Sally Dawn Candy Bars
- Sally Dawn Stuffie Sewing Project
- Zero Stuffie Sewing Project
- Jack Skellington Sewing Project
Be sure to check out our quick video on how to make your own Zero Felt Stuffie, and then don’t forget to scroll down to grab your free printable sewing pattern and instructions:
Nightmare Before Christmas Sewing Materials
- White Craft Felt
- Black Bead or Button (for Zero’s eye)
- Red Ribbon
- Cotton Batting/Stuffing
- Black and White Thread or Embroidery Thread
- Small Orange PomPom or Bead (for Zero’s nose)
Tools You May Find Helpful
- Pencil or fabric marker
- Embroidery Needle
- Scissors
- Hot Glue Gun
- Freezer paper and iron (if using the freezer paper trick)
How to Make a Zero Stuffie with Felt
PREPARATION
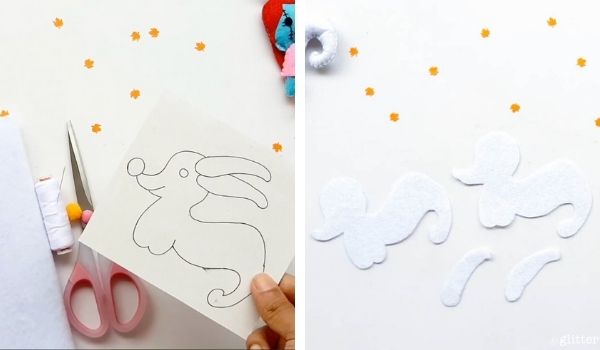
Print out the pattern and cut out individual shapes.
Trace the pattern pieces onto the indicated pieces of felt and cut out the felt shapes.
SEW ZERO’S FACE
Take one body shape and thread a needle with black thread. Use a back stitch to indicate Zero’s mouth and tie off on the “back” of the felt piece.
Use the black thread to also attach a black button or bead to indicate Zero’s eye.
Note: you can do this on both felt pieces or just a forward-facing piece, if desired.
SEW ZERO’S BODY
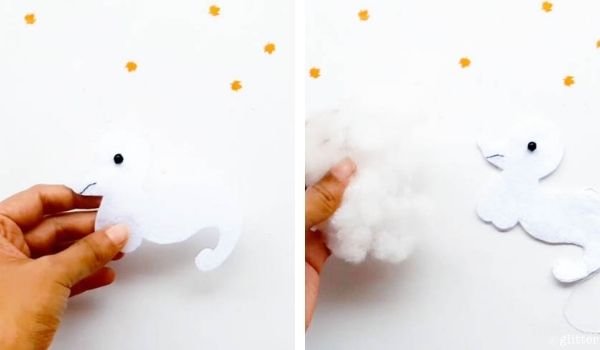
Using a blanket stitch, start sewing the two body pieces together. (We started at the armpit of the front legs and moved back along the belly, and around Zero’s tail.)
Halfway through sewing around the body, stuff the felt pieces with cotton batting, then continue sewing until you reach the top of Zero’s head.
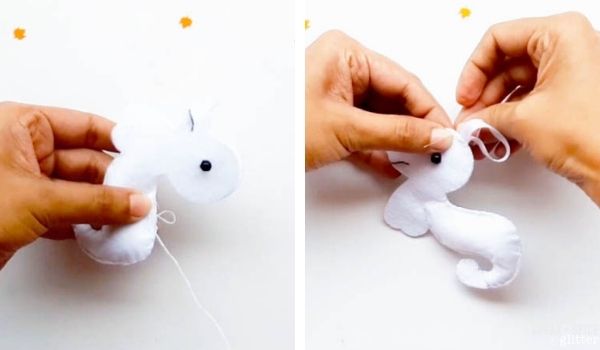
If planning to turn your Zero stuffie into an ornament, fold a piece of ribbon in half to form a loop and insert the ends into the opening at the top of Zero’s head.
Finish sewing the two body pieces together, sewing through the ribbon loop to secure in place. When you have sewn all around the body, tie a double knot and cut off the excess thread.
FINAL TOUCHES
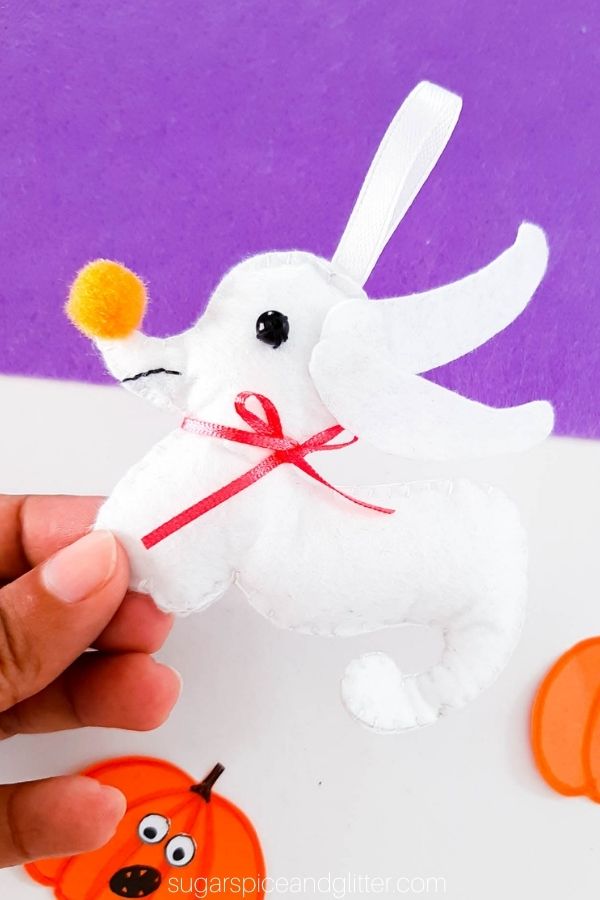
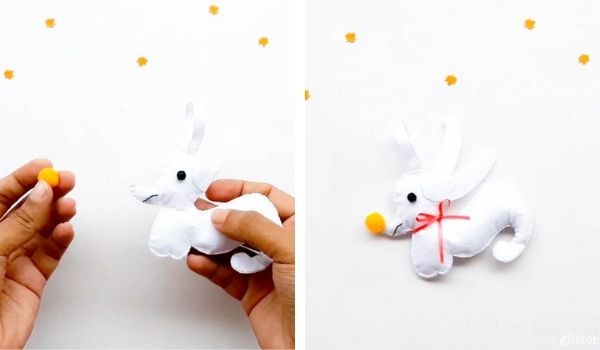
Glue or sew on Zero’s ears, then glue on his orange pompom nose. Tie a thin red ribbon around his neck and form into a bow.
Pin this Easy Nightmare Before Christmas sewing project for your next craft session:
Grab your free printable instructions for our Zero stuffie – and don’t forget to grab your free printable sewing pattern here:
Want to Save This Recipe?
Enter your email & I'll send it to your inbox. Plus, get great new recipes from me every week!
By submitting this form, you consent to receive emails from Sugar, Spice and Glitter.
Nightmare Before Christmas Zero Sewing Project
A simple and straightforward tutorial for how to sew a Nightmare Before Christmas stuffie. This Zero Stuffie uses a free printable sewing pattern to make an adorable ornament, backpack charm or pocket pal perfect for the Disney craft lover in your life.
Materials
- White Craft Felt
- Black Bead or Button
- Red Ribbon
- Cotton Batting/Stuffing
- Black and White Thread or Embroidery Thread
- Small Orange PomPom or Bead
Tools
- Pencil or fabric marker
- Embroidery Needle
- Scissors
- Hot Glue Gun
- Freezer paper and iron, optional
Instructions
PREPARATION
- Print out the pattern and cut out individual shapes.
- Trace the pattern pieces onto the indicated pieces of felt and cut out the felt shapes.
SEW ZERO'S FACE
- Take one body shape and thread a needle with black thread. Use a back stitch to indicate Zero's mouth and tie off on the "back" of the felt piece.
- Use the black thread to also attach a black button or bead to indicate Zero's eye.
- Note: you can do this on both felt pieces or just a forward-facing piece, if desired.
SEW ZERO'S BODY
- Using a blanket stitch, start sewing the two body pieces together. (We started at the armpit of the front legs and moved back along the belly, and around Zero's tail.)
- Halfway through sewing around the body, stuff the felt pieces with cotton batting, then continue sewing until you reach the top of Zero's head.
- If planning to turn your Zero stuffie into an ornament, fold a piece of ribbon in half to form a loop and insert the ends into the opening at the top of Zero's head.
- Finish sewing the two body pieces together, sewing through the ribbon loop to secure in place. When you have sewn all around the body, tie a double knot and cut off the excess thread.
FINAL TOUCHES
- Glue or sew on Zero's ears, then glue on his orange pompom nose. Tie a thin red ribbon around his neck and form into a bow.
Recommended Products
As an Amazon Associate and member of other affiliate programs, I earn from qualifying purchases.


I hope you or your kids love getting to make your own Zero stuffie – I’d love to hear how you used it and if you added any special touches to your creation!
Check out our full Disney craft collection here:

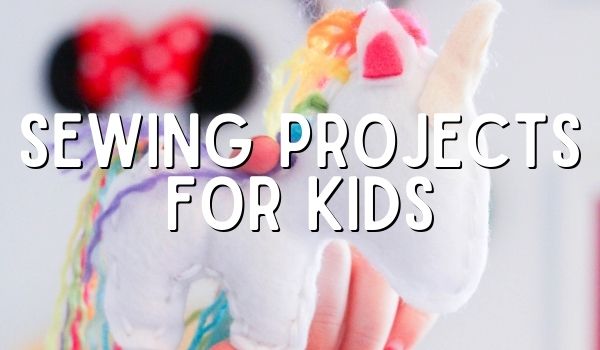
Check out our full Sewing Projects for Kids collection here:
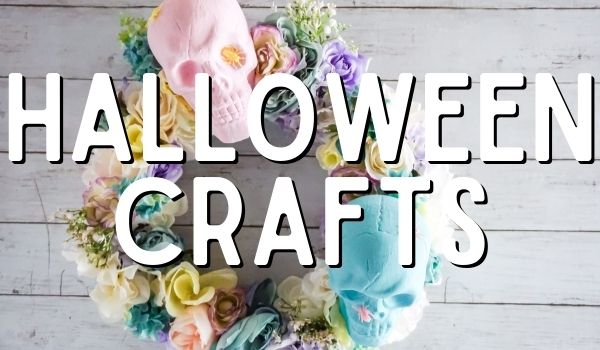
Check out our full collection of Halloween crafts here:
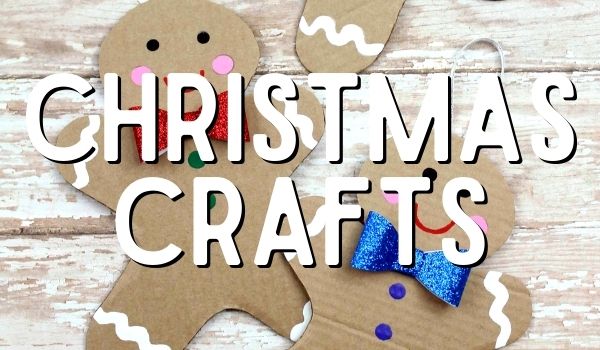
Check out our full Christmas Craft collection here:


Hello! I’m so excited about this! I’m having a hard time finding a way to get the download. Any tips?
Thanks!
Tracy
I can find the instruction but not the actual pattern. Did you remove it?
Pattern would be helpful
Hi Joyce – we have an option in the blog post for the pattern to be sent to you, but just in case it’s not showing for you, you can find it here: https://drive.google.com/drive/folders/1evi_07MEkGAbA-XDOwWNkiH9zwebyr__?usp=sharing