
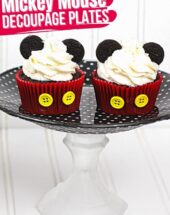
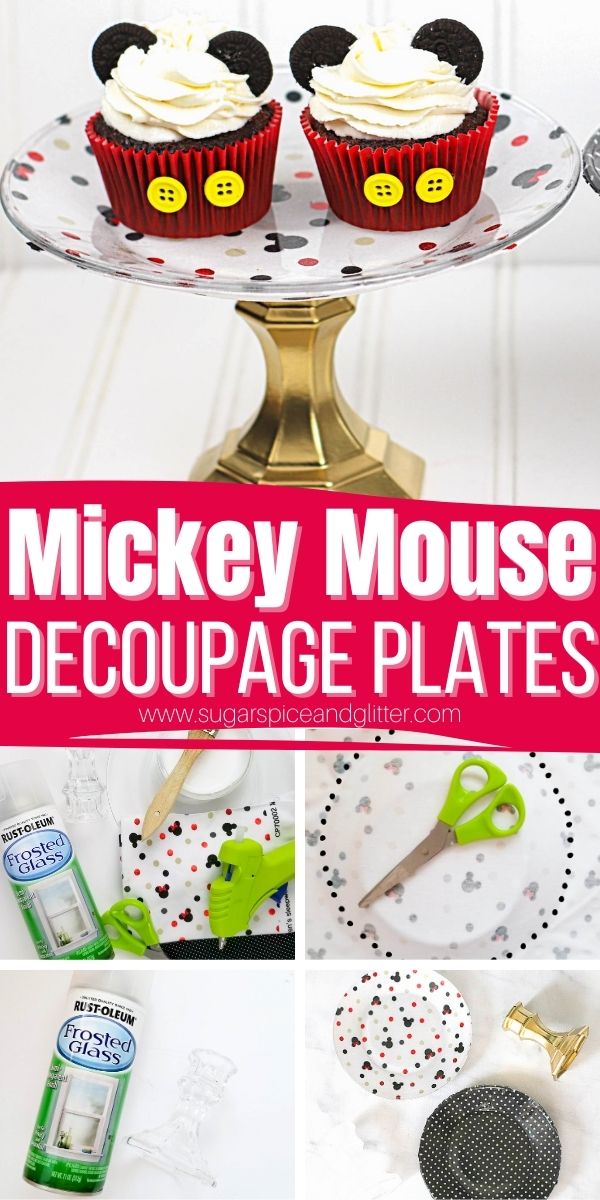
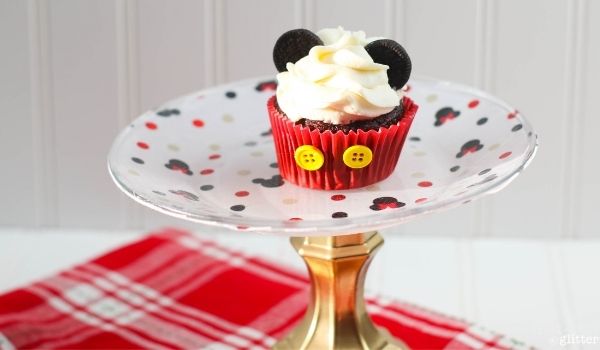
Mickey Decoupage Plates (with Video)
Welcome to Sugar, Spice & Glitter! Please note, this post may contain affiliate links. For more details, see our Full Disclosure.
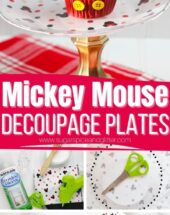
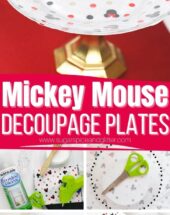
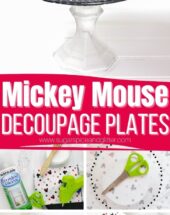
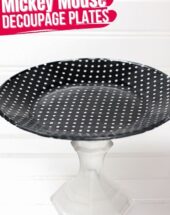
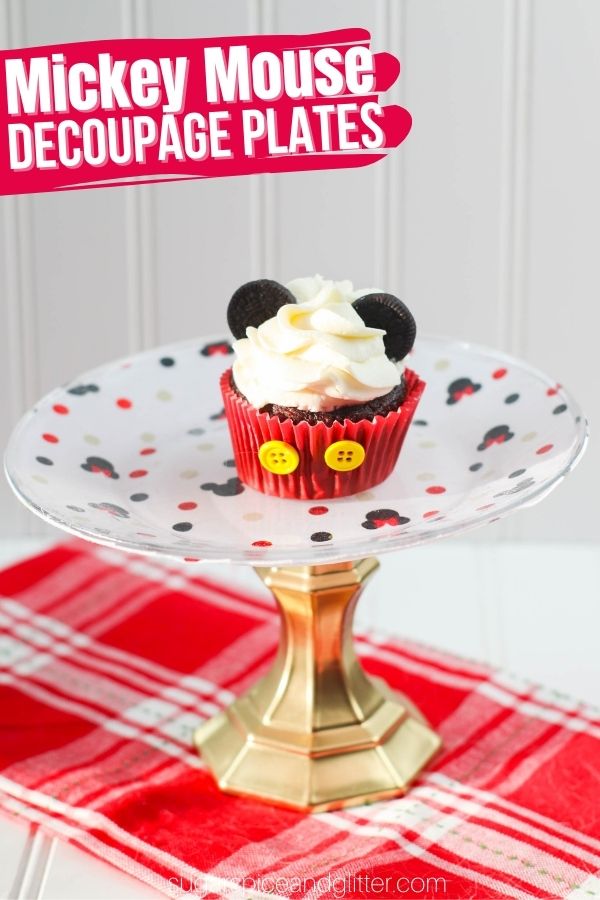
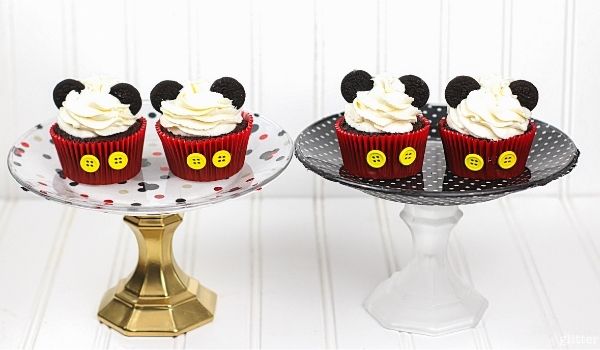
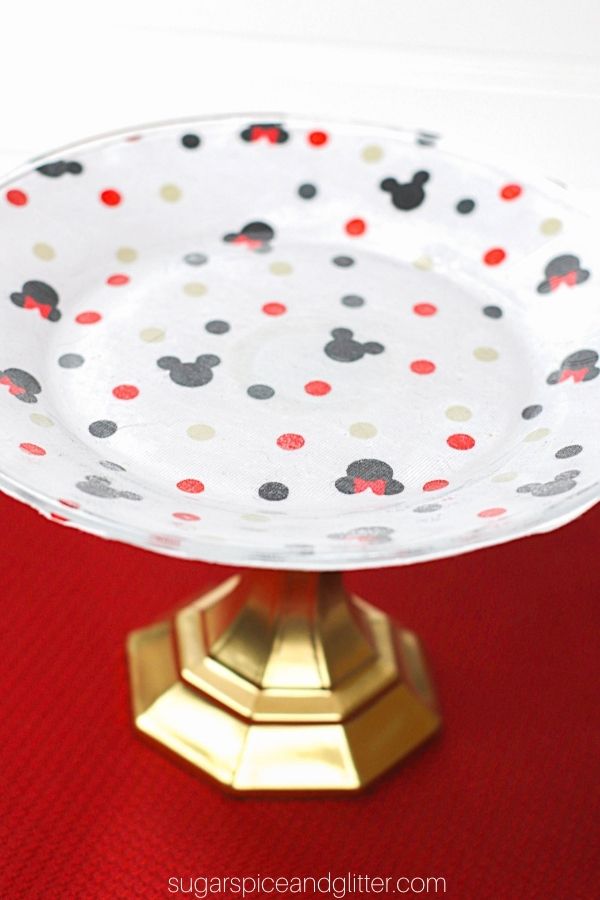
A fun Disney party DIY that you can get plenty of use out of after the party – these Mickey Mouse Decoupage Cake Plates add some Disney magic to your desserts any time you pull them out!
DIY Mickey Mouse Cake Plate Craft
I love throwing crazy elaborate birthday parties with plenty of little details – but even more than that, I love doing it on a budget!
Our DIY mermaid birthday party is probably our most popular party post, but Ella’s first birthday party was inspired by her love for the one and only Mickey Mouse so it will always be a sentimental favorite for me.
These DIY Mickey Mouse Plates would be perfect for a Disney-themed party or a special homemade gift for that friend who is nuts about all things Disney. As long as they are hand-washed, you can get years of use out of them: Disney movie nights, special playdate treats, or just a fun way to present desserts to many any occasion a bit more special.
If you’re looking for some Disney-inspired treats to serve up on these Mickey platters, check out:
- Pizza Roses (inspired by Beauty and the Beast)
- Gray Stuff
- Mickey Rice Krispie Treats
- Nightmare Before Christmas Sally Candy Bars
- Mickey Hot Chocolate Bombs
- Disneyland-Inspired Monte Cristo Sliders
Check out our quick video to see how easy it is to make these DIY decoupage plates – and then don’t forget to scroll down to grab your printable instructions:
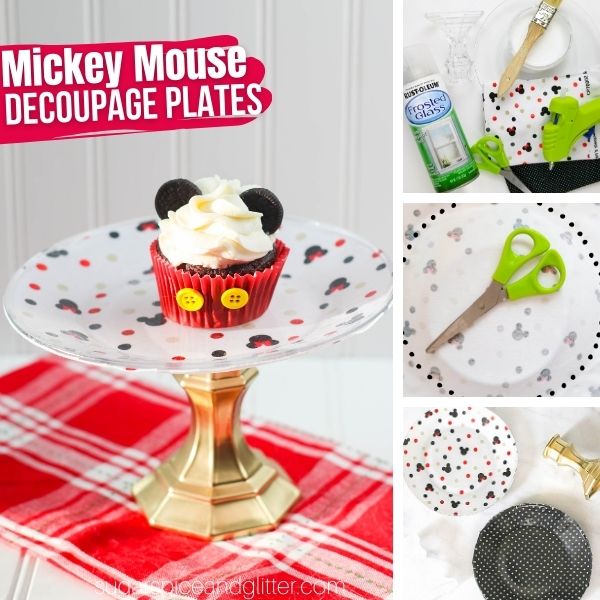
Materials to Make Mickey Decoupage Plates
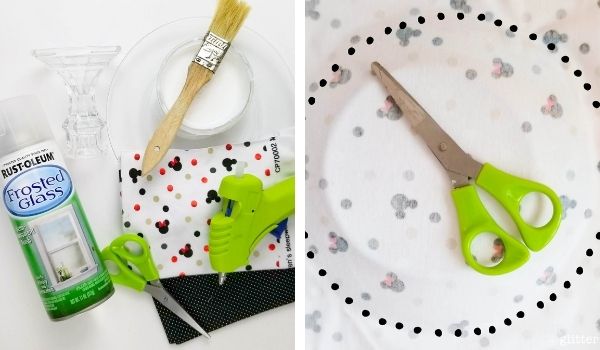
- Fat Quarter or ¼ Yard of Cotton Fabric
- Clear Plate <– we got ours from the Dollar Tree
- Candle Stick
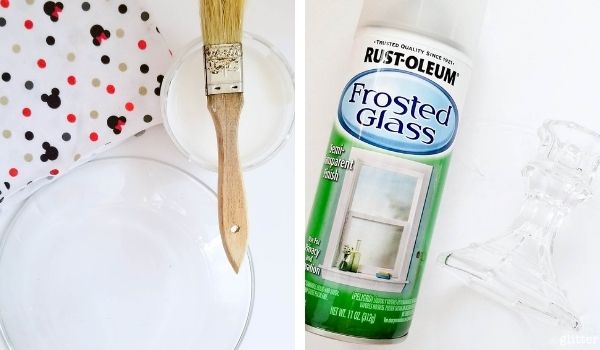
- Mod Podge
- Foam Brush
- Scissors
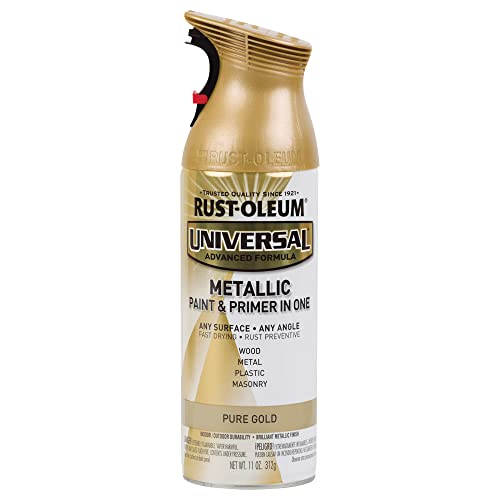
- Glass Spray Paint
- Glue Gun and Glue
Tip: if giving as a gift, ensure that the recipient knows that the cake platter must be hand washed only.
How to Make DIY Mickey Mouse Cake Platters
Spread the mod podge onto the back of the plate in a thick, even layer using a foam brush.
Place the fabric over the plate and smooth down, ensuring there are no bubbles. (Tip: If you turn over the plate, you can see if there are any spots you missed with the mod podge. If there are any spots, lift fabric and add a bit more glue.)
Allow the mod podge to dry completely, then cut the fabric around the plate.
Apply another coat of mod podge to the back of the fabric and allow to dry 24 hours.
Completely cover the candle stick with the glass spray paint, following the package directions. You may need to apply two coats. Allow to dry overnight.
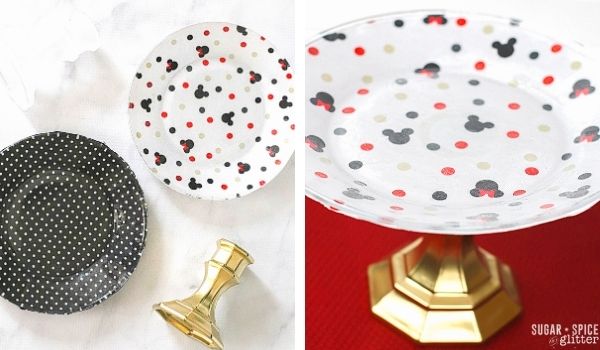
Glue the painted candle stick to the center of the underside of the plate.
Pin this DIY Cake Plate for your next Disney party or Disney family movie night:
Grab your free printable instructions for our Disney decoupage plates craft:
Want to Save This Recipe?
Enter your email & I'll send it to your inbox. Plus, get great new recipes from me every week!
By submitting this form, you consent to receive emails from Sugar, Spice and Glitter.
Mickey Decoupage Plates
A quick and easy Disney Party DIY to add some Disney magic to your dessert table. This simple Mickey Mouse decoupage cake platter can be customized with any paint or fabric combination you'd like and makes for a fun way to display desserts.
Materials
- Fat Quarter or ¼ Yard of Cotton Fabric
- 1 Clear Plate
- 1 Candle Stick
- Mod Podge
Tools
- Foam Brush
- Kitchen Scissors
- Glass Spray Paint
- Glue Gun and Glue
Instructions
- Spread the mod podge onto the back of the plate in a thick, even layer using a foam brush.
- Place the fabric over the plate and smooth down, ensuring there are no bubbles. (Tip: If you turn over the plate, you can see if there are any spots you missed with the mod podge. If there are any spots, lift fabric and add a bit more glue.)
- Allow the mod podge to dry completely, then cut the fabric around the plate.
- Apply another coat of mod podge to the back of the fabric and allow to dry 24 hours.
- Completely cover the candle stick with the glass spray paint, following the package directions. You may need to apply two coats. Allow to dry overnight.
- Glue the painted candle stick to the center of the underside of the plate.
Recommended Products
As an Amazon Associate and member of other affiliate programs, I earn from qualifying purchases.


I hope your family loves these DIY Mickey Mouse Cake Platters as much as mine does. I would love to hear what you end up using them for!
For more Disney-inspired DIYs, check out our full Disney craft collection here:
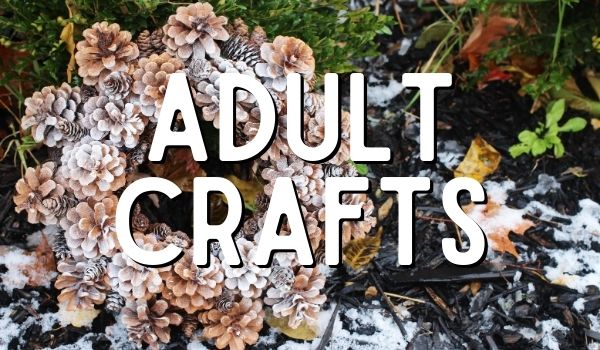
For more grown-up crafts, check out our full collection of adult crafts here:
For more DIY Disney Party ideas, check out our full Disney Party collection here:


What a fun holiday craft to make with the whole family.
Such a fun and creative DIY – these Mickey decoupage plates look amazing and perfect for adding that extra magic to any Disney-themed celebration. I love how customizable and budget friendly this craft is. After spending all that creative energy on party prep and treats, a little self care is a must – I’ve been checking out things like the botanical wellness products on https://jacanawellness.com to unwind after a long craft session.