A Quick DIY: Block Crayons (with Video)
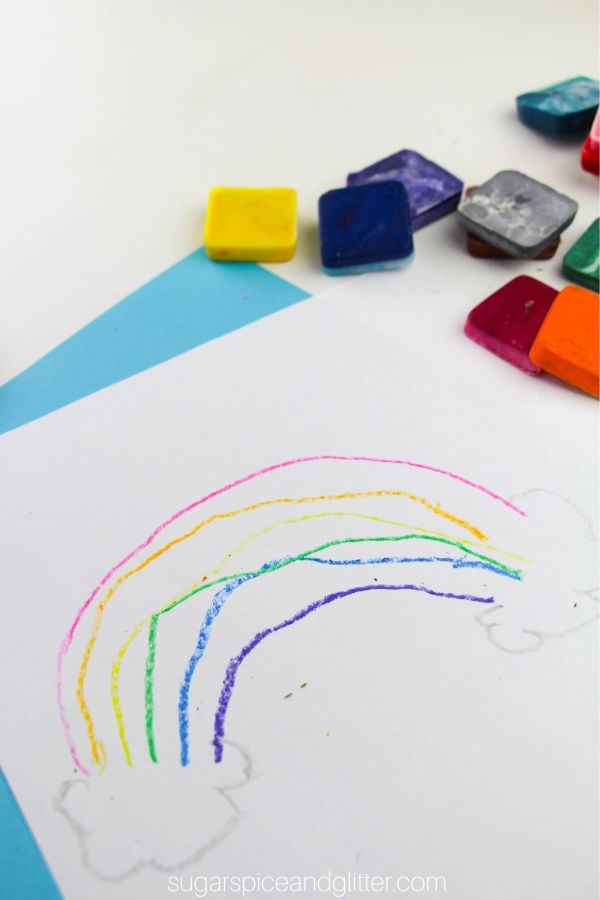
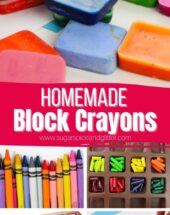
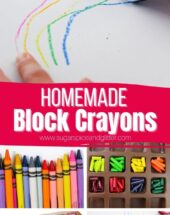
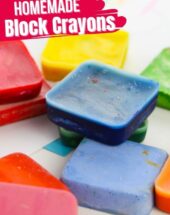
A quick and easy DIY for how to make your own Homemade Block Crayons – the best use for broken crayons and a great homemade art material for kids!
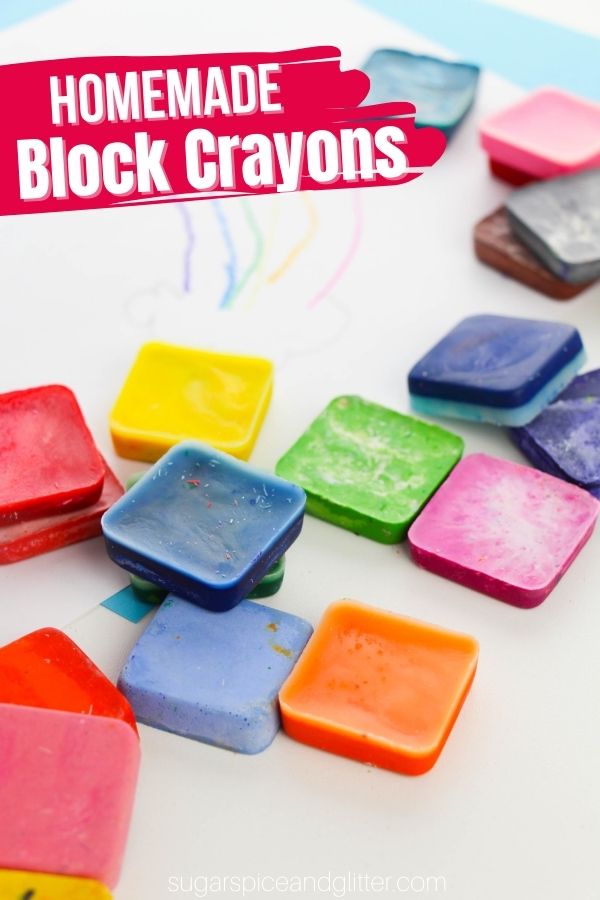
Homemade Block Crayons
Homemade block crayons have been a staple in our craft area for years. The first time we made them, Ella was just a year and a half and she was so excited to “cook her crayons.” (Although she was horrified that in order to cook them, first we had to break them..)
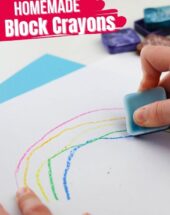
Block crayons are great for little kids who are still developing fine motor skills, as they are big enough for them to grab with their whole hand, but as they develop a pincer grasp (the grip you use for holding a pencil) they can turn the crayon to it’s side and hold it that way. They are also a lot harder to break than normal crayons.
But block crayons aren’t just for older kids! Ella is now 11 years old and her friends love getting homemade crayons in different shapes as gifts – plus the block crayons are perfect for easily filling up the background of drawings, adding different textures of multimedia artwork, etc.
Here are a few of the different block crayons we’ve made over the years:
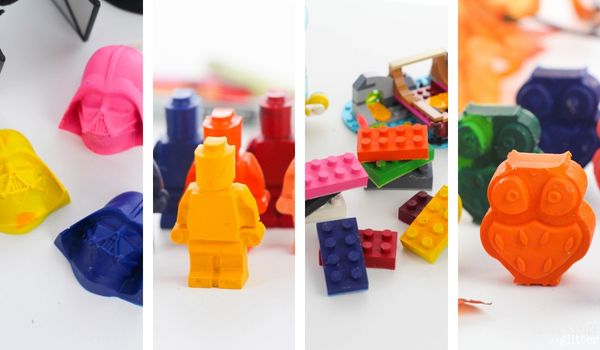
- Darth Vader Crayons
- Heart-Shaped Crayons
- Lego Man Crayons and Lego Block Crayons
- Owl Crayons
As you can see, there are so many possibilities based on the different types of oven-proof silicone molds you can find. One key tip when picking a mold to make crayons with is to ensure that there aren’t small details that are separate from the main design. (For example, it’s okay that the lego blocks had those circle details because they were attached to the main block – however, when we tried to do a cat crayon, the tail was separate from the main body and every time we tried to remove the baked crayons from the mold, the tail broke off.)
Making your own block crayons a great way to use up broken crayons – I just collect all the broken crayons in a little bin and when it looks like we have enough, we break out the silicone baking mats and get to work. I also grab a few packs of crayons every year during back to school season when they are on promo for 50 cents to $1.
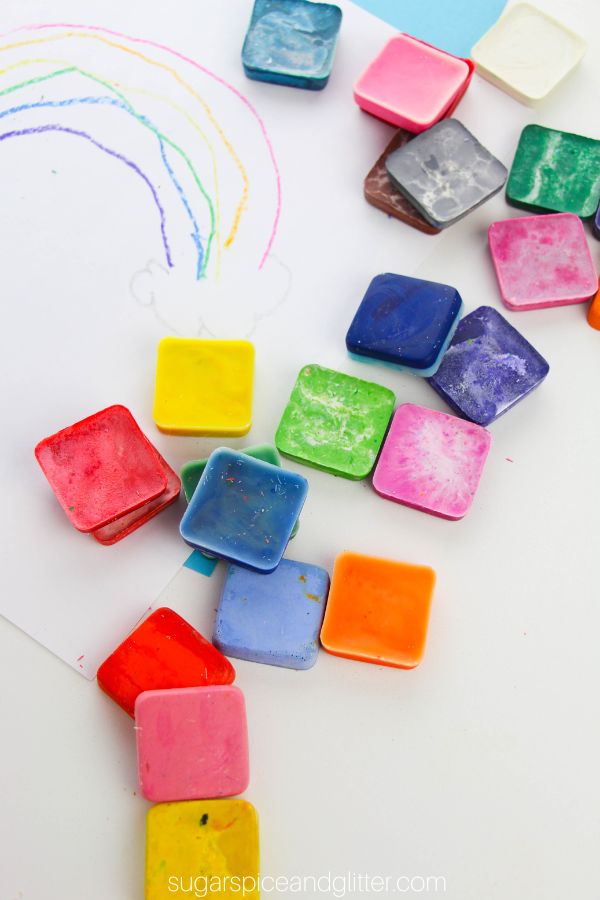
It takes about 2 to 2.5 crayons to make one block crayon.
The most tedious part of making homemade block crayons is peeling the crayons. If you have a toddler or preschooler who loves peeling labels, this is the job for her! If you’re not so lucky, using an X-acto knife to cut through the label will also make the process go a lot quicker.
Check out our quick video to see how easy it is to make these homemade block crayons for yourself – and then don’t forget to scroll down to grab the free printable instructions:
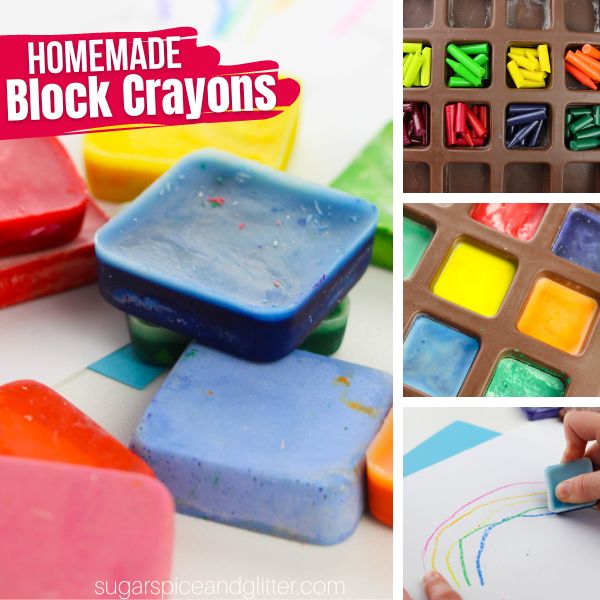
Materials to Make Homemade Block Crayons
- 24 pack of crayons
- Silicone Mold
- Sturdy Cookie Sheet
How to Make Homemade Block Crayons
Peel the wrappers off all of the crayons. Use an exacto knife to cut a slit through the paper to help save time.
Sort the crayons by color before breaking them into small pieces to fit inside your mold.
Place the silicone mold on a sturdy cookie sheet and then place the broken crayon pieces inside each cavity of your mold.
Preheat your oven to 325F.
Melt the crayons in the preheated oven for 10-12 minutes until completely melted. You can use a toothpick to ensure there are no lumps remaining in the crayons.
Allow the crayons to cool completely before attempting to remove from the mold.
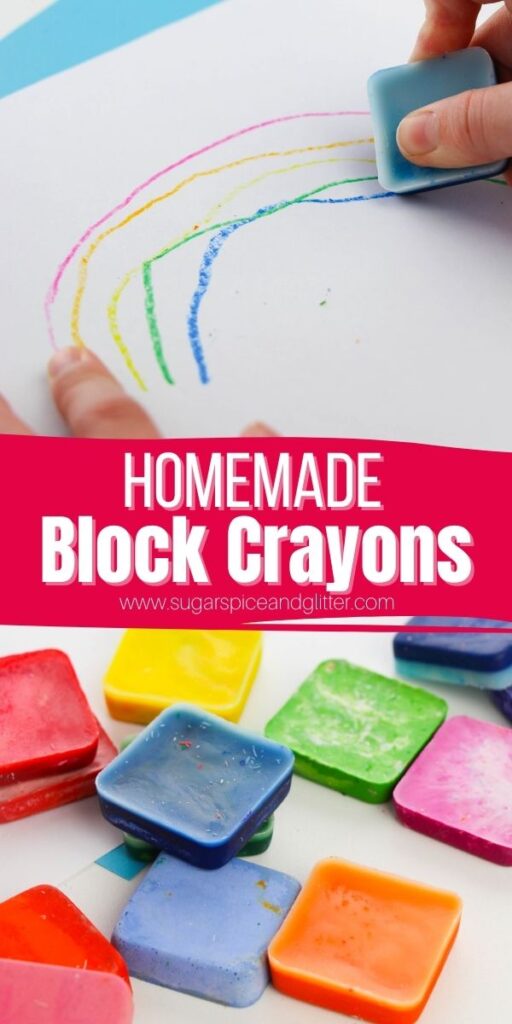
Pin this DIY Project to use up all of those broken crayons:
Grab your free printable instructions for our DIY block crayons:
Want to Save This Recipe?
Enter your email & I'll send it to your inbox. Plus, get great new recipes from me every week!
By submitting this form, you consent to receive emails from Sugar, Spice and Glitter.
Homemade Block Crayons

A quick and easy method for making homemade block crayons. The perfect way to re-use broken crayons, these block crayons are easy for little hands to grip and can be customized in so many different ways: combining colors, making unique shapes, etc.
Materials
- 24 pack of crayons
Tools
- Silicone Mold
- Sturdy Cookie Sheet
Instructions
- Peel the wrappers off all of the crayons. Use an exacto knife to cut a slit through the paper to help save time.
- Sort the crayons by color before breaking them into small pieces to fit inside your mold.
- Place the silicone mold on a sturdy cookie sheet and then place the broken crayon pieces inside each cavity of your mold.
- Preheat your oven to 325F.
- Melt the crayons in the preheated oven for 10-12 minutes until completely melted. You can use a toothpick to ensure there are no lumps remaining in the crayons.
- Allow the crayons to cool completely before attempting to remove from the mold.
Recommended Products
As an Amazon Associate and member of other affiliate programs, I earn from qualifying purchases.
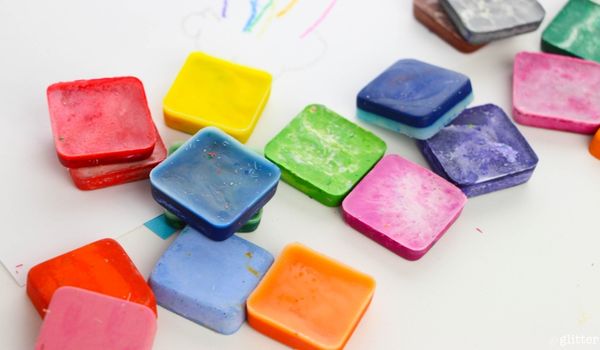
I hope your kids enjoy getting to make their own block crayons as much as mine did!
For more easy crafts for kids, check out our full collection here:
Or, check out our full collection of homemade gift ideas here:
Original image from 2013:
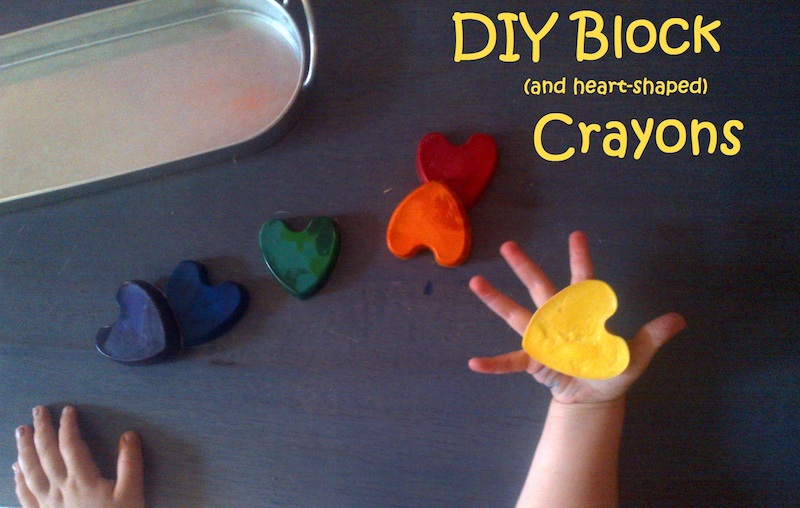




I have made these before by mixing colors, but had a heck of a time cleaning the silicone trays they were melted in. Did you find it easy or difficult to clean? If easy, what was your method??
Ooh, good point! The heart shaped silicone mould was cheap – Dollar Store cheap – and those crayons came out clean. The “better quality” Wilton mould held onto a bit of colour film, but I poured boiled water over them and they came out with a green scrubber — I actually stopped using it for food because I found that food was always sticking to it.