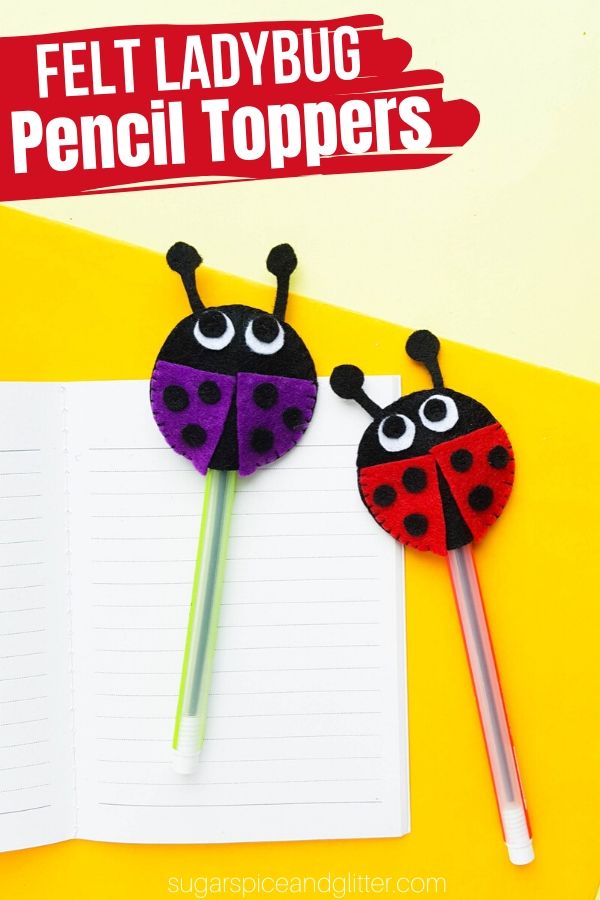
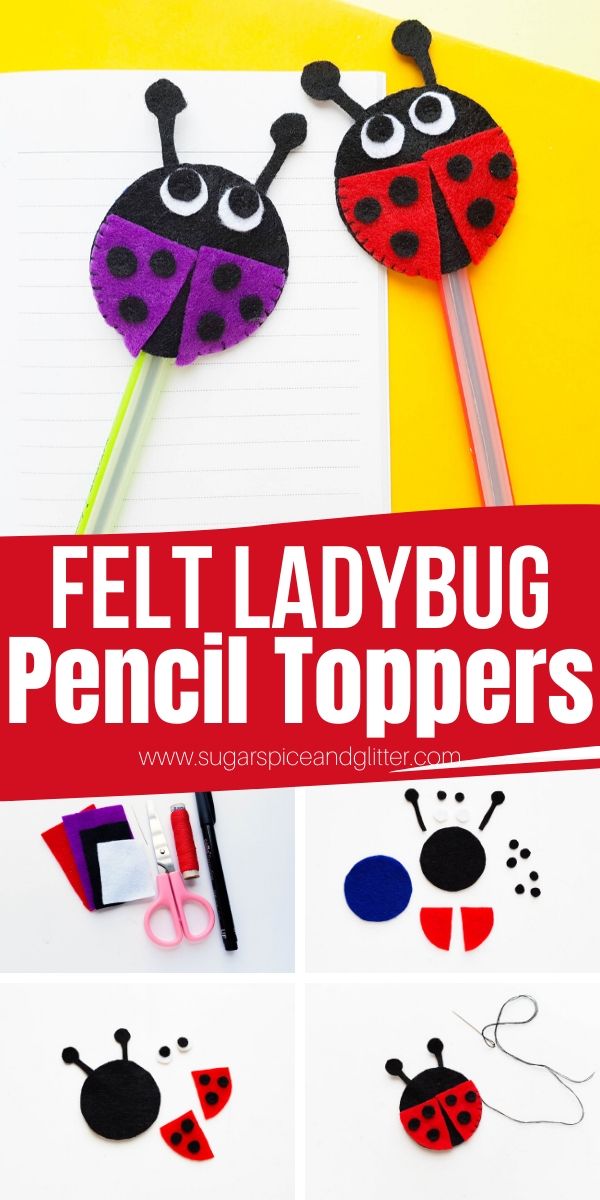
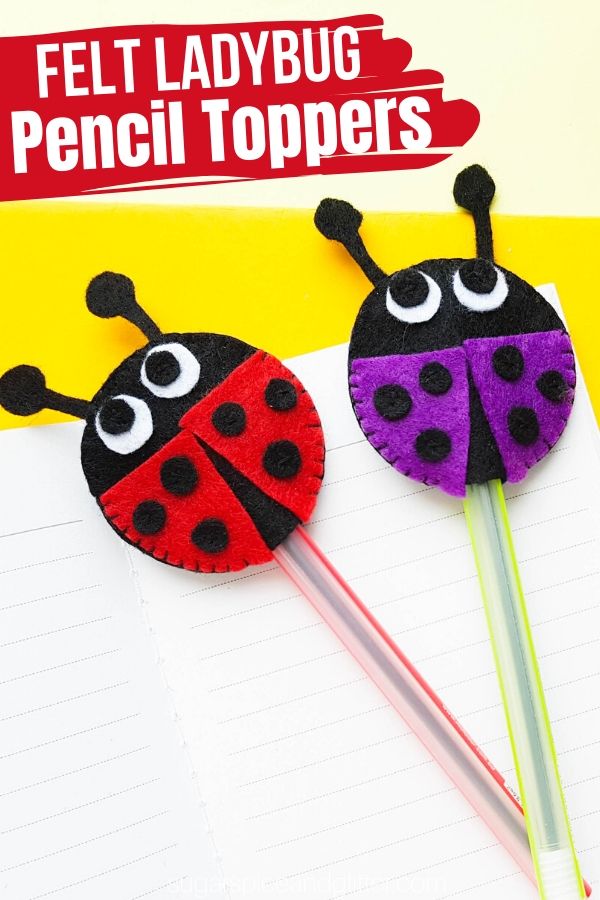
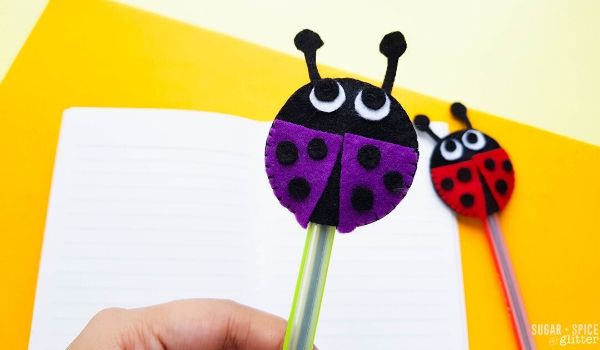
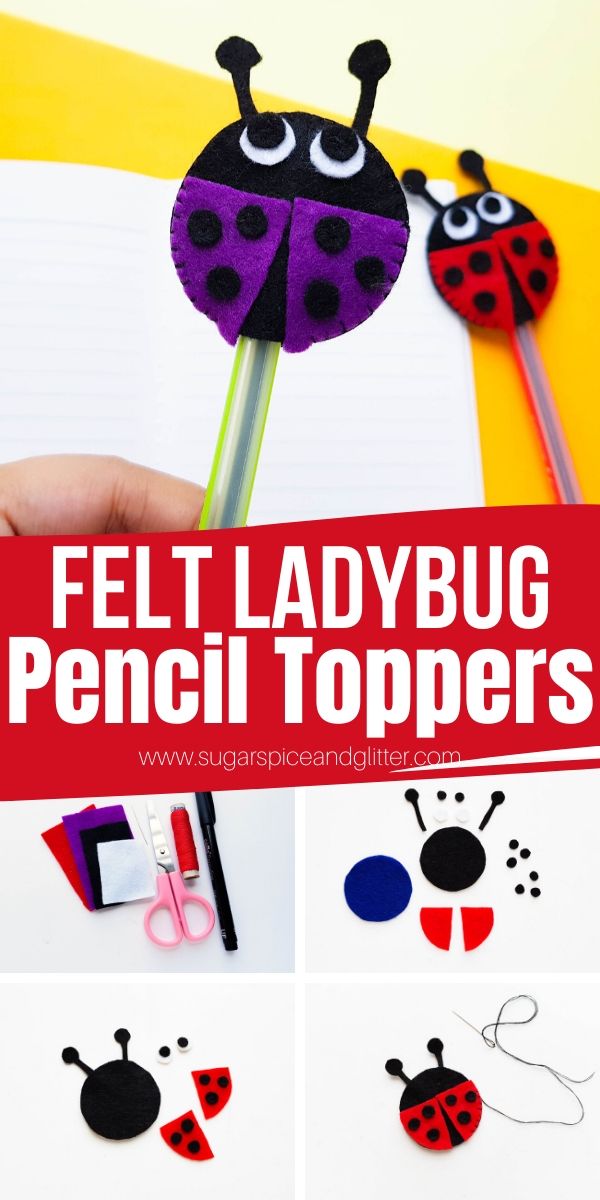
Ladybug Pencil Topper Sewing Craft
Welcome to Sugar, Spice & Glitter! Please note, this post may contain affiliate links. For more details, see our Full Disclosure.
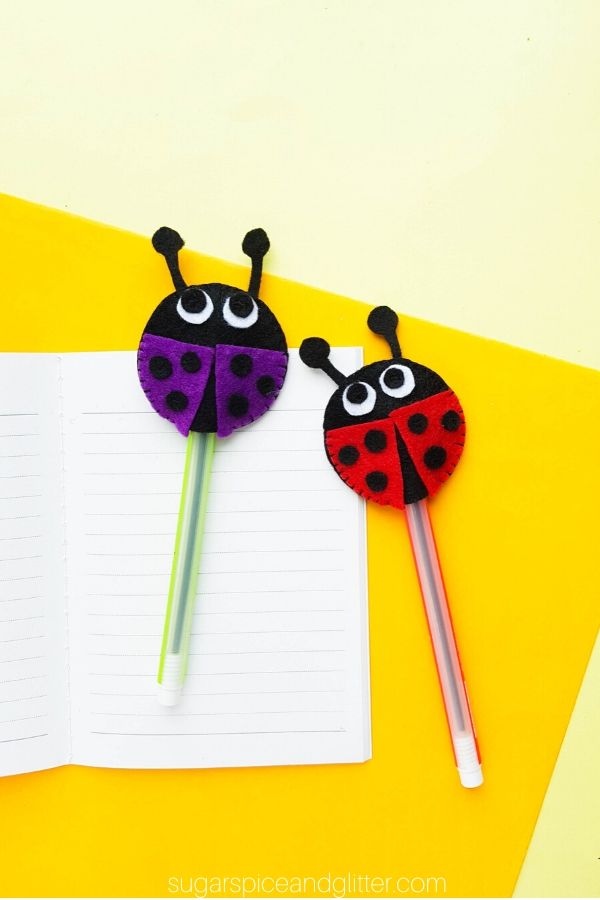
A simple DIY school supply kids can make to get excited for the start of a new school year, these Felt Ladybug Pencil Toppers are a super easy sewing project for kids!
DIY Felt Ladybug Craft
Do your kids know how to sew?
My daughter Ella is already a better sewer than I am. I thought I’d teach her some basic things just so she could do her own clothing repairs as she got older, but she quickly fell in love with sewing and begged for proper sewing classes. She’s made scrunchies, skirts, pillows – and I can barely figure out how to operate a sewing machine.
I can’t really help her with elaborate sewing projects at home, but I can provide her with simple sewing crafts to continue to hone her skills, like this cute Felt Ladybug Pencil Topper!
This craft is super simple no matter your level of sewing ability. I’ve provided a free printable template for you to cut the pattern out from, and then you just need to know how to do a basic whip stitch.
If you’re doing this with a mix of ages, you can even use felt glue or fabric glue instead of sewing the craft, if necessary.
Whenever we need to cut out intricate shapes from felt, I always grab some freezer paper and use the freezer paper trick to cut out our felt shapes, but good-quality felt and a sharp pair of scissors also makes all the difference.
If the eyes and dots of the ladybug are too difficult for your child to attach, you can use fabric puffy paint to add those details – or use tiny pom poms for the dots and googly eyes!
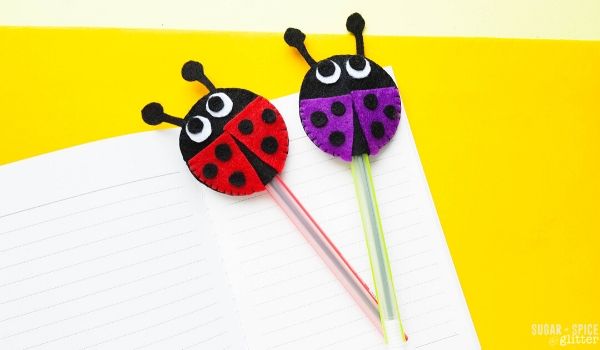
This ladybug pencil topper is a cute way to add some personality to your desk or school supplies and would make a cute gift if paired with a ladybug notebook like this leather one or this composition-style notebook.
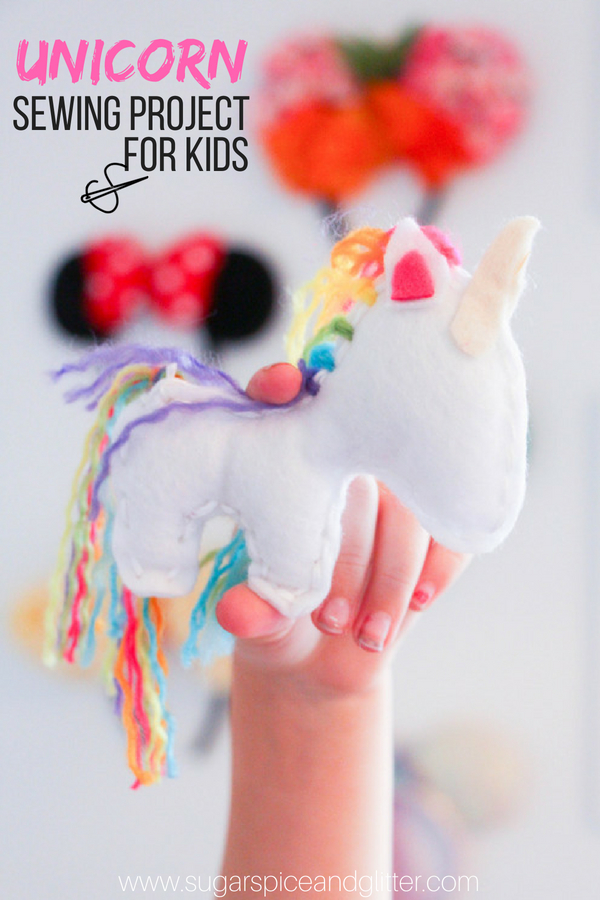
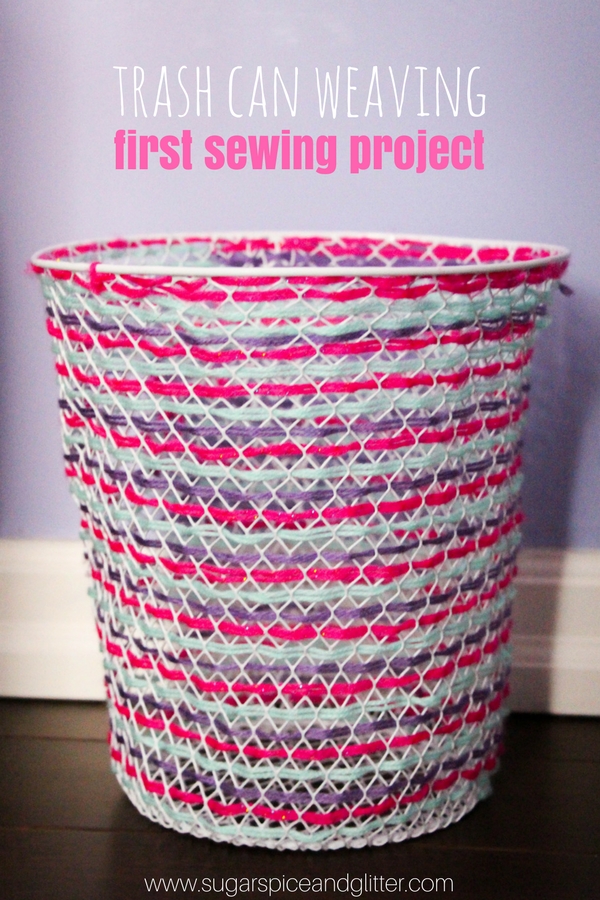
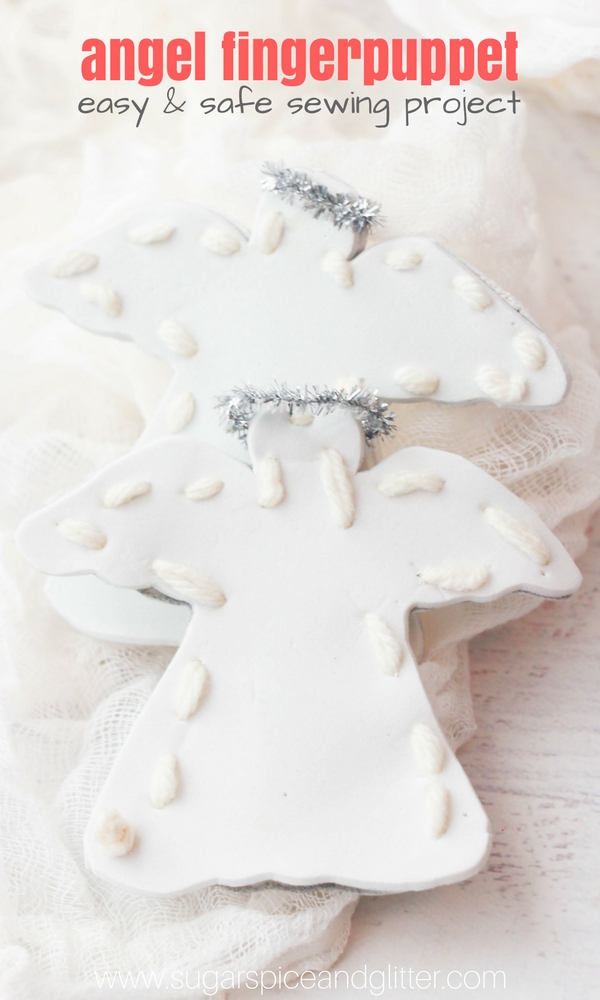
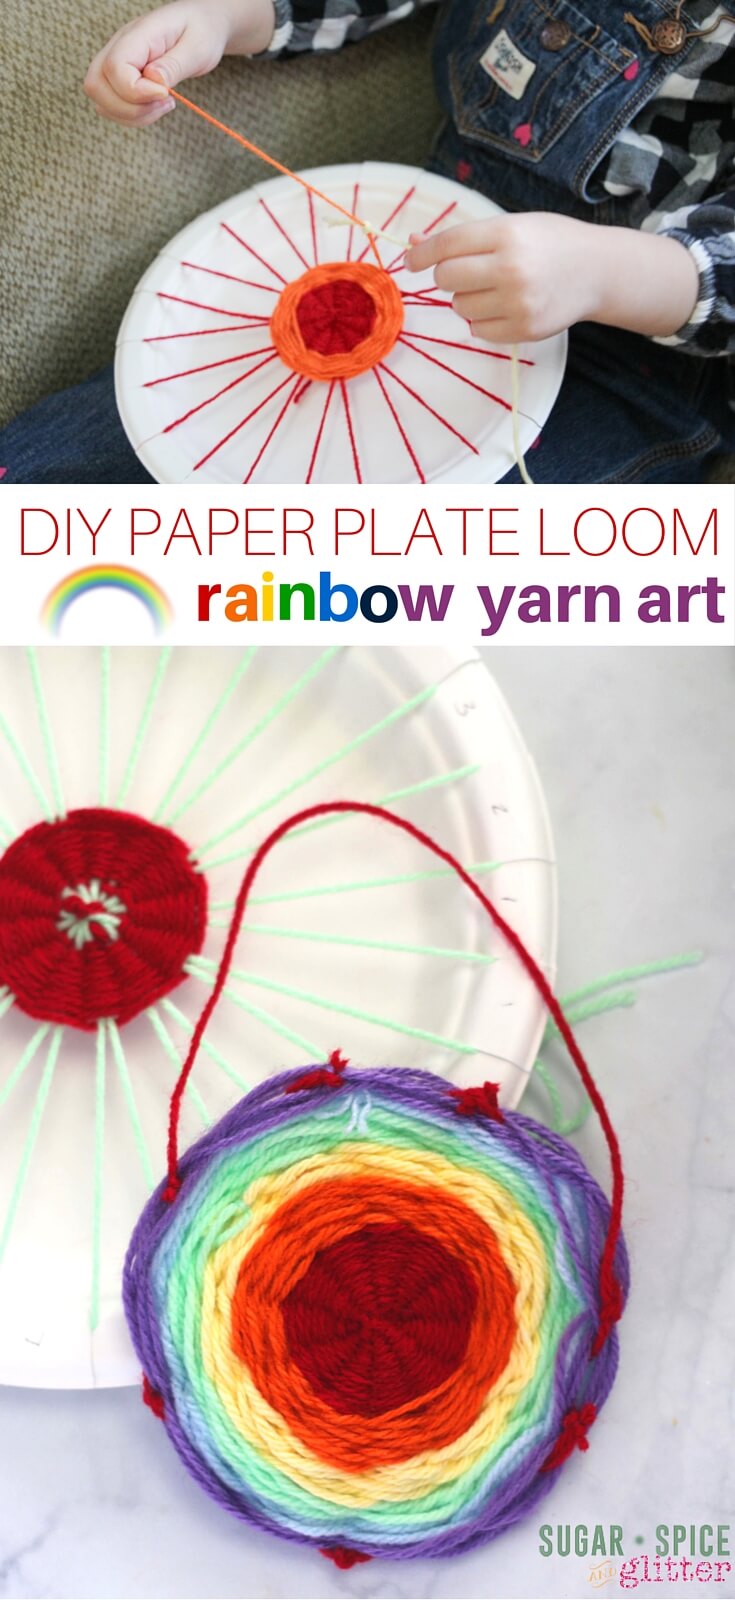
Check out some of our other Easy Sewing Projects for Kids:
")


")
")


")


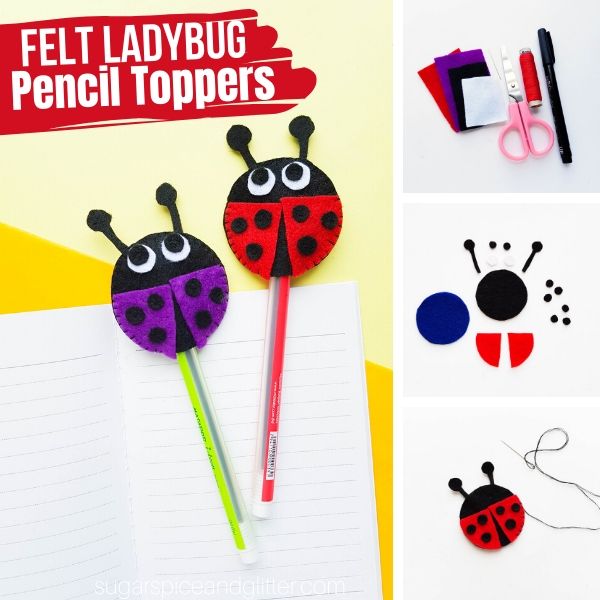
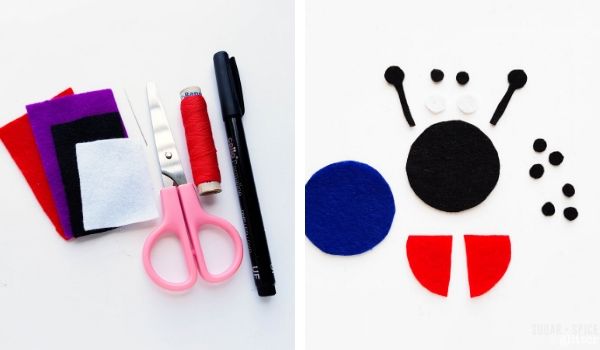
Felt Ladybug Craft Materials
- Felt
- Pencil or fabric marker
- Scissors
- Freezer paper and iron (if using the freezer paper trick)
- Needle
- Thread
- Ladybug Pencil Topper Template
Scroll down to the printable recipe card for full measurements.
Tip: if your scissors aren’t cutting through the felt well, try cutting a piece of tinfoil to sharpen them.
How to Make a Ladybug Pencil Topper
Print and cut out the ladybug patterns for the pencil topper.
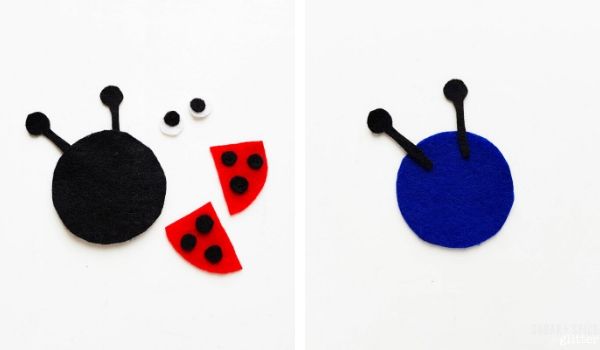
Trace the patterns on the selected felt fabrics. Trace the 6 small circles, the antenna patterns and the 2 small circles (from the group of 4 circles) on black felt. Cut out the traced patterns. Trace the 2 big circles on white felt. Use black felt for the base (2 big round shapes) and any color of your choice for the 2 triangular (wings) shapes.
Take the 2 white round cutouts and place the 2 small black round cutouts on them; stitch the black circle on the white circle. Take the triangular cutouts (wings) and place the black circle cutouts on the wings and stitch them.
Take any one of the base cutouts and place it on a flat surface. Place the 2 antenna cutouts on the top side of the base by overlapping about a cm with the base.
Place the other base cutout on the top of the first base.
Place the wings on the top of the second base layer. Make sure to match the curved ends of the wings with the outer end of the base.
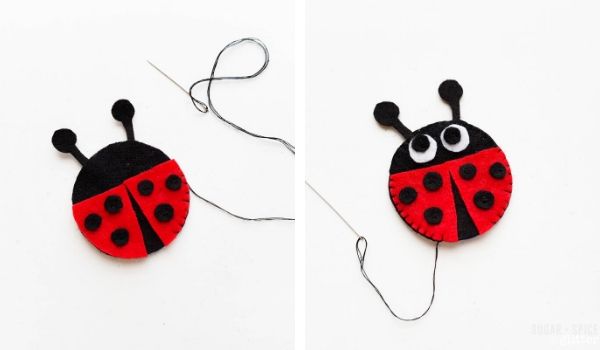
Start to stitch the wings and the 2 base patterns together from a side, leaving the bottom end open.
Stitch all around and bring the needle to the other side. Make sure to leave a small opening on the bottom end for inserting the pencil. Once the stitching is done, tie a knot or two; and cut off extra thread.
Place the pencil inside the felt ladybug pencil topper by inserting it through the bottom open end.
Pin this Easy DIY School Supply Craft for Kids:
Grab your free printable instructions for our felt ladybug craft and don’t forget to grab your Ladybug Pencil Topper Template:
Want to Save This Recipe?
Enter your email & I'll send it to your inbox. Plus, get great new recipes from me every week!
By submitting this form, you consent to receive emails from Sugar, Spice and Glitter.
Ladybug Pencil Topper Sewing Craft
A simple sewing project for kids to add some personality to their school supplies! A DIY Pencil Topper is a great way to practice their sewing skills.
Materials
- Felt
- Ladybug Pencil Topper Template
- Thread
Tools
- Pencil or fabric marker
- Scissors
- Freezer paper and iron (if using the freezer paper trick)
- Needle
Instructions
- Print and cut out the ladybug patterns for the pencil topper.
- Trace the patterns on the selected felt fabrics. Trace the 6 small circles, the antenna patterns and the 2 small circles (from the group of 4 circles) on black felt. Cut out the traced patterns. Trace the 2 big circles on white felt. Use black felt for the base (2 big round shapes) and any color of your choice for the 2 triangular (wings) shapes.
- Take the 2 white round cutouts and place the 2 small black round cutouts on them; stitch the black circle on the white circle. Take the triangular cutouts (wings) and place the black circle cutouts on the wings and stitch them.
- Take any one of the base cutouts and place it on a flat surface. Place the 2 antenna cutouts on the top side of the base by overlapping about a cm with the base.
- Place the other base cutout on the top of the first base.
- Place the wings on the top of the second base layer. Make sure to match the curved ends of the wings with the outer end of the base.
- Start to stitch the wings and the 2 base patterns together from a side, leaving the bottom end open.
- Stitch all around and bring the needle to the other side. Make sure to leave a small opening on the bottom end for inserting the pencil. Once the stitching is done, tie a knot or two; and cut off extra thread.
- Place the pencil inside the felt ladybug pencil topper by inserting it through the bottom open end.
Recommended Products
As an Amazon Associate and member of other affiliate programs, I earn from qualifying purchases.
-
 Fabric Marker, Emooqi 24 Colors Textile Marker No Bleed Non Toxic Fabric Pen Permanent and Washable T-Shirt Marker,Ideal for Decorate T-shirts, Bibs, Textiles, Shoes, Handbags, Graduation Signatures
 -
Reynolds Freezer Paper Plastic Coated 50 Sq Ft (3 Rolls)
-
flic-flac 44PCS 4 x 4 inches (10 x10cm) Assorted Color Felt Fabric Sheets Patchwork Sewing DIY Craft 1mm Thick


This Felt Ladybug craft is a fun way to add some personality to your school supplies and a great way for kids to practice their sewing skills!
Check out some of our other DIY School Supplies, like our DIY Washi Tape Pencils or our DIY Apple Box Craft.


For more easy sewing projects for kids, check out: