
DIY Kite Headband
Welcome to Sugar, Spice & Glitter! Please note, this post may contain affiliate links. For more details, see our Full Disclosure.
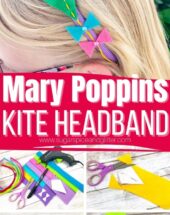

A fun DIY Headband Craft that kids can make, today’s Felt Kite Headband is a Mary Poppins-inspired craft that adds a touch of whimsy to your child’s outfit of the day.
Felt Headband Craft
We make a lot of felt projects around here, especially felt sewing projects, and I hate throwing away all of the leftover felt scraps… but they can pile up if you don’t find a good use for them!
I often use the small pieces of leftover felt as an alternative to cotton batting in our little homemade stuffies, but coming up with viable projects for the bigger scraps can be a bit trickier.
This felt kite headband ended up being the perfect way to use up a bunch of leftover felt pieces while creating something that is super cute all on it’s own.
It’s a super simple sewing project for kids to help make (especially if they are still in the beginning phase of learning how to stitch) and would be a great party activity, allowing each guest to leave with their own unique headband.
Personally, we made ours for our Mary Poppins Movie Night (you all know how much we love our themed Disney movie nights) and it was the perfect low-key craft for some of the “slower” parts of the movie.
If your kids aren’t yet ready to sew, you can just use some fabric paints to fake the stitching on the kites, or skip that design element completely. That’s really the only sewing aspect for this craft and then glue takes care of the rest.
We used hot glue but any school glue or fabric glue will work great.
More DIY Crafts Kids Can Wear
- Circle Loom Friendship Bracelets
- Fantastic Beasts Niffler Necklace
- Pixie Dust Necklace
- No-Sew Felt Bracelets
- DIY Rapunzel Braid
- Princess and the Frog Tiana Headband
- No-Sew Tutu

Materials for a Felt Headband Craft
- Plain Headband
- Craft Felt, Assorted Colors
- Embroidery Thread
- Embroidery Needle
- Half Pearls
- Glue Gun and Glue Sticks
- Craft Glue
- Straight Pins
- Scissors
- Printable Kite Pattern
How to Make a Kite Headband
Download and print out the kite pattern and cut out the pattern pieces.
Pin the kite pattern securely in place on the felt pieces and trace onto the felt, then carefully cut out with scissors.

Thread an embroidery needle with a few strands of embroidery floss (we used 6 strands but it’s okay if your needle can’t hold that much) and tie a knot at the end.
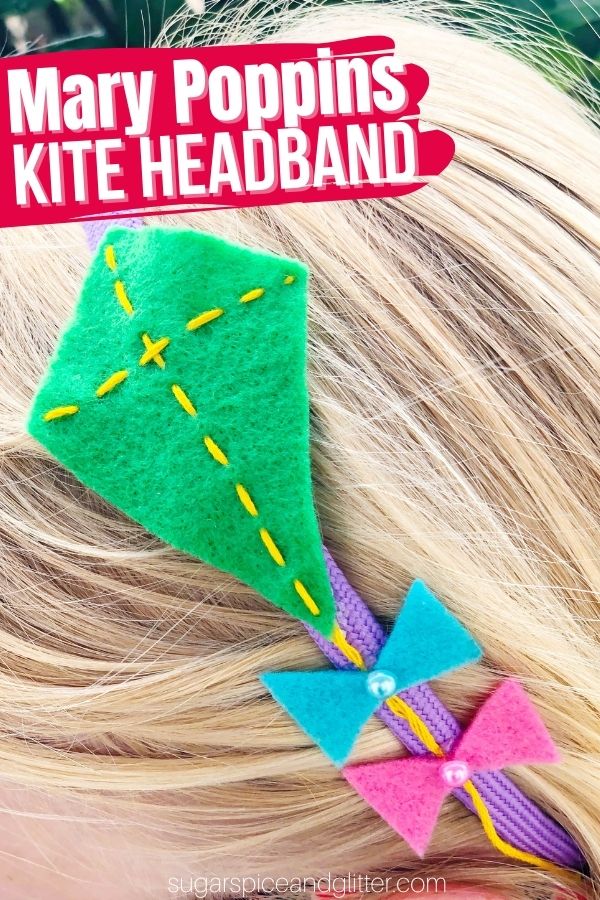
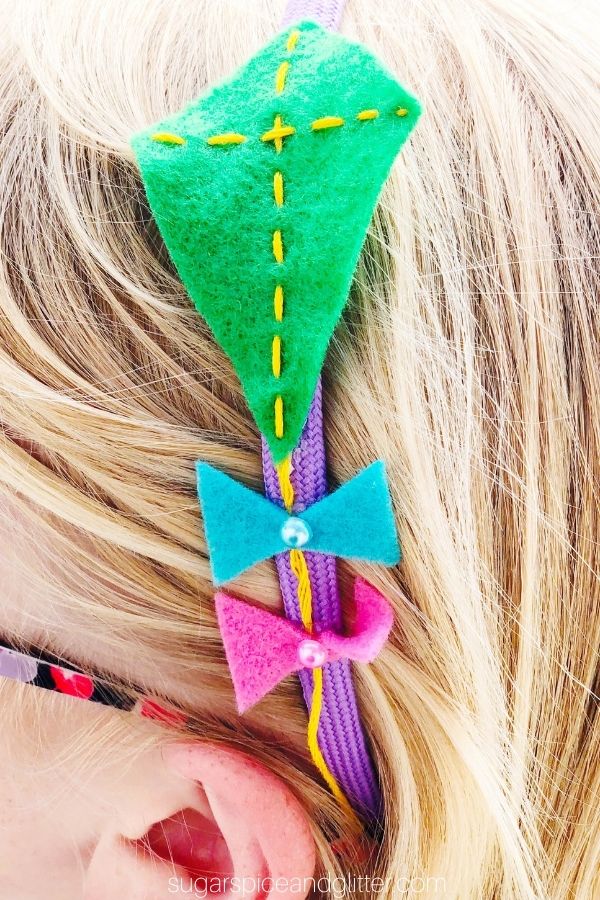
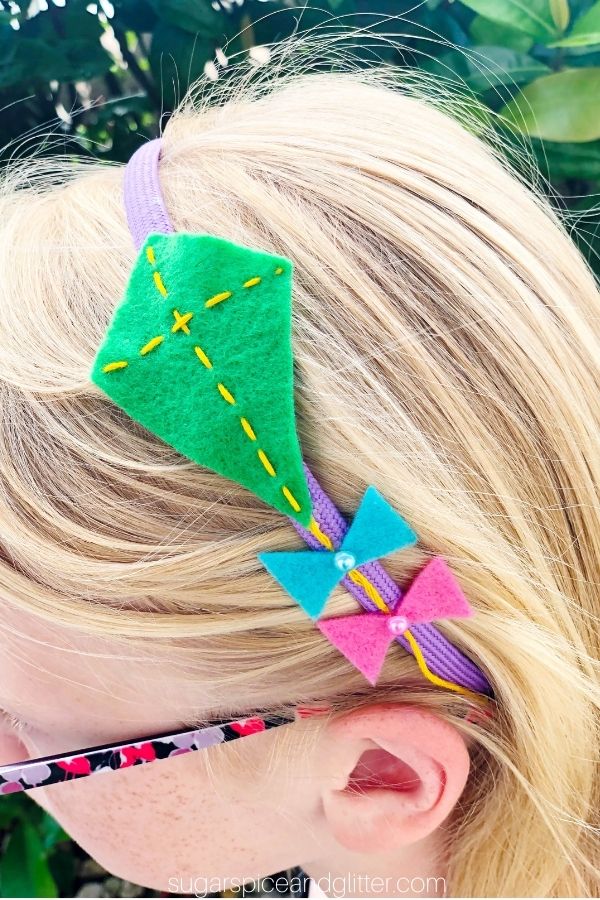
Sew a simple running stitch from the top of the diamond-shaped kite piece to the bottom.
Leave about 6″ of embroidery floss extending from the bottom of the diamond shape that will be used later as the kite’s string/tail and then cut off.
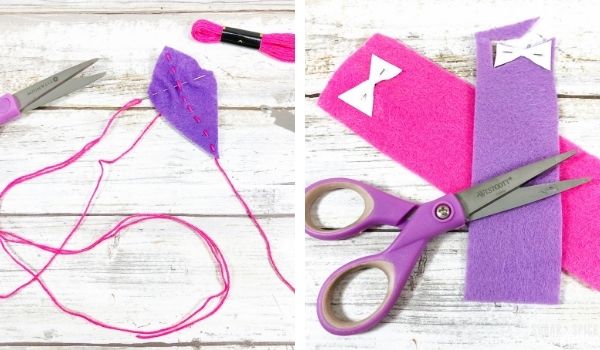
Tie another knot at the end of the embroidery floss and sew a line of running stitches across the diamond shape from one side corner to the other. Tie off and cut off the excess string.
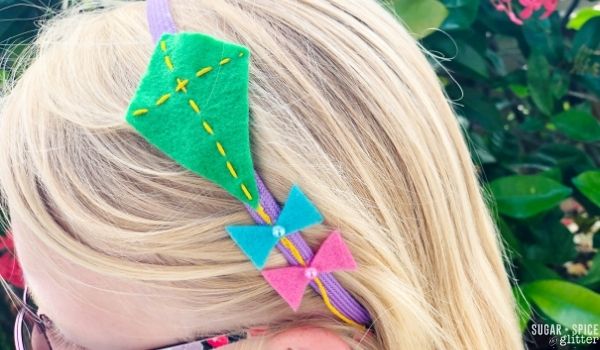
Attach the diamond part of the kite to your headband using a bit of glue and then secure the felt bow pieces below the kite, placing the embroidery thread “tail” under the bows.
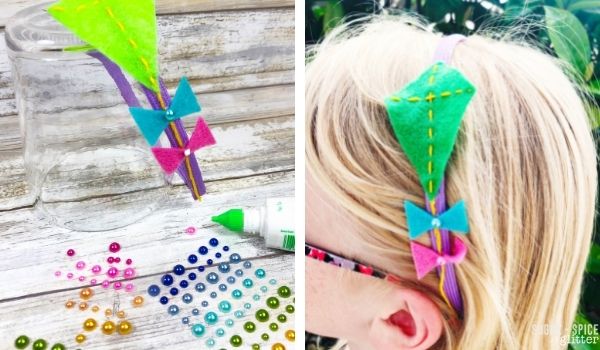
Decorate the bows with pearl stickers, as desired (use a bit of glue to secure) or add additional embellishments based on what you have on hand.
Allow the glue to dry completely before wearing.
Pin this Easy Kite Headband Craft for your next crafting session – or a Mary Poppins movie night:

Grab your free printable instructions for our kite headband craft – and don’t forget to grab your free printable kite headband pattern here:
Want to Save This Recipe?
Enter your email & I'll send it to your inbox. Plus, get great new recipes from me every week!
By submitting this form, you consent to receive emails from Sugar, Spice and Glitter.
DIY Kite Headband
A super cute and easy DIY Kite Headband kids can make using a plain headband and leftover felt scraps. The perfect craft for leftover felt pieces that are cluttering up your craft area and a great craft for a Mary Poppins movie night
Materials
- Plain Headband
- Craft Felt, Assorted Colors
- Embroidery Thread
- Half Pearls
- Glue Gun and Glue Sticks
Tools
- Embroidery Needle
- Craft Glue
- Straight Pins
- Scissors
- Printable Kite Pattern
Instructions
- Download and print out the kite pattern and cut out the pattern pieces.
- Pin the kite pattern securely in place on the felt pieces and trace onto the felt, then carefully cut out with scissors.
- Thread an embroidery needle with a few strands of embroidery floss (we used 6 strands but it's okay if your needle can't hold that much) and tie a knot at the end.
- Sew a simple running stitch from the top of the diamond-shaped kite piece to the bottom.
- Leave about 6" of embroidery floss extending from the bottom of the diamond shape that will be used later as the kite's string/tail and then cut off.
- Tie another knot at the end of the embroidery floss and sew a line of running stitches across the diamond shape from one side corner to the other. Tie off and cut off the excess string.
- Attach the diamond part of the kite to your headband using a bit of glue and then secure the felt bow pieces below the kite, placing the embroidery thread "tail" under the bows.
- Decorate the bows with pearl stickers, as desired (use a bit of glue to secure) or add additional embellishments based on what you have on hand.
- Allow the glue to dry completely before wearing.
Recommended Products
As an Amazon Associate and member of other affiliate programs, I earn from qualifying purchases.
-
 Large Eye Blunt Needles, 15 Pcs Stainless Steel Yarn Knitting Needles, Extra Large-Eye Yarn Sewing Needles, Knitting Darning Needles with Clear Bottle, Suitable for Crochet Projects, Silver
 -
Caydo Embroidery Floss 50 Skeins, Friendship Bracelets String with 12 Pieces Floss Bobbins
-
flic-flac 44PCS 4 x 4 inches (10 x10cm) Assorted Color Felt Fabric Sheets Patchwork Sewing DIY Craft 1mm Thick


I hope your kids love getting to make their own kite headbands – I’d love to hear what they thought!
For more Disney-inspired crafts, check out our full Disney craft collection here:
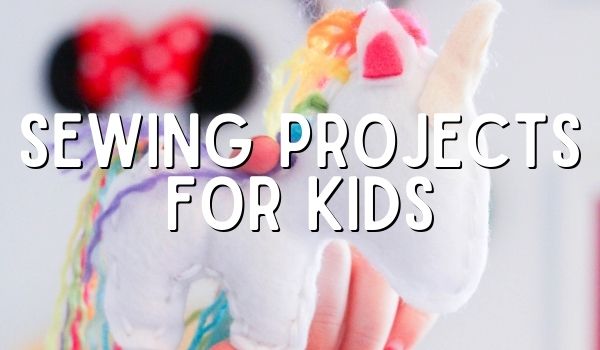
For more easy sewing projects, check out our full sewing projects for kids’ collection here:
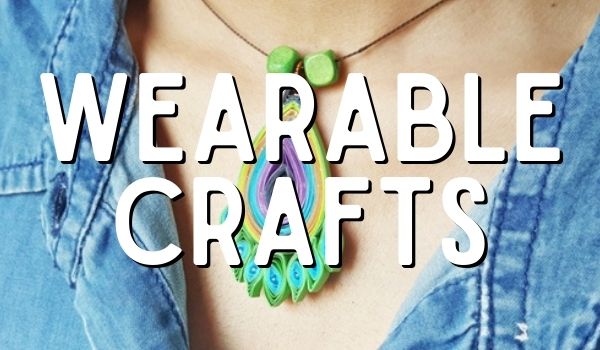
For more DIY ideas you can wear, check out our full wearable craft collection here:
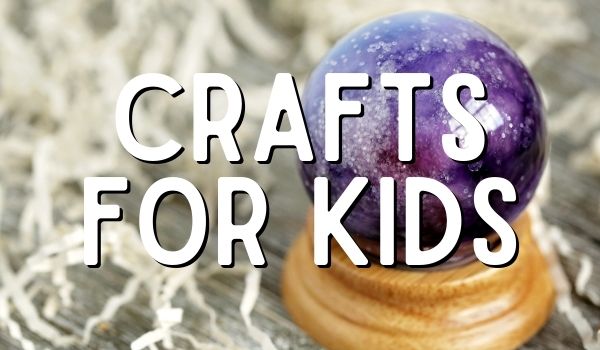
Or for more kids’ craft ideas, check out our full kids’ craft collection here:

The headband looks so cute!
thanks!
This DIY kite headband is such a fun and creative craft idea! It looks like a great project for kids and would be perfect for spring events, classroom activities, or family crafting time. I love crafts that use simple materials but still turn out colorful and unique. For anyone who enjoys making handmade accessories, Shop LC https://shop-lc.pissedconsumer.com/review.html can also be a great source of inspiration for creative designs and decorative elements.