
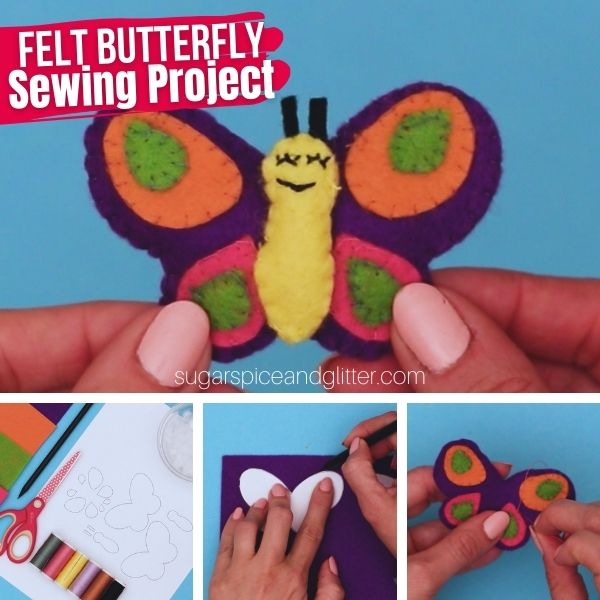
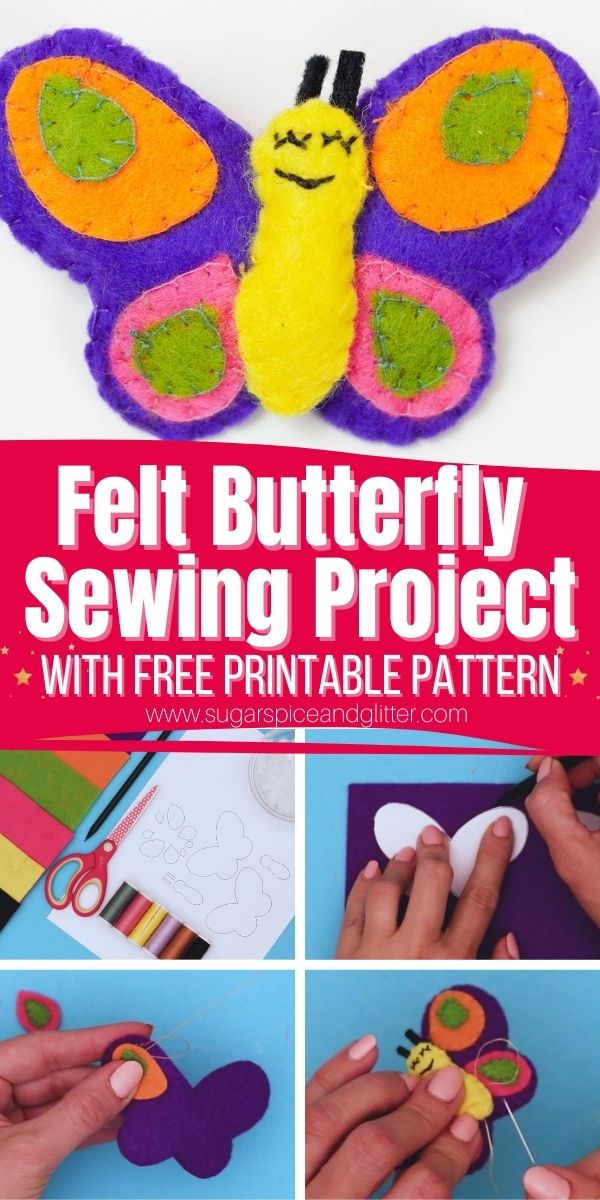
Felt Butterfly Sewing Project (with Video)
Welcome to Sugar, Spice & Glitter! Please note, this post may contain affiliate links. For more details, see our Full Disclosure.
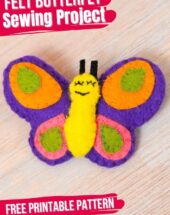
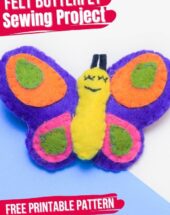
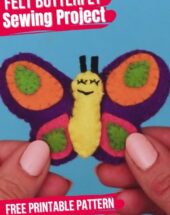
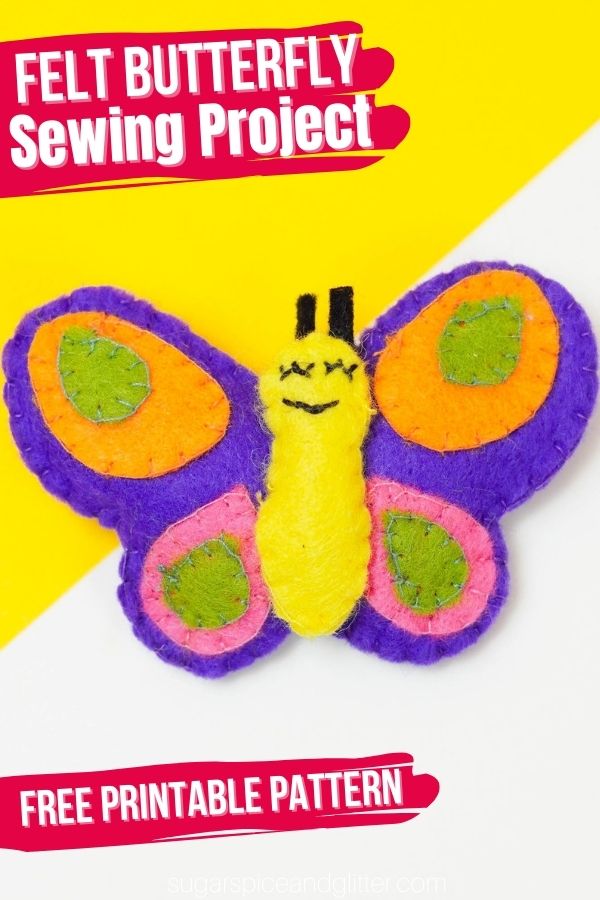
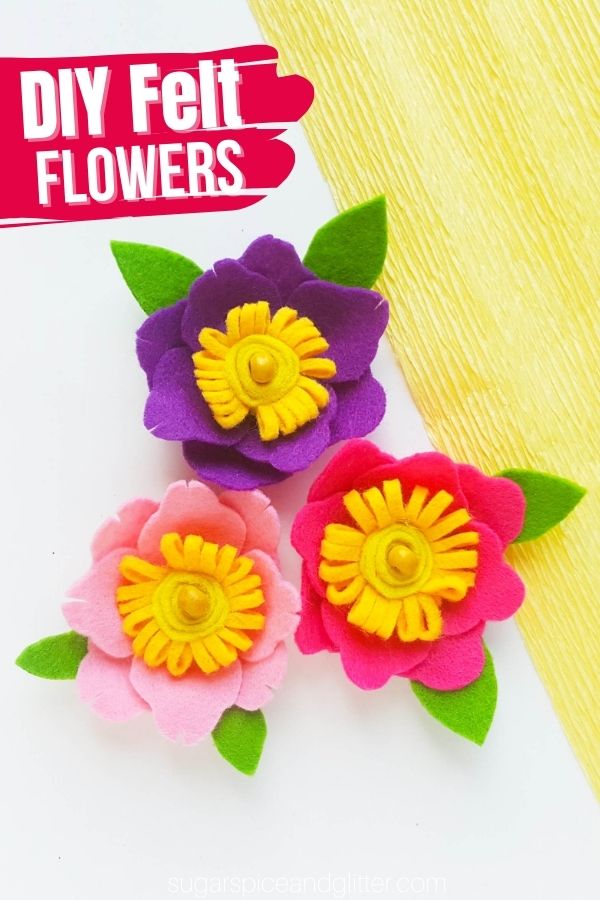
An easy sewing project for kids, today’s Felt Butterfly Sewing Project can be used as a stuffie or turned into a backpack charm, hair clip or added to home decor to display your child’s talents and sewing skills.
Felt Butterfly Craft
One of the best surprises this summer was finding some milkweed in my daughter’s garden. We’ve never had milkweed there before and I would have never thought to plant it ourselves.
For months, we anxiously awaited the arrival of butterflies to our yard as more and more stalks of milkweed popped up… and once the butterflies arrived, they never stopped coming.
Every time we were in the backyard, we were treated to a beautiful display of a variety of butterflies coming to enjoy the garden. Just like with lightning bugs, I don’t think anyone can get blasé about seeing butterflies – there was always a rush of excitement.
Now that we’re in the midst of winter, the only way we’re going to see butterflies is to look them up online or make them ourselves! So, today we’re sharing a fun and colorful DIY butterfly sewing project that you can customize to look like your favorite butterflies.
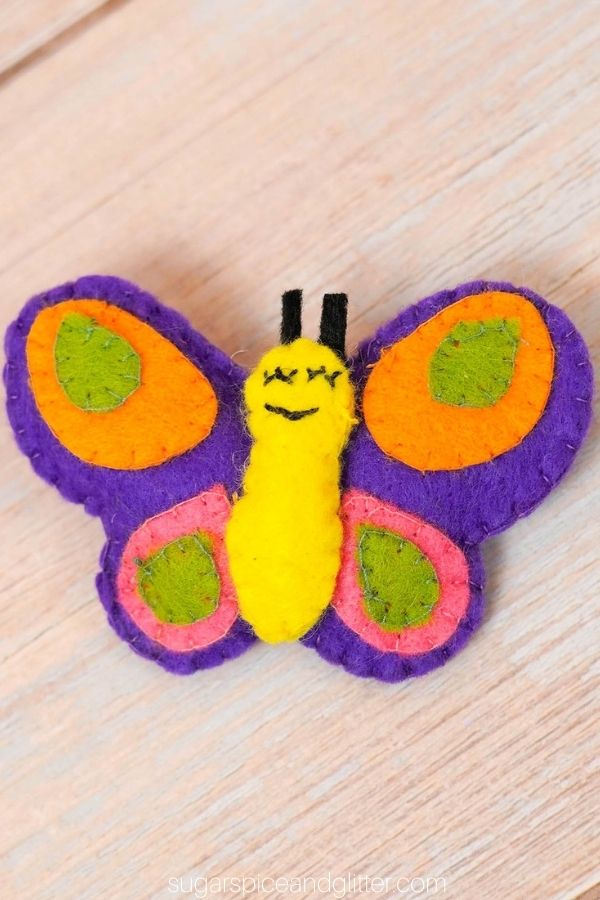
The trickiest part about these felt butterflies are those cute facial features, which are completely optional and can also be drawn on using felt markers if they are a little too tricky for your child.
You can also embellish your butterflies with gems, sequins, beads or pom poms to truly make it your own.
Sewing Tips
Whenever we need to cut out intricate shapes from felt, I always grab some freezer paper and use the freezer paper trick to cut out our felt shapes, but good-quality felt and a sharp pair of scissors also makes all the difference.
To make this butterfly stuffie craft, you just need to know how to do a basic whip stitch and a blanket stitch. (However, you can just use a whip stitch on the sides if the blanket stitch proves to be too tricky. The links above are to my friend Maggie’s channel and they are perfect for kids learning how to sew.)
More Butterfly Crafts for Kids
- Puffy Paint Butterfly (with Video)
- Butterfly Mobile
- Homemade Butterfly Play Dough Kit (with Video)
- Butterfly Puzzle Craft from Conservamom
- Butterfly Diorama from Preschool Inspirations
Check out our quick video to see how to make your own felt butterfly stuffie – and then don’t forget to scroll down to grab your free printable template and instructions:
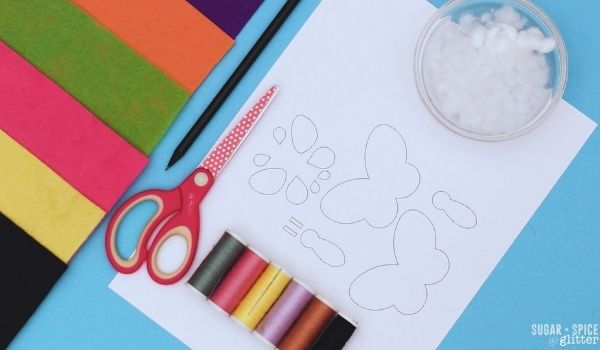
Materials to Make a Felt Butterfly
- Felt
- Pencil or fabric marker
- Scissors
- Freezer paper and iron (if using the freezer paper trick)
- Needle
- Thread <– preferably to match the felt colors and black thread
- Cotton Batting, optional
- Felt Butterfly Pattern Template
How to Make a Felt Butterfly Stuffie
Print out your butterfly pattern and cut out the template.
Trace the pattern pieces onto your chosen felt colors, using the freezer paper hack if desired.
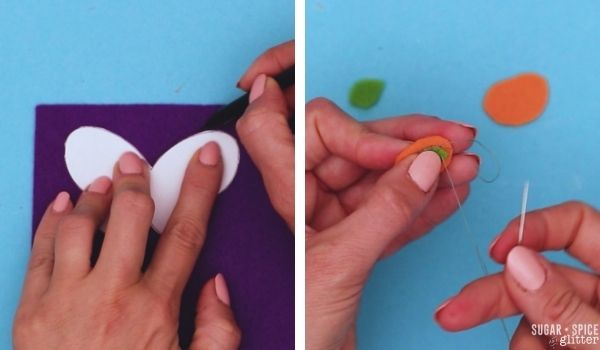
Cut out all of the felt pieces.
Start by assembling the wing details.

Place the smaller detail pieces overtop of the larger detail pieces (these are called wing cells).
Use a whip stitch or overstitch to sew the smaller felt pieces onto the larger pieces. Repeat with all wing details.
Sew the wing details onto the front butterfly body piece, centering each detail piece per quadrant of the butterfly and ensuring that they look symmetrical. Set aside.
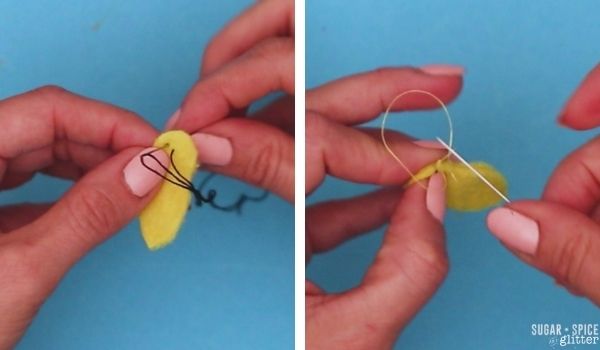
Take one of the butterfly’s body pieces (the thorax/abdomen piece) and use a cross stitch to sew on the facial features. (Alternatively, you can leave off the facial features or draw them on with a felt marker.)
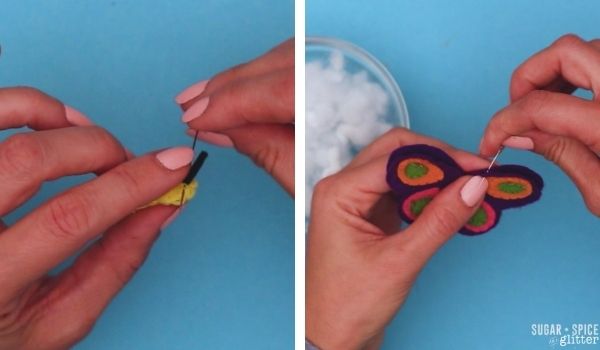
Lay the body piece with the facial features over the second body piece, lining up the edges, and use a whip or blanket stitch to connect the sides. Before completely sewing all the way around, fill the butterfly’s body with cotton batting or felt fabric scraps, then complete sewing around the edges and tie off.
Sew the two small black rectangle pieces to the back, top of the butterfly’s head for antennae. Set aside.
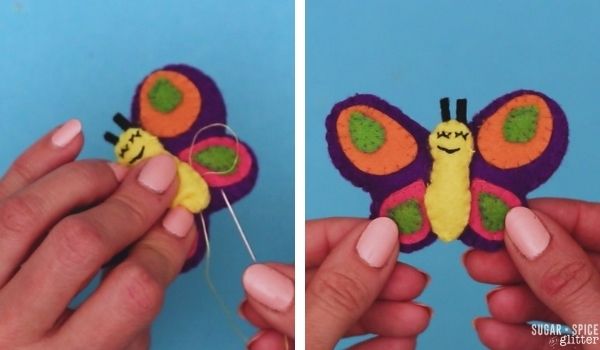
Lay the embellished butterfly wing felt piece overtop of the second wing piece, lining up the edges, and use a whip or blanket stitch to connect the sides. Before completely sewing all the way around, fill the butterfly’s wings with cotton batting or felt fabric scraps, then complete sewing around the edges and tie off.
Sew the butterfly’s body to the center of the butterfly wings – try to sew “underneath” the body to hide these stitches, if possible.
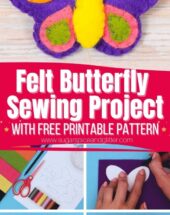
Pin this Easy Sewing Project for your next craft session:
Grab your free printable instructions for our felt butterfly sewing project – and don’t forget to grab your Felt Butterfly Sewing Pattern here:
Want to Save This Recipe?
Enter your email & I'll send it to your inbox. Plus, get great new recipes from me every week!
By submitting this form, you consent to receive emails from Sugar, Spice and Glitter.
Felt Butterfly Sewing Project
An easy sewing project for kids, this felt butterfly stuffie comes with a free printable sewing pattern and can be customized with your favorite colors or optional embellishments like sequins, beads, pompoms, etc. You can turn your finished butterfly into a backpack charm, hair clip or add to home decor to display your child's talents and sewing skills.
Materials
- Felt
- Thread
- Cotton Batting, optional
- Felt Butterfly Pattern Template
Tools
- Pencil or fabric marker
- Scissors
- Freezer paper and iron (if using the freezer paper trick)
- Needle
Instructions
- Print out your butterfly pattern and cut out the template.
- Trace the pattern pieces onto your chosen felt colors, using the freezer paper hack if desired.
- Cut out all of the felt pieces.
- Start by assembling the wing details.
- Place the smaller detail pieces overtop of the larger detail pieces (these are called wing cells).
- Use a whip stitch or overstitch to sew the smaller felt pieces onto the larger pieces. Repeat with all wing details.
- Sew the wing details onto the front butterfly body piece, centering each detail piece per quadrant of the butterfly and ensuring that they look symmetrical. Set aside.
- Take one of the butterfly's body pieces (the thorax/abdomen piece) and use a cross stitch to sew on the facial features. (Alternatively, you can leave off the facial features or draw them on with a felt marker.)
- Lay the body piece with the facial features over the second body piece, lining up the edges, and use a whip or blanket stitch to connect the sides. Before completely sewing all the way around, fill the butterfly's body with cotton batting or felt fabric scraps, then complete sewing around the edges and tie off.
- Sew the two small black rectangle pieces to the back, top of the butterfly's head for antennae. Set aside.
- Lay the embellished butterfly wing felt piece overtop of the second wing piece, lining up the edges, and use a whip or blanket stitch to connect the sides. Before completely sewing all the way around, fill the butterfly's wings with cotton batting or felt fabric scraps, then complete sewing around the edges and tie off.
- Sew the butterfly's body to the center of the butterfly wings - try to sew "underneath" the body to hide these stitches, if possible.
Recommended Products
As an Amazon Associate and member of other affiliate programs, I earn from qualifying purchases.
-
 Warm & Natural Cotton Batting-Craft Size 34"X45"
 -
Large Eye Blunt Needles, 15 Pcs Stainless Steel Yarn Knitting Needles, Extra Large-Eye Yarn Sewing Needles, Knitting Darning Needles with Clear Bottle, Suitable for Crochet Projects, Silver
-
flic-flac 44PCS 4 x 4 inches (10 x10cm) Assorted Color Felt Fabric Sheets Patchwork Sewing DIY Craft 1mm Thick


I hope your kids love getting to make their own little butterfly stuffies as much as mine did!
For more easy sewing projects for kids, check out our full sewing crafts collection here:
Or for more fun crafts, check out our full crafts for kids collection here:


This is such a cute project idea, especially for beginners or for making decorations with kids. Felt crafts are nice because they’re pretty forgiving even if you’re not super experienced with sewing. I’ve ended up buying random craft supplies online before and learned quickly to check reviews first. I remember seeing very mixed LightInTheBox reviews https://light-in-the-box.pissedconsumer.com/review.html —some people got great deals on fabric and craft items, while others had issues with shipping times or quality.