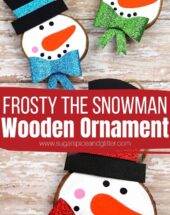
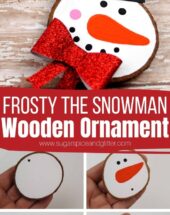
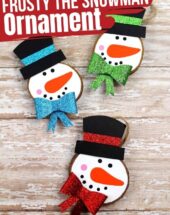
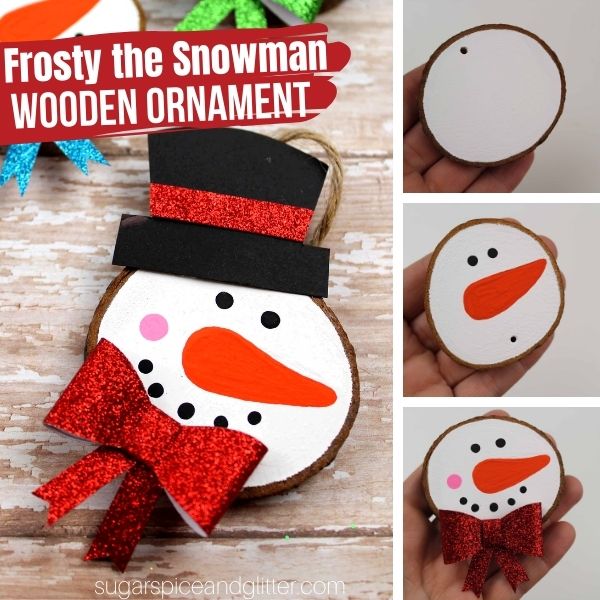
Frosty the Snowman Wooden Slice Ornament
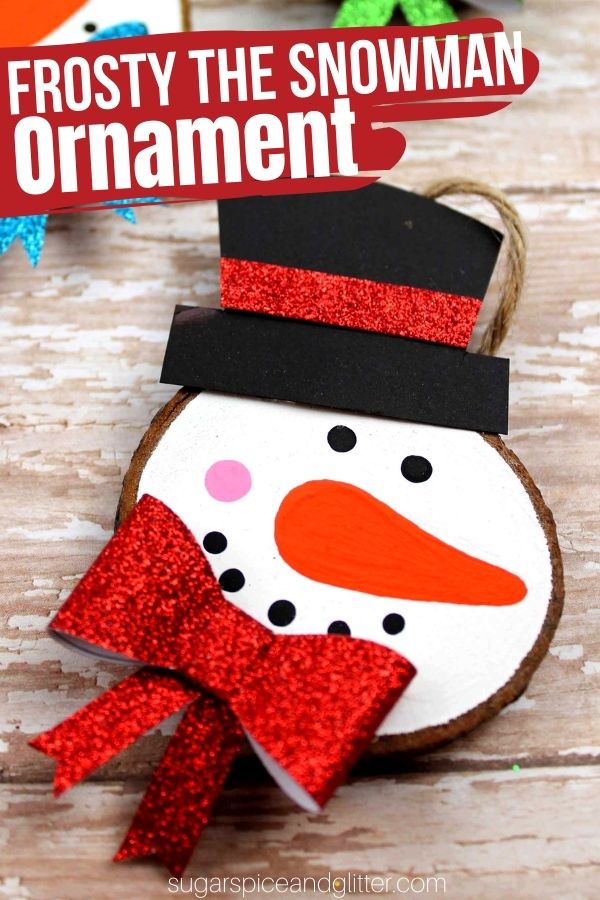
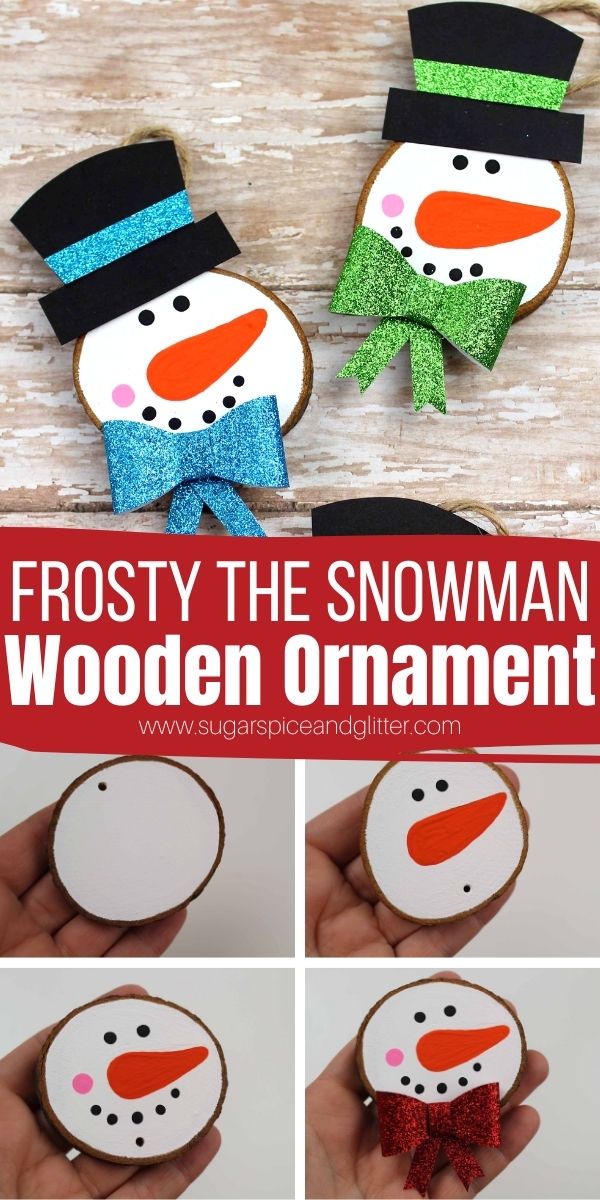
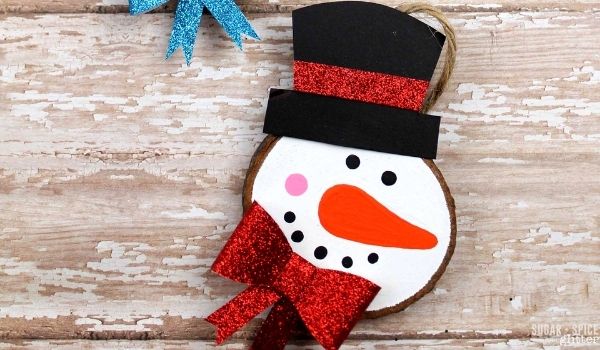
Our final wood slice ornament for the season, today’s Frosty the Snowman Ornament is a jolly, happy tribute to the most famous snowman and makes a cute addition to your Christmas decor.
DIY Frosty the Snowman Wood Slice Ornament Craft
This year, we bought a package of unfinished wood slice ornaments to paint as one of our Advent activities and we’ve been having so much fun coming up with different ideas and designs. We’ve finally reached the end of the package and we still have so many ideas, so I think we’ll be buying a new package next year and building on our collection.
Our final design was a bit of an homage to Frosty the Snowman. You could make your snowman’s features more closely resembling Frosty’s with his red button nose and flower on his hat, but my daughter wasn’t a fan of the red circle nose idea so we went with more traditional snowman features.
You don’t just have to use these Frosty the Snowmen ornaments on your Christmas tree:
- attach a magnet on the back for a festive holiday fridge magnet
- use to adorn a snowman themed wreath
- use as a unique gift tag
- tie around a mason jar or vase for a cute holiday container
To make our glitter paper bows, we used this tutorial. You can also use pre-made bows to embellish your craft. (I will have a tutorial soon on how to make paper bows using a Cricut machine, soon!)
If you plan to use these ornaments year after year, I highly recommend using a craft sealant to prevent the ornaments from fading or being damaged in storage.
Materials for a Frosty the Snowman Wood Slice Ornament
- Wood Slices Ornaments
- Baker’s Twine, optional
- Glitter Paper
- Black Card Stock or Black Craft Foam
- Paint Pens: black, orange and pink
- White Acrylic Paint
- Paintbrushes
- Craft Sealant
Tip: paint pens make some of the detail work on these ornaments a bit easier than trying to use a small detail paintbrush.
How to Make a Frosty the Snowman Ornament
Remove the string from the ornament, if already threaded, and set aside.
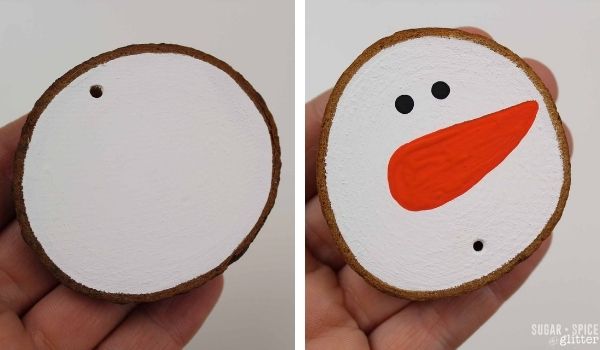
Paint one side of the wooden slices white, leaving the bark edges unpainted.
Allow the paint to dry fully before adding Frosty’s features. Use this time to assemble your bow and hat.
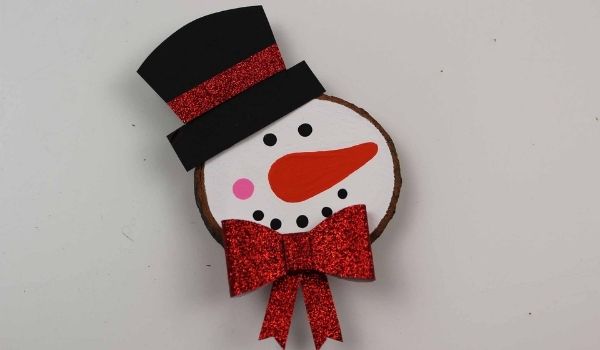
Follow the directions here to make the bow. For the hat, trace a top hat shape onto your black card stock or craft foam. Cut out the hat shape and glue on a strip of glitter paper to serve as the hat’s band.
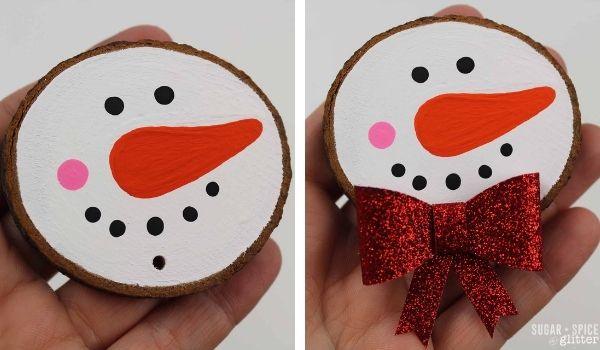
Using your black paint pen, draw on button eyes and a dotted smile and buttons for your snowman.
Use the pink paint pen to give the snowman rosy cheeks.
Use the orange paint pen to give the snowman a carrot nose.
Allow the paint to dry fully before sealing the craft with craft sealant, if using.
Glue on the paper bow and paper hat.
Restring the twine or use a pretty baking twine or ribbon for the ornament loop.
Pin this Easy Frosty the Snowman Ornament for your holiday crafting:
Grab your free printable instructions for our Frosty the Snowman Wood Slice Ornament:
Want to Save This Recipe?
Enter your email & I'll send it to your inbox. Plus, get great new recipes from me every week!
By submitting this form, you consent to receive emails from Sugar, Spice and Glitter.
Frosty the Snowman Wooden Slice Ornament
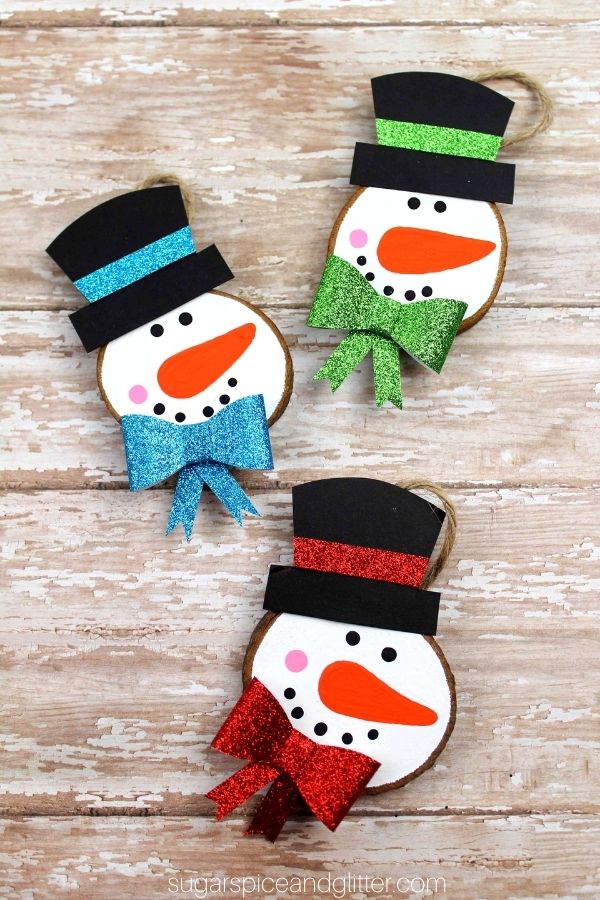
A fun homage to everyone's favorite Snowman, these Frosty the Snowman-inspired ornaments are super simple for kids to help make and add a rustic charm to your holiday decorating. Turn these ornaments into magnets, wreath embellishments, gift tags, etc.
Materials
- Wood Slices Ornaments
- Baker's Twine, optional
- Glitter Paper
- Black Card Stock or Black Craft Foam
- White Acrylic Paint
- Craft Sealant
Tools
- Paint Pens: black, orange and pink
- Paintbrushes
Instructions
- Remove the string from the ornament, if already threaded, and set aside.
- Paint one side of the wooden slices white, leaving the bark edges unpainted.
- Allow the paint to dry fully before adding Frosty's features. Use this time to assemble your bow and hat.
- Follow the directions here to make the bow. For the hat, trace a top hat shape onto your black card stock or craft foam. Cut out the hat shape and glue on a strip of glitter paper to serve as the hat's band.
- Using your black paint pen, draw on button eyes and a dotted smile and buttons for your snowman.
- Use the pink paint pen to give the snowman rosy cheeks.
- Use the orange paint pen to give the snowman a carrot nose.
- Allow the paint to dry fully before sealing the craft with craft sealant, if using.
- Glue on the paper bow and paper hat.
- Restring the twine or use a pretty baking twine or ribbon for the ornament loop.
Recommended Products
As an Amazon Associate and member of other affiliate programs, I earn from qualifying purchases.
-
85 Sheets Bright Craft Foam Sheets Glitter Craft Foam Sheets 17 Assorted Rainbow Colors 9x6" 2mm Thick with Scissor Stencils Ruler Pencils for Kids Classroom Party Scrapbooks Artwork Projects 9" x 6"
-
Paintigo Acrylic Paint Pens,12 Colors, Water-Based, Permanent & Waterproof Ink, 0.7mm Extra Fine Tip, Ideal for Rock Painting, Fabric, Wood, Glass, Metal, Ceramic, Porcelain, Canvas, Mug, DIY Crafts.
-
5ARTH Natural Wood Slices - 30 Pcs 2.4-2.8 inches Craft Unfinished Wood kit Predrilled with Hole Wooden Circles for Arts Wood Slices Christmas Ornaments DIY Crafts
I hope your kids love getting to make their own Frosty the Snowman ornaments!
More Wood Slice Ornaments for Kids
- Wood Slice String Art Ornament from Happy Brown House
- Hand Lettered Wood Slice Ornament from the Soccer Mom Blog
- Wood Slice Stacked Snowman Ornament
- Wood Slice Snowman Ornament with a Festive Scene
- Wood Slice Chalkboard Ornament from Fireflies and Mudpies
- Rudolph Wood Slice Ornament
- Grinch Wood Slice Ornament
- Wooden Slice Penguin Ornament

