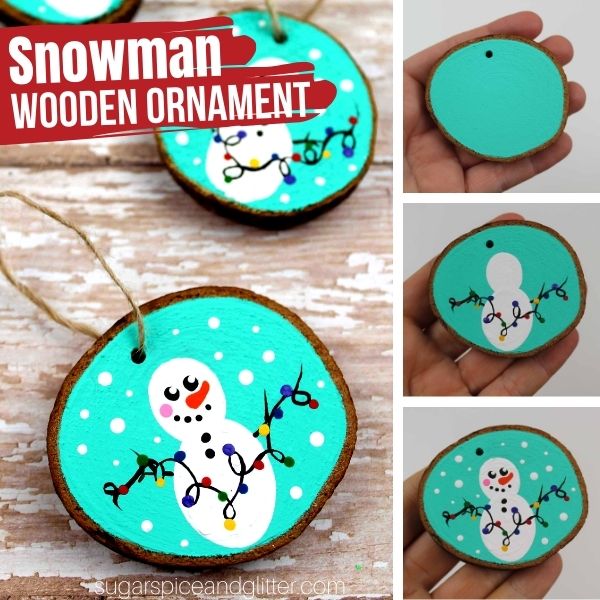
Snowman Wooden Slice Ornament (with Video)
Welcome to Sugar, Spice & Glitter! Please note, this post may contain affiliate links. For more details, see our Full Disclosure.
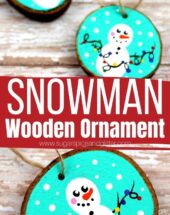
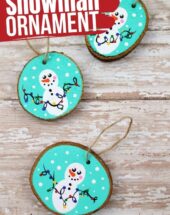
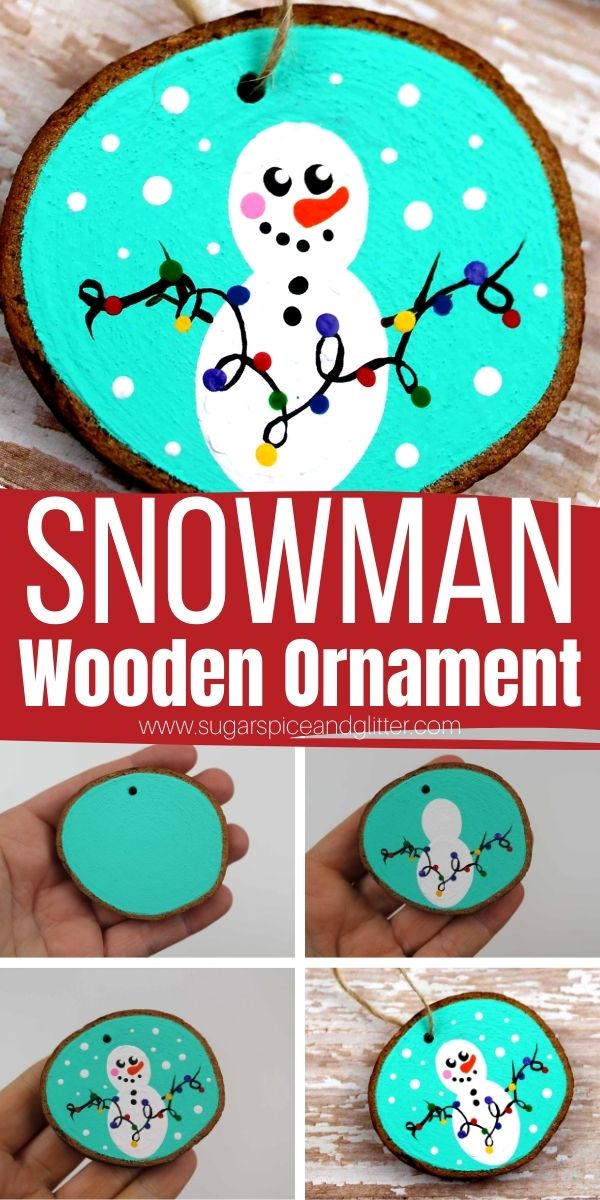
An easy snowman ornament for kids, these Snowman Ornaments add a bit of cheer to your Christmas decor, whether you use them as ornaments for the tree or use as a unique gift tag or embellishment for your other winter decor items.
DIY Snowman Wood Slice Ornament Craft
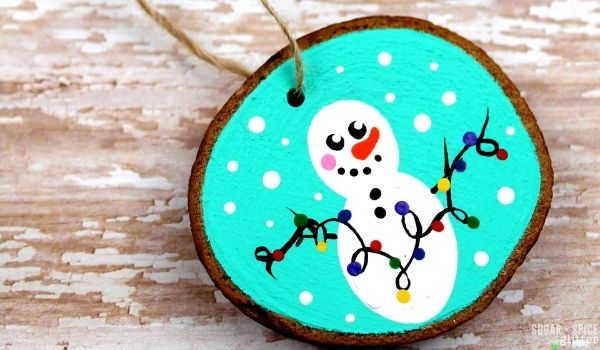
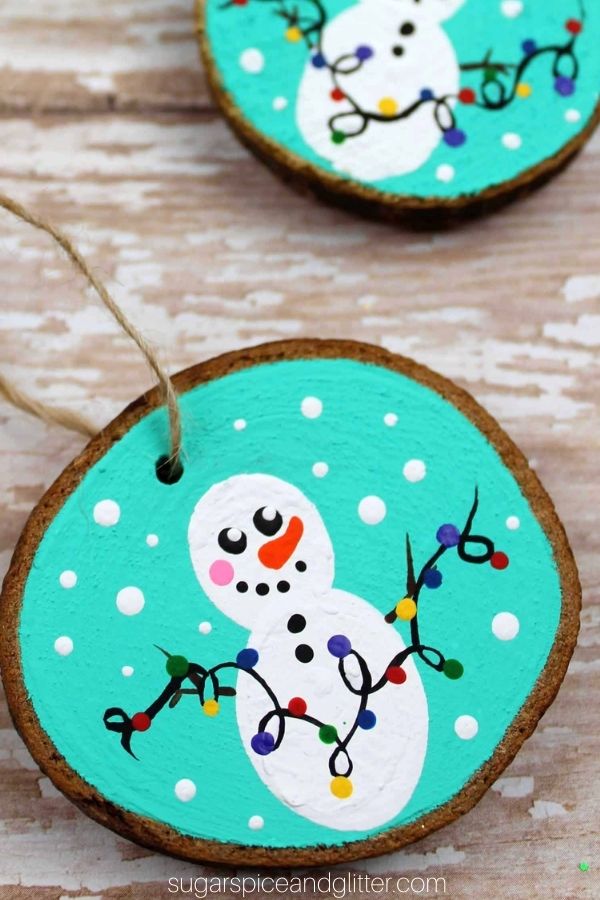
How cute and cheerful are these little snowmen?
This year, we bought a package of unfinished wood slice ornaments to paint as one of our Advent activities and we’ve been having so much fun coming up with different ideas and designs.
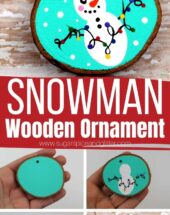
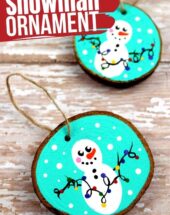
Today’s design is a cheerful little snowman about to help string up some Christmas lights. I love how whimsical this super simple craft turned out – and you can make it even more personal if you want to let the kids use their fingerprints for the snowman’s body or for the lights.
Kids can also create their own unique scenes for their snowman doing different winter-inspired activities, light having a snowball fight or drinking a cup of hot cocoa.
Because there are several “layers” to this craft that need to dry before adding on a new details with the paint, it’s a great craft to let the kids do in 5-minute spurts. My daughter loves getting to craft before school so I use simple crafts like this to reward her for getting ready on time – she gets to do one step each morning and let it dry until the next day.
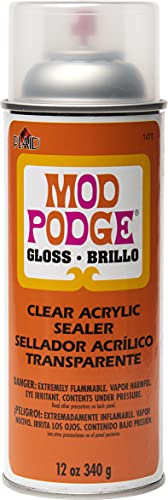
If you plan to use these ornaments year after year, I highly recommend using a craft sealant to prevent the ornaments from fading or being damaged in storage.
More Wood Slice Ornaments for Kids
- Wood Slice String Art Ornament from Happy Brown House
- Hand Lettered Wood Slice Ornament from the Soccer Mom Blog
- Wood Slice Stacked Snowman Ornament
- Wood Slice Chalkboard Ornament from Fireflies and Mudpies
- Rudolph Wood Slice Ornament
- Grinch Wood Slice Ornament
- Wooden Slice Penguin Ornament
Check out our quick how-to video to see how to make your own snowman wooden slice ornament and then don’t forget to scroll down and grab your free printable instructions:
Snowman Wood Slice Ornament Materials
- Wood Slices Ornaments
- Baker’s Twine, optional
- Paint Pens
- Acrylic Paint: Black, white, orange and primary colors
- Paintbrushes
- Craft Sealant
Tip: paint pens make some of the detail work on these ornaments a bit easier than trying to use a small detail paintbrush.
How to Make Snowman Wood Slice Ornaments
Remove the string from the ornament, if already threaded, and set aside.
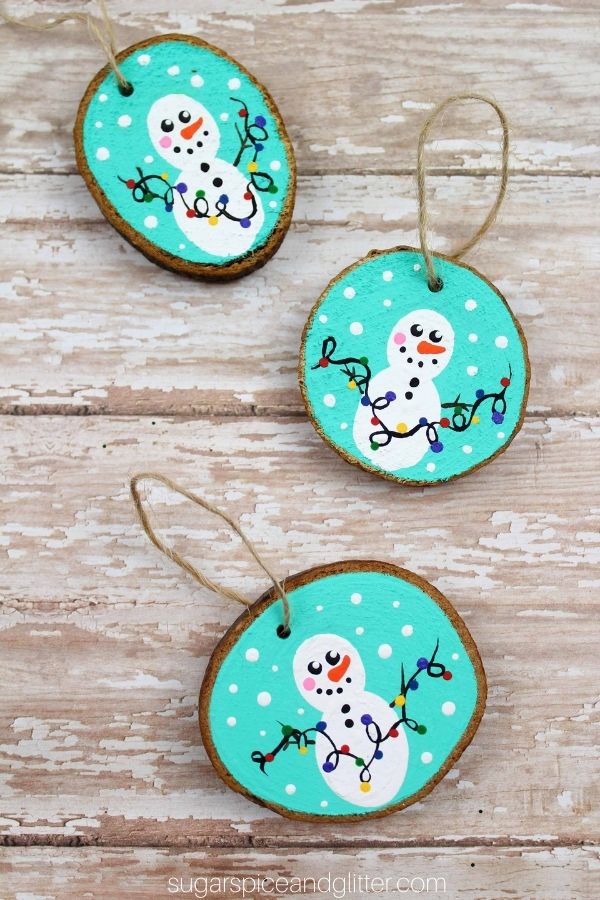
Paint one side of the wooden slices with your chosen background color, leaving the bark edges unpainted.
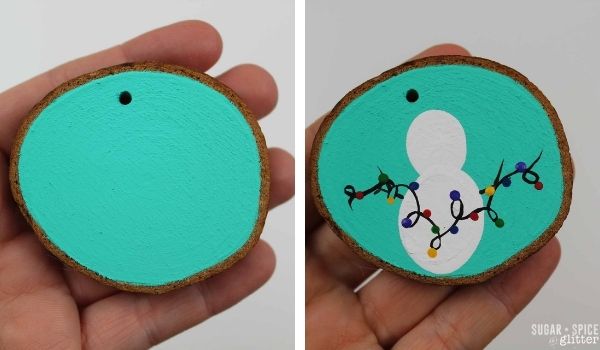
Allow the paint to dry fully before adding the snowman.
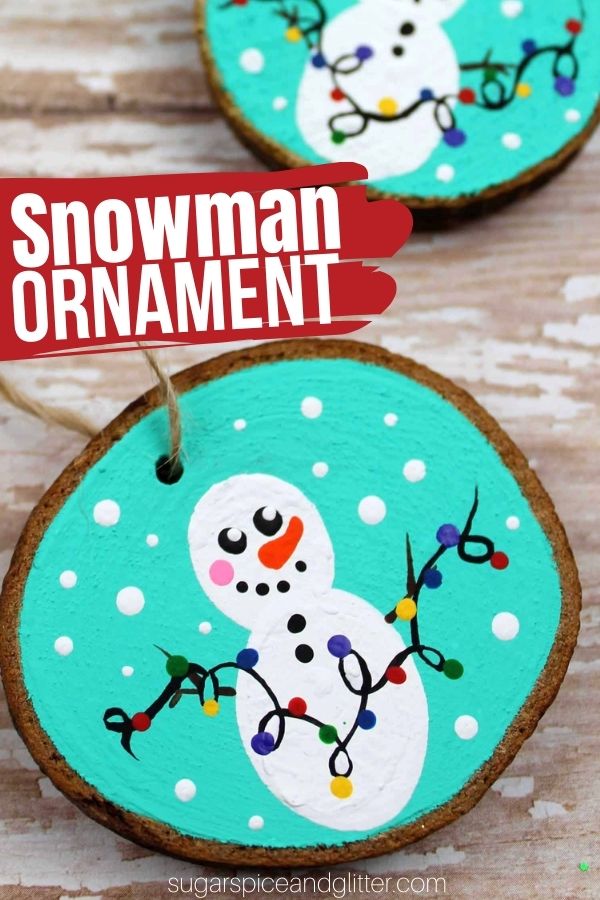
Create an “8” shape for your snowman’s body and fill in with white paint. You can alternatively use fingerprints for the snowman’s body.
Allow to dry before adding on decorative details with your paint pens.
Using your black paint pen, add twig arms and a loopy line for the string of lights. Draw on eyes, a dotted smile and buttons for your snowman.
Use the pink paint pen to give the snowman rosy cheeks.
Use the orange paint pen to give the snowman a carrot nose.
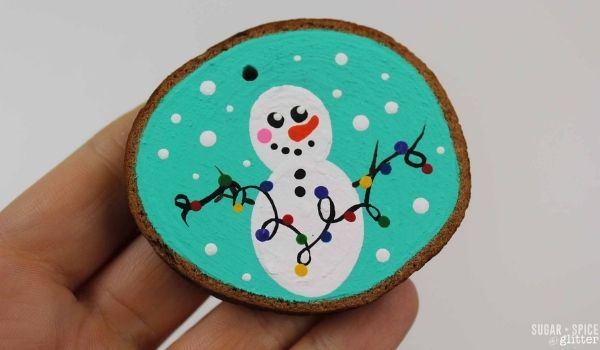
Add dots of primary colors along the loopy string of lights to create the light bulbs.
Use the white paint pen or the end of a paintbrush to add small dots of snow to the background.
Allow the paint to dry fully before sealing the craft with craft sealant, if using.
Restring the twine or use a pretty baking twine or ribbon for the ornament loop.
Pin this Easy Snowman Craft for Kids for your holiday crafting:
Grab your free printable instructions for our wooden slice snowman ornament craft:
Want to Save This Recipe?
Enter your email & I'll send it to your inbox. Plus, get great new recipes from me every week!
By submitting this form, you consent to receive emails from Sugar, Spice and Glitter.
Snowman Wooden Slice Ornament
A fun snowman craft to make with kids, these Snowman Wood Slice Ornaments add some Christmas cheer and whimsy to your Christmas decor. Kids can paint the snowmen decorating with lights, or create different whimsical scenes with their snowmen. You can also use fingerprints for the snowman's body or the lights.
Materials
- Wood Slices Ornaments
- Baker's Twine, optional
- Acrylic Paint: Black, white, orange and primary colors
- Craft Sealant
Tools
- Paint Pens
- Paintbrushes
Instructions
- Remove the string from the ornament, if already threaded, and set aside.
- Paint one side of the wooden slices with your chosen background color, leaving the bark edges unpainted.
- Allow the paint to dry fully before adding the snowman.
- Create an "8" shape for your snowman's body and fill in with white paint. You can alternatively use fingerprints for the snowman's body.
- Allow to dry before adding on decorative details with your paint pens.
- Using your black paint pen, add twig arms and a loopy line for the string of lights. Draw on eyes, a dotted smile and buttons for your snowman.
- Use the pink paint pen to give the snowman rosy cheeks.
- Use the orange paint pen to give the snowman a carrot nose.
- Add dots of primary colors along the loopy string of lights to create the light bulbs.
- Use the white paint pen or the end of a paintbrush to add small dots of snow to the background.
- Allow the paint to dry fully before sealing the craft with craft sealant, if using.
- Restring the twine or use a pretty baking twine or ribbon for the ornament loop.
Recommended Products
As an Amazon Associate and member of other affiliate programs, I earn from qualifying purchases.
-
 Mod Podge Spray Acrylic Sealer that is Specifically Formulated to Seal Craft Projects, Dries Crystal Clear is Non-Yellowing No-Run and Quick Drying, 12 ounce, Gloss
 -
5ARTH Natural Wood Slices - 30 Pcs 2.4-2.8 inches Craft Unfinished Wood kit Predrilled with Hole Wooden Circles for Arts Wood Slices Christmas Ornaments DIY Crafts
-
Paintigo Acrylic Paint Pens,12 Colors, Water-Based, Permanent & Waterproof Ink, 0.7mm Extra Fine Tip, Ideal for Rock Painting, Fabric, Wood, Glass, Metal, Ceramic, Porcelain, Canvas, Mug, DIY Crafts.