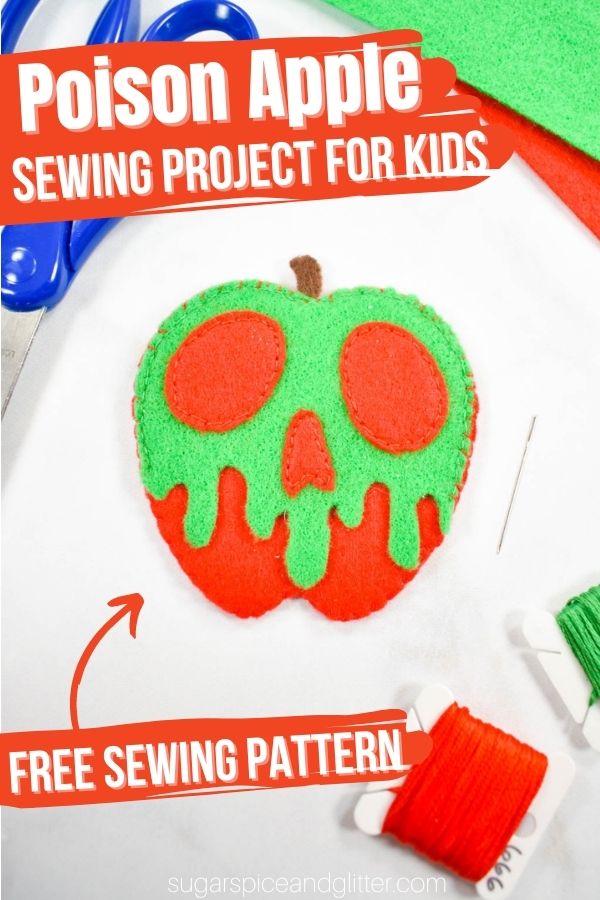
Mermaid Flower Pot
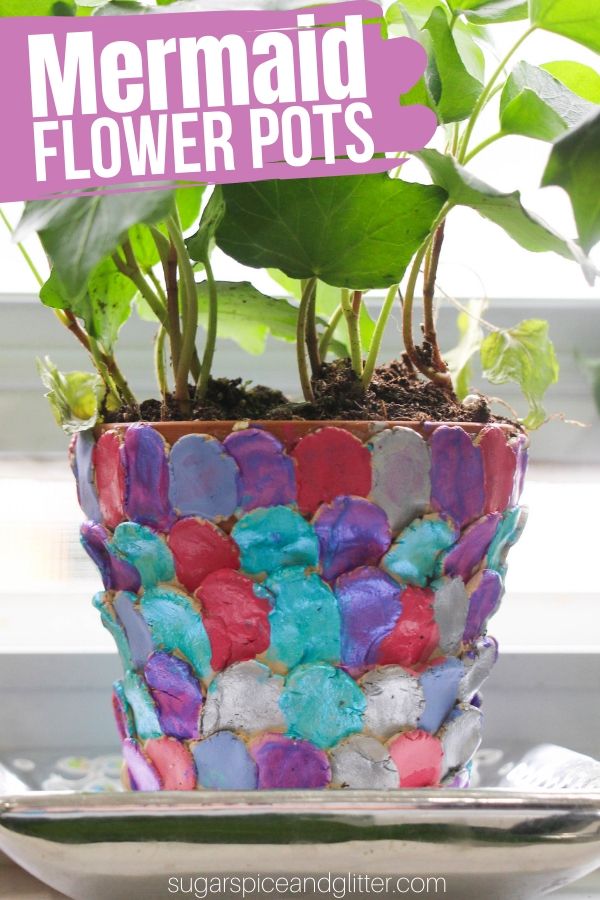
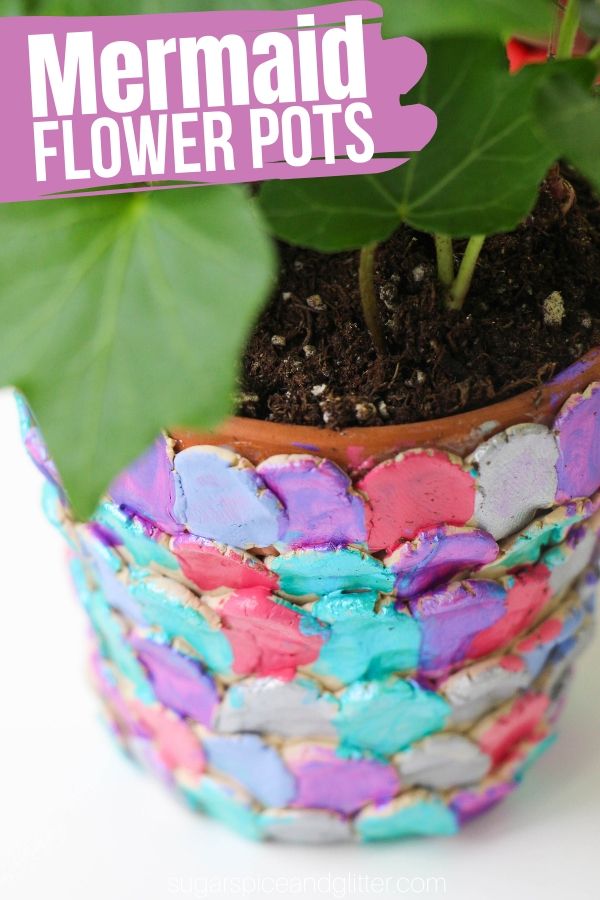
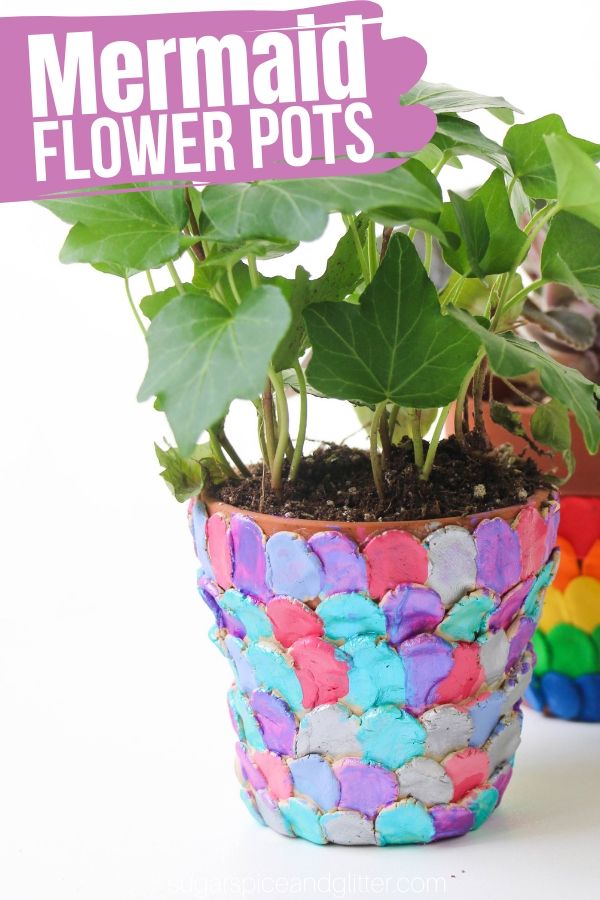
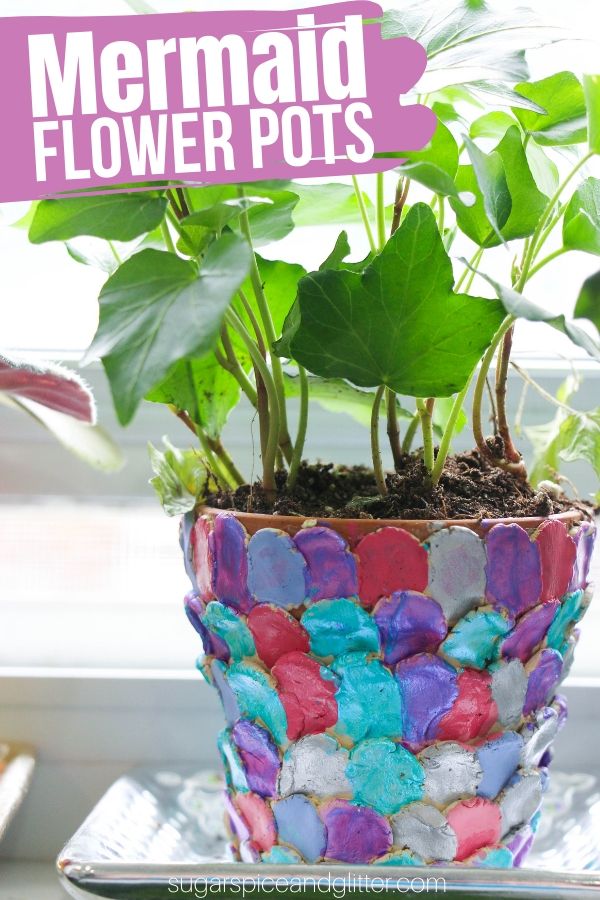
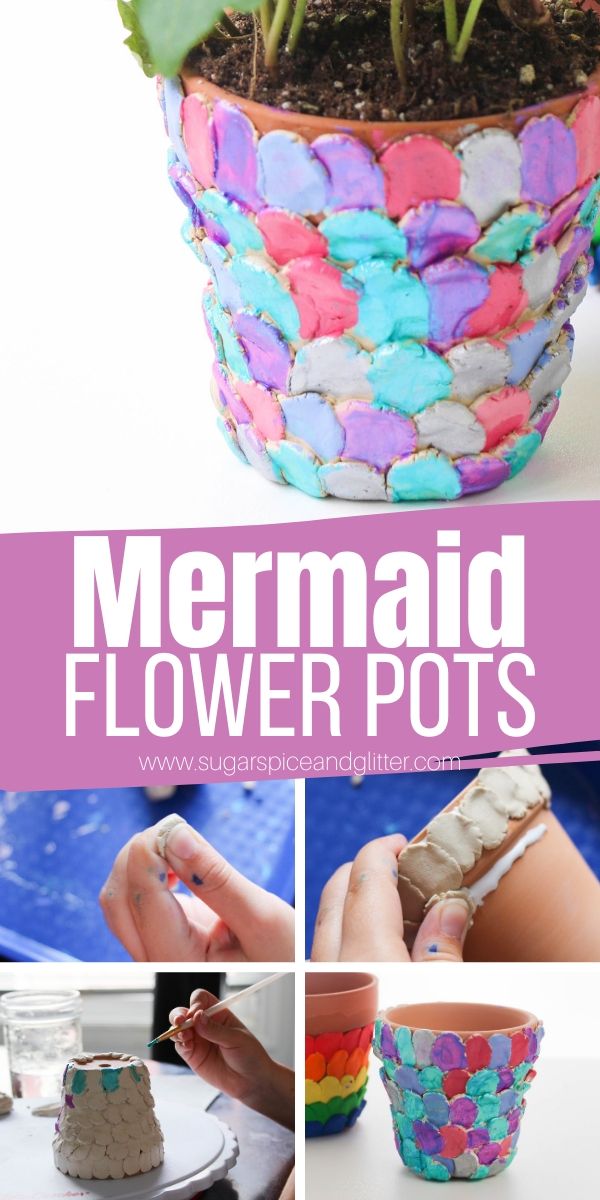
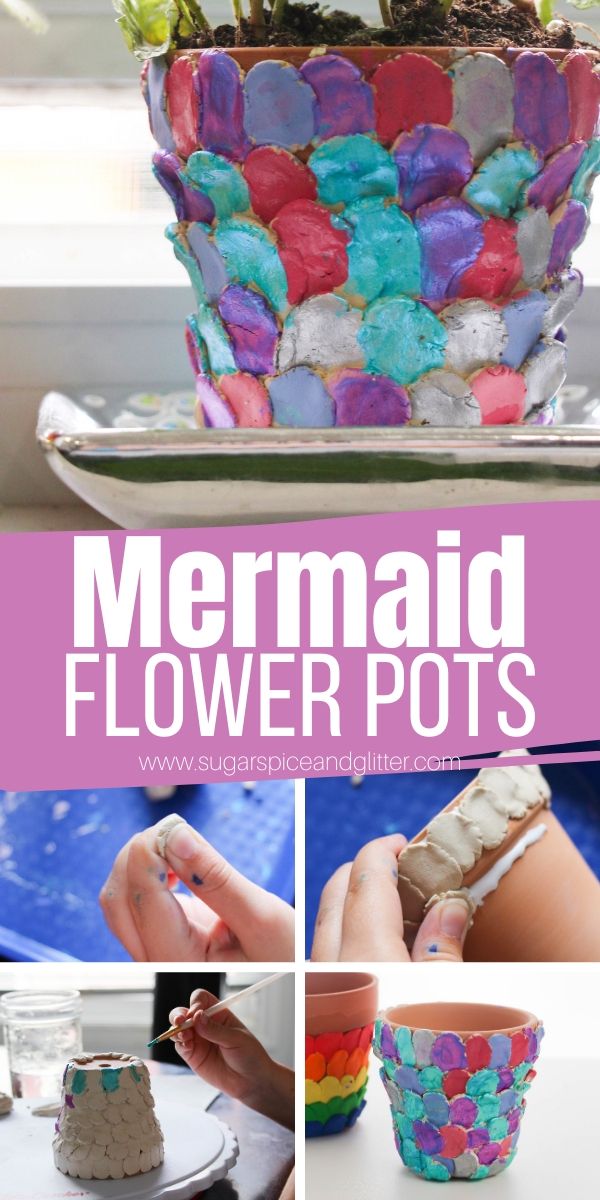
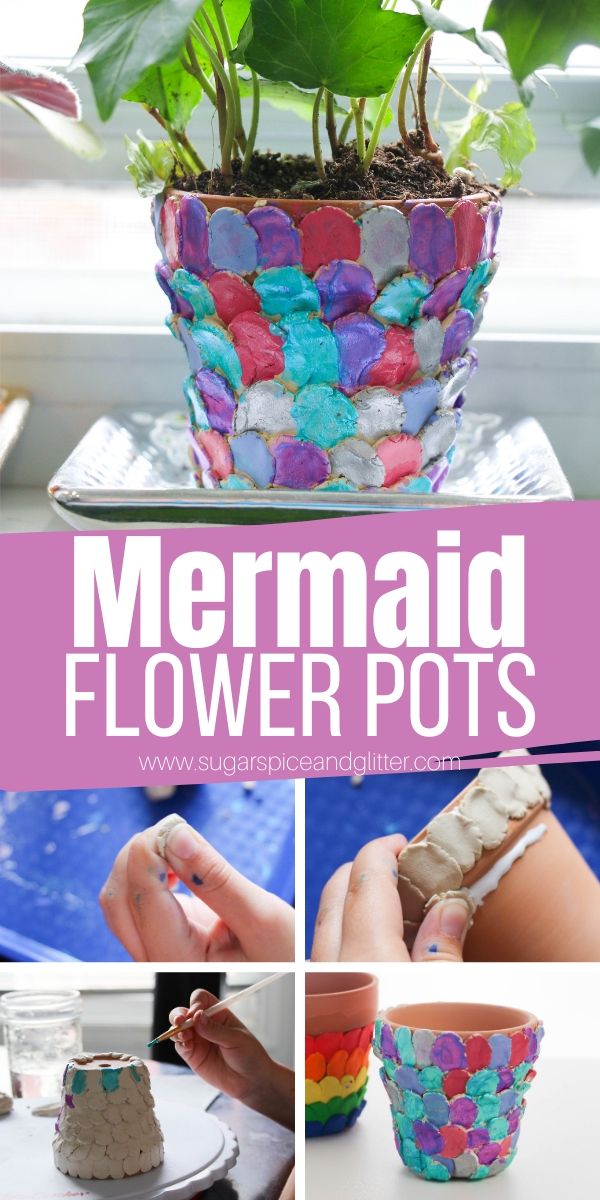
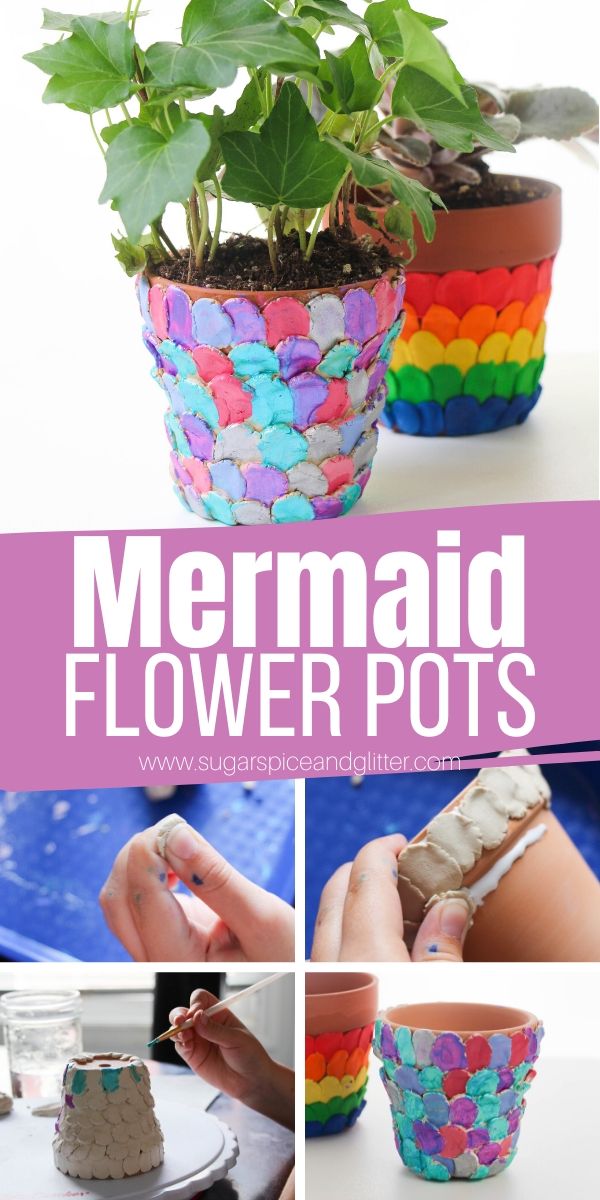
A gorgeous mermaid craft for kids perfect for summertime, these Mermaid Flower Pots are a beautiful way for kids to personalize their plants or would make a thoughtful homemade gift.
DIY Mermaid Flower Pot Craft
The mermaid obsession has been going strong in this house for nearly 7 years now and it doesn’t show any signs of letting up anytime soon!
Ella has long been fascinated by mermaids. Ironically, it didn’t stem from our family’s Disney obsession – it started with an audiobook when she was little of about a seal who became a mermaid. (I can’t for the life of me remember the name of it or find it online.) She loved the story and would beg to listen to it everyday at nap time.
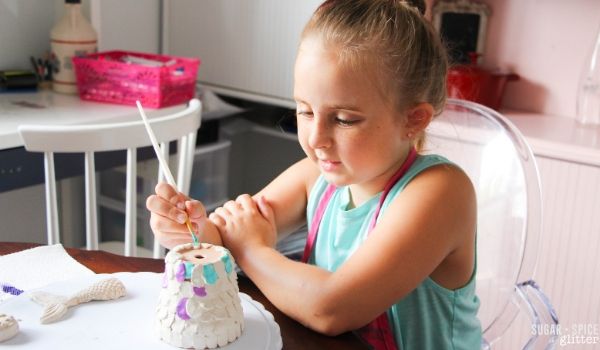
Since then, she has became an amazing swimmer (mostly motivated by my promise to buy her a swimmable mermaid tail once she was a strong enough swimmer) and developed a wonderfully creative imagination. She was inspired to make these mermaid flower pots after making a similar mermaid mug for me at a pottery class.
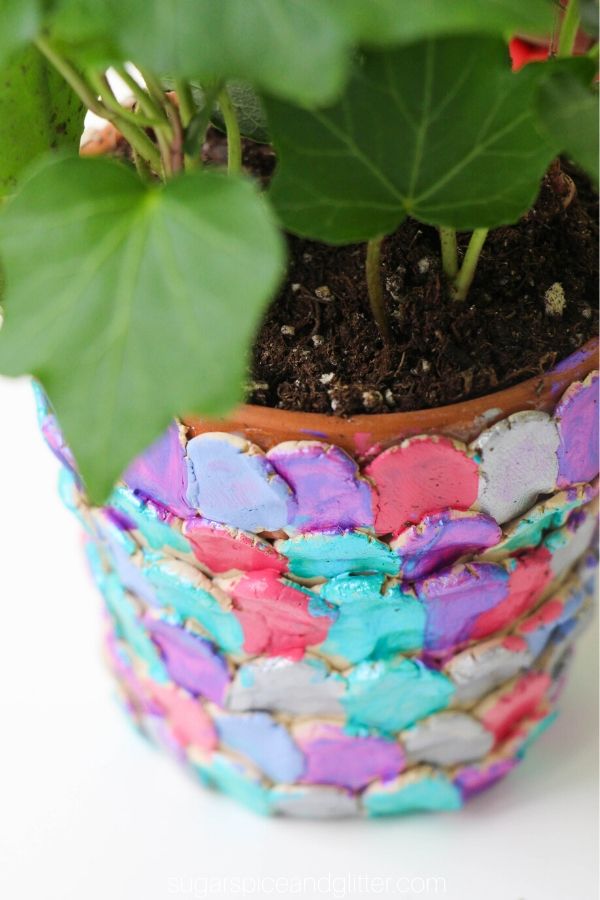
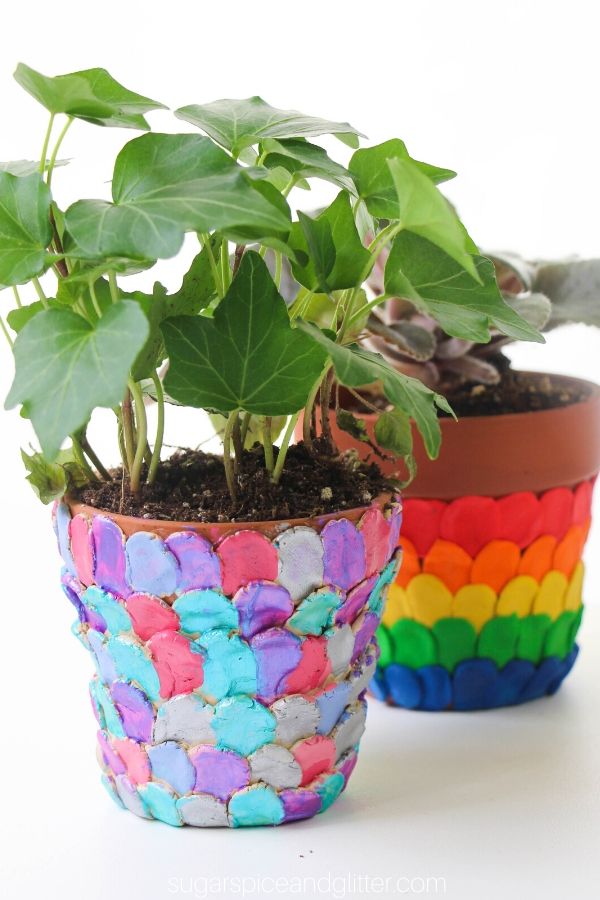
And I must say, they turned out so gorgeous!
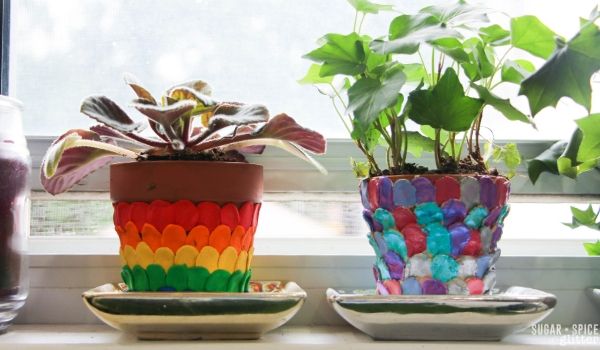
I currently have them on display on our kitchen windowsill. They add a shimmery pop of colour and a bit of magical whimsy to the room.
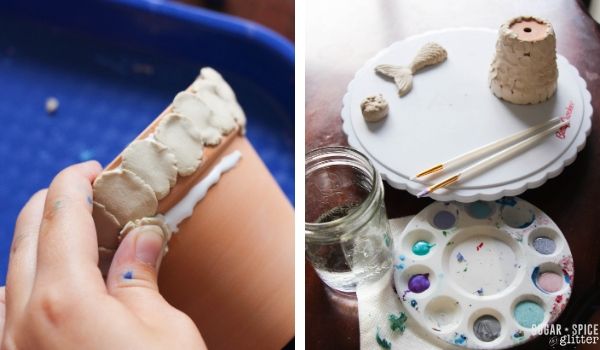
We also made a clay mermaid tail that we were considering adding to the pot, but the plant we selected was a bit too big to share room with a mermaid tail planter – so we’ll have to figure out another use for it. It would be great for labelling different plants, if you did choose to make them. (This is the silicone mold we used to make the mermaid tail – we’ve also used it to make chocolate mermaid tails for our Mermaid Cupcakes and to make Mermaid Tail Soaps.)
We experimented with a couple of different methods to add the clay scales to the pot.
First, we experimented with a regular air-dry clay and compared it to a modelling clay. They both had their benefits and drawbacks:
- The regular air dry clay, we had to glue the scales to our clay pots to allow them to stick and we had to paint them afterwards. (However, I like that we were able to paint them afterwards since it meant we didn’t have to buy different colors of clay and we were able to personalize our color palette.)
- The modelling clay we could stick the clay scales directly to the clay pot without glue, but had to be baked to set and prevent stickiness (and was still a bit more sticky after sealing than the air dry clay). You either need to buy white clay and paint it, or buy enough different clay colors to skip the painting step.
If using modelling clay, this would be a great craft for a Mermaid Birthday Party. (The air dry clay takes up to 24 hours to dry.)
I think these mermaid planters would make a cute addition to a mermaid-themed bedroom or a beautiful homemade gift. (Check out our 30 Mermaid Gifts for Grown-ups post here.)
You could even adapt this craft for a larger mermaid pot for a real statement piece. (Just make the scales larger – like plate-sized.)
My favorite aspect of this craft is that you don’t have to do it all at once. You could do a few rows at a time, leave it for a day, and come back to it. (As long as you put your clay away so it doesn’t dry out.) The repetitive process of forming and gluing down each scale, and then painting the pot afterwards, was relaxing for Ella. It would make a great after-school project for kids that need something to focus on and calm down with while you are making supper, or just a relaxing rainy day craft.
The craft is simple enough for a child as young as 6 or 7, but still pretty and special enough that teens or grown-ups would enjoy making them. I think this would make a great sibling activity or family night craft, if you have a mix of ages that you are trying to keep happy.
Materials for Mermaid Flower Pots
- Clay <– you can use air dry clay or modelling clay
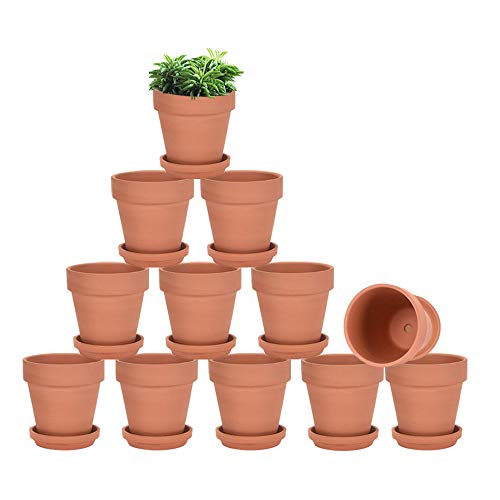
- Clay Pots
- Paints in mermaid-inspired colors
- Strong glue
- Paint brushes
- Waterproof Sealant
Tip: using a sealant at the end is essential as you will need to water your plants, whether they are placed inside or outside.
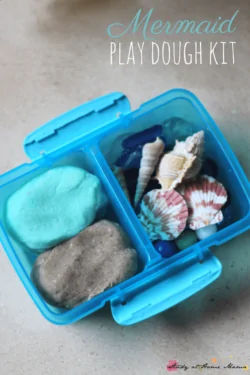
I highly recommend grabbing a couple of these sturdy plastic lunch trays (we have one in the pictures in this post). I use these for almost all of our craft or kitchen activities, as well as in our Montessori practical life activities. Ours have lasted for over 6 years and are still going strong, plus they are so great for containing messes and allowing the kids to set a project to the side while it dries (or if you have to clear off the table for supper).
How to Make Mermaid Scale Flower Pots
Assemble your materials and ensure your clay pot is clean.
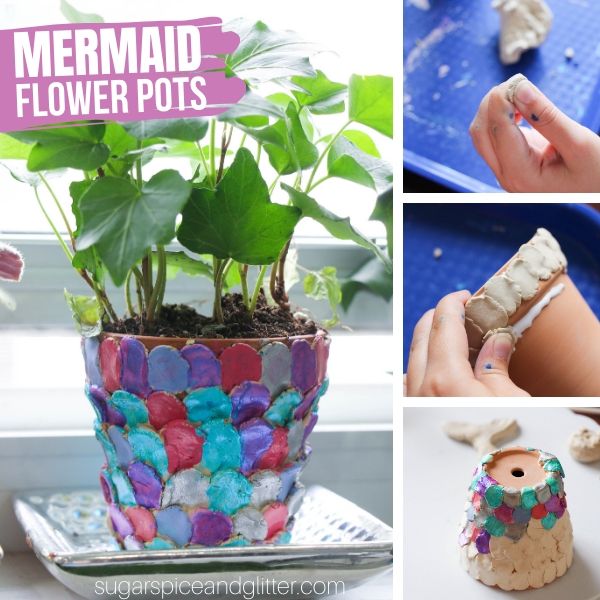
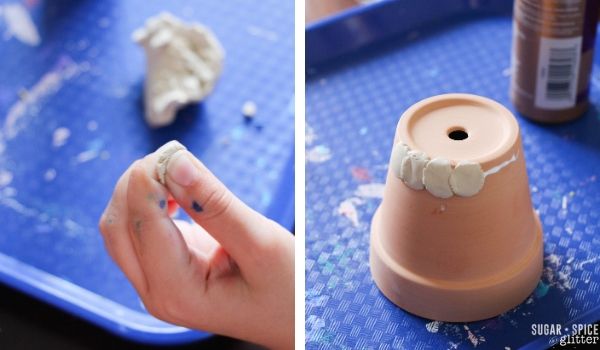
Take a small handful of clay and pinch off a small amount to form a circular disc, or “scale.”
If using air-dry clay, apply a thin line of glue along the top of your pot and press the clay scales along the top in a straight line, slightly overlapping each one.
(If using modelling clay, you can skip the glue step.)
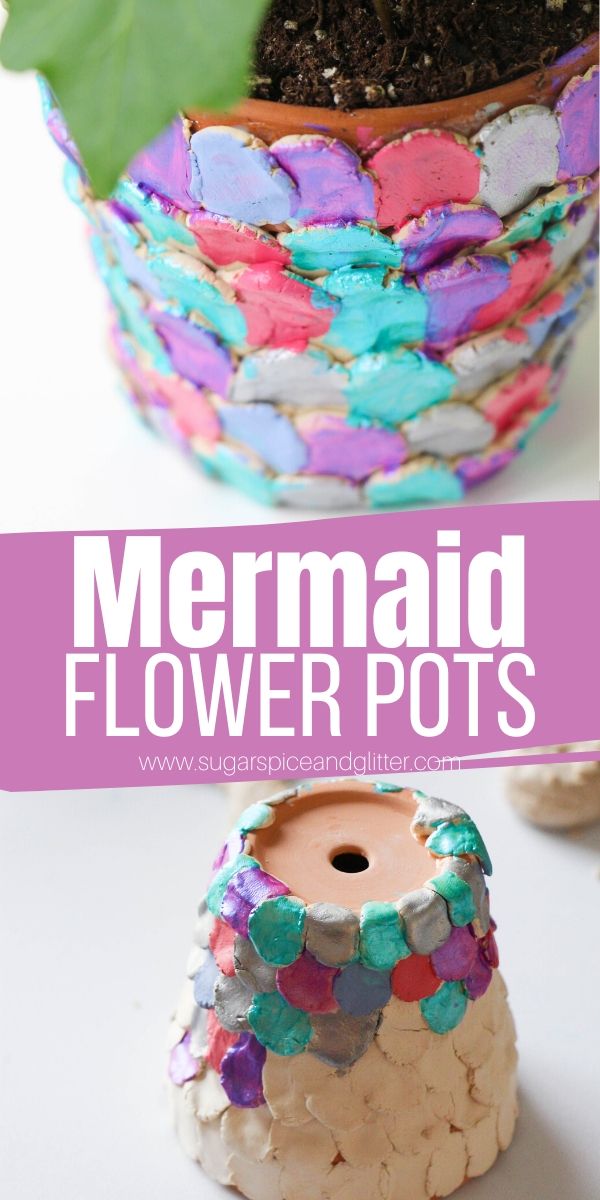
Repeat this process of adding lines of clay scales to the pot, working your way down the pot and overlapping the scales slightly.
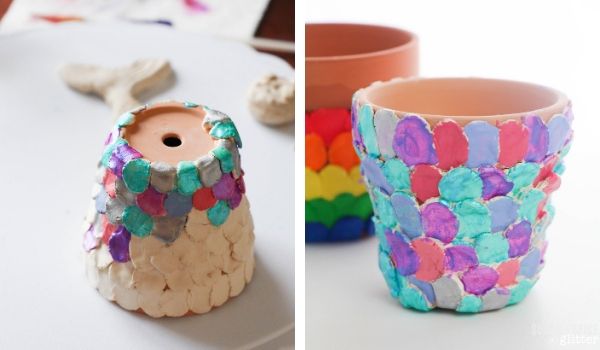
Once the entire pot is covered in clay scales, follow the package directions to bake or air dry your clay.
Use acrylic paints (or another paint approved for use on your clay) to paint the individual scales in a pattern of your choosing.
Allow the paint to dry fully before spraying on a water-proof sealant.
Wait 24 hours before adding a plant to your pot.
Pin this Easy Mermaid Craft for Kids:
Grab your free printable instructions for our mermaid planter craft:
Want to Save This Recipe?
Enter your email & I'll send it to your inbox. Plus, get great new recipes from me every week!
By submitting this form, you consent to receive emails from Sugar, Spice and Glitter.
Mermaid Flower Pot
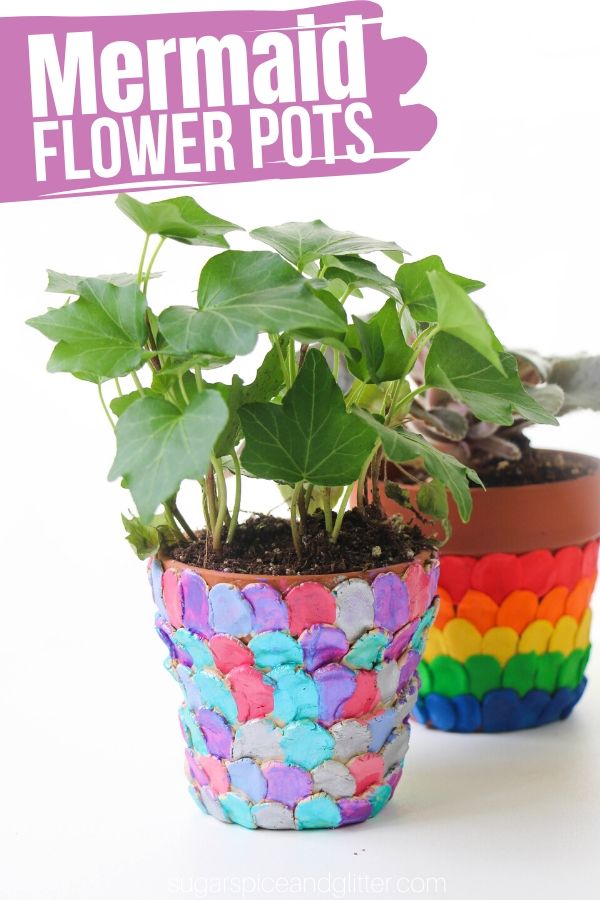
An easy step-by-step tutorial for how to make a mermaid flower pot, perfect for a homemade gift or mermaid home decor.
Materials
- Clay
- Clay Pots
- Paints in mermaid-inspired colors
- Strong glue
- Sealant
Tools
- Paint brushes
- Kitchen tray
Instructions
- Assemble your materials and ensure your clay pot is clean.
- Take a small handful of clay and pinch off a small amount to form a circular disc, or "scale."
- If using air-dry clay, apply a thin line of glue along the top of your pot and press the clay scales along the top in a straight line, slightly overlapping each one.
- (If using modelling clay, you can skip the glue step.)
- Repeat this process of adding lines of clay scales to the pot, working your way down the pot and overlapping the scales slightly.
- Once the entire pot is covered in clay scales, follow the package directions to bake or air dry your clay.
- Use acrylic paints (or another paint approved for use on your clay) to paint the individual scales in a pattern of your choosing.
- Allow the paint to dry fully before spraying on a water-proof sealant.
- Wait 24 hours before adding a plant to your pot.
Recommended Products
As an Amazon Associate and member of other affiliate programs, I earn from qualifying purchases.
-
Mod Podge Spray Acrylic Sealer that is Specifically Formulated to Seal Craft Projects, Dries Crystal Clear is Non-Yellowing No-Run and Quick Drying, 12 ounce, Gloss
-
Aleene's Always Ready Tacky Glue, 4 oz
-
FolkArt Extreme Glitter Acrylic Paint in Assorted Colors (2 oz), 2836, Champagne
-
vensovo Terracotta Pots with Saucer - 9 Pack 3 Inch Clay Pot Ceramic Pottery Planter Cactus Flower Pots Succulent Pot Drainage Hole, Great for Plants, Crafts, Wedding Favor
-
Crayola Air Dry Clay 2.5 Lb Bucket, White
-
New Star Foodservice 28010 6-Piece Fast Food Tray, 12 by 16-Inch, Assorted Colors
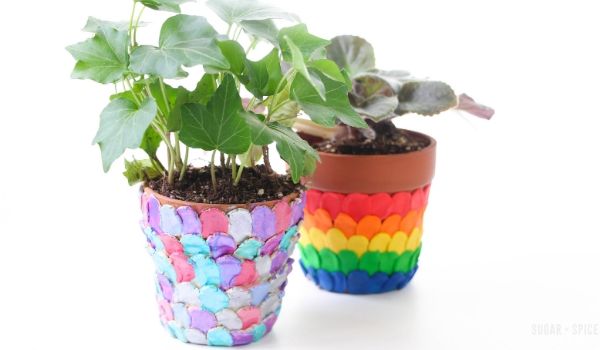
This homemade mermaid flower pot is a gorgeous piece of DIY mermaid decor that adds a touch of whimsy to any room – and makes a great homemade gift for the mermaid lover in your life.
Be sure to check out some of our other Mermaid crafts:
