
DIY Mermaid Bulletin Board
Welcome to Sugar, Spice & Glitter! Please note, this post may contain affiliate links. For more details, see our Full Disclosure.
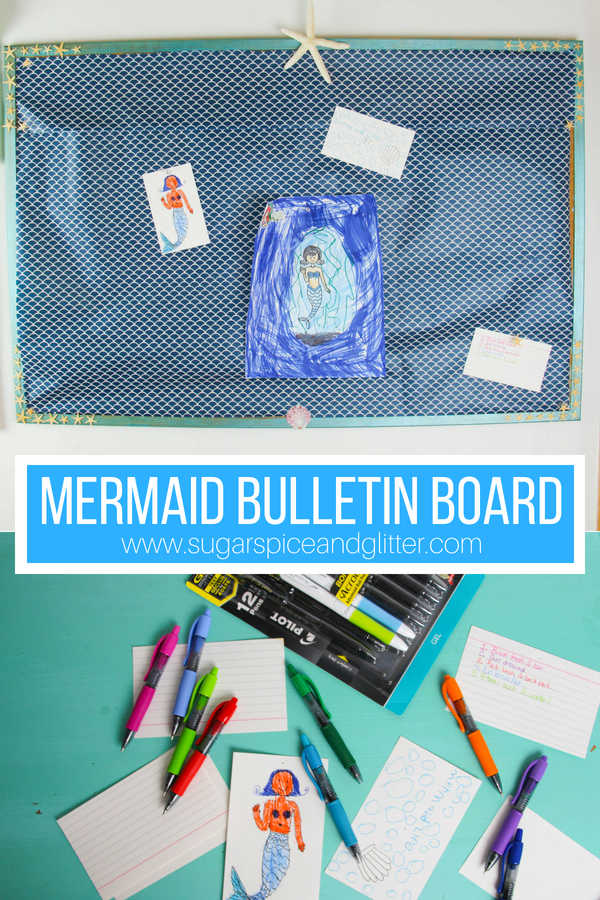
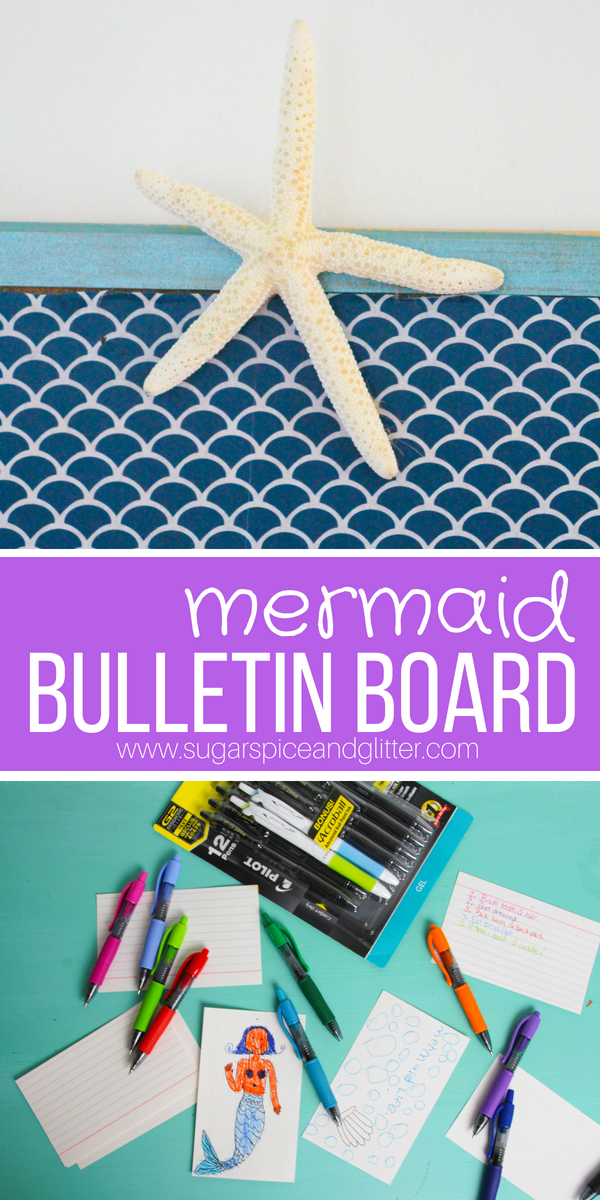
A fun way to get ready for back to school or just a fun addition to a Mermaid-themed bedroom, this DIY Customized Mermaid Bulletin Board is great for getting kids excited about being organized!
DIY Mermaid Bulletin Board
Ella is back to school in just over a month and we’re trying to set up our home and routines for the best year ever!
From organizing a cozy reading nook to making a custom bulletin board to keep tabs on all of her extracurriculars and assignments, we’re tackling it all this month.
I wanted to work with her to create a beautiful bulletin board that she would be excited to consult every day – checking her schedule, adding important notes, and of course, displaying awesome artwork or assignments.
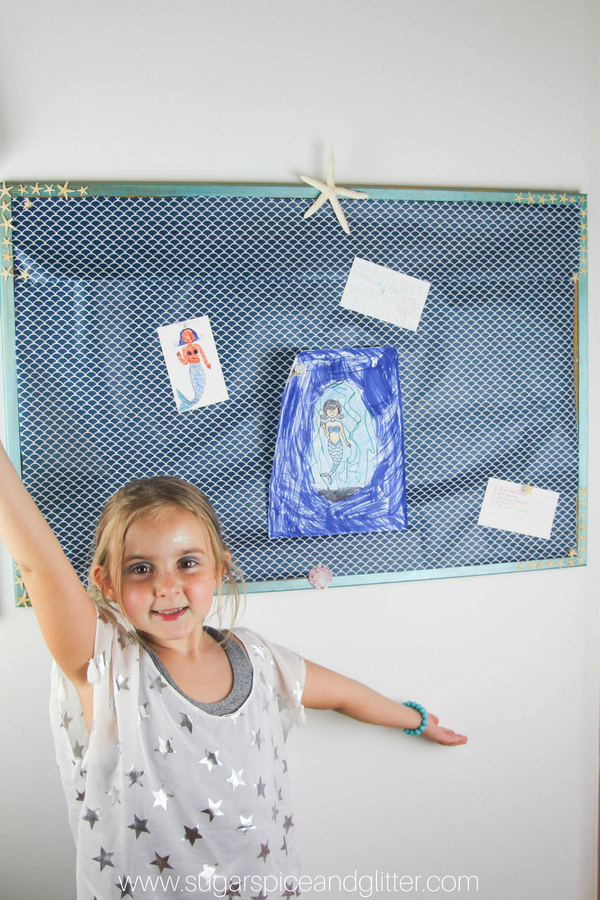
By involving her in the design and customization of her bulletin board, it made her feel in control and proud of the final product – and she’s already excited to use it! And that is really the end goal for me. (If you’re not sold on the idea of letting your child really customize a full-sized bulletin board, you could always opt for a smaller one that fits in their room.)
You can use our tips to customize a bulletin board for whatever theme or topic your child is obsessed with – Unicorns, a favorite sport or team, astronomy, etc.
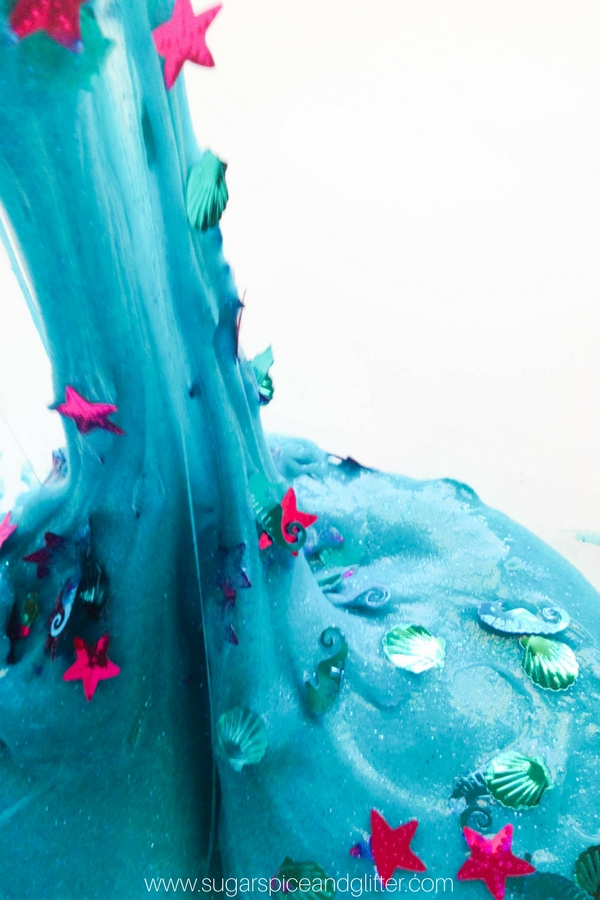
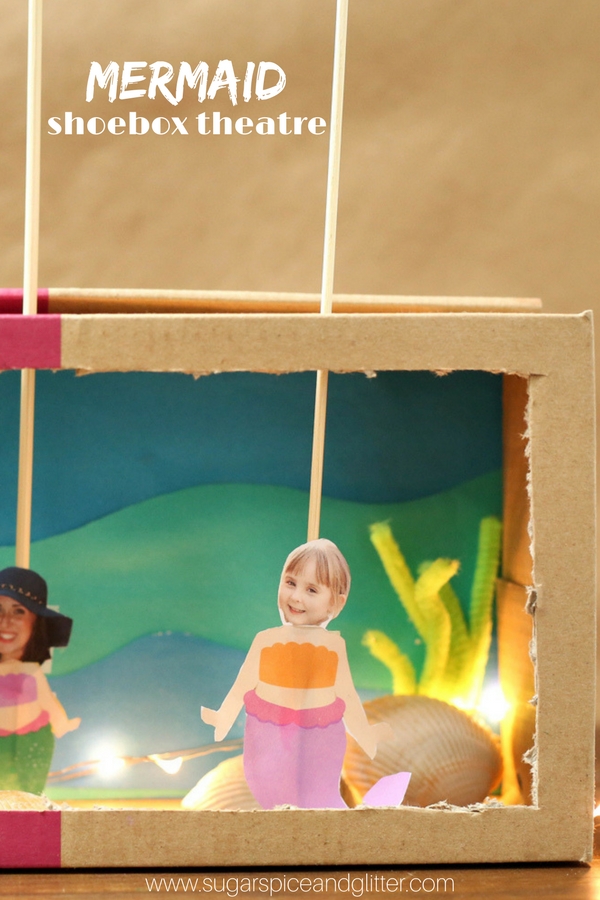
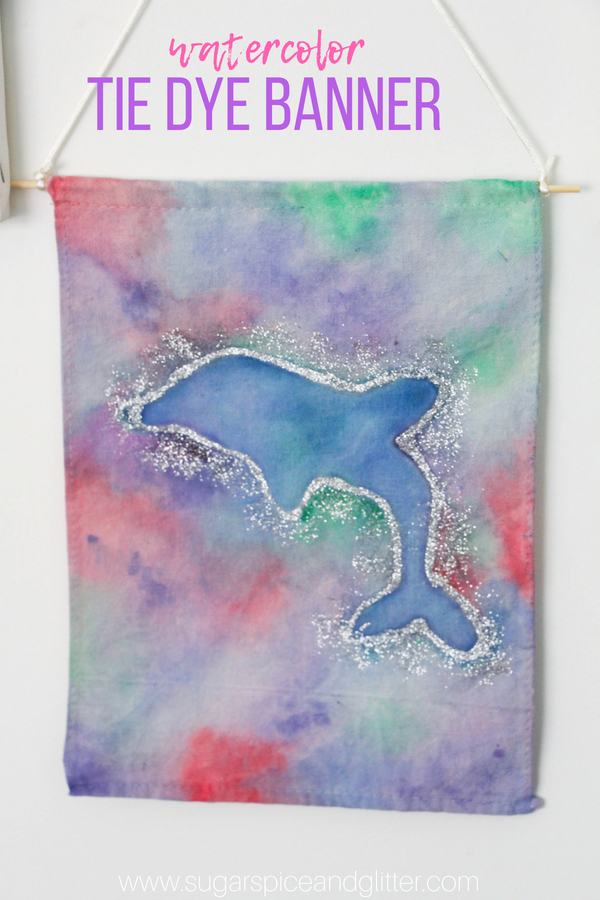
Scroll down to grab our free printable directions for this Mermaid Bulletin Board and be sure to check out our other Mermaid Crafts for Kids:

")


")


Materials for a DIY Bulletin Board
- Bulletin Board (see tip)
- Fabric, wrapping paper or other pretty paper/material to cover the bulletin board
- Push pins
- Irridescent or metallic acrylic paint plus paintbrush
- Seashells (we used sugar starfish, a large starfish and one regular seashell)
- School glue or hot glue with glue gun
- Index cards
- Calendar
- G2® pens
Tip: If you don’t already have a bulletin board at home or can’t find one super cheap, you can also get chip board or wooden insulation from the hardware store and get the staff to cut it down to size.

How to Make a Mermaid Bulletin Board
Assemble your materials so that you don’t have to go hunting for things after you got started.
Paint the wooden frame of your bulletin board – we liked letting the grain show through as it almost looked like waves. If you don’t want the grain to show, you can prime the wood first or add additional coats of paint.
When the paint is dry, fit your paper or fabric to fit the inside of the frame. We initially were going to use fabric, but we found this pretty mermaid scale paper in our craft room at the last minute and swapped it in.
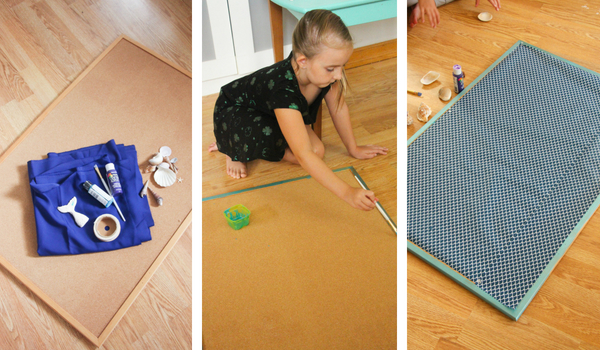
Secure the paper or fabric simply, not with any permanent adhesives as you may want to replace it as it gets lots of holes in it over time.
Decorate the frame with seashells or whatever details you like.
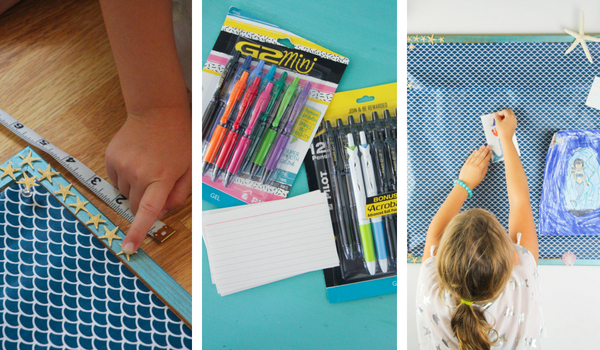
Hang the bulletin board after measuring the wall and the board twice before adding nails or hangers to the wall.
Make some notes with your G2 pens and add some art your bulletin board to personalize it even more!
Pin this Easy Back-to-School Mermaid Project:
Grab your free printable for our easy Custom Mermaid Bulletin Board:
Want to Save This Recipe?
Enter your email & I'll send it to your inbox. Plus, get great new recipes from me every week!
By submitting this form, you consent to receive emails from Sugar, Spice and Glitter.
DIY Mermaid Bulletin Board
Ingredients
- Bulletin Board (see tip)
- Fabric, wrapping paper or other pretty paper/material to cover the bulletin board
- Push pins
- Irridescent or metallic acrylic paint plus paintbrush
- Seashells (we used sugar starfish, a large starfish and one regular seashell)
- School glue or hot glue with glue gun
- Index cards
- Calendar
- G2® pens
Instructions
- Assemble your materials so that you don't have to go hunting for things after you got started.
- Paint the wooden frame of your bulletin board - we liked letting the grain show through as it almost looked like waves. If you don't want the grain to show, you can prime the wood first or add additional coats of paint.
- When the paint is dry, fit your paper or fabric to fit the inside of the frame.
- Secure the paper or fabric simply, not with any permanent adhesives as you may want to replace it as it gets lots of holes in it over time.
- Decorate the frame with seashells or whatever details you like.
- Hang the bulletin board after measuring the wall and the board twice before adding nails or hangers to the wall.
- Make some notes and add some art your bulletin board to personalize it even more!

This fun mermaid bulletin board has been great for getting Ella excited for back to school and staying organized. We’ve since added a calendar and some extra-curricular schedules to keep everything in a central place.
For more awesome mermaid DIYs, check out our Mermaid Sun Catcher or our Mermaid Tail Soaps.


This post was sponsored by Collective Bias, Inc. and its advertiser. All opinions are mine alone.

My daughter would love this to help with keeping her homework organized
This turned out so cute, my daughter wants one now for her desk.