Princess & the Frog Tiana Crown Craft
Welcome to Sugar, Spice & Glitter! Please note, this post may contain affiliate links. For more details, see our Full Disclosure.
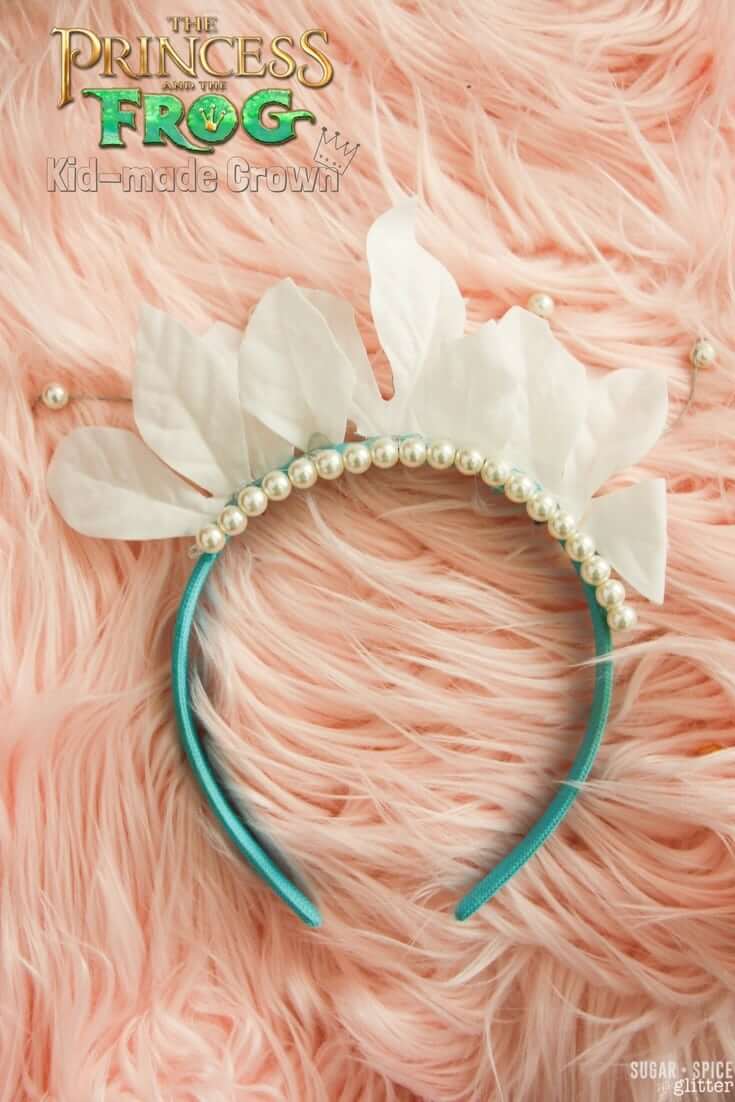
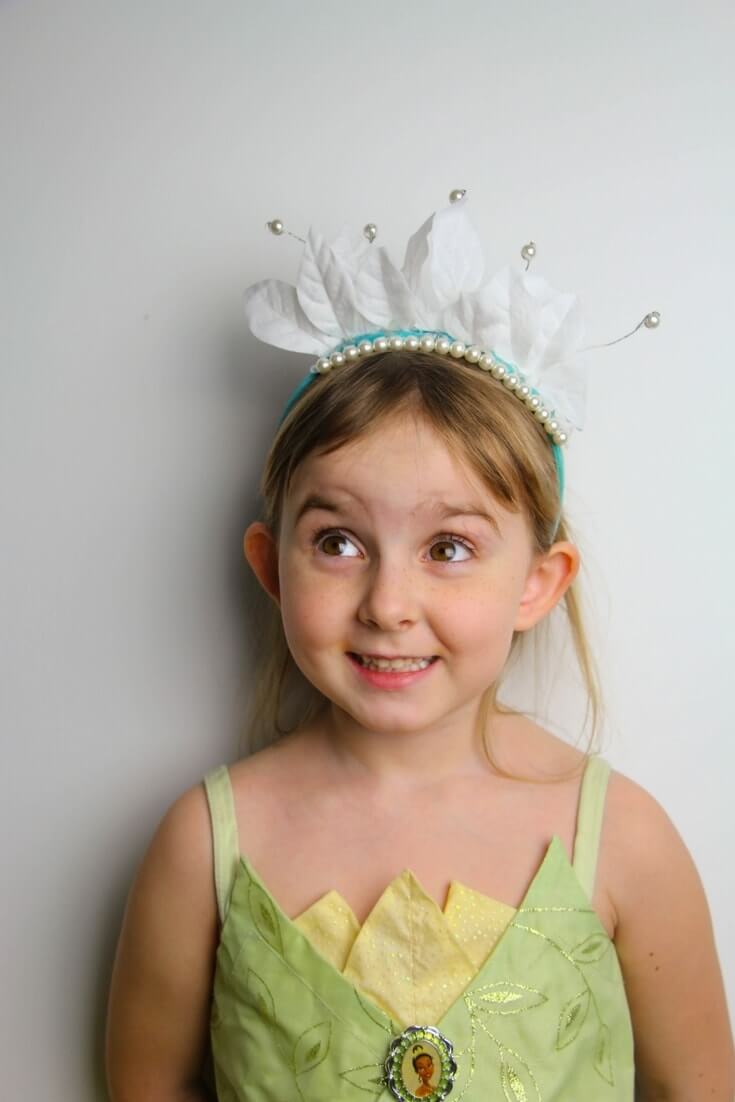
On our recent Princess & the Frog Family Movie Night, Ella made this easy kid-made Tiana Crown with supplies we already had on hand and it was just too beautiful not to share!
We’ve recently started dividing Ella’s allowance up into 3 pots – spend, save and give – and when you divide $5 into even thirds, it takes awhile to add up to anything!
While she has a few ways to earn a few extra dollars each week, I’ve been encouraging her to look for homemade or DIY solutions when she wants something. I think there are so many benefits to this:
- it develops an appreciation of handmade/homemade goods
- it develops confidence in her creative problem solving abilities
- transforms a consumer mindset into a creator mindset
- lets her save up her hard-earned money for better quality/more special items
At first she was a bit resistant to my insisting that we try to make things ourselves instead of heading to the mall, but after making a few truly beautiful items, I think she’s starting to see the appeal of DIY and is realizing that the pride in her handiwork feels so much more special than a retail high.

Princess Tiana has a special place in Ella’s heart – her Princess Tiana Baby Doll has been her comfort object since she was one and she’s had a couple really special moments with Princess Tiana at Disney World that have only served to cement her special place in Ella’s heart.
And while she has quite the collection of tiaras, she didn’t have one that resembled Tiana’s unique crown so she started asking if we could buy one. I convinced her to at least give making our own a try and even though she was a bit unsure, she now loves her homemade tiara and isn’t expressing any more interest in going out to buy one.
While this isn’t the first princess tiara we’ve ever made (we’ve previously made a mermaid tiara and an even easier Sleeping Beauty tiara) it’s definitely the one Ella has had the most pride in.

Materials to Make a DIY Tiana Crown Headband
- Plain headband – a green one would be best, but we only had a blue plain one available
- Wire
- Pliers or wire cutters
- Pearl beads
- White, yellow or green flower (we used a white poinsettia)
- Fishing wire or jewelry thread
- Hot glue gun and glue
Tip: you can use any type of metal wire for this craft (floral wire, bead wire, etc) but we loved using picture frame wire because it has several strands of wire that can be twisted around the pearls.
How to Make a Princess Tiana Crown
Assemble your materials and plan out your design.
Plug in the hot glue gun and keep in a safe place.

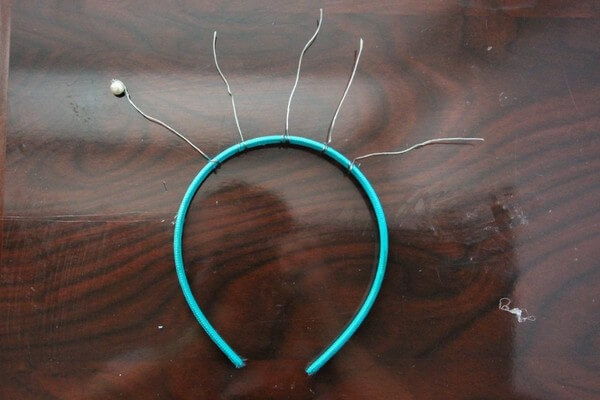
Start off by twisting your wires onto your headband and determining the length you want. (It’s a good idea to check this length against the length of the flower petals you plan to use.)
Firmly wrap one end of each of the wires onto your headband, ensuring the ends are on top of the headband to prevent scratching your head.

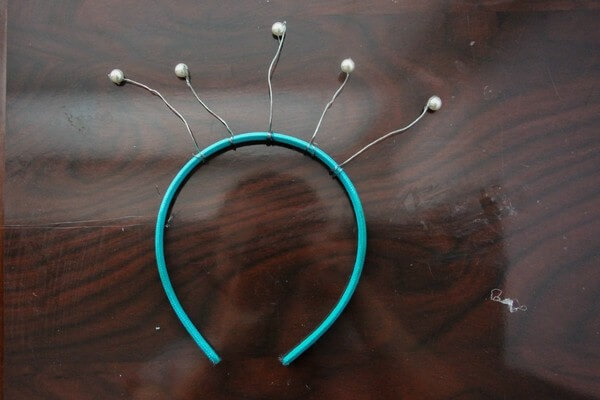
Next, thread a pearl bead onto the top of each wire and twist the wires around it to secure it in place.
(Above is a close-up as to why I liked the frame wire rather than a single-thread wire.)
Attach a pearl to all wires.
Next, take apart your flowers and figure out how you want to lay them out on your headband.
Securely glue the petals to the headband, covering as much of the wires as possible.

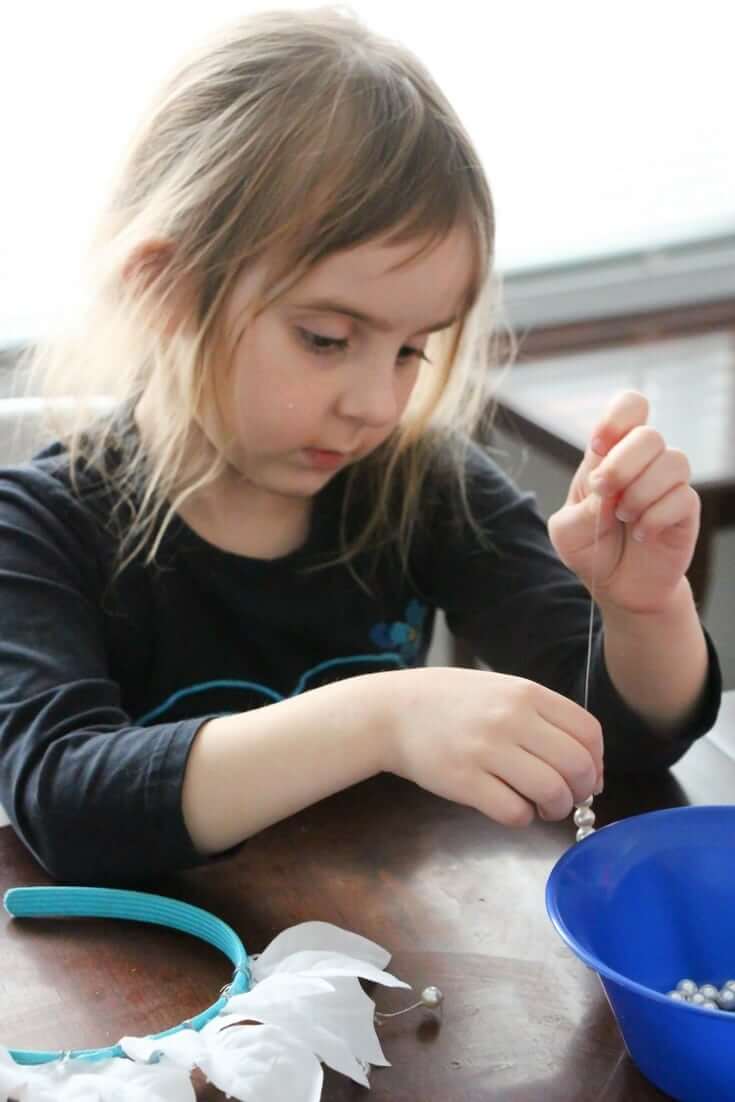
Next, taking your fishing wire or jewelry thread, tie a secure double knot on one end, and make a string of pearls.
Tie off the string of pearls and secure it with hot glue to the front of your headband (in front of the petals) for a finishing touch.
Let the hot glue dry completely before trying your crown on.
Pin this easy Tiana flower crown craft:

Grab your free printable for our easy Princess Tiana Tiara:
Want to Save This Recipe?
Enter your email & I'll send it to your inbox. Plus, get great new recipes from me every week!
By submitting this form, you consent to receive emails from Sugar, Spice and Glitter.
Princess & the Frog Tiana Crown Craft

Ingredients
- Plain headband - a green one would be best, but we only had a blue plain one available
- Wire
- Pliers or wire cutters
- Pearl beads
- White, yellow or green flower (we used a white poinsettia)
- Fishing wire or jewelry thread
- Hot glue gun and glue
Instructions
- Assemble your materials and plan out your design.
- Plug in the hot glue gun and keep in a safe place.
- Start off by twisting your wires onto your headband and determining the length you want. (It's a good idea to check this length against the length of the flower petals you plan to use.)
- Firmly wrap one end of each of the wires onto your headband, ensuring the ends are on top of the headband to prevent scratching your head.
- Next, thread a pearl bead onto the top of each wire and twist the wires around it to secure it in place.
- Attach a pearl to all wires.
- Next, take apart your flowers and figure out how you want to lay them out on your headband.
- Securely glue the petals to the headband, covering as much of the wires as possible.
- Next, taking your fishing wire or jewelry thread, tie a secure double knot on one end, and make a string of pearls.
- Tie off the string of pearls and secure it with hot glue to the front of your headband (in front of the petals) for a finishing touch.
- Let the hot glue dry completely before trying your crown on.

Do you have a little princess who adores Princess Tiana? What Disney crafts would you like to see us come up with next?
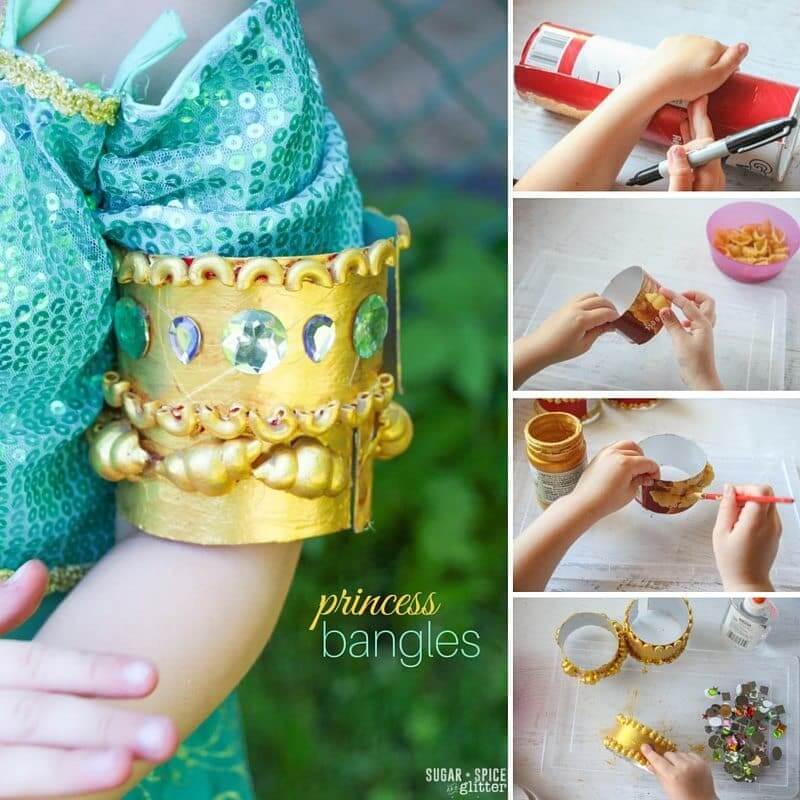
Be sure to check out our kid-made Pink & Blue Princess Aurora Cupcakes and our cute Princess Jasmine bangle craft.