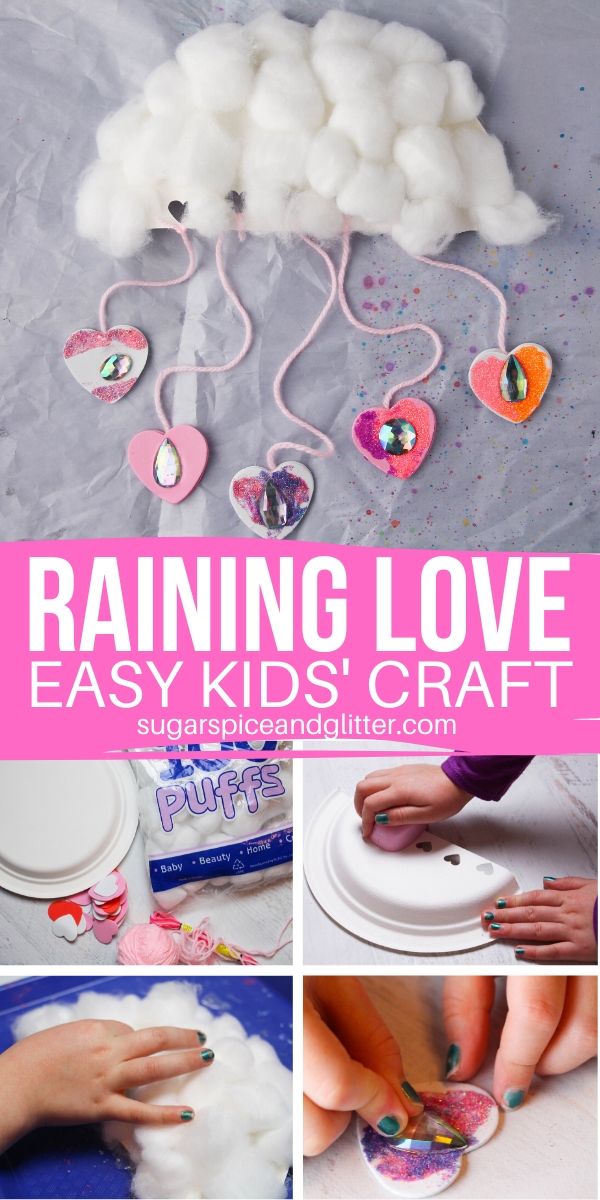
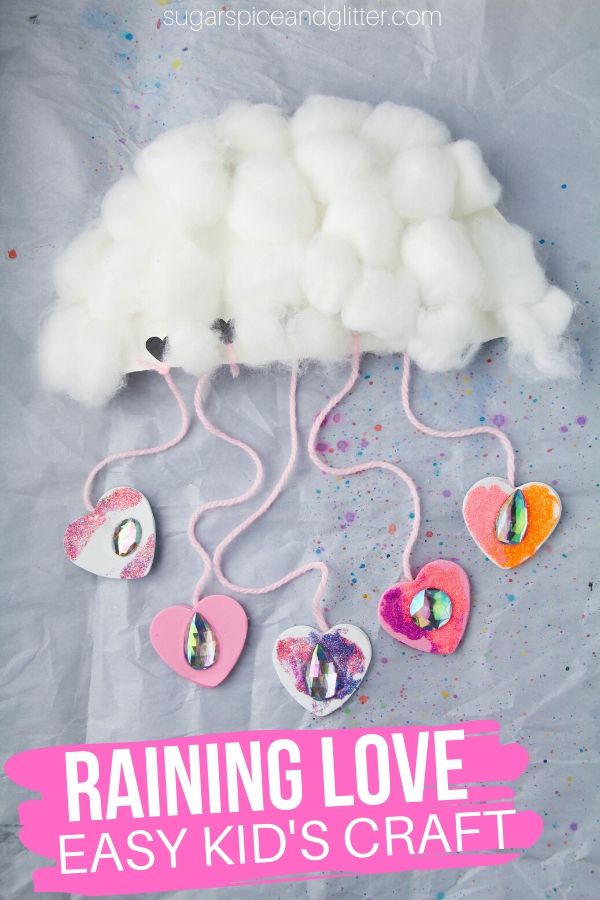
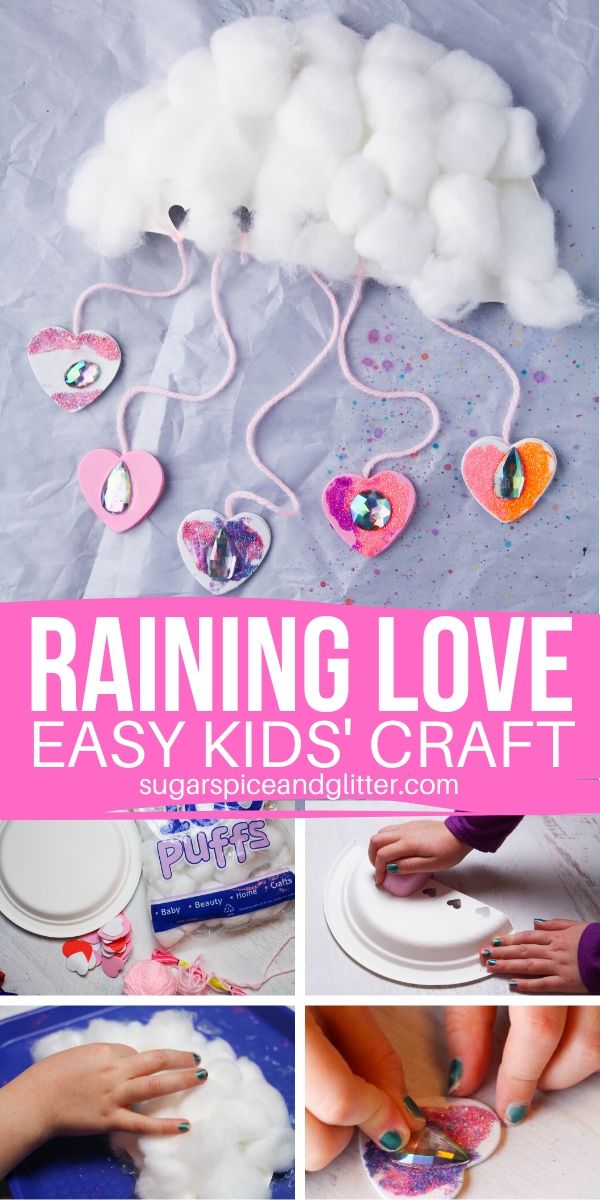
Raining Love Cloud Craft
Welcome to Sugar, Spice & Glitter! Please note, this post may contain affiliate links. For more details, see our Full Disclosure.
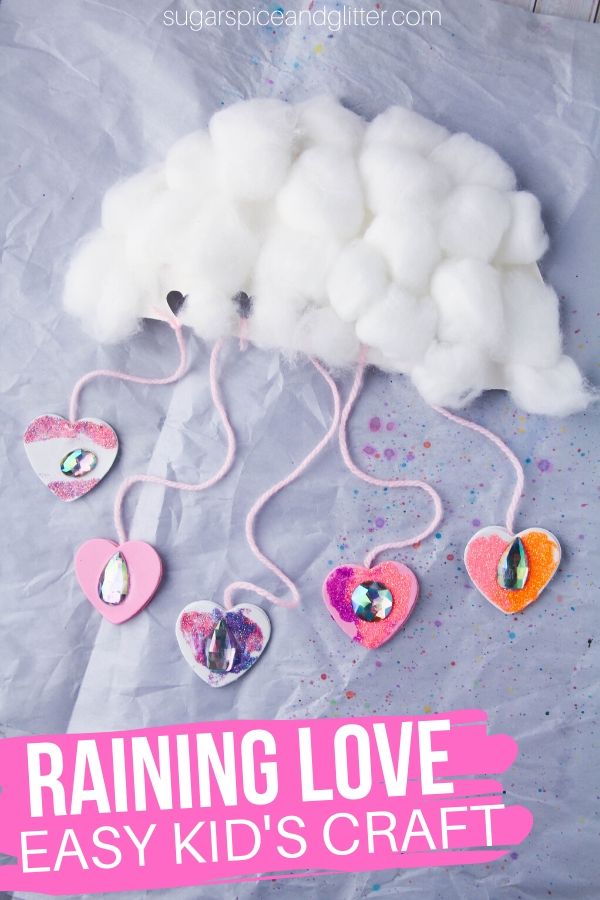
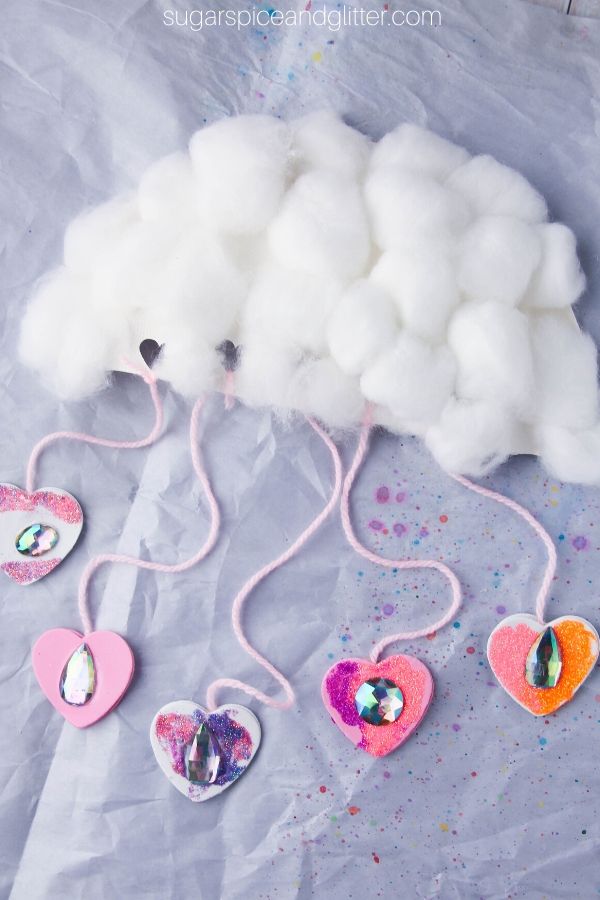
An easy cloud craft for kids with a lovely twist, kids can “shower their loved ones with love” by making and gifting this simple Raining Love Cloud Craft.
Easy Cloud Craft for Kids
We seem to have a slight cloud theme going on over here, with our Crayon Drip Rain Cloud craft, our Shaving Cream Clouds sensory activity, and this Rainbow Mobile Cloud craft I posted on my friend Krissy’s site.
We also have a printable for one of my favorite cloud quotes (from the incomparable Maya Angelou), a yoga series set to “How to Be a Cloud” and several recipes for cloud dough.)
Clouds hold such wonder and mystery for kids and cloud crafts offer such wonderful sensory and learning opportunities for them, too!
With this craft, kids develop hand strength, practice their knot-tying, strength their pincer grip and use their measuring skills, all while making something beautiful.
They also get all that wonderful sensory feedback from the soft cotton balls, the tension of the yarn, the smooth texture of the foam, and the gritty texture of the glitter (or colored sand). Using these words to describe the sensory sensations (or encouraging the children to describe the sensations themselves) adds a language enhancement to the craft, too.
You can also take this craft as an opportunity to learn about the different types of clouds and how clouds are formed.

The craft itself is a play on a common metaphor: “showering with love” or “showering with affection.”
This would make a great craft after introducing the concept of metaphors, or to just engage in a casual conversation about common metaphors as you make it.
There are even lots of weather-specific metaphors:
- winds of change
- you are the sunshine of my life
- there’s a rainbow at the end of every storm
- my memory of that is a little foggy
- the day was clouded over by the knowledge that there would be no dessert
- I see clear skies ahead
- your creativity blows me away
- there’s a whirlwind of activity in the playroom today
This Raining Love Craft would make a wonderful Valentine’s Day craft or Mother’s Day craft, though I think it’s a great choice anytime of the year – especially on a rainy day.
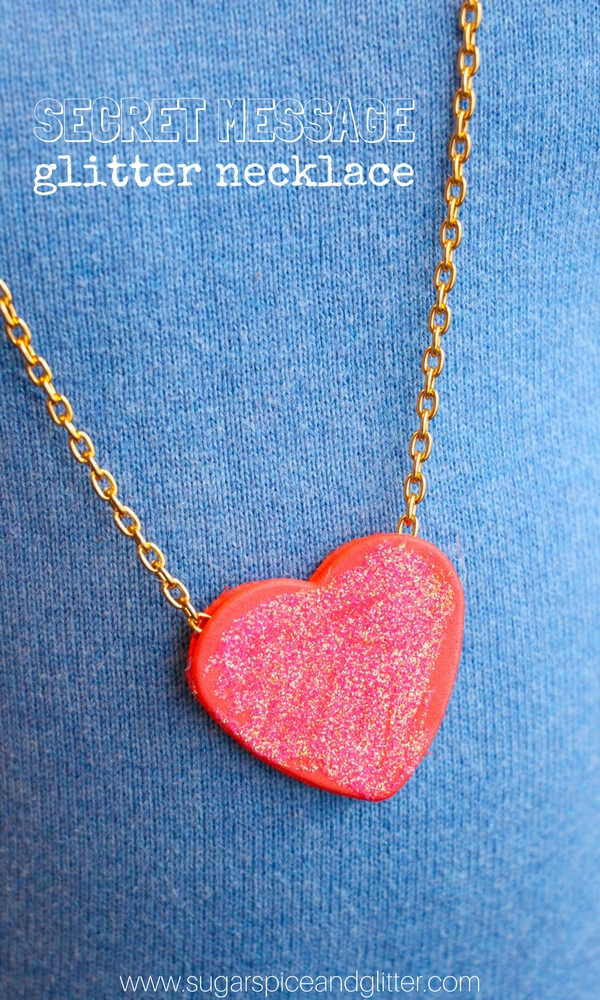
Tip: we had these glittery hearts left over from our secret message heart necklace craft – if you plan to do that, too, you can make all of the hearts at the same time.
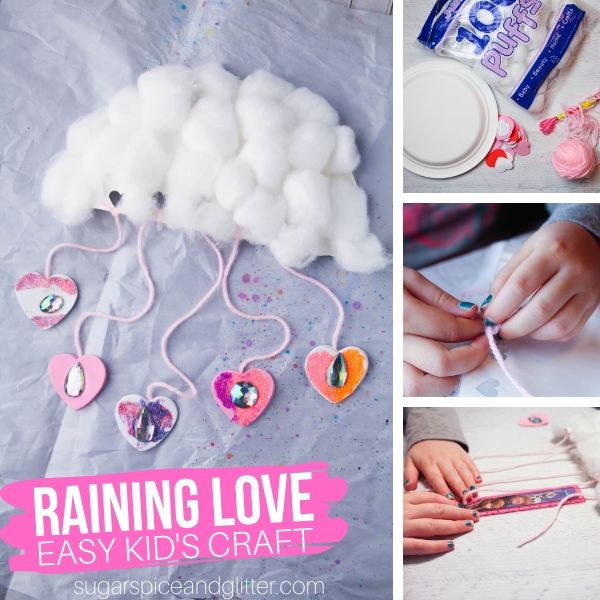
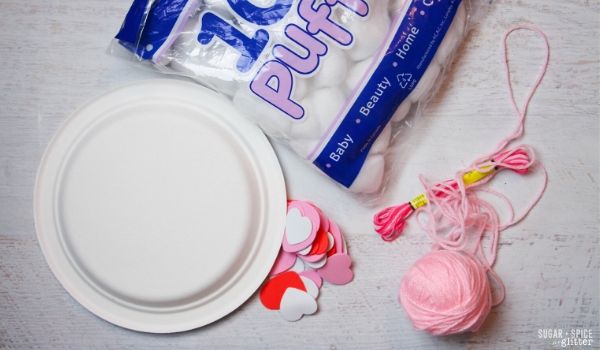
Materials for a Cloud Mobile
- Paper plate (preferably a sturdy one)
- Glue
- Yarn or string <– this multi-colored mandala yarn is so cute!
- Cotton balls
- Foam hearts
- Glitter or colored sand
- Acrylic gems
Tip: you can replace the cotton balls with small bunches of paper. You can replace the yarn with string, the paper plate with cardboard, or the glitter with colored sand. Be creative with what you have on hand.
Tools You May Find Helpful
- Hole punch (we used a heart-shaped one)
- Scissors
- Ruler or measuring tape
- Pencil
- Tape
Tip: try to use a hole punch that allows you to press down on it to create the hole, rather than one that you need to squeeze in your palm. The push-down ones are easier for little hands. We have this set with lots of shapes and it’s great for a variety of crafts and making homemade confetti (while developing hand strength).
How to Make a Love Cloud Craft
Gather your materials. (Have children help check the list to ensure they have everything they need before they begin.)
Use a ruler to draw a line down the center of the paper plate and cut in half.
Use a hole punch to place holes along the bottom (cut) edge of the paper plate. Ensure that these holes are as far away from the edge as the hole puncher will allow (about 1/2″ is great) so that the holes don’t tear later.
If you plan to hang this cloud craft, place a hole at the top of the plate (on the curved edge) – again, as far away from the edge as you can manage. One inch or more is ideal.
Apply glue liberally to the paper plate and attach the cotton balls to it. We enjoyed pulling the cotton balls apart to give a fluffier texture (which also allowed us to use fewer cotton balls).

While the cotton balls are drying to the plate, decorate your foam hearts. You will need two hearts for each hole on the paper plate, only one needs to be decorated (but both can be).
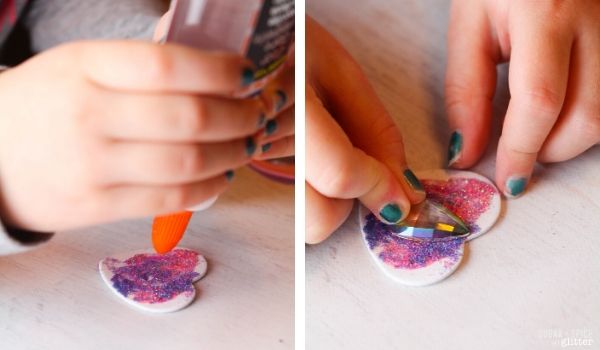
Apply glue to the heart and sprinkle on glitter. We placed the foam heart in a small jar lid to contain the glitter mess. You can alternatively use glitter glue or colored sand.
Once the glitter has dried, you can embellish even further with an acrylic jewel. Use a small dab of glue to attach.
(Of course, you can leave the hearts as-is, or skip the glitter step altogether.)
Once the glue on the paper plate has dried, you can start adding your yarn.
Thread a piece of yarn through one of the holes and tie a knot to hold in place.
Repeat with all holes along the edge of the paper plate.
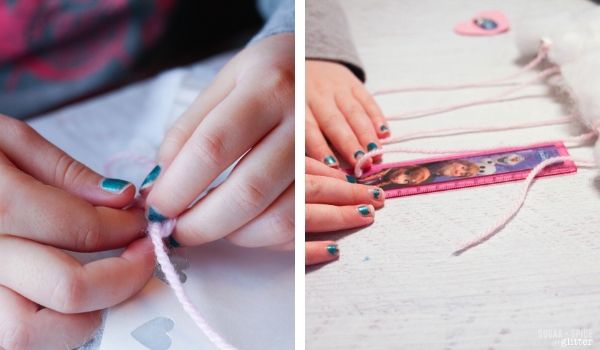
You can leave the strings all the same size, but we wanted our hearts to be staggered when the plate was hung. To do this, have children measure the string with a ruler and cut at different lengths. We cut the middle string the longest (about 10″), the outer edge strings the shortest (about 5″) and the middle strings at a length between the two (about 8″).
We chose to cut the yarn after threading and knotting in place in case some of the knots were tied at different places on the string.

Secure the hearts to the bottom of the yarn by covering the inside (plain side) of one heart with glue and placing the string down the middle.
Sandwich the second heart (pretty side facing out) on top so that the yarn is in between the two hearts.
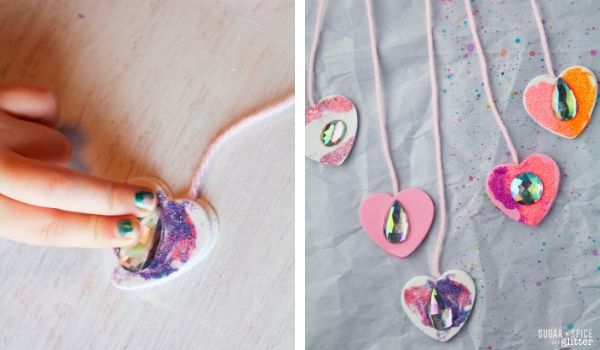
Allow to dry before hanging.
Grab your free printable for how to make our cloud craft:
Want to Save This Recipe?
Enter your email & I'll send it to your inbox. Plus, get great new recipes from me every week!
By submitting this form, you consent to receive emails from Sugar, Spice and Glitter.
Raining Love Cloud Craft
A fluffy cloud craft with pretty heart "rain drops" perfect for a rainy day activity, is great for fine motor skill building and can also be used to teach kids about metaphors.
Materials
- Paper plate (preferably a sturdy one)
- Glue
- Yarn or string
- Cotton balls
- Foam hearts
- Glitter or colored sand
- Acrylic gems
Tools
- Hole punch (we used a heart-shaped one)
- Scissors
- Ruler or measuring tape
- Pencil
- Tape
Instructions
- Gather your materials. (Have children help check the list to ensure they have everything they need before they begin.)
- Use a ruler to draw a line down the center of the paper plate and cut in half.
- Use a hole punch to place holes along the bottom (cut) edge of the paper plate. Ensure that these holes are as far away from the edge as the hole puncher will allow (about 1/2" is great) so that the holes don't tear later.
- If you plan to hang this cloud craft, place a hole at the top of the plate (on the curved edge) - again, as far away from the edge as you can manage. One inch or more is ideal.
- Apply glue liberally to the paper plate and attach the cotton balls to it. We enjoyed pulling the cotton balls apart to give a fluffier texture (which also allowed us to use fewer cotton balls).
- While the cotton balls are drying to the plate, decorate your foam hearts. You will need two hearts for each hole on the paper plate, only one needs to be decorated (but both can be).
- Apply glue to the heart and sprinkle on glitter. We placed the foam heart in a small jar lid to contain the glitter mess. You can alternatively use glitter glue or colored sand.
- Once the glitter has dried, you can embellish even further with an acrylic jewel. Use a small dab of glue to attach.
- (Of course, you can leave the hearts as-is, or skip the glitter step altogether.)
- Once the glue on the paper plate has dried, you can start adding your yarn.
- Thread a piece of yarn through one of the holes and tie a knot to hold in place.
- Repeat with all holes along the edge of the paper plate.
- You can leave the strings all the same size, but we wanted our hearts to be staggered when the plate was hung. To do this, have children measure the string with a ruler and cut at different lengths. We cut the middle string the longest (about 10"), the outer edge strings the shortest (about 5") and the middle strings at a length between the two (about 8").
- We chose to cut the yarn after threading and knotting in place in case some of the knots were tied at different places on the string.
- Secure the hearts to the bottom of the yarn by covering the inside (plain side) of one heart with glue and placing the string down the middle.
- Sandwich the second heart (pretty side facing out) on top so that the yarn is in between the two hearts.
- Allow to dry before hanging.
Notes
Tip: you can replace the cotton balls with small bunches of paper. You can replace the yarn with string, the paper plate with cardboard, or the glitter with colored sand. Be creative with what you have on hand.
Try to use a hole punch that allows you to press down on it to create the hole, rather than one that you need to squeeze in your palm. The push-down ones are easier for little hands.
Recommended Products
As an Amazon Associate and member of other affiliate programs, I earn from qualifying purchases.
-
 1 inch Paper Puncher Set, 6 Pcs Hole Punch Shapes, Pink Craft Punches for Scrapbooking Festival Paper Greeting Card, Lever Punch Includes Circle Heart Star Flower Butterfly Scallop for Kids Adults
 -
200PCS Crystal Gems AB Acrylic Flatback Sew On Diamante Rhinestones with Mixed Shapes for DIY Crafts Handicrafts Clothes Bag Shoes Decorations by CSPRING
-
DecorRack 300 Small Cotton Balls for Make-Up, Nail Polish Removal, Applying Oil Lotion or Powder, Multi-Purpose Balls Made from 100% Natural Cotton, Soft and Absorbent for Household Needs (300 Count)
-
Foamies® 300 Piece Value Pack Shapes - Hearts
-
Elmer's Liquid School Glue, White, Washable, 32 Ounces - Great for Making Slime
-
Fine Slime Glitter, Set of 32 Colors, LEOBRO Multi Purpose Glitter Powder for Arts, Crafts, Epoxy Tumblers, Decoration Weddings Cards Flowers, Scrapbooking, Body, Face, Nail, Glitter Slime Making


I hope your kids love making this cloud mobile as much as we did! It’s such a pretty way to shower someone with love – and learn all about metaphors!
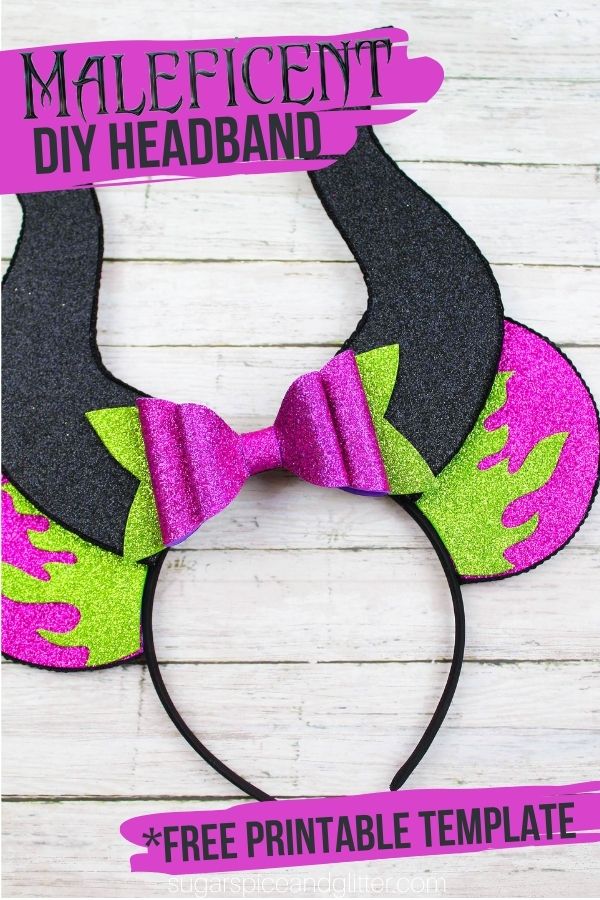
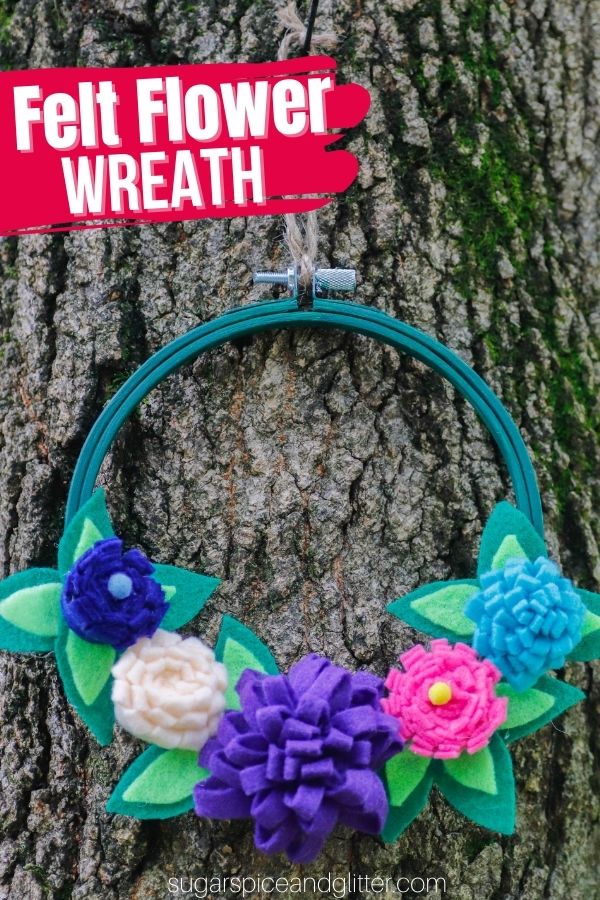
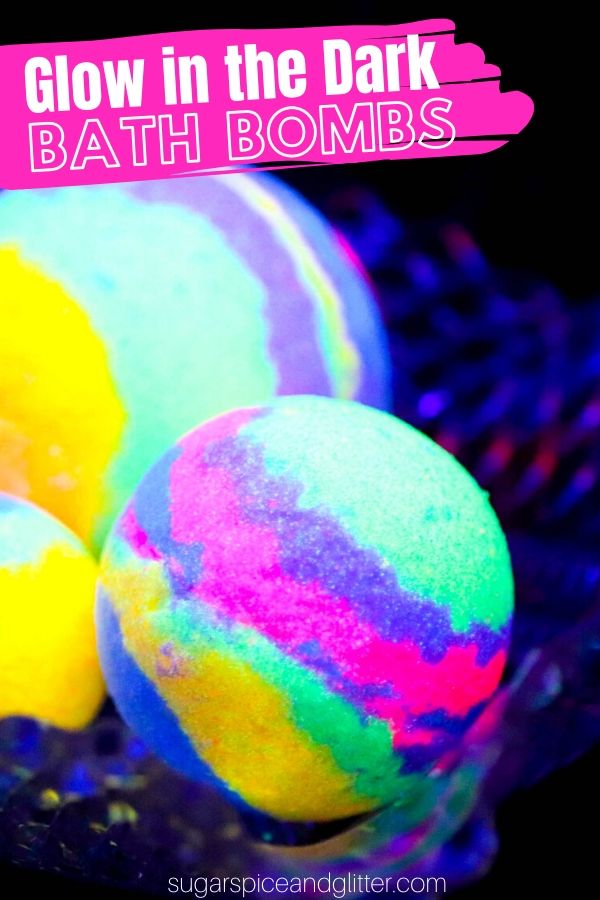
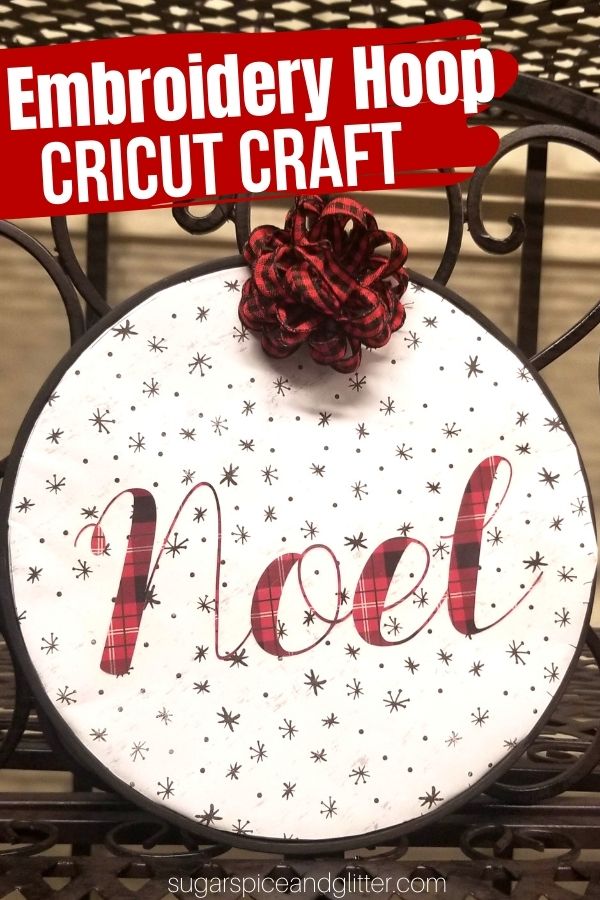
Check out some of our other Valentine’s Day crafts for kids:
")
")


")

")


")
")
")

")