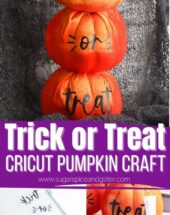
Trick or Treat Cricut Pumpkin Decor
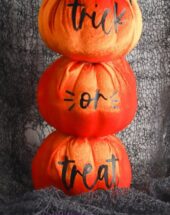
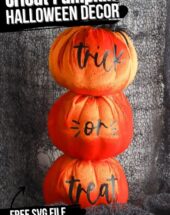
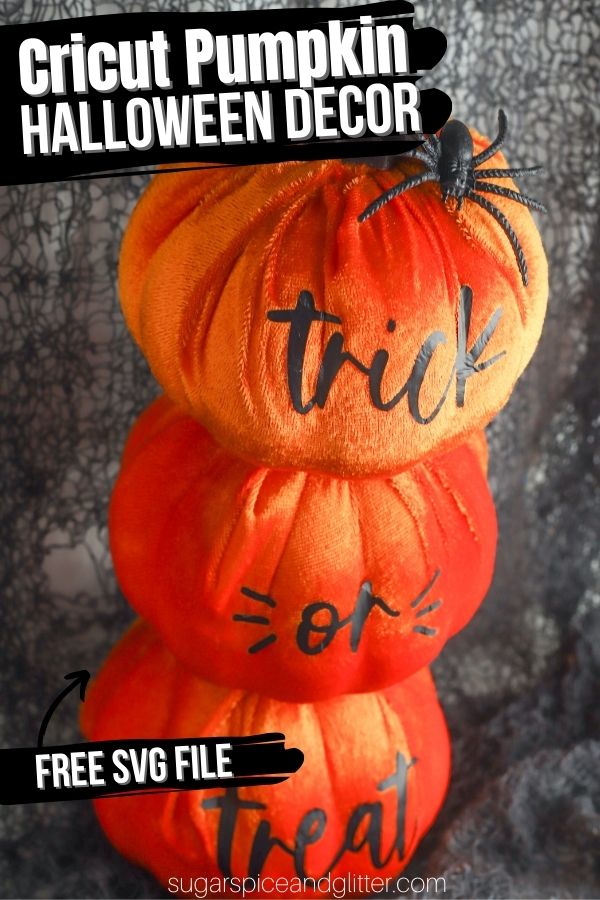
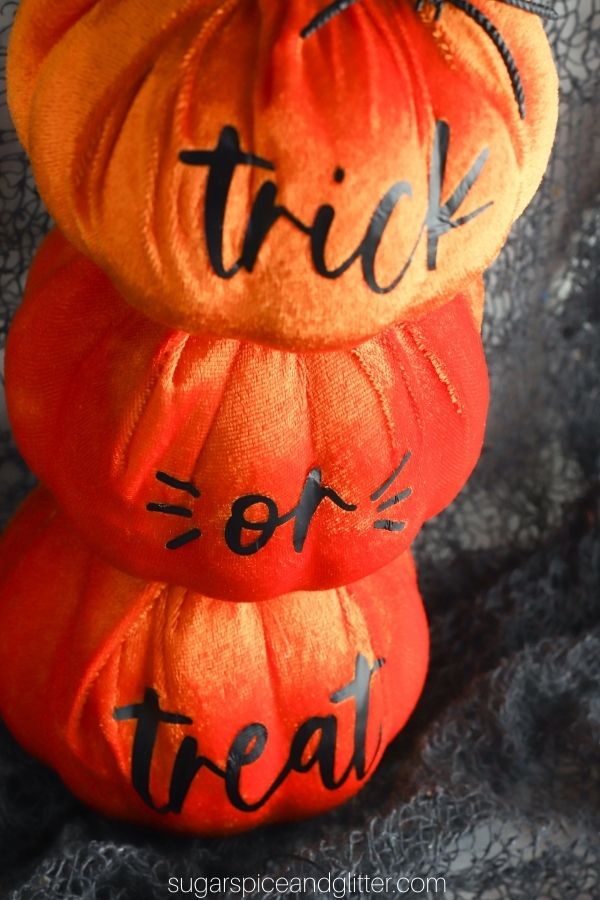
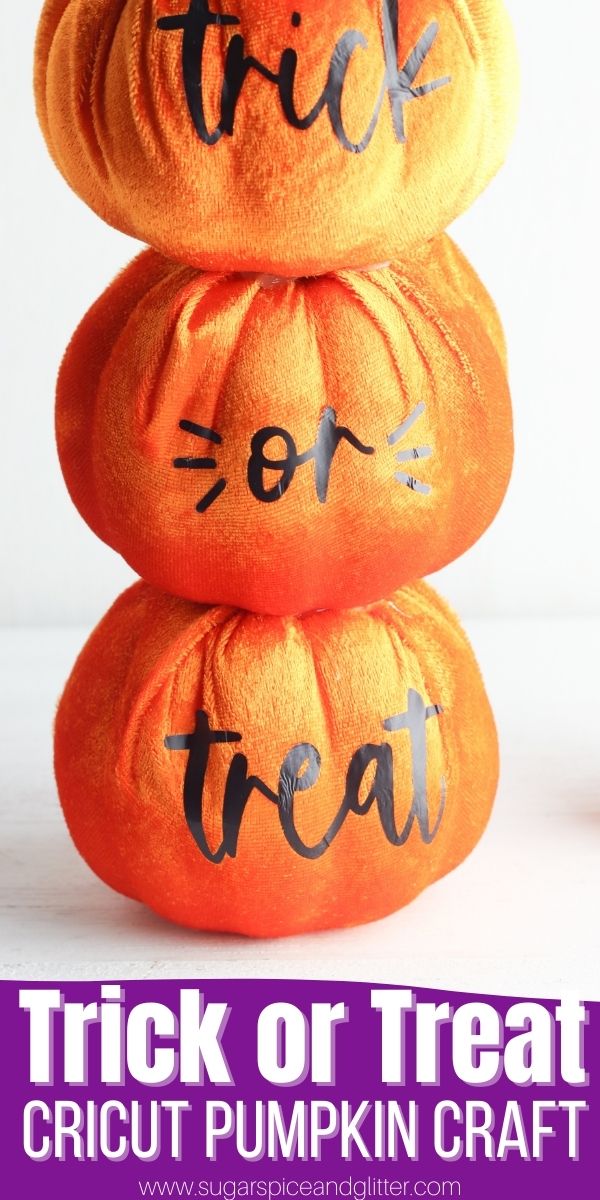
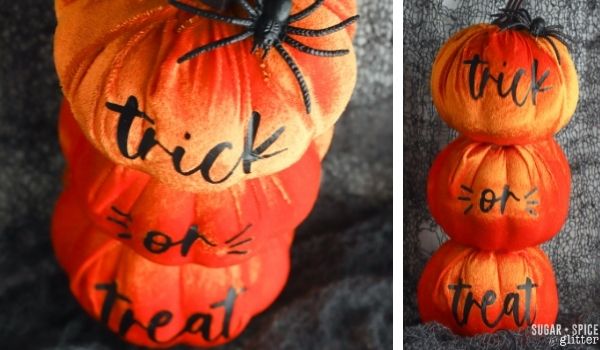
A quick and easy Cricut Halloween Decor Craft using our free Trick or Treat SVG file, this Stacked Pumpkin Craft takes less than 20 minutes to whip up and is a fun and whimsical addition to your Halloween decor!
Cricut Pumpkin Craft
One of my favorite ways to use my Cricut machine during the holidays is to hit up DollarTrees or other bargain stores and find plain-looking supplies that can be customized with a bit of vinyl and a creative touch.
These soft, velvet pumpkins were a recent find. It took me a couple of minutes standing in the aisle holding one and debating what I would do with it before I came up with this super simple stacked pumpkin craft idea.
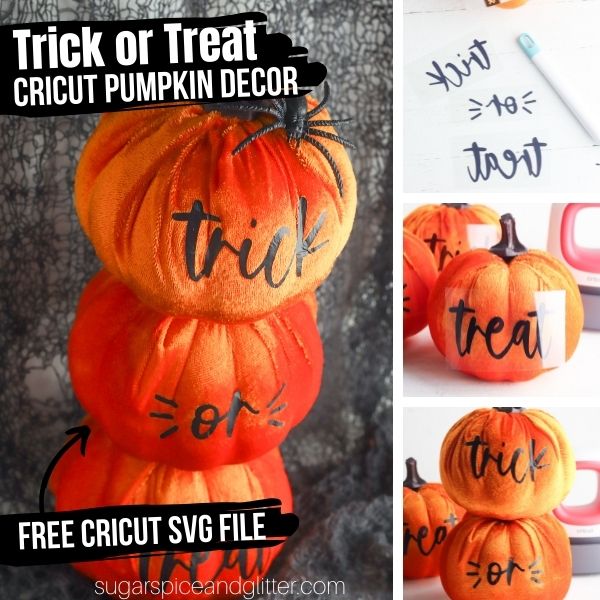
All you have to do to make this stacked pumpkin craft is:
- download our Trick or Treat SVG file and load into Design Space
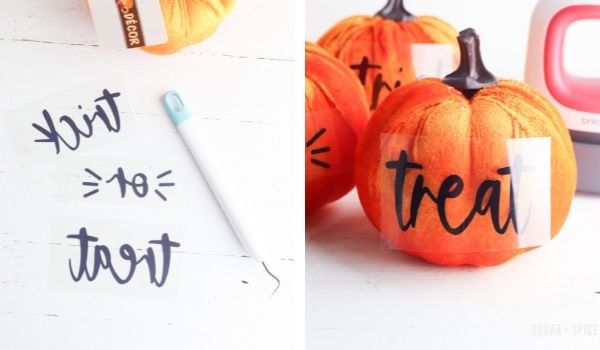
- cut the design onto black heat-transfer vinyl
- press the weeded vinyl onto your soft pumpkins
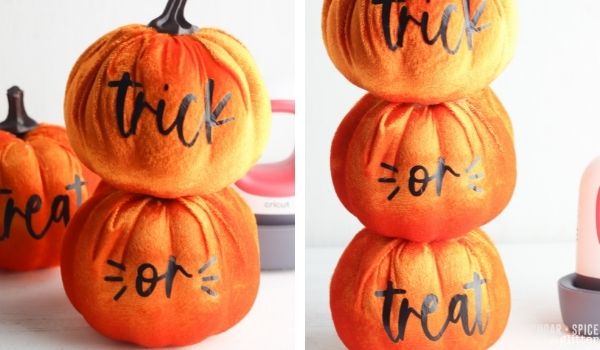
- stack the pumpkins by removing the plastic stem on the bottom two and affixing with hot glue
It took me less than 20 minutes to assemble this craft and since I already had the vinyl, the only expense was $3 worth of velvet pumpkins! You would easily pay upwards of $20 to get something like this pre-made at the store.
If you can’t find the soft velvet pumpkins in your area, check out my friend Jane’s tutorial on how to make a no-sew fabric pumpkin yourself.
I like the look of our stacked velvet pumpkins, but you can alternatively leave the pumpkins unstacked and just place them side-by-side on a mantle or holiday table set-up.
Alternatively, you can use our Trick or Treat SVG to:
- add the trick or treat vinyls to real pumpkins
- add to a wooden cut-out craft
- use to make Trick or Treat Halloween T-shirts
- customize a plain tote bag for a treat loot bag
- place on a Halloween mirror or picture frame
- use infusible or heat press vinyl to add to a door mat for a seasonal greeting
- cut fine wood or thick felt instead of vinyl to make a sign for a wreath
More Halloween Cricut Crafts
- Cricut Trick or Treat Candy Corn Sign
- Mickey Pumpkin Wreath
- Felt Poison Apple Sewing Project
- Cricut Trick or Treat Bags from Sustain my Craft Habit
Materials to Make a Stacked Pumpkin Sign
- Velvet covered pumpkins <– we got ours from Dollar Tree
- Cricut Machine
- Weeding Tool
- Light Grip Cutting Mat
- Black Heat Transfer Vinyl
- Scissors
- EasyPress Mini
- Hot Glue and Hot Glue Gun
- Trick or Treat SVG cut file
How to Make a Cricut Pumpkin Craft
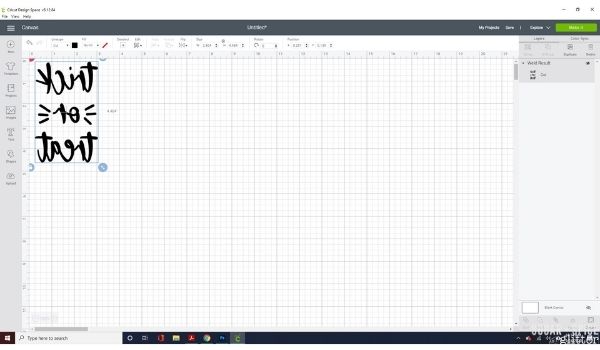
Download the Trick or Treat SVG cut file and upload into Cricut Design Space.
Resize the words/design as needed to fit on to your pumpkins.
Set the mat to mirror cut.
Place your black vinyl on your lightgrip mat and place in your Cricut machine to cut.
Use your weeding tool to remove the excess vinyl, then cut each word out individually.
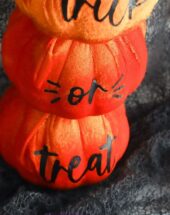
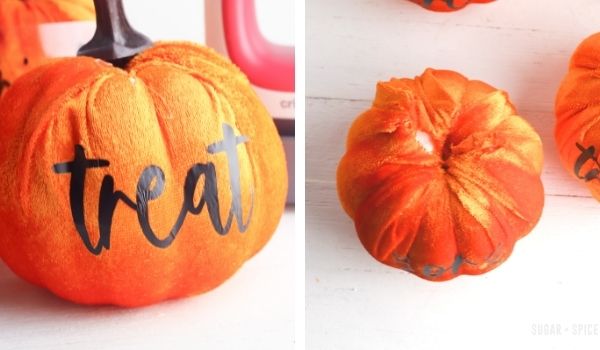
Working one word and pumpkin at a time, place a word on the front of a pumpkin and use your Mini Press (or an iron) to press the vinyl onto the pumpkin.
Repeat with all three pumpkins and words.
Remove the stem from the pumpkins that say “or” and “treat.”
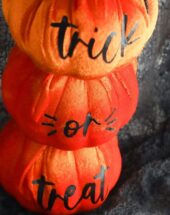
Use hot glue to stack the pumpkins so that they spell out Trick or Treat.
Allow glue to dry before setting out your decoration.
Pin this Easy Cricut Pumpkin Craft idea for your next crafting session:
Grab your free printable instructions for our Cricut Pumpkin Stack craft and don’t forget to grab your free Trick or Treat SVG file here:
Want to Save This Recipe?
Enter your email & I'll send it to your inbox. Plus, get great new recipes from me every week!
By submitting this form, you consent to receive emails from Sugar, Spice and Glitter.
Trick or Treat Cricut Pumpkin Decor
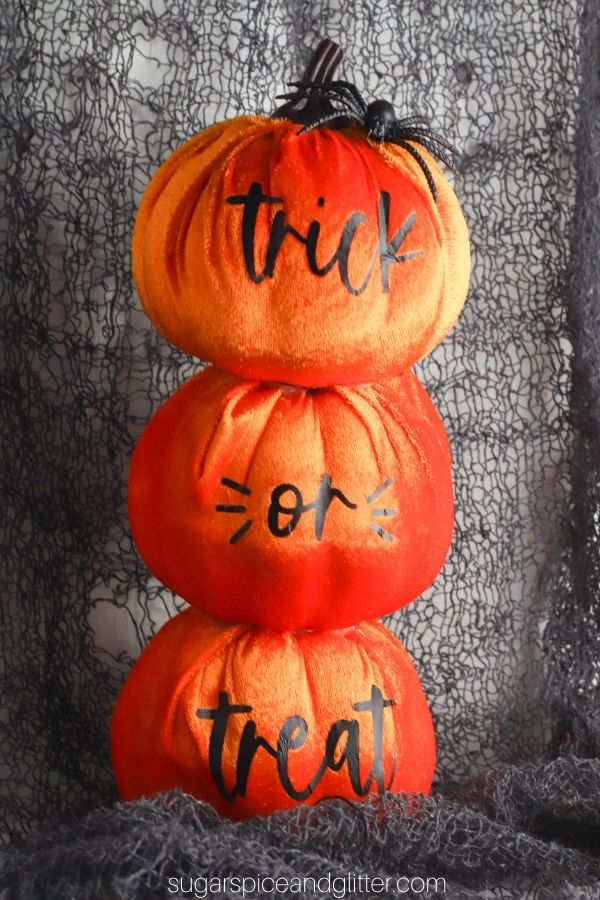
A super simple stacked pumpkin craft perfect for adding some fun to your DIY Halloween decor. Grab our free Trick or Treat SVG cut file and make yourself a stack of soft pumpkins to greet your guests!
Materials
- Velvet covered pumpkins <-- we got ours from Dollar Tree
- Black Heat Transfer Vinyl
- Trick or Treat SVG cut file
Tools
- Cricut Machine
- Weeding Tool
- Light Grip Cutting Mat
- Scissors
- EasyPress Mini
- Hot Glue and Hot Glue Gun
Instructions
- Download the Trick or Treat SVG cut file and upload into Cricut Design Space.
- Resize the words/design as needed to fit on to your pumpkins.
- Set the mat to mirror cut.
- Place your black vinyl on your lightgrip mat and place in your Cricut machine to cut.
- Use your weeding tool to remove the excess vinyl, then cut each word out individually.
- Working one word and pumpkin at a time, place a word on the front of a pumpkin and use your Mini Press (or an iron) to press the vinyl onto the pumpkin.
- Repeat with all three pumpkins and words.
- Remove the stem from the pumpkins that say “or” and “treat.”
- Use hot glue to stack the pumpkins so that they spell out Trick or Treat.
- Allow glue to dry before setting out your decoration.
Recommended Products
As an Amazon Associate and member of other affiliate programs, I earn from qualifying purchases.
-
HTVRONT HTV Vinyl Rolls Heat Transfer Vinyl - 12" x 8ft Black HTV Vinyl for Shirts, Iron on Vinyl for Cricut & Cameo - Easy to Cut & Weed for Heat Vinyl Design (Black)
-
Cricut Easy Press 2 - Heat Press Machine For T Shirts and HTV Vinyl Projects, Raspberry, 9" x 9"
-
Set of 3 Faux Large Rustic Harvest Decorative Pumpkins Velvet Foam Pumpkins Fabric Pumpkins in Rust Orange Bronze for Fall Autumn Wedding Centerpiece Halloween Thanksgiving Mantel Table Kitchen Decor
I hope you love this new addition to your DIY Halloween decor – I’d love to hear if you end up giving this craft a personal twist!
Check out our full Halloween Craft collection here:
Check out our full DIY Home Decor collection here:

