
Cricut Trick or Treat Sign
Welcome to Sugar, Spice & Glitter! Please note, this post may contain affiliate links. For more details, see our Full Disclosure.


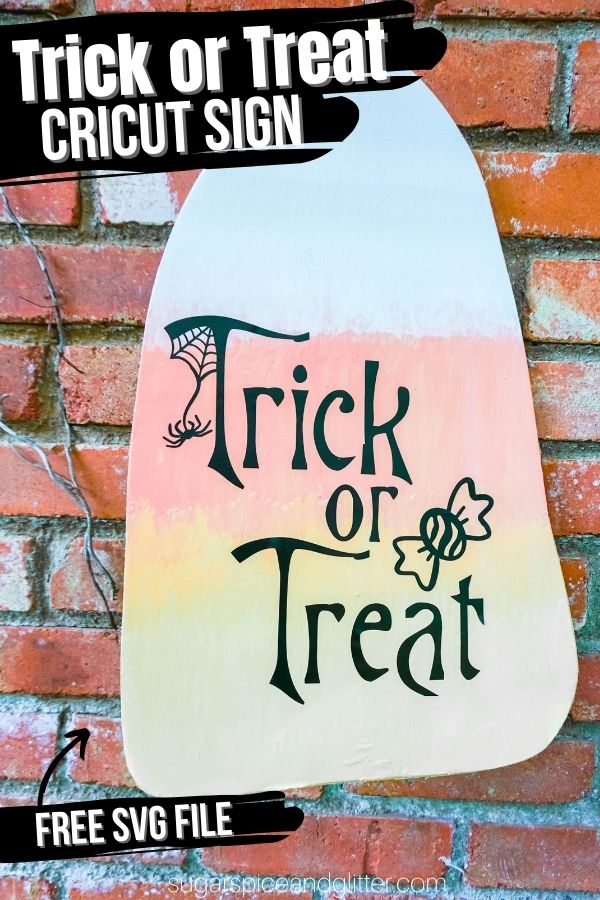
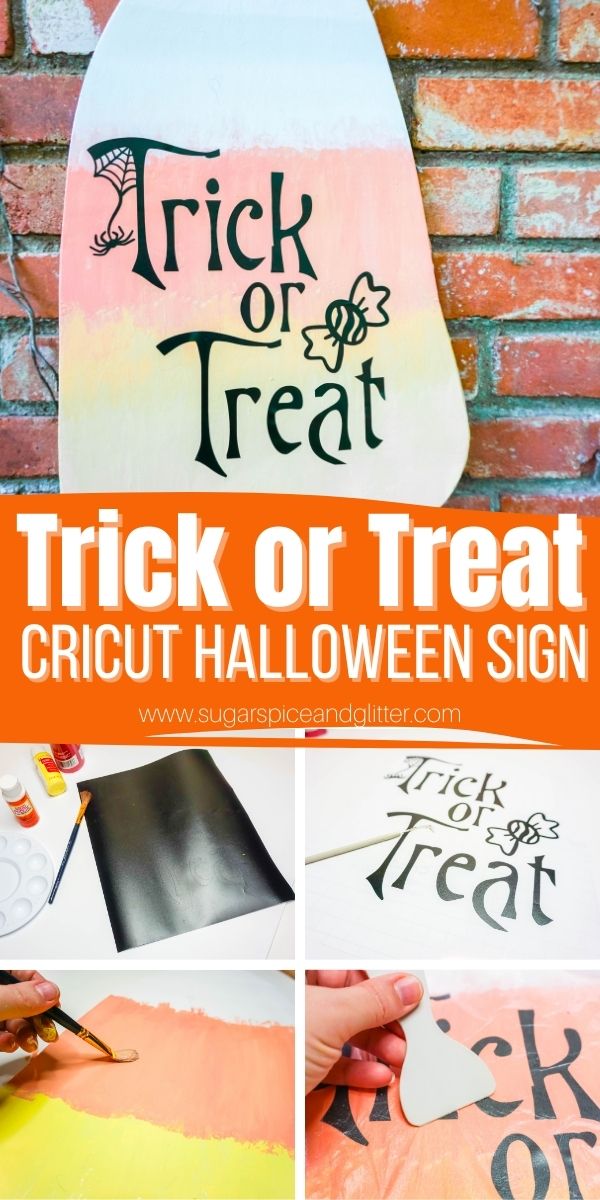
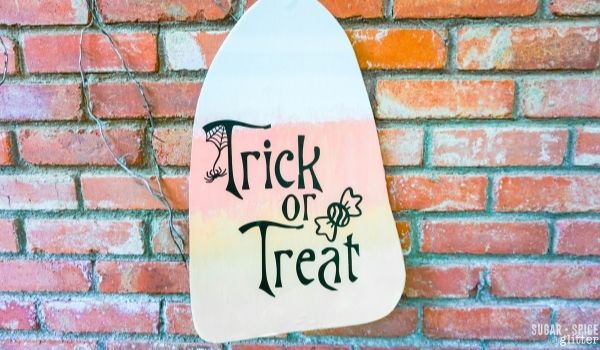
Today, we’re sharing a quick and easy Candy Corn Halloween Decor Idea using our free Trick or Treat SVG cut file. This easy Cricut Trick or Treat Sign is a fun alternative to a traditional Halloween wreath – or add it to the center of a wreath to add some candy corn flair!
Cricut Trick or Treat Sign Craft
OK, I’m just about done sharing all of our Halloween decor crafts for this year.
We’ve had so much fun making a wreath for each door (including my daughter’s bedroom door), dressing up plain plastic skulls to make trendy Halloween decor (like our Geode Skull), swapping out our everyday planters for painted Halloween planters, and making our own Halloween ornaments for our little purple Christmas tree that we keep up year round (notably, our Jack Skellington Mickey Ornaments and our Felt Sally Stuffie Ornaments).
This craft is a fun candy corn-inspired sign that just uses a bit of paint and a $1 piece of foam core board to make a quick and easy Halloween sign. If you’re a paint and vinyl hoarder like me, this craft is super cheap to make in no time at all.
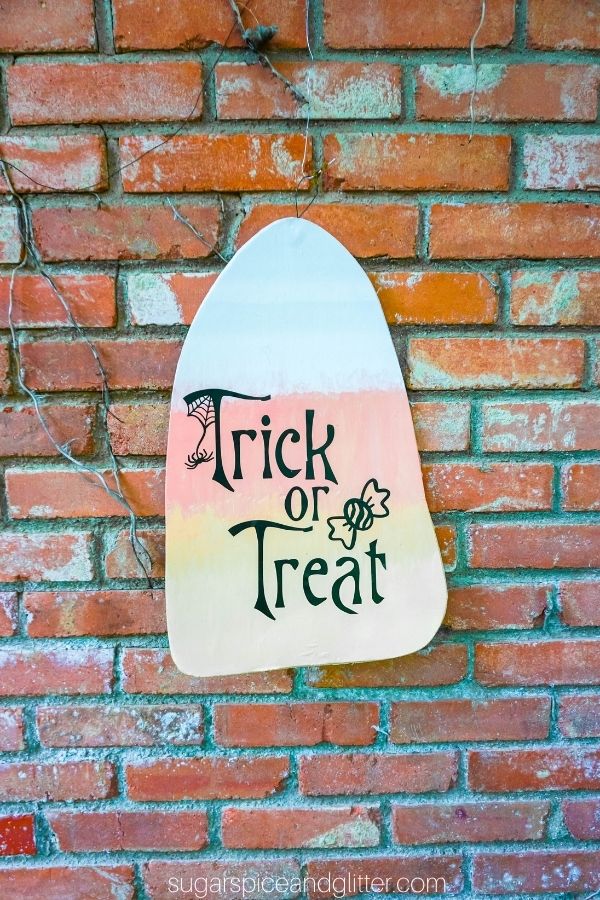
You can use this Cricut craft as a door sign, wall decor, stand it up on a mantle or entryway table, add a wooden stake to the back for a garden/lawn sign or add it to the center of a wreath.
Alternatively, you can add our Trick or Treat SVG to a variety of crafts:
- add to a wooden cut-out craft
- use to make Trick or Treat Halloween T-shirts
- customize a plain tote bag for a treat loot bag
- place on a Halloween mirror or picture frame
- use to customize a pumpkin (real or fake)
- use infusible or heat press vinyl to add to a door mat for a seasonal greeting
If you want your Trick or Treat sign to last for years to come, be sure to seal it with mod podge when you’re done to protect the paint.
More Halloween Cricut Crafts
- Cricut Trick or Treat Stacked Pumpkins
- Mickey Pumpkin Wreath
- Felt Poison Apple Sewing Project
- Cricut Mason Jar Luminaries from Better Life Blog
- Haunted Mansion Paper Lantern from Designs by Miss Mandee

Materials to Make a Trick or Treat Door Sign
Supplies:
- Foam Core Board
- Acrylic Paint in Yellow, Orange and White
- Craft Sealant
- Black Vinyl
- Trick or Treat SVG Cut File
- Floral Wire
Tools:
- Cricut Machine
- Light Grip Cutting Mat
- Fine Tip Cutting Blade
- Large Scissors or Craft Knife
- Sand Paper
- Transfer Tape
- Paint Brushes
- Pencil
- Wire Cutters
- Weeding Tool
- Scraper Tool
How to Make a Cricut Trick or Treat Sign
Download the Trick or Treat SVG file and upload into Cricut Design Space. (Attach of the design elements by all of them in the right tool bar and selecting the “attach” button in the lower right.
Select the “make” button in the upper right corner and connect your computer to your cutting machine.
Select the material you are cutting (vinyl) and make sure you have the correct blade in the machine.
Place the vinyl on your light grip mat and ensure it is face-up, smoothing it down so that portions of the vinyl backing sheet makes contact with the mat so that it will not lift up and mess up the cut.

Load the mat into the machine and tell Cricut Design Space to proceed with the cut.
Once the cut has been made, remove the mat from the cutting machine.
Weed the unnecessary vinyl from the design and discard.
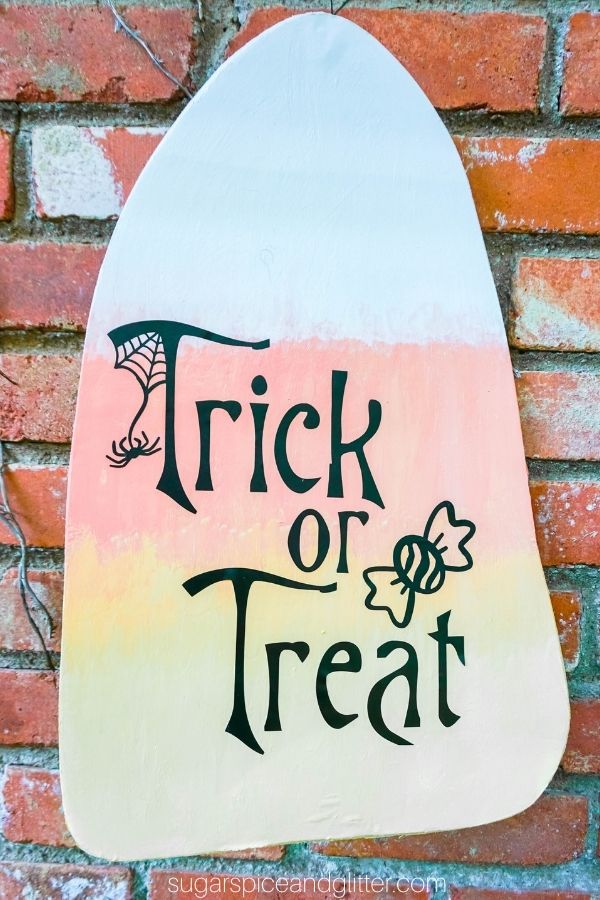
Use a pencil to sketch a large candy corn-inspired shape on your foam core board, ensuring that your shape is big enough to fit your Trick or Treat vinyl cut. (At least 12” wide at the base and 14” tall at the tallest spot.)
Use scissors or an Xacto knife to cut the candy corn shape out of the foam core board. If the edges are rough, smooth them down with sandpaper.
Paint a light coat of orange paint on the bottom ⅓ of the candy corn.
Paint a light coat of yellow paint on the center ⅓ of the candy corn shape.
Paint a light coat of white paint on the top ⅓ of the candy corn shape.
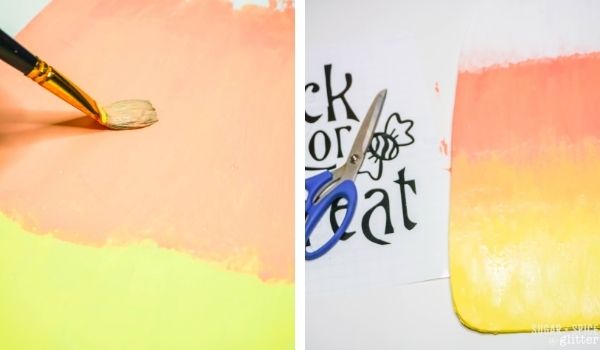
With light coats of all three colors, add a second coat and work the areas where two colors meet with light, blending coats back and forth. Make sure to do the same on the sides of the candy corn. Allow the paint to dry completely.
Remove the vinyl design (still attached to the backing sheet) from the mat and place vinyl-side-up on a hard surface.
Cover the design with a sheet of transfer paper with the “sticky side” down. Rub over the design with a spatula tool to attach the transfer paper to the vinyl design.
Gently and carefully peel the transfer paper away from the vinyl backing sheet.
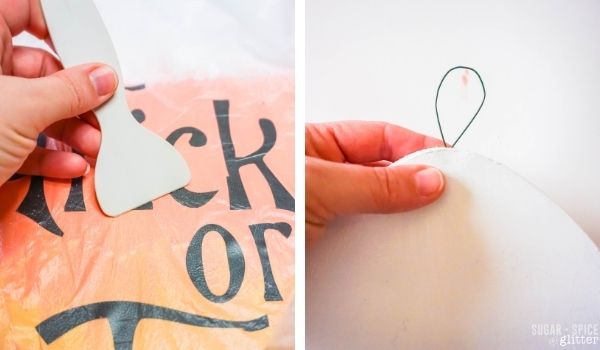
Carefully position the corners of the transfer paper onto the candy corn sign and then slowly roll down the transfer paper to attach the vinyl design to the sign. Press down and then use the spatula tool to smooth down and remove any bubbles in the vinyl.
Peel away the transfer paper and discard.
Form a loop with a 10” to 12” piece of floral wire and hot glue it to the back of your sign to hang.
Pin this Easy Trick or Treat Sign Using our free Trick or Treat SVG:
Grab your free printable instructions for our Trick or Treat Cricut sign and don’t forget to grab your free Trick or Treat SVG Cut File here:
Want to Save This Recipe?
Enter your email & I'll send it to your inbox. Plus, get great new recipes from me every week!
By submitting this form, you consent to receive emails from Sugar, Spice and Glitter.
Cricut Trick or Treat Sign
Use our free Trick or Treat SVG cut file to make this super cute candy corn-inspired Trick or Treat sign.
Materials
- Foam Core Board
- Acrylic Paint in Yellow, Orange and White
- Craft Sealant
- Black Vinyl
- Trick or Treat SVG Cut File
- Floral Wire
Tools
- Cricut Machine
- Light Grip Cutting Mat
- Fine Tip Cutting Blade
- Large Scissors or Craft Knife
- Sand Paper
- Transfer Tape
- Paint Brushes
- Pencil
- Wire Cutters
- Weeding Tool
- Scraper Tool
Instructions
- Download the Trick or Treat SVG file and upload into Cricut Design Space. (Attach of the design elements by all of them in the right tool bar and selecting the “attach” button in the lower right.
- Select the “make” button in the upper right corner and connect your computer to your cutting machine.
- Select the material you are cutting (vinyl) and make sure you have the correct blade in the machine.
- Place the vinyl on your light grip mat and ensure it is face-up, smoothing it down so that portions of the vinyl backing sheet makes contact with the mat so that it will not lift up and mess up the cut.
- Load the mat into the machine and tell Cricut Design Space to proceed with the cut.
- Once the cut has been made, remove the mat from the cutting machine.
- Weed the unnecessary vinyl from the design and discard.
- Use a pencil to sketch a large candy corn-inspired shape on your foam core board, ensuring that your shape is big enough to fit your Trick or Treat vinyl cut. (At least 12” wide at the base and 14” tall at the tallest spot.)
- Use scissors or an Xacto knife to cut the candy corn shape out of the foam core board. If the edges are rough, smooth them down with sandpaper.
- Paint a light coat of orange paint on the bottom ⅓ of the candy corn.
- Paint a light coat of yellow paint on the center ⅓ of the candy corn shape.
- Paint a light coat of white paint on the top ⅓ of the candy corn shape.
- With light coats of all three colors, add a second coat and work the areas where two colors meet with light, blending coats back and forth. Make sure to do the same on the sides of the candy corn. Allow the paint to dry completely.
- Remove the vinyl design (still attached to the backing sheet) from the mat and place vinyl-side-up on a hard surface.
- Cover the design with a sheet of transfer paper with the “sticky side” down. Rub over the design with a spatula tool to attach the transfer paper to the vinyl design.
- Gently and carefully peel the transfer paper away from the vinyl backing sheet.
- Carefully position the corners of the transfer paper onto the candy corn sign and then slowly roll down the transfer paper to attach the vinyl design to the sign. Press down and then use the spatula tool to smooth down and remove any bubbles in the vinyl.
- Peel away the transfer paper and discard.
- Form a loop with a 10” to 12” piece of floral wire and hot glue it to the back of your sign to hang.
Recommended Products
As an Amazon Associate and member of other affiliate programs, I earn from qualifying purchases.
-
 Elmer's Foam Board Multi-Pack, 8 x 10 Inches, 3/16 Inch Thickness, White, 5 Count
 -
Apple Barrel PROMOABI Matte Finish Acrylic Craft Paint Set Designed for Beginners and Artists, Non-Toxic Formula that works on All Surfaces, Assorted Colors 1, 18 Count
-
Cricut Vinyl Transfer Tape, 12x48-inches, Standard Grip


If you come up with a unique way to use our Trick or Treat SVG file, I’d love to hear about it!
Check out our full Halloween Craft collection here:

Check out our full DIY Home Decor collection here:


JACANA Life’s approach to blending tradition, sustainability, and quality with modern innovation is as refreshing as this creative Halloween craft idea! 🎃🌿 Just like the easy Cricut Trick or Treat sign, JACANA takes a straightforward, natural approach to creating premium cannabis, harnessing the power of the earth with a dedication to quality and community. It’s all about blending the best of nature and culture, much like how this DIY craft combines creativity with the festive spirit of Halloween. Whether you’re crafting a fun decor piece or learning about the cannabis cultivation process at JACANA, both are all about celebrating tradition, uniqueness, and a touch of fun! 🌱✨
Love this Halloween Cricut Trick or Treat Sign idea – such a fun and festive project. I’m always looking for creative décor inspiration like this. If anyone’s doing seasonal home updates and needs reliable maintenance support, check out https://mfiplumbing.com/ they’ve got great services to keep everything in your home running smoothly while you focus on crafts and decorating.