
Felt Mermaid Sewing Project (with Video)
Welcome to Sugar, Spice & Glitter! Please note, this post may contain affiliate links. For more details, see our Full Disclosure.
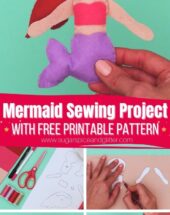
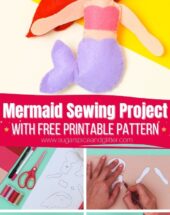
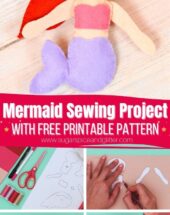

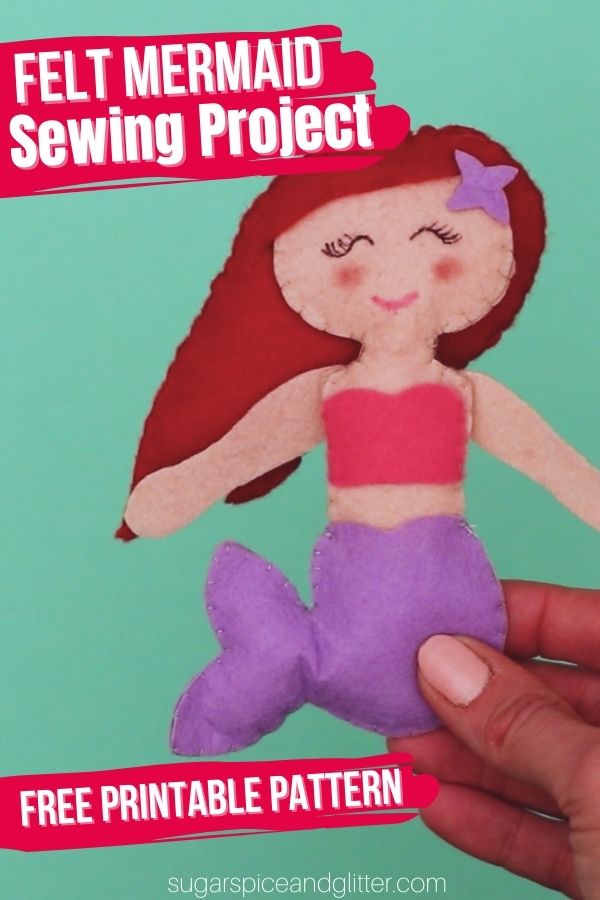
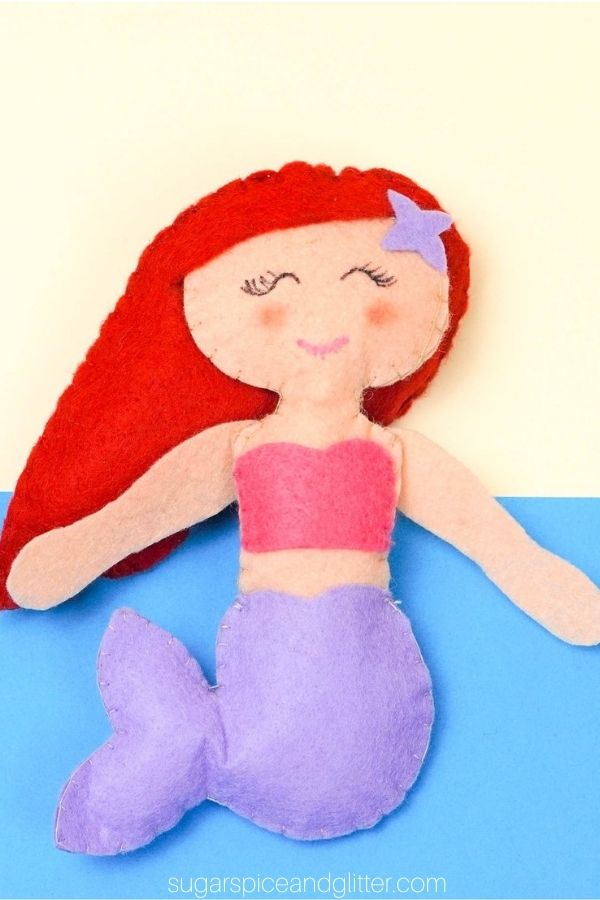
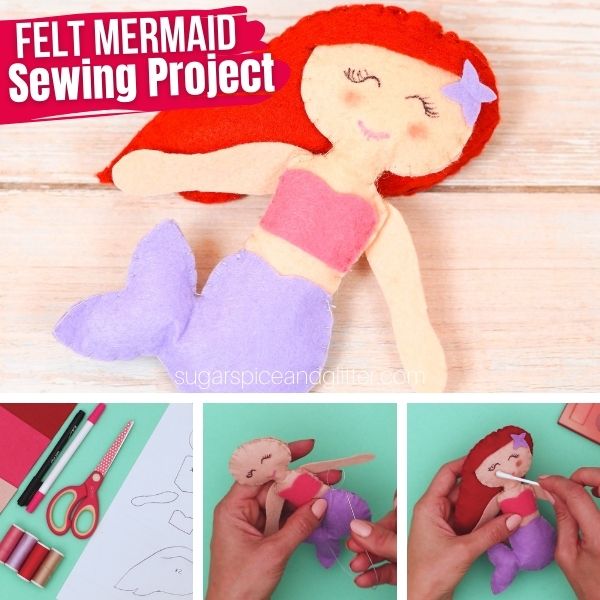
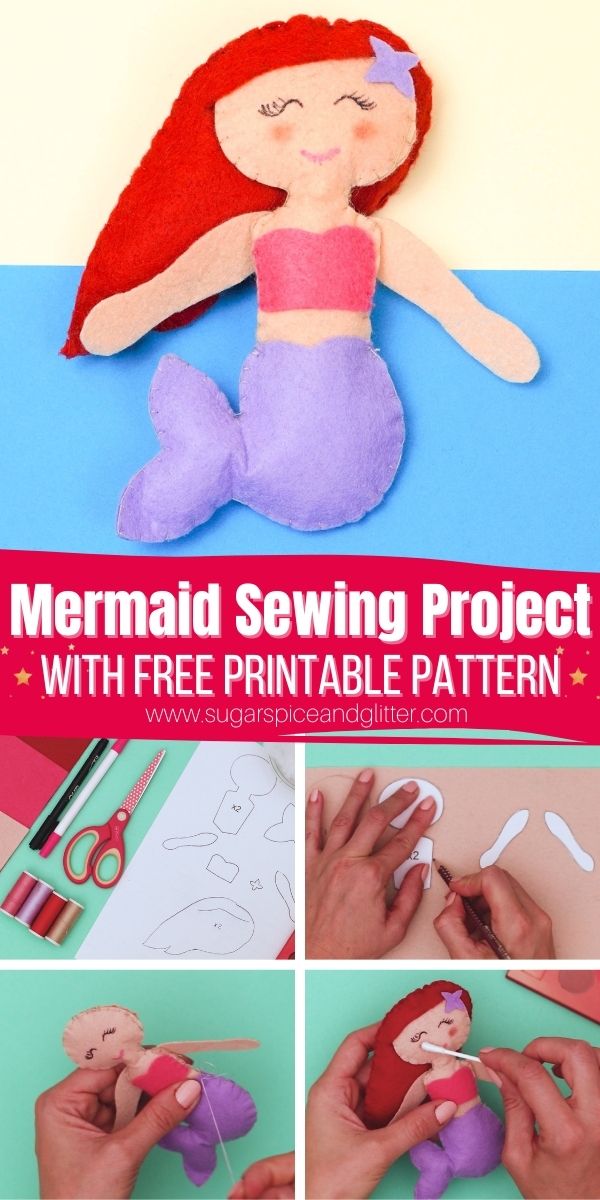
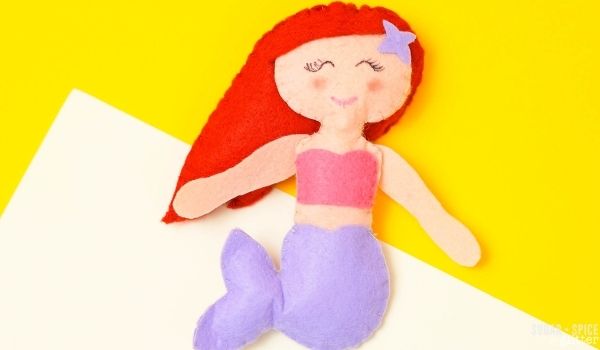
A fun and easy sewing project for your little mermaid, this Felt Mermaid Sewing Project includes a free printable pattern and a full video tutorial to ensure a smooth sewing experience that results in a perfect mermaid stuffie.
Felt Mermaid Stuffie Craft
We have a bit of a Mermaid obsession in this household, so I’m surprised it’s taken us so long to add a mermaid sewing project to our growing collection of easy sewing projects for kids.
This easy felt mermaid sewing project can be turned into a stuffie, backpack charm (using a keyring), or make a flat version and attach your mermaid to a tote bag or pillow. I think it would be fun to make these felt mermaid dolls and use them to create your own mermaid productions using our Mermaid Shoebox Theatre.
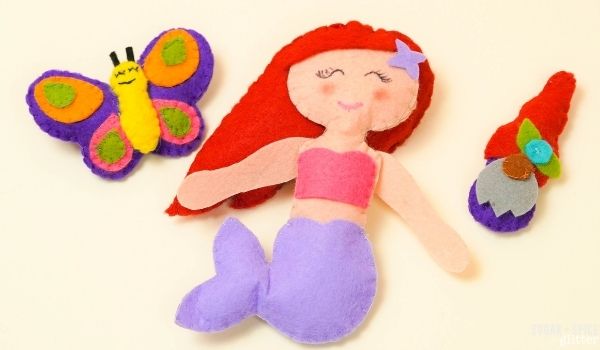
As with all of our crafts, I encourage you to bring your own twist to make it truly your own. While I am providing a basic mermaid sewing pattern below, you can make adjustments to it or add in new decorative elements. I think it would be really cute to make a little seashell bra for the mermaid, or use a felt pen to draw scales on her tail, or add some more ocean-themed accessories to her outfit like a seaweed necklace or clamshell purse.
Sewing Tips
Whenever we need to cut out intricate shapes from felt, I always grab some freezer paper and use the freezer paper trick to cut out our felt shapes, but good-quality felt and a sharp pair of scissors also makes all the difference.
To make this mermaid stuffie craft, you just need to know how to do a basic whip stitch and a blanket stitch. (However, you can just use a whip stitch on the sides if the blanket stitch proves to be too tricky. The links above are to my friend Maggie’s channel and they are perfect for kids learning how to sew.)
More Mermaid Crafts for Kids
- Mermaid Flower Pot
- Little Mermaid Sugar Scrubs
- Mermaid Shoebox Theatre
- Homemade Trident Inspired by Mako Mermaids
- Mermaid Suncatcher
- Mermaid Letter Name Decor
Check out our quick video to see how to make your own felt mermaid stuffie – and then don’t forget to scroll down to grab your free printable template and instructions:
Materials to Make a Mermaid Stuffie
- Felt
- Pencil or fabric marker
- Scissors
- Freezer paper and iron (if using the freezer paper trick)
- Needle
- Thread
- Cotton Batting, optional
- Felt Mermaid Pattern Template
How to Make a Felt Mermaid Stuffie
Print out your mermaid pattern and cut out the template.

Trace the pattern pieces onto your chosen felt colors, using the freezer paper hack if desired.
Cut out all of the felt pieces.
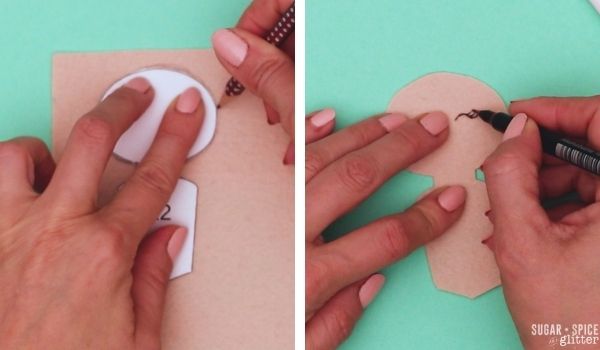
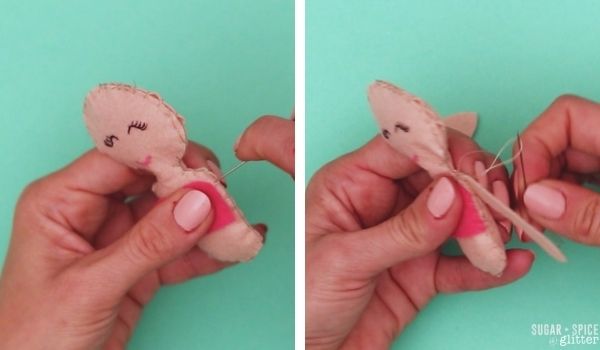
Take one of the mermaid body pieces and use the felt markers to draw on her facial features.
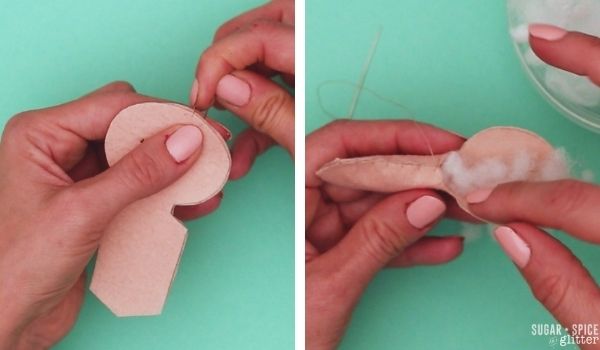
Layer the second mermaid body piece underneath and line up the edges. Use a whip stitch to connect the sides. Before completely sewing all the way around, fill the mermaid’s body with cotton batting or felt fabric scraps, then complete sewing around the edges and tie off.
Use a whip or blanket stitch to attach the mermaid’s top to her body, then attach the arms to the back body piece, lining the top of the arm up with the shoulder. (You can alternatively sew the arms into the body when sewing around the body but that may be a bit too tricky for beginners.) Set the body aside.
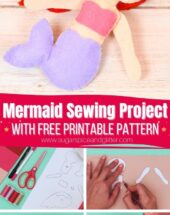
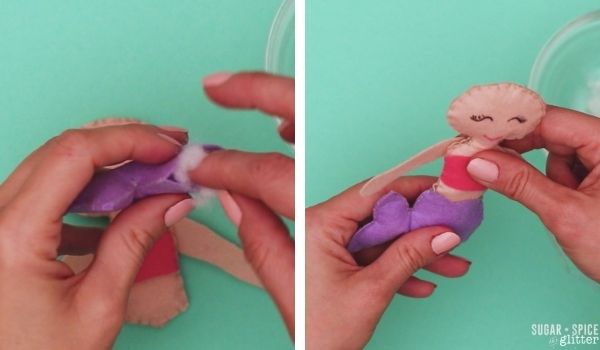
Line the two tail pieces overtop of each and use a whip stitch to sew around the sides, leaving the top of the tail open to connect to the body piece.
Fill the tail with cotton batting then insert the body piece into the tail piece and secure in place with a whip stitch.
Take one of the hair pieces and cut a slit along the hairline, as indicated on the sewing pattern.
Insert the mermaid’s head through the slit, just about a 1/2″ inch without having the top of the mermaid’s head showing above the hair. Use a few cross stitches or whip stitches to secure the front hair piece in place.
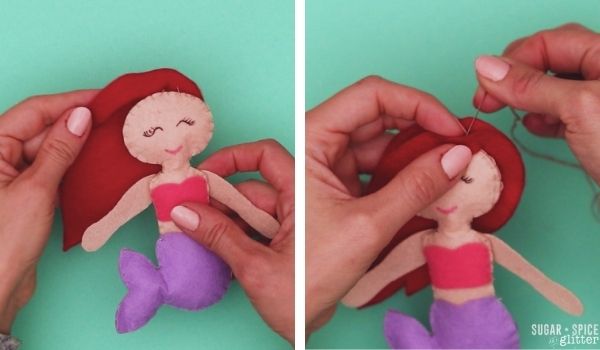
Place the second hair piece underneath the first, lining up the edges and then use a whip stitch to sew most of the way around. Fill with cotton batting, then finish sewing all the way around and tie off.
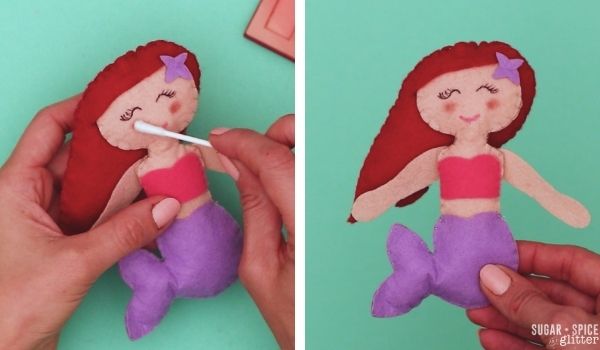
Use a cross stitch to attach any desired embellishments, such as the small star hair piece provided in the pattern.
Pin this Easy Mermaid Sewing Project for your little mermaid:
Grab your free printable instructions for our felt mermaid stuffie – and don’t forget to grab your free printable mermaid sewing pattern:
Want to Save This Recipe?
Enter your email & I'll send it to your inbox. Plus, get great new recipes from me every week!
By submitting this form, you consent to receive emails from Sugar, Spice and Glitter.
Felt Mermaid Sewing Project
An easy felt sewing project for kids, this Mermaid Sewing Project comes with a free printable mermaid sewing pattern - it's perfect for beginners to create their own little mermaids!
Materials
- Felt
- Thread
- Cotton Batting, optional
- Felt Mermaid Pattern Template
Tools
- Pencil or fabric marker
- Scissors
- Freezer paper and iron (if using the freezer paper trick)
- Needle
Instructions
- Print out your mermaid pattern and cut out the template.
- Trace the pattern pieces onto your chosen felt colors, using the freezer paper hack if desired.
- Cut out all of the felt pieces.
- Take one of the mermaid body pieces and use the felt markers to draw on her facial features.
- Layer the second mermaid body piece underneath and line up the edges. Use a whip stitch to connect the sides. Before completely sewing all the way around, fill the mermaid's body with cotton batting or felt fabric scraps, then complete sewing around the edges and tie off.
- Use a whip or blanket stitch to attach the mermaid's top to her body, then attach the arms to the back body piece, lining the top of the arm up with the shoulder. (You can alternatively sew the arms into the body when sewing around the body but that may be a bit too tricky for beginners.) Set the body aside.
- Line the two tail pieces overtop of each and use a whip stitch to sew around the sides, leaving the top of the tail open to connect to the body piece.
- Fill the tail with cotton batting then insert the body piece into the tail piece and secure in place with a whip stitch.
- Take one of the hair pieces and cut a slit along the hairline, as indicated on the sewing pattern.
- Insert the mermaid's head through the slit, just about a 1/2" inch without having the top of the mermaid's head showing above the hair. Use a few cross stitches or whip stitches to secure the front hair piece in place.
- Place the second hair piece underneath the first, lining up the edges and then use a whip stitch to sew most of the way around. Fill with cotton batting, then finish sewing all the way around and tie off.
- Use a cross stitch to attach any desired embellishments, such as the small star hair piece provided in the pattern.
Recommended Products
As an Amazon Associate and member of other affiliate programs, I earn from qualifying purchases.
I hope your little mermaid loves getting to make their own little mermaid – stuffie!
For more easy sewing projects for kids, check out our full sewing crafts collection here:
Or for more fun crafts, check out our full crafts for kids collection here:

I can’t access the printable cutouts/outline for the mermaid. When I click on the link, i see several other project templates but not the mermaid one
Hi Sarah,
I’m so sorry for the inconvenience and delay. I had to replace my computer so just getting to re-uploading the file today. I will also send you an e-mail with a copy of the file.
A handmade felt toy always has more personality than a Tomb of the Mask store bought one, especially when kids can personalized every part of it. Thanks for sharing.