
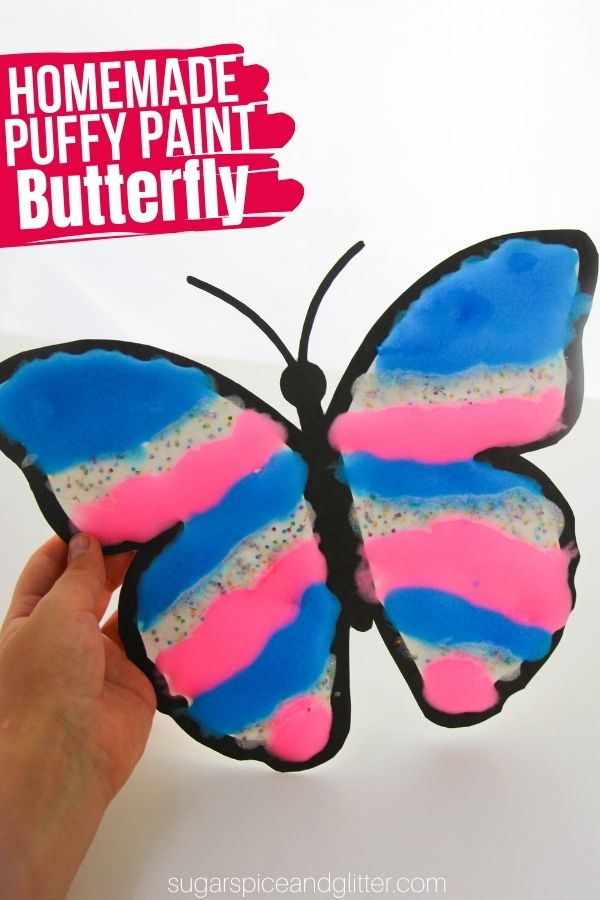
Puffy Paint Butterfly (with Video)
Welcome to Sugar, Spice & Glitter! Please note, this post may contain affiliate links. For more details, see our Full Disclosure.


Today’s Puffy Paint Butterfly uses our super simple 3-ingredient puffy paint recipe to make a gorgeous, 3D painting with a fun texture and bright, Spring-inspired colors.

Puffy Paint Butterfly Craft
Homemade puffy paint is one of those DIY craft materials that I find myself going back to year after year.
The creations the kids make with it are always so fun and whimsical, thanks to the fluffy, puffy texture and bright colors. Using scented shaving cream (or adding in flavor extracts) can also give your child’s creations a fun scent. (For example, with our gingerbread puffy paintings, I added gingerbread-inspired spices to give our paintings a cookie-inspired scent.)
For today’s puffy paint butterfly craft, I made a simple butterfly template for the kids to paint. (Grab your free copy below.) This allowed the kids to focus their creativity on making their butterfly’s wings unique and beautiful.
They can create their own wing patterns or look at pictures of butterflies and try to recreate the different designs that they see. The 3-ingredient puffy paint is super quick to whip up (less than a minute each color) so you can quickly make as many colors as your kids want for their gorgeous creations.
Unlike other homemade puffy paint recipes I’ve seen, ours doesn’t require zapping the finished artwork in the microwave. However, the puffy paint is very fragile – it can be gently touched without issues but if someone pushes down on it the paint can become cracked, indented or flaked off.

How long does homemade puffy paint last? I currently have a painting done with our puffy paint on my fridge that was made over a year ago and it still looks great! If you’re going to store your puffy paint craft, I would package it gently – perhaps in a small box or padded envelope to prevent the puffy paint from being damaged.
Can homemade puffy paint be made in advance? Yes, we have made and used this puffy paint for 3 days without issues. Just be sure to completely cover the paint before storing to prevent the glue from hardening.
More Fun Spring Crafts For Kids
- Spring Waldorf Hand Kite
- Suncatcher Butterflies from Busy Toddler
- Easy Homemade Bird Feeders
- Pom Pom Caterpillars from No Time for Flashcards
- Mermaid Flower Pots
Check out our video of Ella making her puffy paint and turning it into a magical puffy paint butterfly craft – and then don’t forget to scroll down to grab your free printable butterfly template and our free printable recipe card:

Homemade Puffy Paint Ingredients
- Shaving cream <– just use the cheapest non-gel shaving cream you can find
- White glue
- Paint or food dye
- Bowls (one per color)
- Cardstock or cardboard
- Kid-safe scissors <– these are the ones we use and they’ve lasted us for 6 years. I find kids have a hard time with some safety scissors but these we have no issues with
- Butterfly Template
Scroll down to the printable recipe card for full measurements.
Tip: you can also use food dye to make your puffy paint, or add glitter or scents to give your project even more wonderful sensory stimulation.

How to Make Puffy Paint Butterflies
Mix together the shaving cream, glue and paint. Add scent, if desired.

You can really play around with this recipe — adding more shaving cream if you want a puffy (more delicate) result, or more glue if you want a firmer, less puffy result. Just be careful not to overmix, as that deflates the paint. It keeps well for a couple of days if covered, but is best used right away.

Print out the butterfly template and apply thick layers of the paint to the template.
Allow paint to dry before cutting out the butterfly.

Glue the butterfly to a piece of cardstock.
Pin this Easy Homemade Puffy Paint and Butterfly Craft for your next rainy day craft session:

Grab your free printable instructions for how to make homemade puffy paint and don’t forget to grab your free Butterfly Template:
Want to Save This Recipe?
Enter your email & I'll send it to your inbox. Plus, get great new recipes from me every week!
By submitting this form, you consent to receive emails from Sugar, Spice and Glitter.
Puffy Paint Butterfly
A super simple 3-ingredient puffy paint recipe and free printable butterfly template for kids to make their own 3D puffy paint butterflies. A fun sensory craft with amazing texture. Kids can create their own patterns or try to recreate the wing designs they see in real butterflies.
Materials
- Shaving cream (just use the cheapest non-gel shaving cream you can find)
- White glue
- Paint or food dye
- Cardstock or cardboard
- Butterfly Template
Tools
- Bowls, one per color
- Paintbrushes
- Spoon for Mixing
- Kid-safe scissors
Instructions
- Mix together the shaving cream, glue and paint. Add scent, if desired.
- You can really play around with this recipe -- adding more shaving cream if you want a puffy (more delicate) result, or more glue if you want a firmer, less puffy result. Just be careful not to overmix, as that deflates the paint. It keeps well for a couple of days if covered, but is best used right away.
- Print out the butterfly template and apply thick layers of the paint to the template.
- Allow paint to dry before cutting out the butterfly.
- Glue the butterfly to a piece of cardstock.
Recommended Products
As an Amazon Associate and member of other affiliate programs, I earn from qualifying purchases.


You can use your homemade puffy paint to make a variety of fun, creative projects. It’s so easy to whip up and results in gorgeous, puffy art projects.
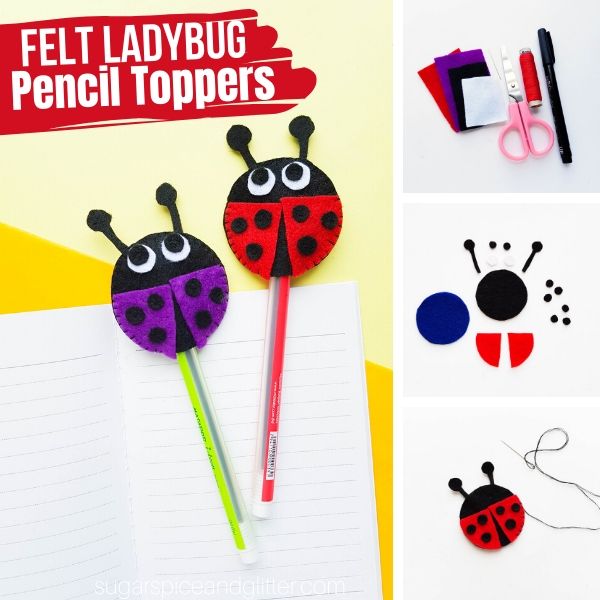
For more fun insect activities for kids, check out our Butterfly Play Dough Kit or our Easy Ladybug Pencil Topper Craft.


I like your craft ideas always. Thanks for sharing such wonderful blogs always.