Mardi Gras Handprint Mask
Welcome to Sugar, Spice & Glitter! Please note, this post may contain affiliate links. For more details, see our Full Disclosure.

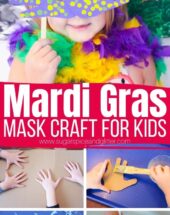
A fun Mardi Gras craft for kids, these Mardi Gras Handprint Masks are a fun way to let kids get in on the fun using everyday craft supplies.

Mardi Gras Craft for Kids
Mardi Gras in the South is so much more than what happens on Bourbon Street.
Mardi Gras is celebrated with parades, masked balls, family-friendly charity fundraisers, delicious foods, and even Shakespearean theatre productions.
Rooted in Christian tradition as being a day to feast before the start of the Lent, it also goes by Shrove Tuesday or Pancake Tuesday in other parts of the world. I grew up with Pancake Tuesday, but I think a little Southern flair adds a bit more fun to the day. While we don’t have any masked balls to attend in our corner of the world, that doesn’t mean we can’t make our own masks and get dressed up in the living room!
Whether you’re looking for a fun way to celebrate Mardi Gras with the kids, or just need something fun and festive to break up the winter doldrums, a little Mardi Gras ball might just be the perfect solution.

We started these handprint masks first thing in the morning so they could be ready to wear for a surprise afternoon dance party.
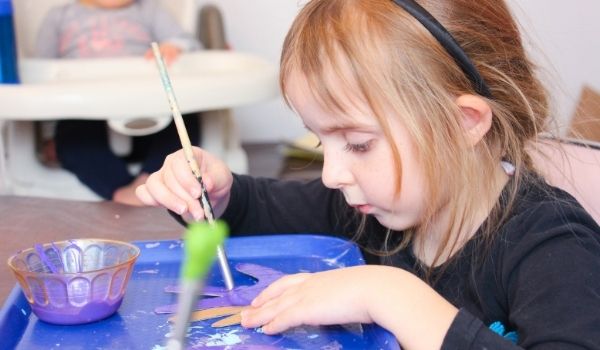
We traced and cut out their handprints before painting the cardboard hands using a trio of Mardi Gras-inspired colors. (The official colors of the city of New Orleans.) After the first coat dried, I provided Q-tips for the kids to add dots of paint to their masks – which also doubles as a great fine motor activity to build dexterity and promote pencil grip.
While the kids napped, I set up a little dance area in the living room, complete with fancy boas, string lights and a playlist of some of their favorite songs. I then finished their masks for them by assembling the cardboard hands into a mask, attaching a popsicle stick handle, and cutting out eyeholes. (You can measure the children’s faces using a fabric measuring tape or piece of string to ensure that you space the eye holes properly.)
The kids were so excited when they woke up to find a party waiting for them! I made sure to snap glamorous party pictures of them displaying their masks before the dancing got too wild – just in case a couple masks got broken in the excitement.
While we capped off our celebration with breakfast for dinner (pancakes, bacon – the works) it would also be fun to bring some traditional Southern foods into the mix. Check out our homemade beignets recipe or our Princess and the Frog Movie Night for some inspiration.
These masks would also be great after watching the Hunchback of Notre Dame or Princess and the Frog.
More Mardi Gras Crafts for Kids:
- Princess and the Frog Play Dough Kit
- Paper Plate Carnival Mask from Happy Brown House
- Painting with Mardi Gras Beads from Where Imagination Grows
- Mardi Gras Candy Necklaces from No Time for Flashcards

Mardi Gras Mask Materials
- Cardboard
- Pencil
- Paints <– we used acrylic paint, but any highly pigmented paint will work
- Paintbrushes
- Q-Tips, optional
- Hot Glue and Hot Glue Gun
- Popsicle Sticks
- Scissors <– can use an X-acto knife
Tip: I highly recommend grabbing a couple of these sturdy plastic lunch trays (we have one in the pictures in this post). I use these for almost all of our craft or kitchen activities, as well as in our Montessori practical life activities. Ours have lasted for over 6 years and are still going strong, plus they are so great for containing messes and allowing the kids to set a project to the side while it dries (or if you have to clear off the table for supper).

How to Make a Handprint Mask
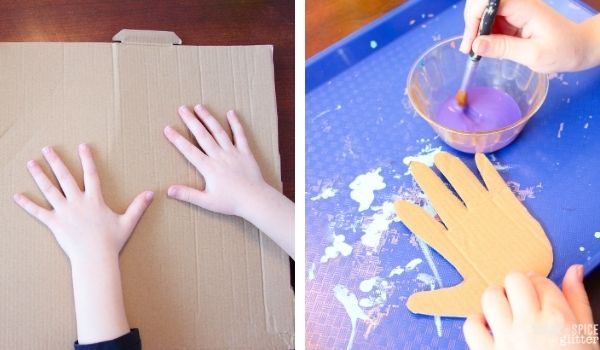
Have the children place their hands, fingers spread apart, on a plain piece of cardboard.
Trace their hands and the cut out the shapes. (If the cardboard is very thick, you may need to do this step.)
Pick three paint colors and place in small containers.
Have the children paint their cut out cardboard hands, and then allow the paint to dry, about 1 hour.
I decided to add some fine motor development into the craft by having the kids add polka dots to their masks using Q-Tips. This is optional but great for developing dexterity and fine motor control.

Have the children use the Q-Tips to dab paint onto the dried cardboard in any design they wish. Allow the paint to try before moving on to the next step.
Glue the cardboard hands together by overlapping the base of the palms, so that the fingers of each hand point outward.
Use a fabric measuring tape or length of string to measure the distance between your child’s eyes and then use scissors or an X-acto knife to cut out eye holes in the mask.

Glue a popsicle stick to the back of the mask, in between the base of the fingers and the eye hole preferably.
Allow glue to dry completely before playing with your mask.
Pin this Easy Mardi Gras Craft for your own Festivities:

Grab your free printable instructions for our handprint masks craft:
Want to Save This Recipe?
Enter your email & I'll send it to your inbox. Plus, get great new recipes from me every week!
By submitting this form, you consent to receive emails from Sugar, Spice and Glitter.
Mardi Gras Handprint Mask
A fun Mardi Gras craft for kids to host their own masked ball. These easy cardboard face masks are made using everyday craft materials and the kids' own handprints.
Materials
- Cardboard
- Pencil
- Paints
- Popsicle Sticks
Tools
- Paintbrushes
- Q-Tips, optional
- Hot Glue and Hot Glue Gun
- Scissors <-- can use an X-acto knife
Instructions
- Have the children place their hands, fingers spread apart, on a plain piece of cardboard.
- Trace their hands and the cut out the shapes. (If the cardboard is very thick, you may need to do this step.)
- Pick three paint colors and place in small containers.
- Have the children paint their cut out cardboard hands, and then allow the paint to dry, about 1 hour.
- I decided to add some fine motor development into the craft by having the kids add polka dots to their masks using Q-Tips. This is optional but great for developing dexterity and fine motor control.
- Have the children use the Q-Tips to dab paint onto the dried cardboard in any design they wish. Allow the paint to try before moving on to the next step.
- Glue the cardboard hands together by overlapping the base of the palms, so that the fingers of each hand point outward.
- Use a fabric measuring tape or length of string to measure the distance between your child's eyes and then use scissors or an X-acto knife to cut out eye holes in the mask.
- Glue a popsicle stick to the back of the mask, in between the base of the fingers and the eye hole preferably.
- Allow glue to dry completely before playing with your mask.
Recommended Products
As an Amazon Associate and member of other affiliate programs, I earn from qualifying purchases.
-
 Notions 0288 Cool Tool Ultra Low Temp Glue Gun
 -
Apple Barrel PROMOABI Matte Finish Acrylic Craft Paint Set Designed for Beginners and Artists, Non-Toxic Formula that works on All Surfaces, Assorted Colors 1, 18 Count
-
200 Pcs Craft Sticks Ice Cream Sticks Natural Wood Popsicle Craft Sticks 4.5 inch Length Treat Sticks Ice Pop Sticks for DIY Crafts


I hope your kids love getting to make their own mardi gras masks as much as mine did!
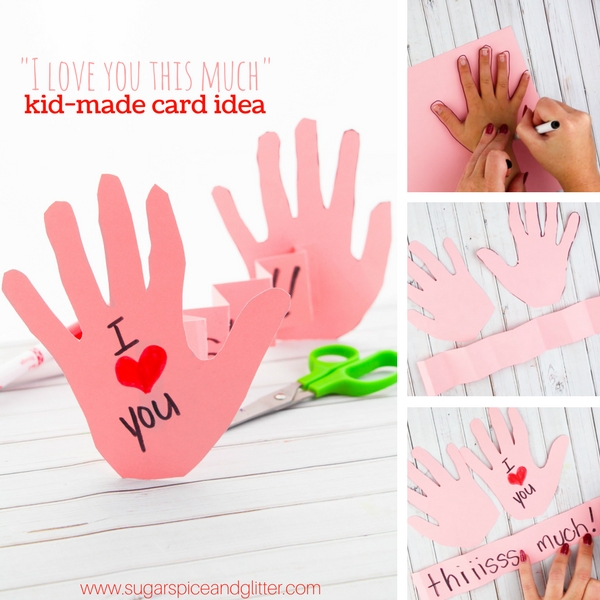
For more fun handprint craft ideas, check out our Handprint Roses (with Video) or our I Love You THIS Much Card (with Video).