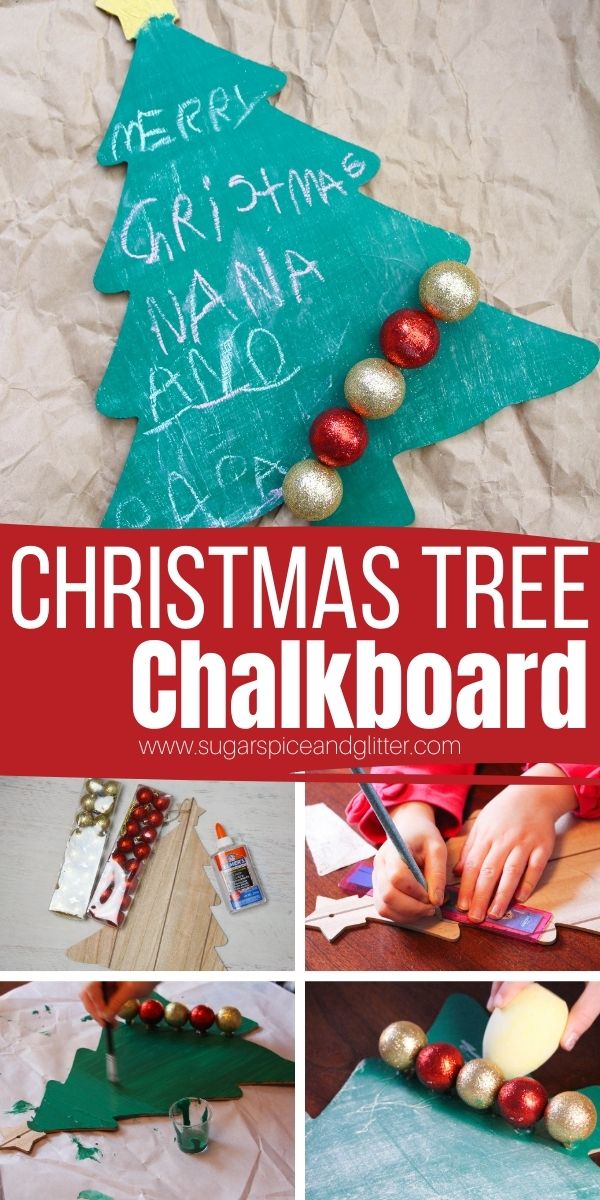
Christmas Tree Chalkboard
Welcome to Sugar, Spice & Glitter! Please note, this post may contain affiliate links. For more details, see our Full Disclosure.
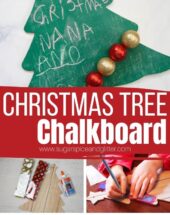
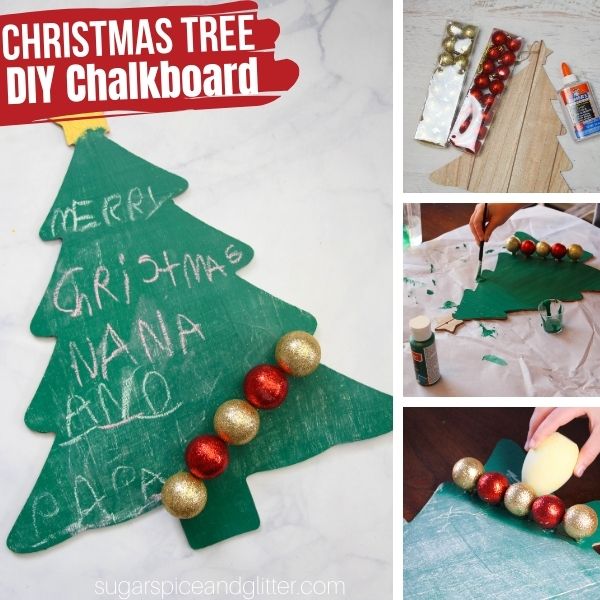
A fun and practical Christmas craft, this DIY Chalkboard Christmas Tree is a fun way to keep track of things or change out special holiday sayings
Christmas Chalkboard Craft
Okay, I can be really guilty of hitting up the craft store (or the craft aisles at the Dollar Tree) with no real plan in mind and come home with a variety of craft materials that I have no idea what to do with.
Anyone else?
That was the case with this wooden Christmas tree sign.
It was cute.
It was $1.25.
It went in my cart.
At first I thought I’d paint it and add a cute saying to it with my Cricut machine, but then I thought – wouldn’t it be cute to have it as a little chalkboard that we could change the sayings out with?!
Once I shared my idea with my daughter, however, it went from being my craft for the kitchen to being her craft for her grandparents.
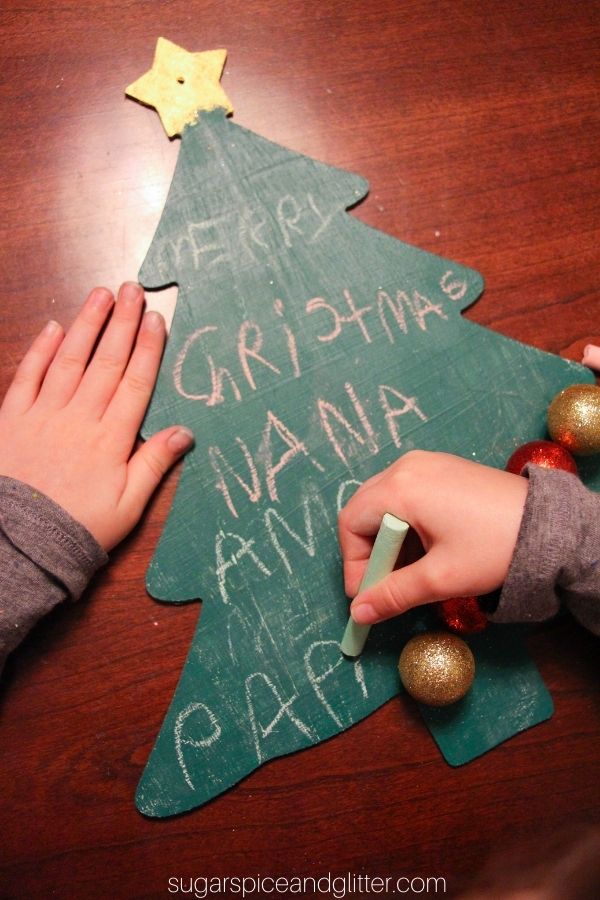
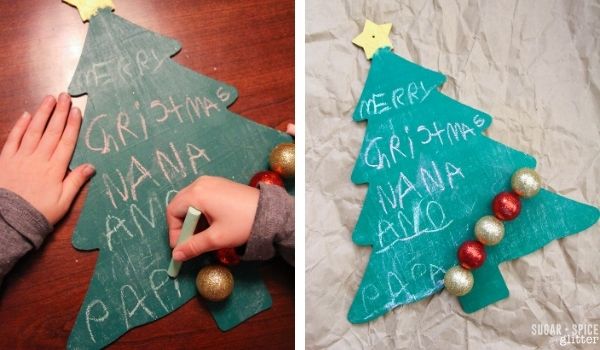
This Christmas chalkboard craft is so incredibly easy that my 7 year old made it with zero help from mom – just a little bit of guidance to ensure the chalkboard paint was cured properly.
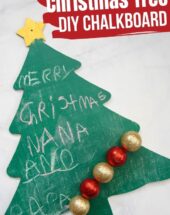
She was so proud to write a little Christmas message for her grandparents on the chalkboard (to show that it was “a real, working chalkboard”) and gift it to them. I think it’s a super cute way to display favorite holiday sayings or just add a festive touch to a running to-do list.
We found our wooden tree at the Dollar Tree. I haven’t found a comparable one to link to on Amazon.
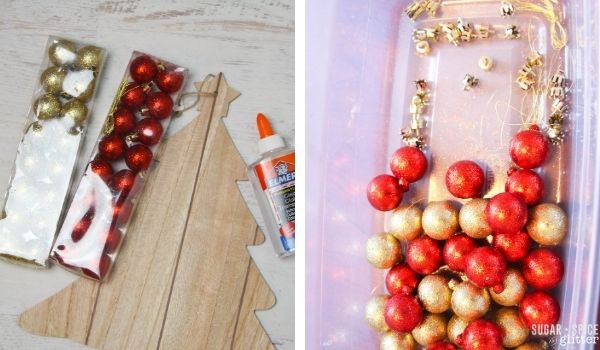
Materials for Christmas Tree Chalkboard
- Wooden Christmas Tree Sign
- Pencil
- Ruler
- Green Chalkboard Paint
- Gold or Yellow Paint
- Mini Plastic Ornaments
- Glue
- Chalk
Tip: if you plan to write pretty sayings on your chalkboard, you may want to grab a set of chalkboard pens to keep it neat and tidy.
How to Make a Christmas Chalkboard
Remove all of the caps from your ornaments to prepare them to be glued to the tree.
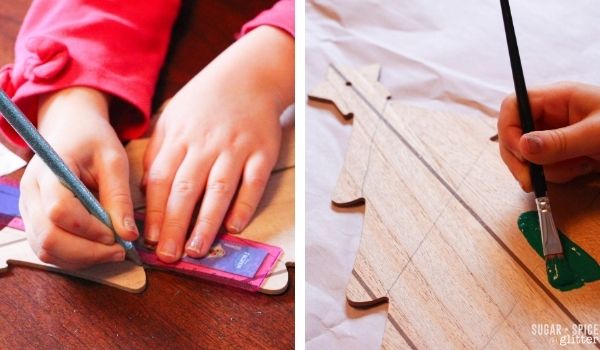
Use your pencil and ruler to plan out where the ornaments will be place on your wooden Christmas tree.
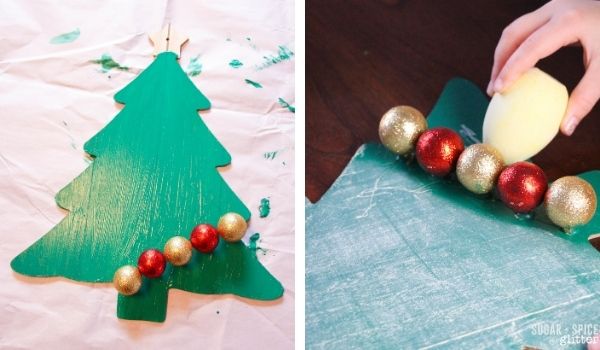
Use your paintbrush to apply the chalkboard paint, following the directions on the package for best results.
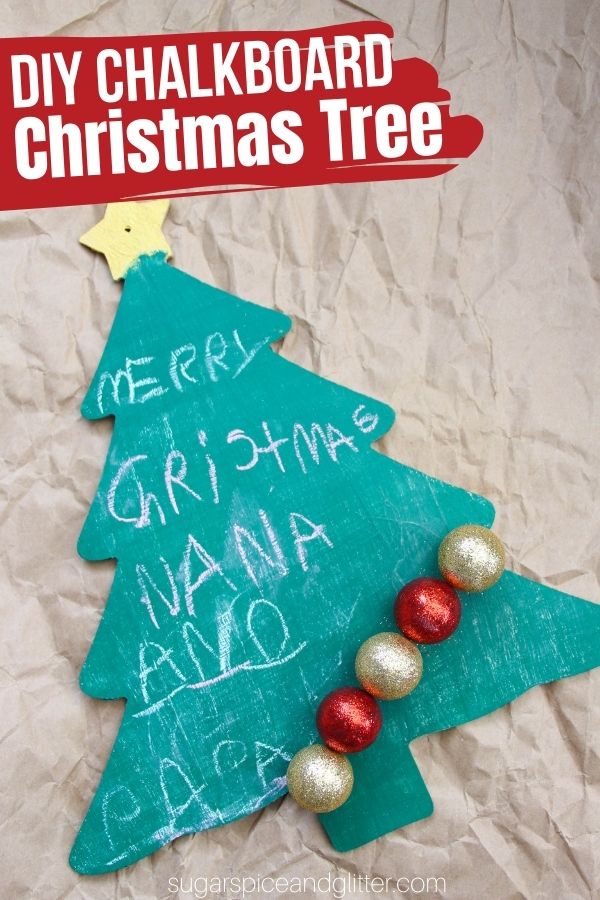
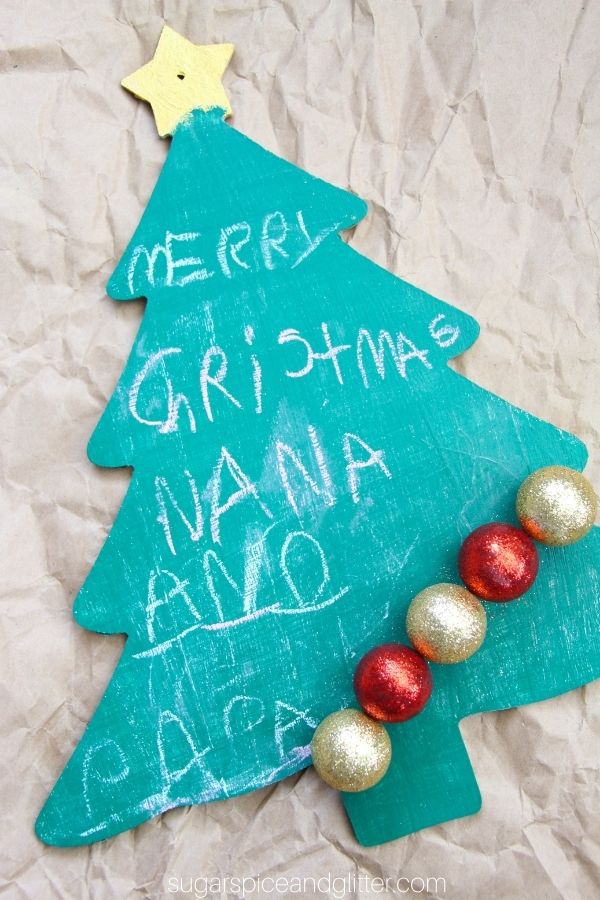
Paint the star on the top of the tree yellow or gold. If your tree doesn’t have a star shape on top, you can glue on a star ornament.
Our chalkboard paint required us to rub a crayon on the surface and wipe off to “season” the surface for later chalk writing or drawing.
Use a strong craft glue to attach your ornaments in the designs that you previously decided. Try to place them in a way that allows you to still use the chalkboard – on the edges or along the bottom are preferred.
Attach a loop of string to the top or back of the chalkboard to allow for easy hanging.
Pin this Christmas Tree Chalkboard Idea for your holiday crafting:
Grab your free printable instructions for our Christmas Tree Chalkboard craft:
Want to Save This Recipe?
Enter your email & I'll send it to your inbox. Plus, get great new recipes from me every week!
By submitting this form, you consent to receive emails from Sugar, Spice and Glitter.
Christmas Tree Chalkboard
An easy DIY Christmas Chalkboard, perfect for adding a festive touch to your to-lists - or just a cute spot to write your favorite Christmas sayings or lyrics. This Christmas Tree chalkboard is a great homemade gift idea or just a fun, practical piece of holiday decor
Materials
- Wooden Christmas Tree Sign
- Green Chalkboard Paint
- Gold or Yellow Paint
- Mini Plastic Ornaments
- Glue
- Chalk
Tools
- Pencil
- Ruler
- Glue Gun, optional
Instructions
- Remove all of the caps from your ornaments to prepare them to be glued to the tree.
- Use your pencil and ruler to plan out where the ornaments will be place on your wooden Christmas tree.
- Use your paintbrush to apply the chalkboard paint, following the directions on the package for best results.
- Paint the star on the top of the tree yellow or gold. If your tree doesn't have a star shape on top, you can glue on a star ornament.
- Our chalkboard paint required us to rub a crayon on the surface and wipe off to "season" the surface for later chalk writing or drawing.
- Use a strong craft glue to attach your ornaments in the designs that you previously decided. Try to place them in a way that allows you to still use the chalkboard - on the edges or along the bottom are preferred.
- Attach a loop of string to the top or back of the chalkboard to allow for easy hanging.
Recommended Products
As an Amazon Associate and member of other affiliate programs, I earn from qualifying purchases.


For more easy Christmas decor ideas, check out our Dip Dyed Angels or our DIY Mickey Mouse ornaments.