
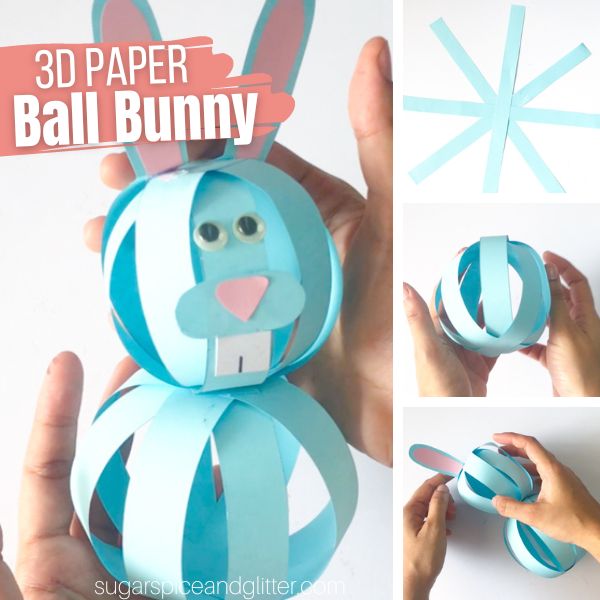
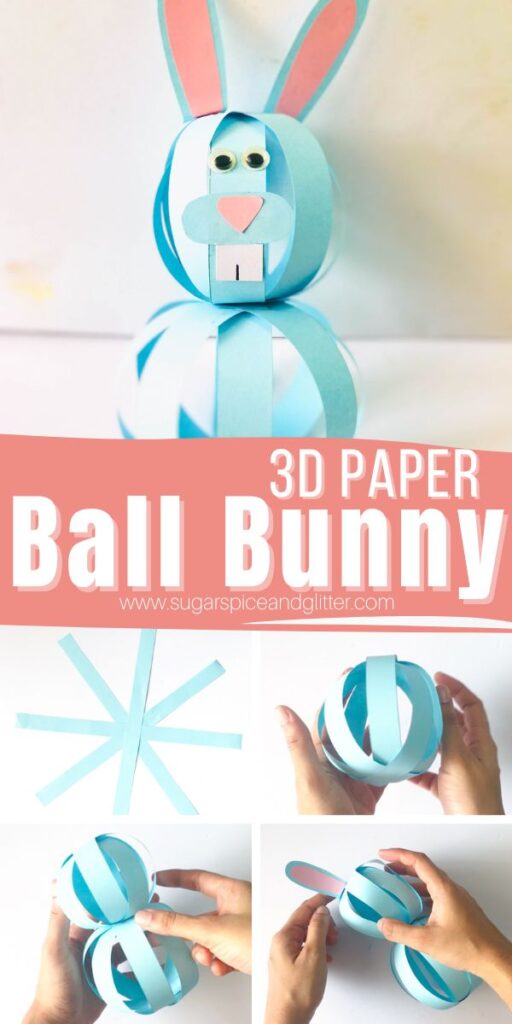
3D Paper Ball Bunny (with Video)
Welcome to Sugar, Spice & Glitter! Please note, this post may contain affiliate links. For more details, see our Full Disclosure.
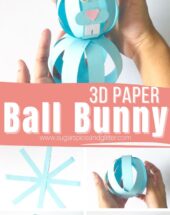
A fun twist on a paper lantern, this 3D Paper Bunny Sphere craft is bouncy and cute – and super easy to make!
Paper Ball Bunny Craft
A fun and easy paper bunny craft that doubles as a cute Easter decor piece when you’re done, these 3D Paper Ball Bunnies are a great preteen craft (that can also be done by younger kids – they just might need a little help).
You can use this method of making a paper sphere body to make a variety of different animal crafts – we’ve made everything from cats for Halloween to reindeer at Christmas (as well as snowmen) to bouncy caterpillars and butterflies. Once you get the hang of making your first one, you’ll be tempted to make your own little zoo of bouncy, paper animals.
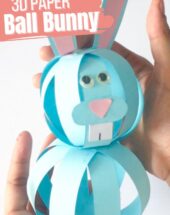
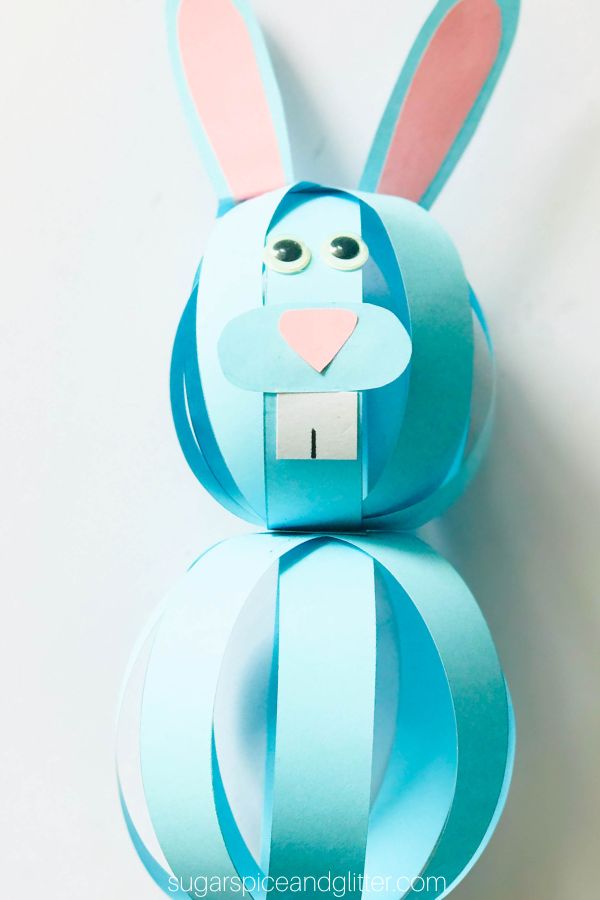
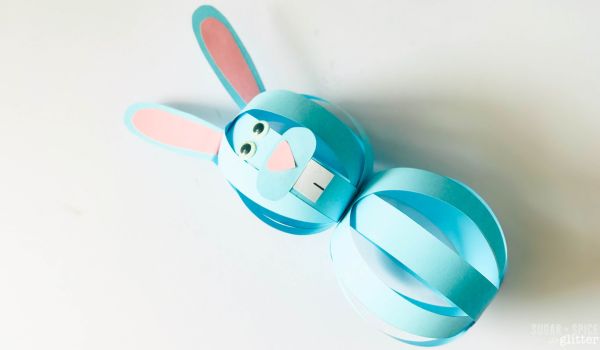
The best way to display these 3D paper bunnies is to either prop them up against something or hang them using a piece of ribbon or string. If you want to display them without propping them up against something, you will need to place something inside the bottom sphere to weigh it down and prevent it from toppling over. (Or you can tape it down to secure in place, depending on the surface that you are placing it on.)
Be sure to check out our step-by-step video to see how to make your own 3D paper bunny – and then don’t forget to scroll down to grab your free printable recipe card:
Materials to Make a Paper Ball Bunny
- Craft Paper (one main color – we used blue, pink for ears and nose, white for teeth)
- Googly Eyes
- Scissors <– these are the ones we have and they have lasted for years in our daycare, and unlike some other safety scissors – they actually cut things!
- Craft Glue
Tip: I highly recommend grabbing a couple of these sturdy plastic lunch trays. I use these for almost all of our craft or kitchen activities, as well as in our Montessori practical life activities. Ours have lasted for over 6 years and are still going strong, plus they are so great for containing messes and allowing the kids to set a project to the side while it dries (or if you have to clear off the table for supper).
How to Make a Paper Ball Bunny
Cut one sheet of your main craft paper color (we used blue) lengthwise into 4 equal strips (about 1″ thick).
Lay all of the strips on top of each other and fold in half.
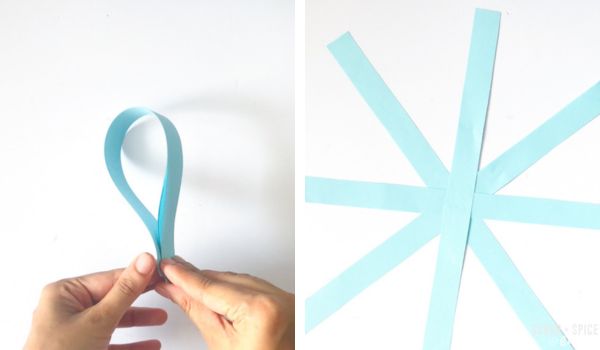
Lay the paper strips in a starburst shape (as shown in the pictures and video) meeting at the center. Use a dab of glue to attach each strip of paper at the center. Allow to dry.
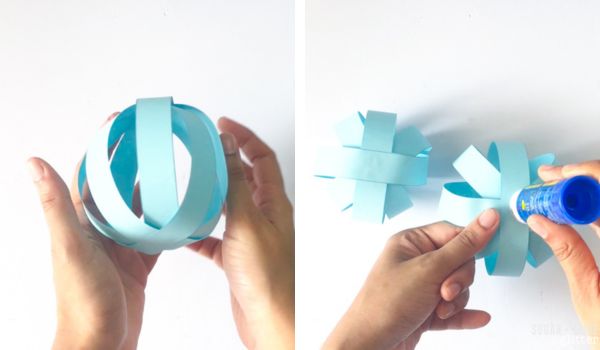
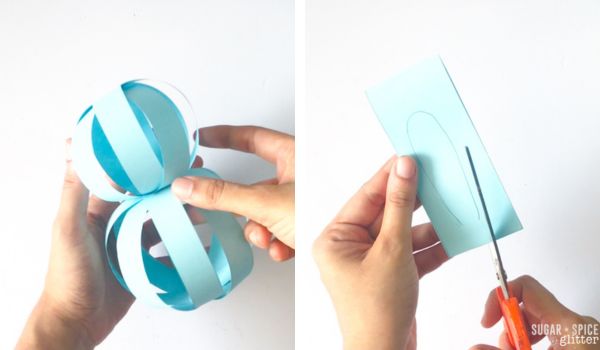
Take the ends of one strip of paper and glue together at the ends to form a circle. Repeat with all strips, gluing each end to the first circle to form a ball.
Take the second sheet of the main color (in our case blue) and cut into 4 strips width-wise (again 1″ wide). By cutting width-wise on the sheet of paper, these strips will be shorter than the strips used for the first paper ball.
Repeat the process used to make the first paper ball with the shorter strips.
Glue the smaller paper ball onto the larger paper ball where the strips meet. (As shown.) Set aside.
Take a scrap of the remaining main color paper and cut out bunny ears. Then cut out two slightly smaller bunny ears out of the pink paper for the inner ear.
Cut out a small pink nose for the bunny, a small elongated circle for the bunny’s cheeks and a square of white paper for the bunny’s teeth.
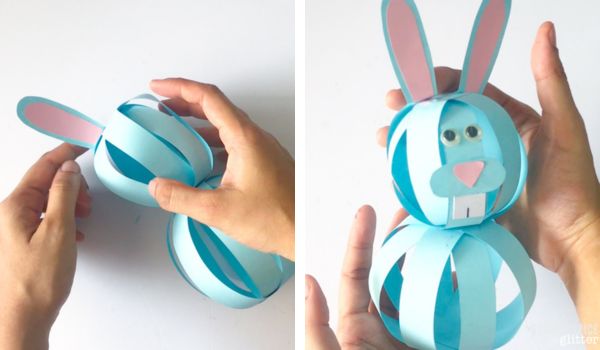
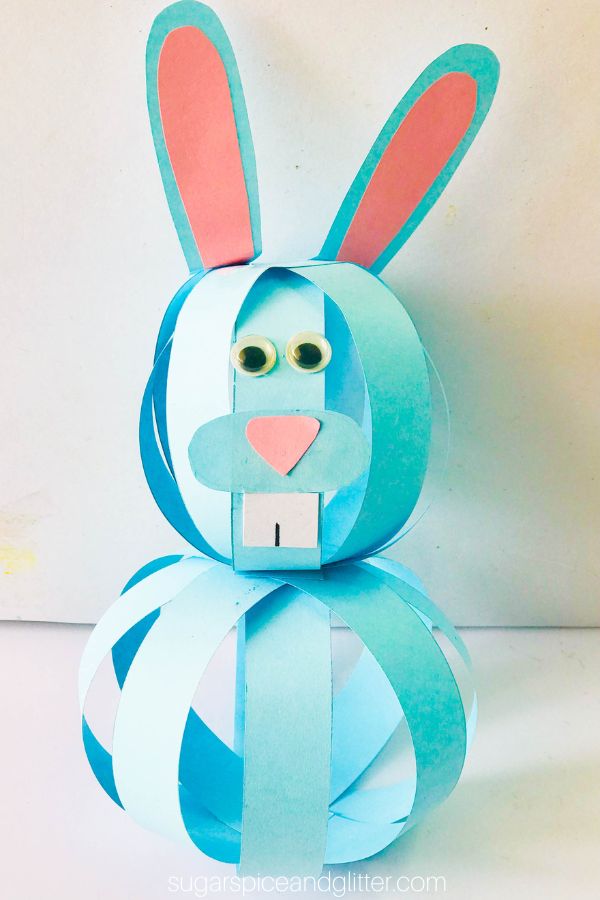
Glue the pink inner ears to the main ears and then attach to the top of the bunny’s head (the smaller sphere), holding in place until set.
Glue the bunny’s cheeks, nose and teeth to the front of the bunny’s head (the direction that the inner ears are pointing) and then attach googly eyes.
Allow all glue to set before displaying or hanging, if desired.
Pin this Easy Paper Bunny craft for your Easter crafting with the kids:
Grab your free printable instructions for our 3D paper ball bunny craft:
Want to Save This Recipe?
Enter your email & I'll send it to your inbox. Plus, get great new recipes from me every week!
By submitting this form, you consent to receive emails from Sugar, Spice and Glitter.
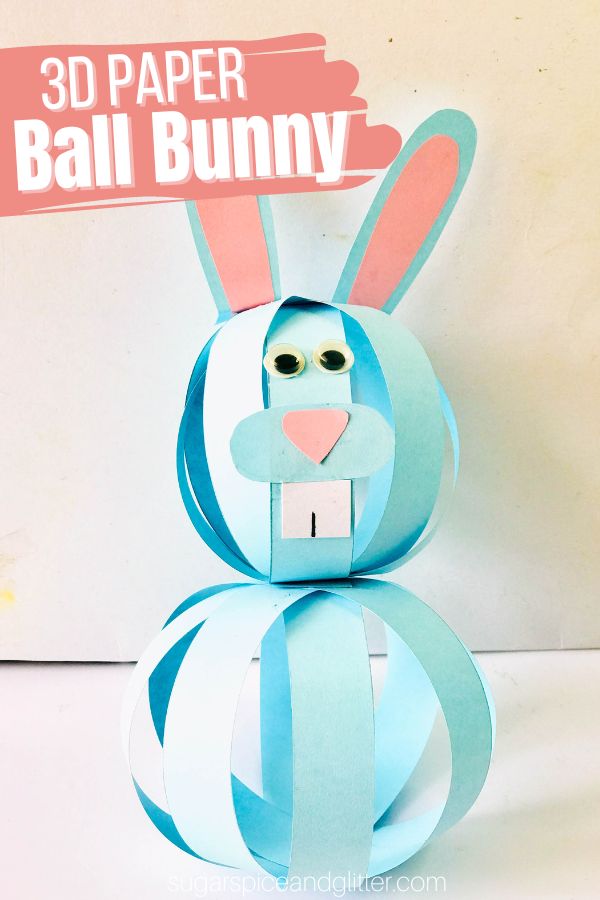
3D Paper Ball Bunny
How to make a 3D Paper Ball Bunny with just craft paper, glue and googly eyes. This fun Easter craft is easy for kids to make and can be hung up like a paper lantern or just propped on the shelf for a cute homemade Easter decor piece the kids can be proud of.
Materials
- Craft Paper (one main color - we used blue, pink for ears and nose, white for teeth)
- Googly Eyes
- Craft Glue
Tools
- Scissors
Instructions
- Cut one sheet of your main craft paper color (we used blue) lengthwise into 4 equal strips (about 1" thick).
- Lay all of the strips on top of each other and fold in half.
- Lay the paper strips in a starburst shape (as shown in the pictures and video) meeting at the center. Use a dab of glue to attach each strip of paper at the center. Allow to dry.
- Take the ends of one strip of paper and glue together at the ends to form a circle. Repeat with all strips, gluing each end to the first circle to form a ball.
- Take the second sheet of the main color (in our case blue) and cut into 4 strips width-wise (again 1" wide). By cutting width-wise on the sheet of paper, these strips will be shorter than the strips used for the first paper ball.
- Repeat the process used to make the first paper ball with the shorter strips.
- Glue the smaller paper ball onto the larger paper ball where the strips meet. (As shown.) Set aside.
- Take a scrap of the remaining main color paper and cut out bunny ears. Then cut out two slightly smaller bunny ears out of the pink paper for the inner ear.
- Cut out a small pink nose for the bunny, a small elongated circle for the bunny's cheeks and a square of white paper for the bunny's teeth.
- Glue the pink inner ears to the main ears and then attach to the top of the bunny's head (the smaller sphere), holding in place until set.
- Glue the bunny's cheeks, nose and teeth to the front of the bunny's head (the direction that the inner ears are pointing) and then attach googly eyes.
- Allow all glue to set before displaying or hanging, if desired.
Recommended Products
As an Amazon Associate and member of other affiliate programs, I earn from qualifying purchases.
-
 Elmer's Liquid School Glue, White, Washable, 32 Ounces - Great for Making Slime
 -
Astrobrights Colored Cardstock, 8.5” x 11”, 65 lb / 176 gsm, "Spectrum" 25-Color Assortment, 75 Sheets (80944-01)
-
Westcott Soft Handle Kids Scissors with Anti-Microbial Protection, Assorted Colors, 5" Pointed (14597-030)


I hope your kids love getting to make these easy paper ball bunnies as much as mine did!
For more easy Easter crafts for kids, check out our full collection here:
For more crafts we’ve loved over the years, check out our full craft collection here:


How to make a green rabbit is incredibly distinct and intriguing; I adore your work.
Thank you!
so great for kids!
Thanks!!
My grade 2 classroom loved making these. They turned out so well!
Your writing style is captivating.
What a cute paper bunny craft! I love how they get to make a 3d craft from construction paper. So clever.
Instructions for making a paper lantern, detailed examination. Beautiful product, simple and easy to make. Try to relax and have fun.
Thanks for stopping by!
It was my pleasure to attend your blog post today. Private property sale conveyancing
Hi! Really like this site because all information has already given to this page regarding this website! So awsome! Great job! Corporate disputes lawyer perth
HearWell Services https://hearwellservices.com/ delivered on their promise of comfort, clarity, and confidence in the most artful way. From the in-home visits to the cutting-edge hearing aid fitting, I felt cared for at every step. The first time I truly heard rain patter on my window again—I was hooked!