
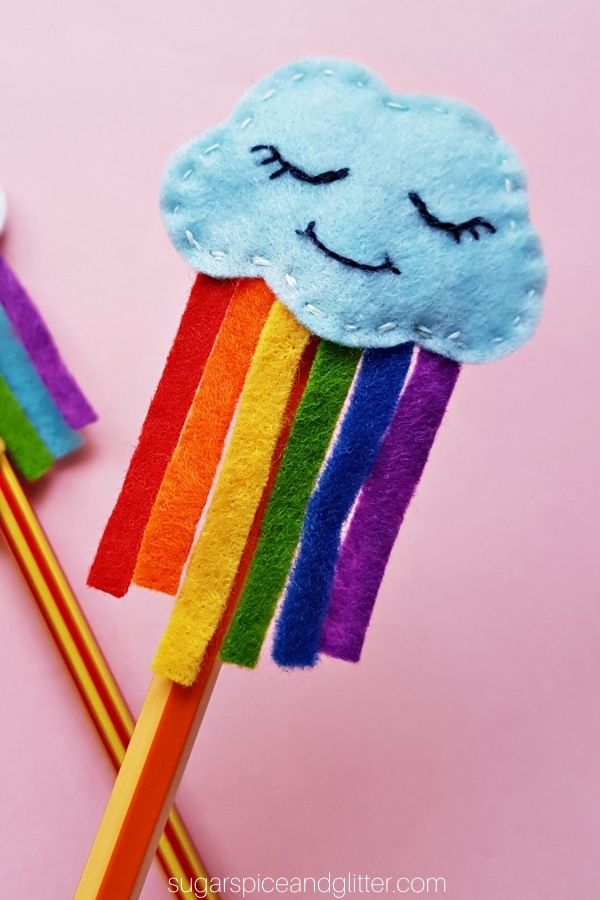
Felt Cloud Pencil Topper
Welcome to Sugar, Spice & Glitter! Please note, this post may contain affiliate links. For more details, see our Full Disclosure.
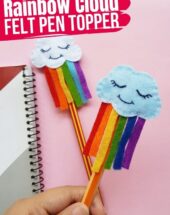
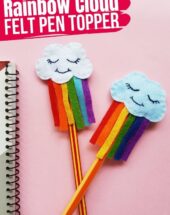

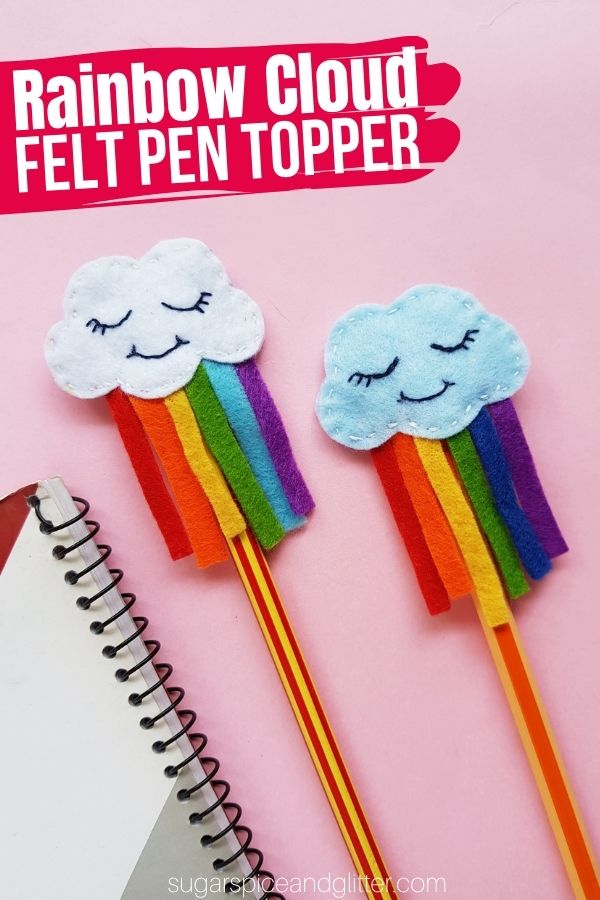
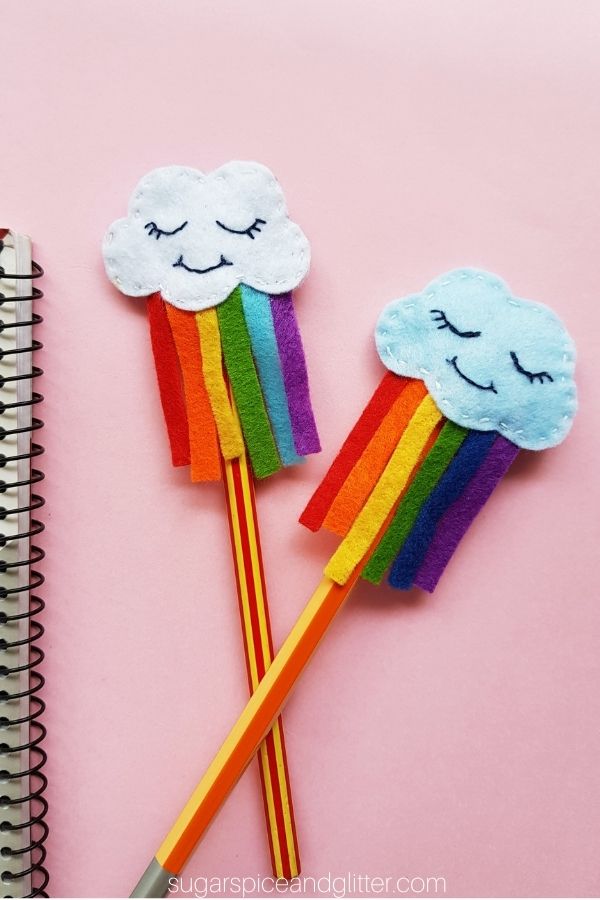
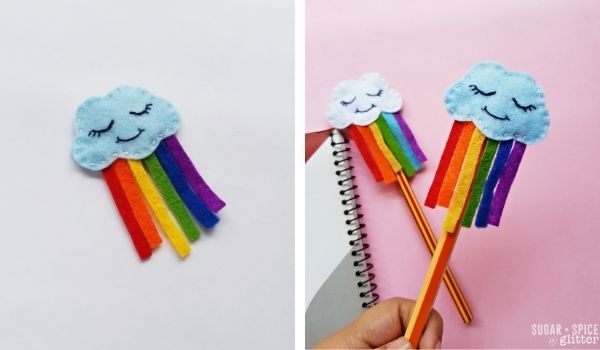
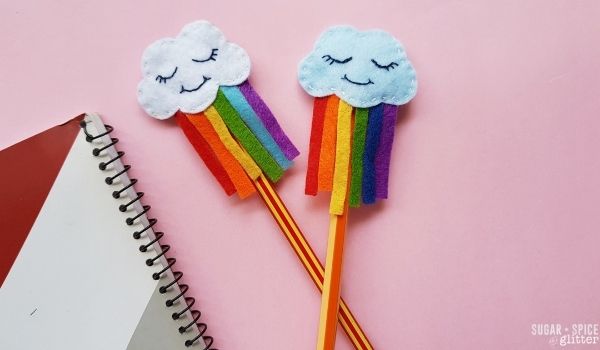
A fun DIY pen topper craft for kids, these Rainbow Cloud Pen Toppers are an easy sewing project kids can make using our free printable rainbow cloud pattern and just a couple easy stitches.
Felt Pencil Topper Craft
Sewing has become one of those hobbies for my daughter that has given so many unexpected benefits.
At first, it just started out like any other crafting hobby. She wanted to create beautiful objects using this exciting new skill.
But, in addition to learning a valuable life skill (that will help her be able to mend, alter and even create her own clothing in the future), I find that sewing has become such a calming, meditative hobby for her. And, as a bonus, she has created some gorgeous little projects that have also instilled such confidence and pride in her work. Giving a friend a DIY stuffie that she has made or proudly wearing a scrunchie or skirt that she has sewn herself have been amazing for teaching her the value and reward of creative work.
Today’s felt pencil topper craft is a quick, 20-minute sewing project perfect for a rainy day. The little cloud’s tranquil, happy face and colorful rainbow streamer brings a pop of color to even the grayest of rainy days.
Kids can even make a little collection of these felt pencil toppers to represent different types of weather. How fun would it be to swap out your pencil topper like a mini weather forecast?
Kids can make these DIY school supplies as a fun way to add a pop of color and whimsy to their pencil case, or even make them as teacher gifts or homemade classroom gifts.
Whenever we need to cut out intricate shapes from felt, I always grab some freezer paper and use the freezer paper trick to cut out our felt shapes, but good-quality felt and a sharp pair of scissors also makes all the difference.
Stitches You Will Need to Know to Make These Felt Clouds:
(The above links show quick Youtube tutorials for each stitch.)
Of course, if your child isn’t ready or interested in sewing yet you can use our free printable pattern to make a no-sew pencil topper by using felt or fabric glue to attach the pieces together.
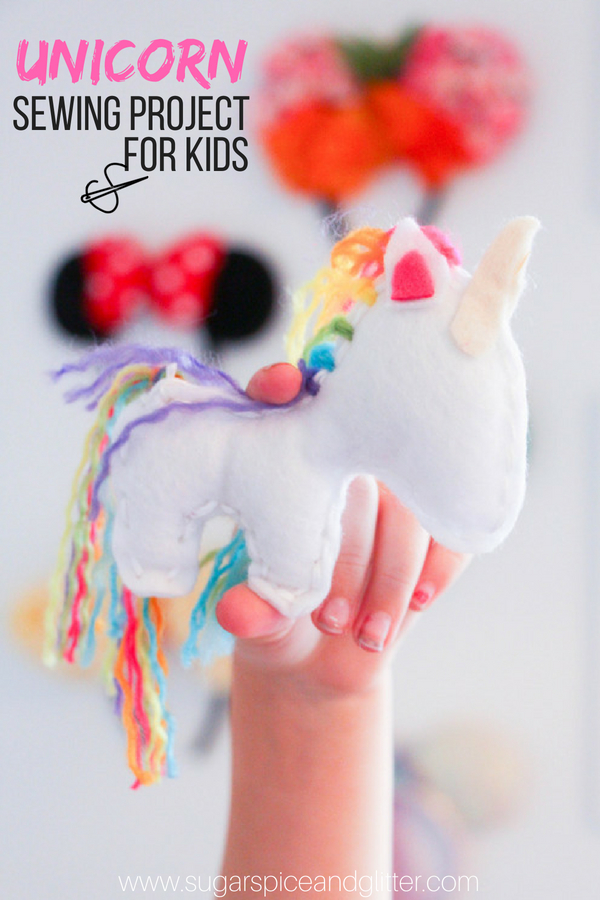
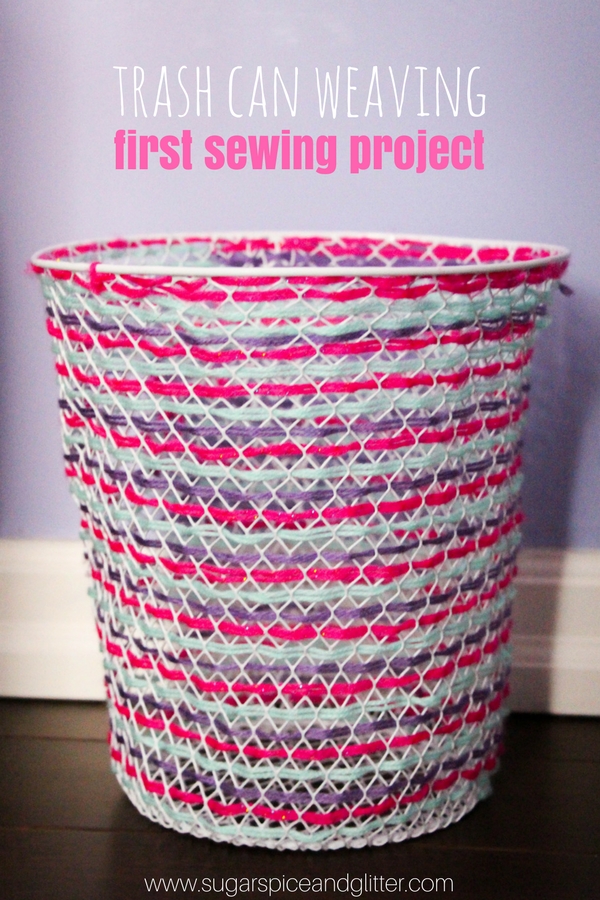
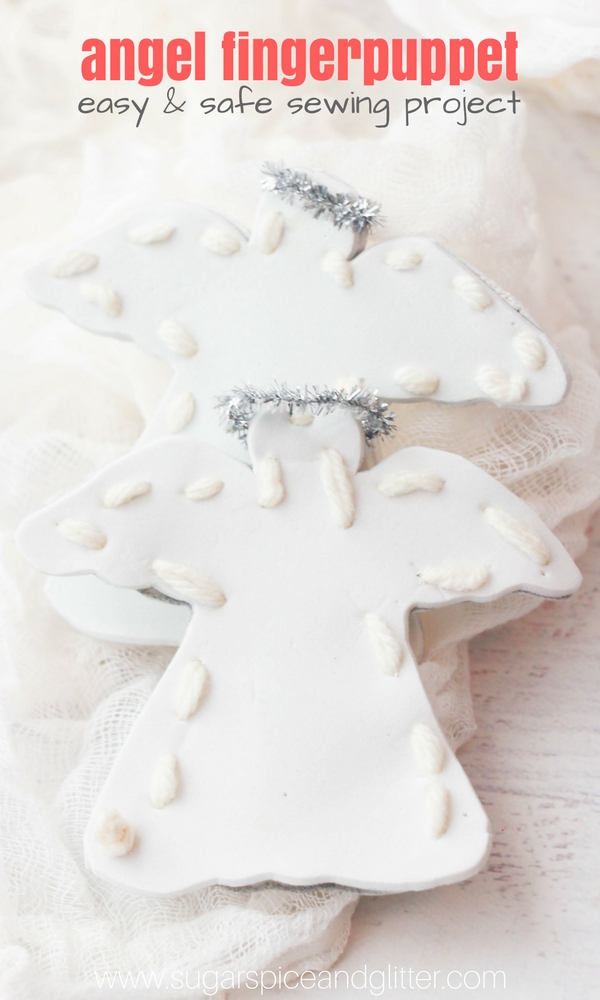
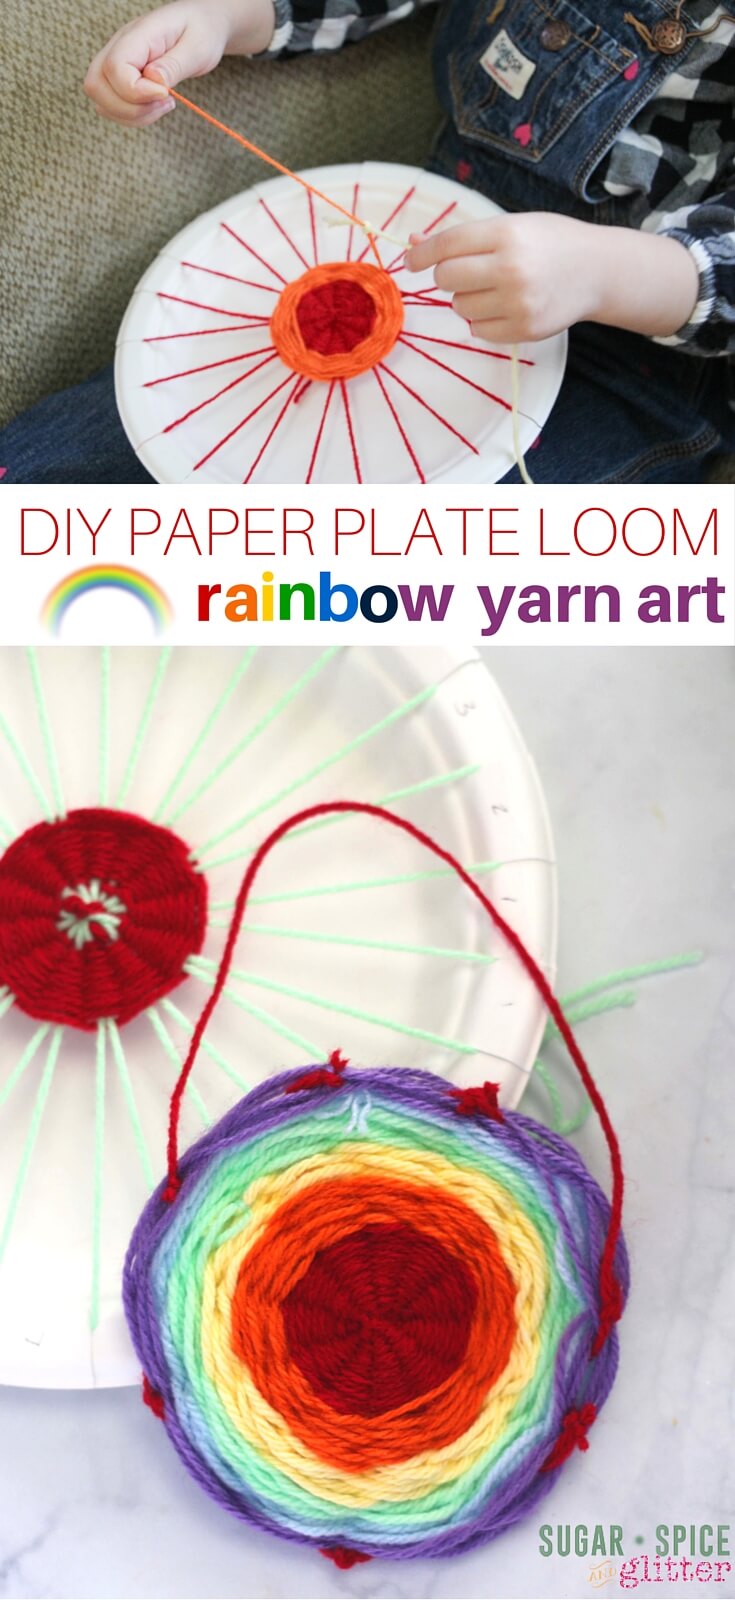
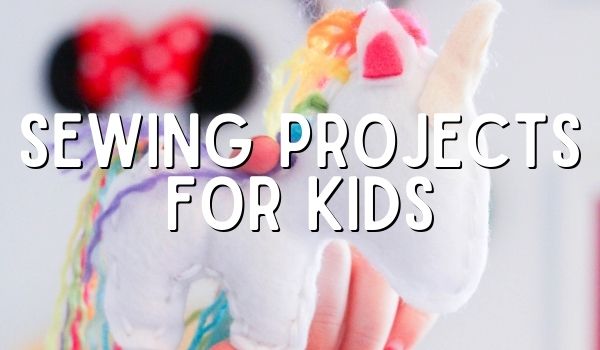
Check out some of our other Easy Sewing Projects for Kids:
")


")
")


")


Rainbow Pen Topper Materials
- Felt
- Pencil or fabric marker
- Scissors
- Freezer paper and iron (if using the freezer paper trick)
- Needle
- Thread
- Cloud Pen Topper Template
Tip: you will need super sharp scissors to cut your shapes into your felt, so you may want to do this step for your child.
How to Make a Felt Pencil Topper
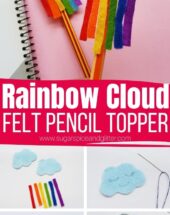
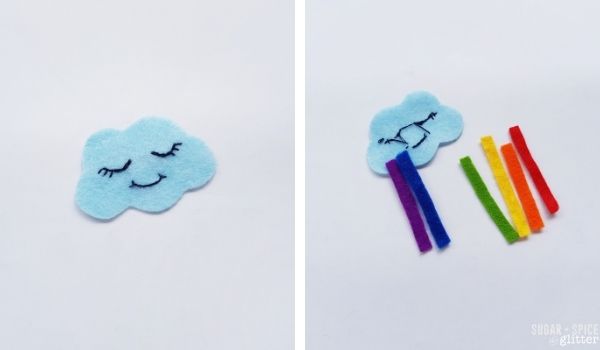
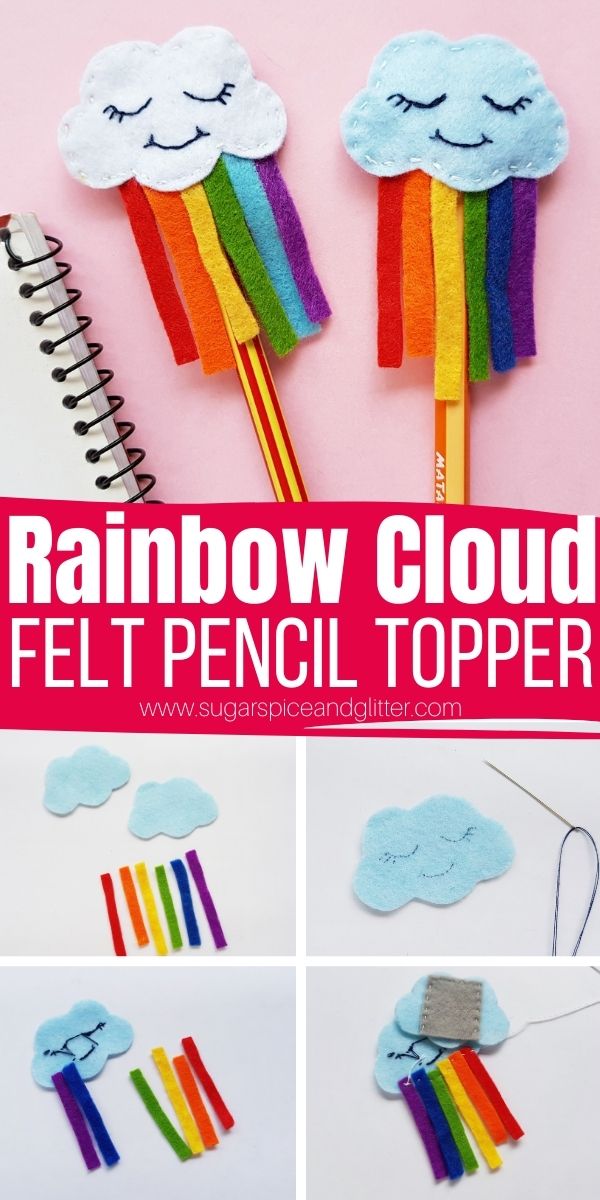
The provided template includes 3 different sizes for the cloud and the pen holding pocket (the square shape). You may select any size of your choice and then trace them on the selected felt fabrics. You can adjust the width of the square according to the pencil size but keep the height as same as the template for each set of clouds. Trace thin strips from different colored felt fabrics for the rainbow. The width and length of the rainbow colored strips would depend on your choice of cloud size.

Take any one of the felt cloud cutouts and trace eyes and a smiley face on it using a black fabric pen or marker. Keep it neat and simple.
Thread a needle with black thread. Stitch the traced smiley face with the black thread. Use a back stitch to trace the smiley face on the felt cloud cutout. Once the stitching is complete draw the thread to the back side and tie a knot. Cut off extra thread.
Place the stitched cloud felt on a flat surface with its underside facing up. Grab the rainbow felt strips and place them along the bottom side of the cloud by overlapping the strips slightly (about 1 cm) along the bottom of the cloud.
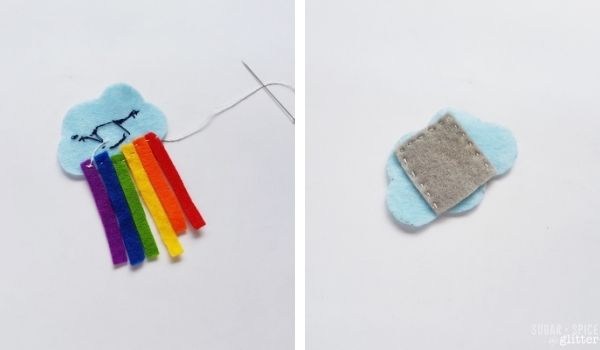
Thread a needle with white thread or a thread matching your cloud’s felt color. Use a running stitch along the rainbow felt strips to attach them to the cloud.
Keep the needle and thread attached to the cloud.
Thread a second needle with white thread or a thread matching your cloud’s felt color.
Grab the other cloud cutout and the square shaped felt cutout. Place the square right on the middle of the cloud, making sure that the square felt fits inside the cloud nicely. Stitch along the top and the 2 sides of the square to attach it to the cloud. Keep the bottom edge open (for the pencil to be inserted into). Tie off the thread.
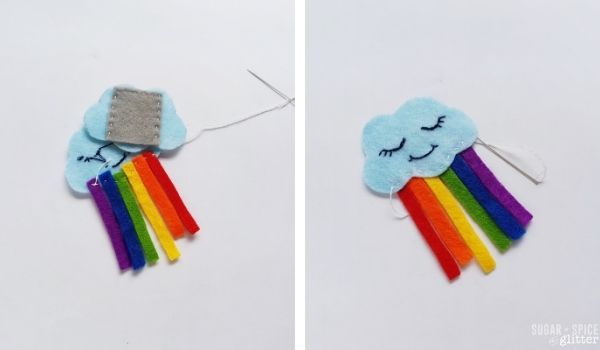
Grab the rainbow strips attached cloud piece and place it on a flat surface with its wrong side facing up. Now take the picket (square) attached cloud piece and place it on the top of the rainbow cloud. You can place the pocket side facing in or out. (Out is easier to sew.)
Stitch around the sides of the both cloud pieces to join them together. Once the stitching is complete tie a knot and draw the needle between the cloud felts. Draw the needle out again and cut off extra thread.
Pin this Rainbow Cloud Sewing Project for your next rainy day crafting session:
Grab your free printable instructions for our rainbow cloud pencil topper – and don’t forget to grab your free printable Cloud Pen Topper Template:
Want to Save This Recipe?
Enter your email & I'll send it to your inbox. Plus, get great new recipes from me every week!
By submitting this form, you consent to receive emails from Sugar, Spice and Glitter.
Felt Cloud Pencil Topper
A cheerful little rainbow cloud pencil topper to add some whimsy and a pop of color to your pencil case. This quick sewing project for kids
Materials
- Felt
- Freezer paper and iron (if using the freezer paper trick)
- Thread
- Cloud Pen Topper Template
Tools
- Pencil or fabric marker
- Scissors
- Needle
Instructions
- The provided template includes 3 different sizes for the cloud and the pen holding pocket (the square shape). You may select any size of your choice and then trace them on the selected felt fabrics. You can adjust the width of the square according to the pencil size but keep the height as same as the template for each set of clouds. Trace thin strips from different colored felt fabrics for the rainbow. The width and length of the rainbow colored strips would depend on your choice of cloud size.
- Take any one of the felt cloud cutouts and trace eyes and a smiley face on it using a black fabric pen or marker. Keep it neat and simple.
- Thread a needle with black thread. Stitch the traced smiley face with the black thread. Use a back stitch to trace the smiley face on the felt cloud cutout. Once the stitching is complete draw the thread to the back side and tie a knot. Cut off extra thread.
- Place the stitched cloud felt on a flat surface with its underside facing up. Grab the rainbow felt strips and place them along the bottom side of the cloud by overlapping the strips slightly (about 1 cm) along the bottom of the cloud.
- Thread a needle with white thread or a thread matching your cloud's felt color. Use a running stitch along the rainbow felt strips to attach them to the cloud.
- Keep the needle and thread attached to the cloud.
- Thread a second needle with white thread or a thread matching your cloud's felt color.
- Grab the other cloud cutout and the square shaped felt cutout. Place the square right on the middle of the cloud, making sure that the square felt fits inside the cloud nicely. Stitch along the top and the 2 sides of the square to attach it to the cloud. Keep the bottom edge open (for the pencil to be inserted into). Tie off the thread.
- Grab the rainbow strips attached cloud piece and place it on a flat surface with its wrong side facing up. Now take the picket (square) attached cloud piece and place it on the top of the rainbow cloud. You can place the pocket side facing in or out. (Out is easier to sew.)
- Stitch around the sides of the both cloud pieces to join them together. Once the stitching is complete tie a knot and draw the needle between the cloud felts. Draw the needle out again and cut off extra thread.
Notes
This craft can also be done as a no-sew pencil topper by using fabric or felt glue to attach the pieces.
Recommended Products
As an Amazon Associate and member of other affiliate programs, I earn from qualifying purchases.
-
 Large Eye Blunt Needles, 15 Pcs Stainless Steel Yarn Knitting Needles, Extra Large-Eye Yarn Sewing Needles, Knitting Darning Needles with Clear Bottle, Suitable for Crochet Projects, Silver
 -
Reynolds Freezer Paper Plastic Coated 50 Sq Ft (3 Rolls)
-
flic-flac 44PCS 4 x 4 inches (10 x10cm) Assorted Color Felt Fabric Sheets Patchwork Sewing DIY Craft 1mm Thick


I hope your kids love getting to make their own colorful rainbow pencil toppers as much as mine did!
Be sure to check out some of our other easy sewing projects for kids here:

This is such an amazing craft. Thank you so much for sharing this fun activity.