
Salt Dough Easter Egg Ornaments (with Video)
Welcome to Sugar, Spice & Glitter! Please note, this post may contain affiliate links. For more details, see our Full Disclosure.


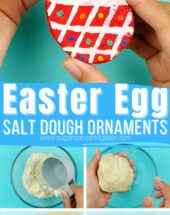

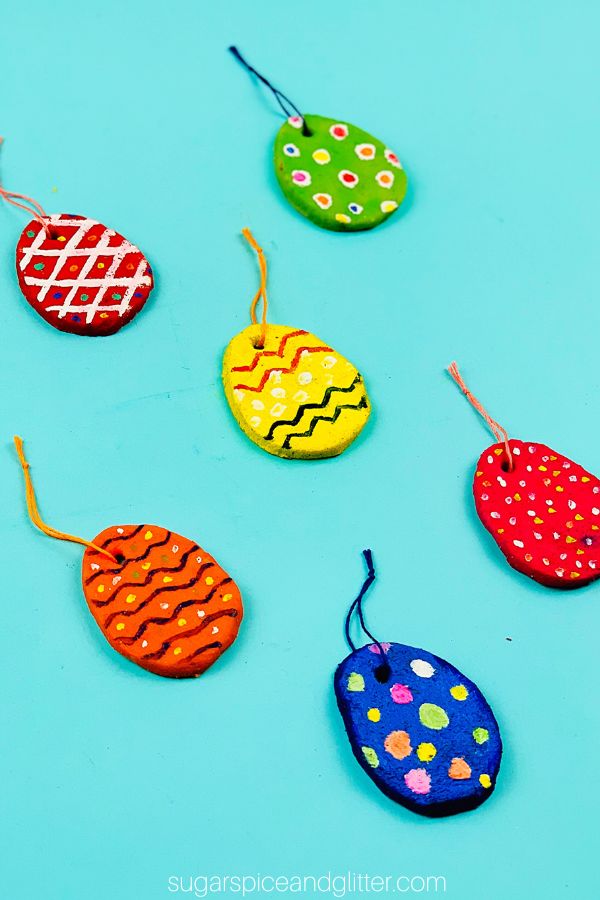
A classic Easter craft you can make with everyday kitchen ingredients, today’s Salt Dough Easter Egg Ornaments is one of our favourites to make year after year!
Salt Dough Easter Egg Craft
For years, I ran a home daycare and I had to learn how to plan crafts that:
- could be done by a wide age range of kids,
- all at the same time,
- with minimal need for help from me.
A lot of crafts hit one or two of those points, but finding one that fits all three AND is a craft that the kids are all equally excited to make always felt like finding the holy grail.
Today’s holy grail craft are these Salt Dough Easter Egg Ornaments. A simple X-ingredient salt dough takes minutes to whip up and then is rolled out and cut into oval shapes for the kids to paint.
There are so many different ways children can paint and customize their salt dough ornaments, including adding carvings, different patterns, adding illustrations, using their favourite colours, etc. If you want to add glitter, do it after baking.
Can you air dry salt dough ornaments? Yes, instead of baking the ornaments, you can leave them out to dry overnight.
How long do salt dough ornaments last? Infinitely! I still have salt dough crafts that my daughter made as a toddler and she is now a preteen. The ornaments are delicate, but if treated with care they can be enjoyed for years to come.
Is salt dough edible? Absolutely not. While all components of the dough are edible, the level of salt in the dough is way too high to snack on. (Luckily, the amount of salt also makes it very unpleasant to taste so I’ve personally never had a child attempt more than a lick which has very quickly been followed by a repulsed look and no further attempts to taste.)
Be sure to check out our step-by-step video to see how to make these salt dough Easter Egg ornaments at home – and then don’t forget to scroll down to grab your free printable recipe card:
Salt Dough Ingredients
- Salt
- Flour
- Water
- Paint
- String or Ribbon
Scroll down to the printable recipe card for full measurements.
Tip: I highly recommend grabbing a couple of these sturdy plastic lunch trays. I use these for almost all of our craft or kitchen activities, as well as in our Montessori practical life activities. Ours have lasted for over 6 years and are still going strong, plus they are so great for containing messes and allowing the kids to set a project to the side while it dries (or if you have to clear off the table for supper).
Tools You May Find Helpful
- Mixing Bowl
- Measuring Cups
- Spoon or Spatula
- Rolling Pin
- Straw
- Paintbrushes
- Cookie Sheet
How to Make Salt Dough Easter Eggs
Preheat oven to 250F.
In a mixing bowl, whisk together the flour and salt.

Pour in the water and stir until combined.
Knead the dough until smooth, then roll out on a clean, floured surface until dough is spread evenly to 1/2″ thickness.

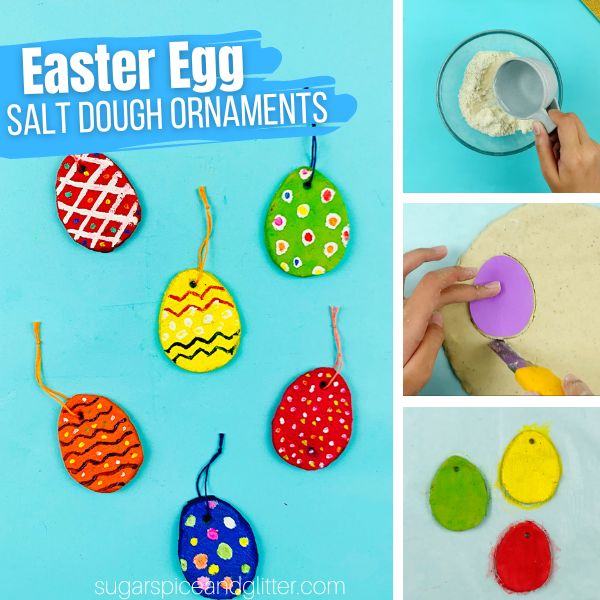
Use an oval-shaped cookie cutter to cut the salt dough into shapes. If you don’t have one, trace an oval shape onto paper and use it as a template, placing it on the rolled-out dough and tracing around the oval shape with a knife.
Re-roll the dough as needed to get as many egg shapes out of the dough as possible.
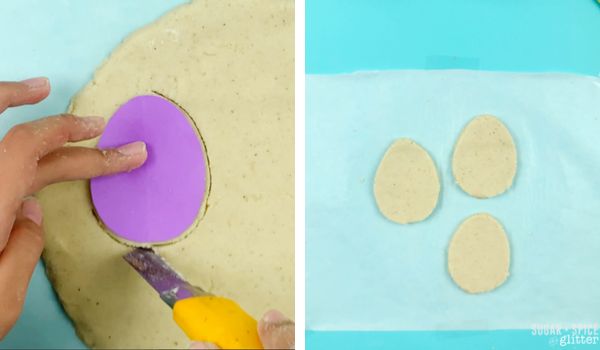
Place the oval salt dough shapes on a protected surface. If planning to use as ornaments, use a straw or toothpick to form a small hole at the top of the ovals (at least 1/2″ away from the edge).
You can bake now for 90 minutes to two hours (check every 20 minutes after the one hour mark – they should be slightly firm to the touch, not squishy and soft anymore).
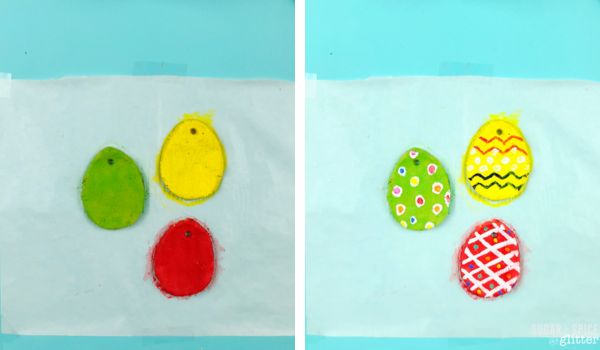
Allow the salt dough to cool before painting.
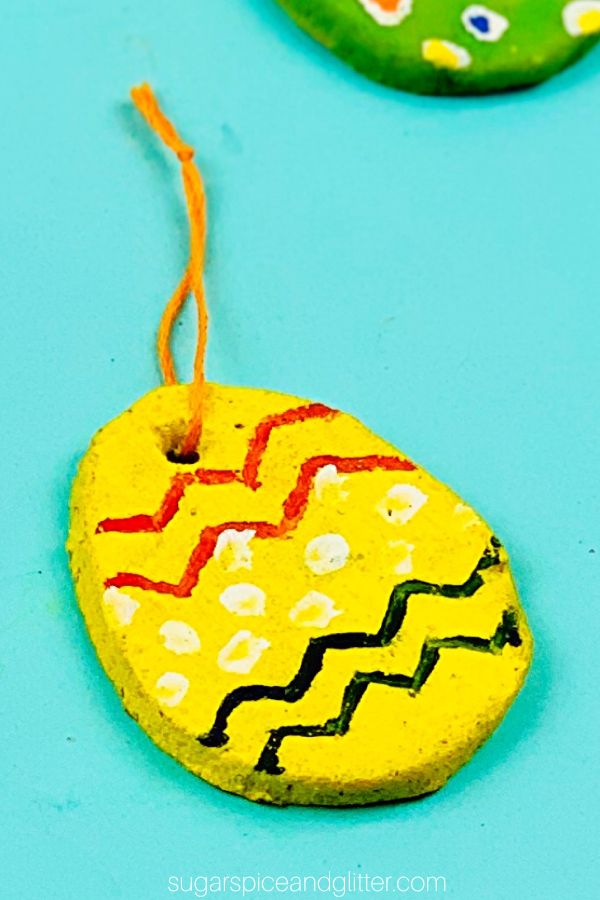
Paint the salt dough eggs as desired.
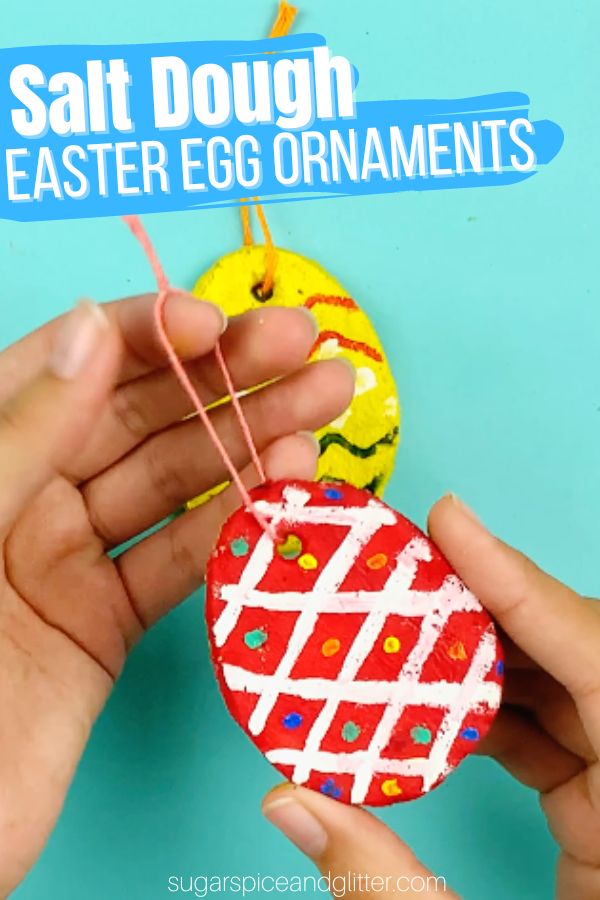
Allow the paint to dry before adding ribbon or string for hanging.

Grab your free printable instructions for our salt dough Easter egg ornament craft:
Want to Save This Recipe?
Enter your email & I'll send it to your inbox. Plus, get great new recipes from me every week!
By submitting this form, you consent to receive emails from Sugar, Spice and Glitter.
Salt Dough Easter Egg Ornaments
Materials
- 1 cup All-Purpose Flour
- 1/2 cup Salt
- 1/2 cup Warm Water
- Paint, as needed
- Ribbon or String, optional for hanging
Tools
- Mixing Bowl
- Measuring Cups
- Spoon or Spatula
- Rolling Pin
- Straw
- Paintbrushes
- Cookie Sheet
Instructions
- Preheat oven to 250F.
- In a mixing bowl, whisk together the flour and salt.
- Pour in the water and stir until combined.
- Knead the dough until smooth, then roll out on a clean, floured surface until dough is spread evenly to 1/2" thickness.
- Use an oval-shaped cookie cutter to cut the salt dough into shapes. If you don't have one, trace an oval shape onto paper and use it as a template, placing it on the rolled-out dough and tracing around the oval shape with a knife.
- Re-roll the dough as needed to get as many egg shapes out of the dough as possible.
- Place the oval salt dough shapes on a protected surface. If planning to use as ornaments, use a straw or toothpick to form a small hole at the top of the ovals (at least 1/2" away from the edge).
- You can bake now for 90 minutes to two hours (check every 20 minutes after the one hour mark - they should be slightly firm to the touch, not squishy and soft anymore).
- Allow the salt dough to cool before painting.
- Paint the salt dough eggs as desired.
- Allow the paint to dry before adding ribbon or string for hanging.
Recommended Products
As an Amazon Associate and member of other affiliate programs, I earn from qualifying purchases.

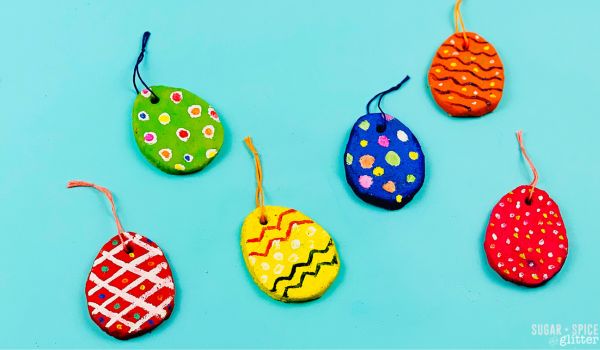
I hope your kids love getting to make these easy Easter Egg ornaments as much as mine always do!
For more easy Easter crafts for kids, check out our full collection here:

For more crafts we’ve loved over the years, check out our full craft collection here:

Or for more homemade play dough activities, check out our full collection here:


Making Salt Dough Easter Egg Ornaments is an incredibly rewarding and enjoyable activity! The end result is cherished keepsake that holds special memories.
Agreed! Thanks for commenting.
Just like making these charming Easter egg ornaments with simple ingredients brings creativity and joy to the home, taking care of home repairs adds comfort and warmth to our living space. Small projects, whether crafts or repairs, make a big difference in making a house feel truly like home. It’s amazing how everyday tasks can bring both beauty and function together!
https://mfiplumbing.com/
Salt dough ornaments are a wonderful and inexpensive craft project. One of their biggest advantages is that they can be air-dried overnight instead of baked, making them easy to create with children.
This is such a lovely and simple Easter craft idea, and it’s great how it uses everyday kitchen ingredients to create something both fun and decorative for the whole family.