
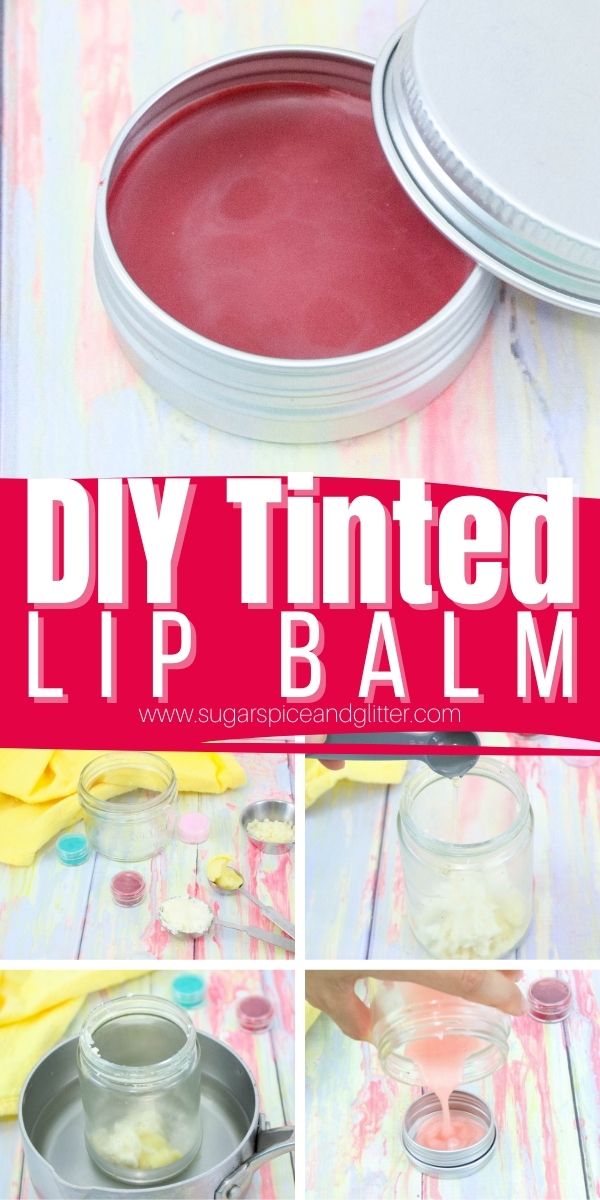
Tinted Lip Balm (with Video)
Welcome to Sugar, Spice & Glitter! Please note, this post may contain affiliate links. For more details, see our Full Disclosure.
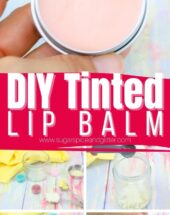

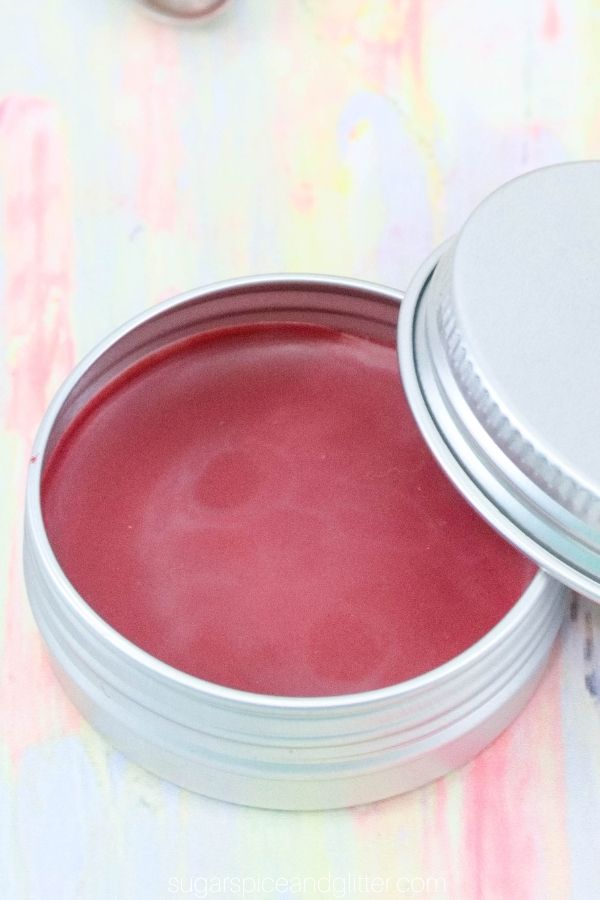
A super simple DIY lip balm recipe you can make with just 6 ingredients, this Tinted Lip Balm can be customized to have any color or flavor you desire and makes a great homemade gift.
DIY Tinted Lip Balm Recipe
Over the years, I’ve tried several DIY lip balm recipes (including our Sunny Lemonade Lip Chap or our Kid-Made Lip Gloss) and I’ve learned a few tricks.
Where some DIY lip balms fall short is either they are too soft and possibly melt all over your purse, or they are shelf-stable but don’t impart enough moisturizing benefits.
After a lot of trial and error (with my friend, Shelby) we’ve come up with a DIY lip balm that is not only nourishing and shelf-stable, but it also imparts a subtle, pretty touch of color to your lips!
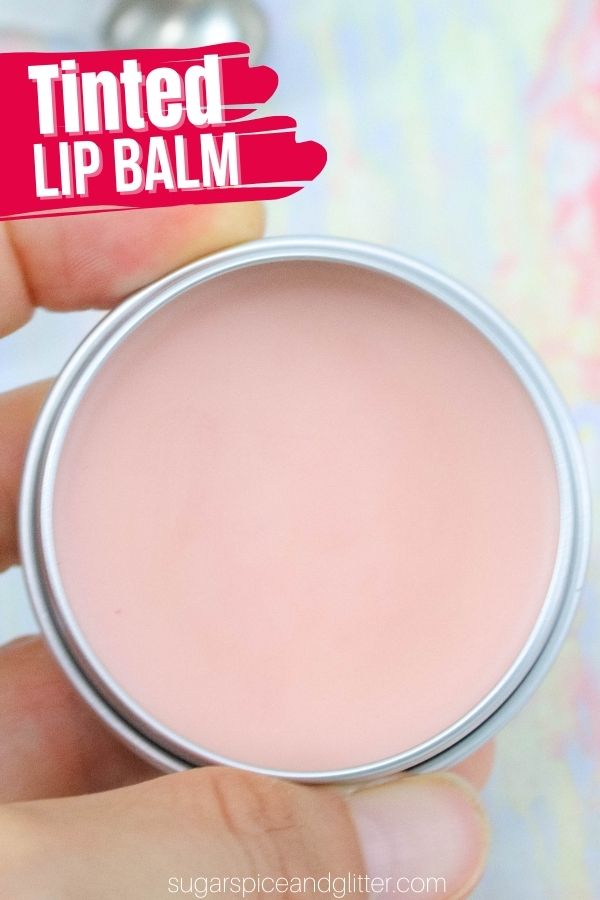
I love this lip balm – it’s light-weight but incredibly moisturizing and I can feel a light layer for quite a while after applying, which makes me feel like my lips are going to be protected from the bitter winter winds. The mango and shea butters, as well as the apricot kernal oil and coconut oil provide moisturizing benefits while the beeswax not only keeps the lip balm solid, it also creates that protective layer on your lips.
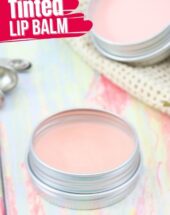
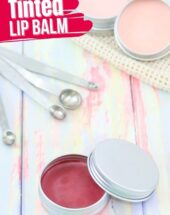
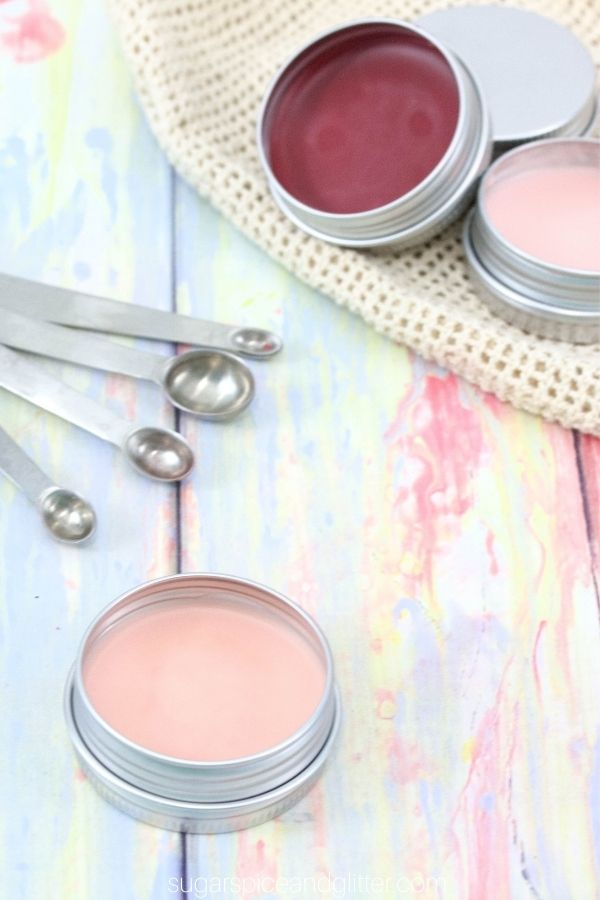
We chose to make our lip balms very natural and light in color, but you can stir in more mica powder to make a vibrant lip balm – which is a great alternative to lip sticks, especially in the winter when your lips are more prone to chapping.
DIY Lip Balm Tips
- Use good-quality containers with tight-fitting lids.
- Make sure that no water gets into the mixture during the double boiler process as it will cause the lip chap to mold.
- Ensure that the beeswax pellets are melted completely before removing it from the heat or your lip balm will have an inconsistent texture.
- The mixture will begin to harden quickly so you have to move fast to stir in the mica powder and pour into containers. Have everything set up and limit your distractions for this stage.
- The mica powder measurement below is for the entire batch. If you’re making two different colors, split the oil (after it’s been melted) and use 1⁄4 teaspoon of mica powder per batch.
- While this recipe uses a quarter to a half teaspoon of powder, if you use more the lip chap will be more vibrant. Use to your own preference.
- Store your lip balms in a dry spot away from extreme sources of cold or heat for best shelf-life.
These DIY tinted lip balms should last for up to a year, however, we have only been using ours for about 3 months. I will report back and update if we run into any issues of the lip balm not lasting as long as expected.
Check out our quick video tutorial to see how easy it is to make our DIY tinted lip balm – and then don’t forget to scroll down to grab your free printable instructions:

Tinted Lip Balm Ingredients
Scroll down to the printable recipe card for full measurements.
Tip: add good-quality flavor extracts or essential oils to impart scent/taste to your lip balms.
Kitchen Tools You May Find Helpful
- Double Boiler or Saucepan
- Mason Jars
- Measuring Cups and Spoons
- Small Whisk
- Lip Balm Containers
How to Make Tinted Lip Balm
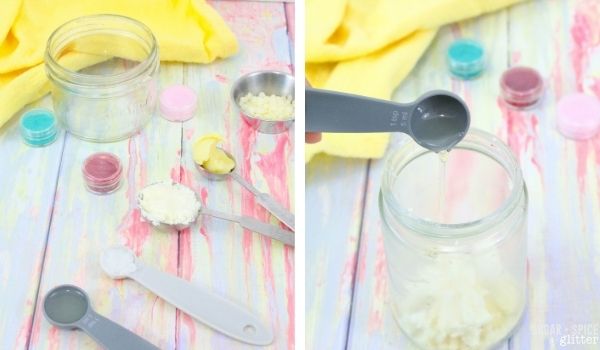
Measure out all of the ingredients. Open and lay out the lip balm containers on a tray or protected surface. Parts of this recipe move quickly so you want everything ready to go.
In a medium (heat safe) jar or small double boiler, add in all the ingredients except the mica powder.
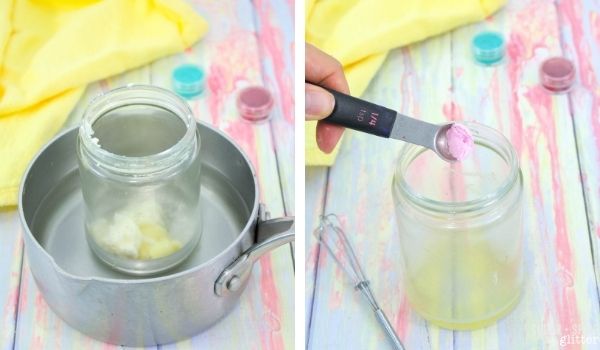
Fill your saucepan or bottom of a double boiler with water and place over medium heat.
Place the top of the double boiler or the mason jar with the ingredients over the boiling water – ensure that the water line does not come close to the jar’s top to avoid water entering into the lip balm mixture.
Whisk the lip balm mixture until all ingredients are melted.
Remove the jar from the water/heat and whisk in the mica powder until no clumps remain.
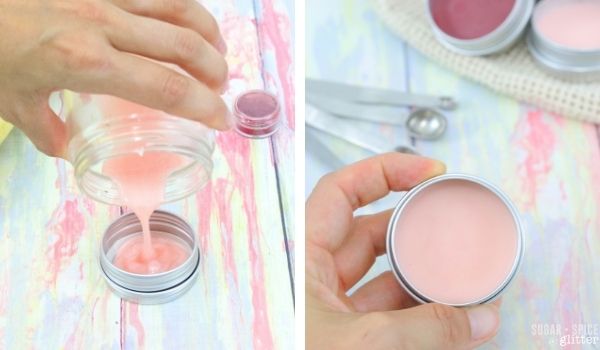
Immediately pour the lip balm mixture into the lip balm containers.
Set sit overnight to harden.
Pin this DIY Tinted Lip Balm recipe for your next craft session:
Grab your free printable recipe card for our DIY Tinted Lip Balm recipe:
Want to Save This Recipe?
Enter your email & I'll send it to your inbox. Plus, get great new recipes from me every week!
By submitting this form, you consent to receive emails from Sugar, Spice and Glitter.
Tinted Lip Balm
A super simple method for making DIY tinted lip balm that is incredibly moisturizing and won't melt in your purse. This homemade lip balm makes a great gift and can be customized to any color or scent, if desired.
Materials
- 2 Tablespoons Mango Butter
- 1 Tablespoon Shea Butter
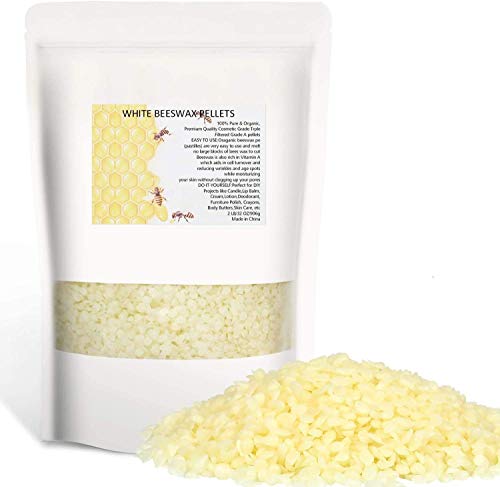
- 2 Tablespoons Beeswax Pellets
- 4 teaspoon Apricot Kernel Oil
- 1 teaspoon Coconut Oil (measured solid/soft)
- 1⁄2 teaspoon Mica Powder
Tools
- Double Boiler or Saucepan
- Mason Jars
- Measuring Cups and Spoons
- Small Whisk
- Lip Balm Containers
Instructions
- Measure out all of the ingredients. Open and lay out the lip balm containers on a tray or protected surface. Parts of this recipe move quickly so you want everything ready to go.
- In a medium (heat safe) jar or small double boiler, add in all the ingredients except the mica powder.
- Fill your saucepan or bottom of a double boiler with water and place over medium heat.
- Place the top of the double boiler or the mason jar with the ingredients over the boiling water - ensure that the water line does not come close to the jar's top to avoid water entering into the lip balm mixture.
- Whisk the lip balm mixture until all ingredients are melted.
- Remove the jar from the water/heat and whisk in the mica powder until no clumps remain.
- Immediately pour the lip balm mixture into the lip balm containers.
- Set sit overnight to harden.
Recommended Products
As an Amazon Associate and member of other affiliate programs, I earn from qualifying purchases.
-
 PURA D'OR Organic Vitamin E Oil (4oz / 118mL) 70,000 IU 100% Pure Natural USDA Organic For Skin Face Hexane Free w/Sweet Almond, Apricot, Jojoba, Argan, Rosehip, Sunflower & Avocado Oil For Bath Body
 -
Howemon White Beeswax Pellets 2LB 100% Pure and Natural Triple Filtered for Skin, Face, Body and Hair Care DIY Creams, Lotions, Lip Balm and Soap Making Supplies
-
GreenIVe - 100% Pure Mango Butter- All Natural - Fresh Sourced - Exclusively on Amazon (8 Ounce Jar)


I hope you love this DIY Tinted Lip Balm as much as I do – and I’d love to hear any adjustments you make with scent or flavor, etc!
For more DIY Beauty ideas, check out our full DIY Beauty recipes collection here:
For more gift ideas, check out our full Homemade Gift ideas collection here:
For more craft ideas for grown-ups, check out our full Adult Crafts collection here:


Taking care of yourself is extremely important, as your body deserves attention and care. Regular grooming not only helps maintain health, but also improves mood and boosts self-confidence.
I’ve made this DIY tinted lip balm a few times now, and it’s one of the easiest beauty projects ever. The mix of mango butter, shea, and beeswax gives the perfect texture, not melty, not waxy, just smooth and moisturizing. I once compared it to a store-bought balm I saw while reading reviews on musely and realized my homemade version felt even better. The fun part is customizing the color with mica powder. I’ve done a soft rose tint and a deeper berry shade, both turned out super cute and make great little gifts.
I really appreciate how you break down the benefits of a subtle tinted lip balm. I do definitely pair a balm like this with a fresh manicure from Dream Nails NY for a fully polished, effortless look https://dreamnailsny.com/