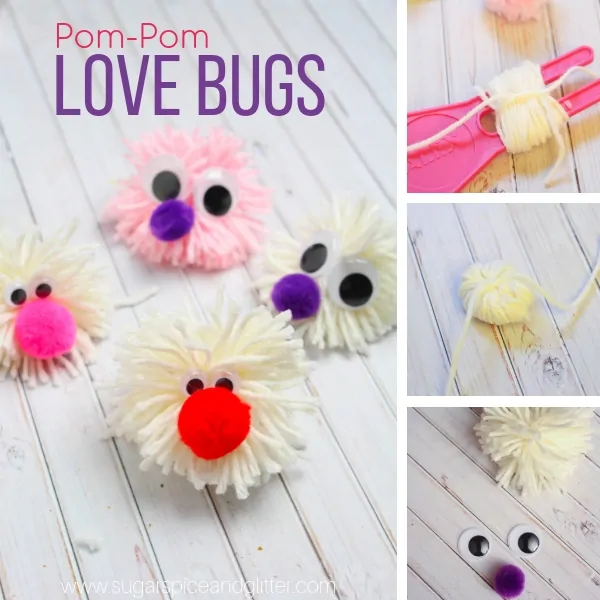
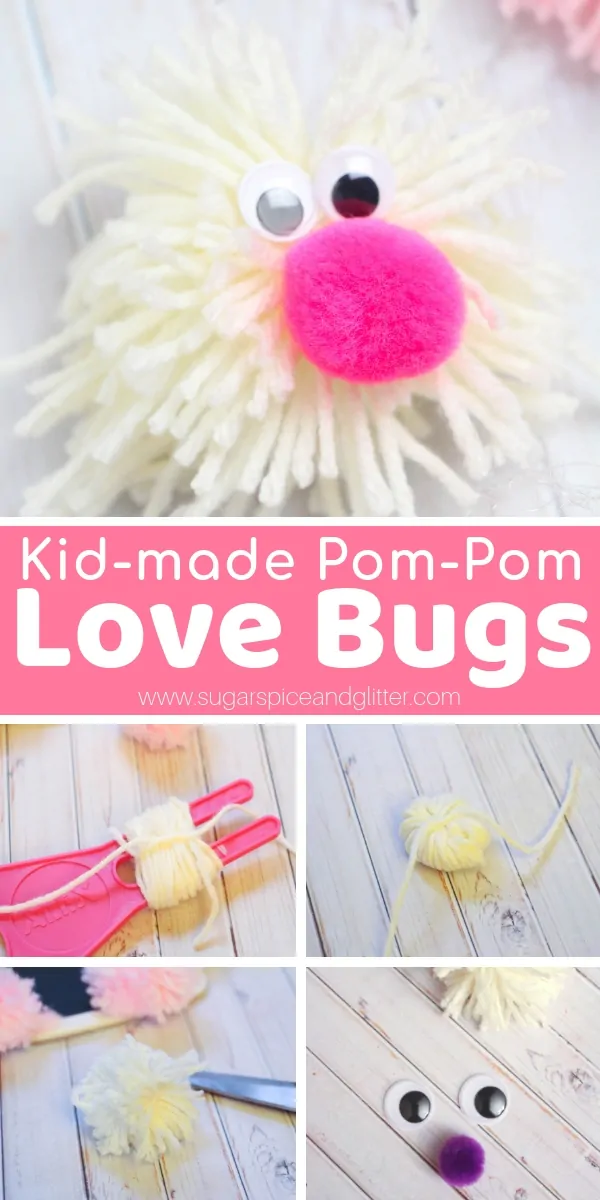
Pom-Pom Love Bugs
A cute and easy Valentine’s Day craft for kids, these Pom Pom Love Bugs are a fun option for mixed age groups. Big kids can make their pom poms from scratch, while younger crafters can personalize their pom poms with cute facial features.

Pom Pom Love Bug Craft
I first started making this super simple yarn craft for kids at Halloween. We called them “Pom Pom Monsters” and used a variety of Halloween-inspired yarn colors to make the pom poms, and then added some ghoulish features.
My daycare kids loved this super simple craft so much, that I thought I’d do a cute Valentine’s twist on it for Ella’s Love Bugs Valentine’s Day Party, and it was just as big of a hit with the older kids as it is with my toddlers and pre-school kids.
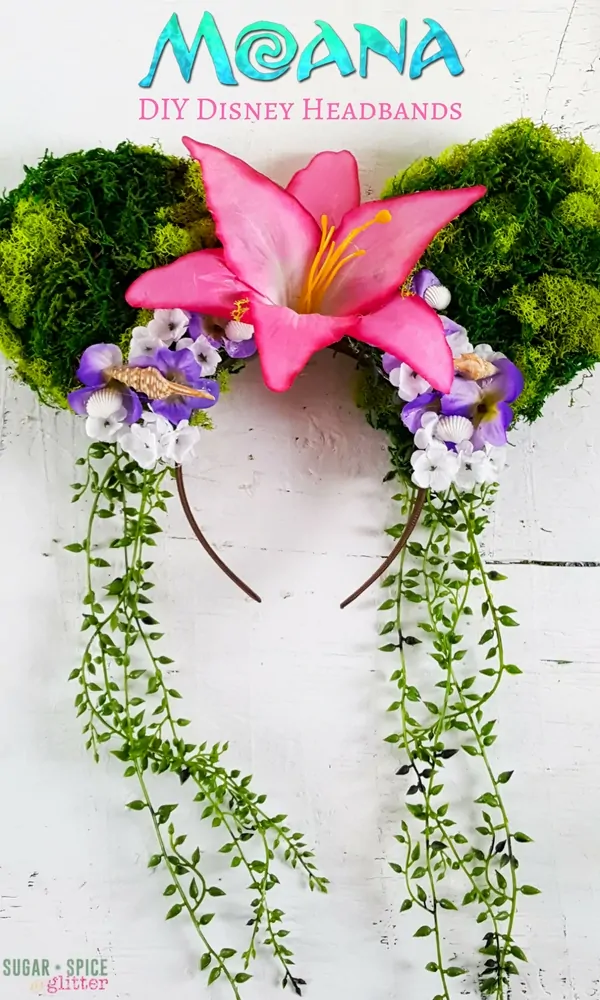
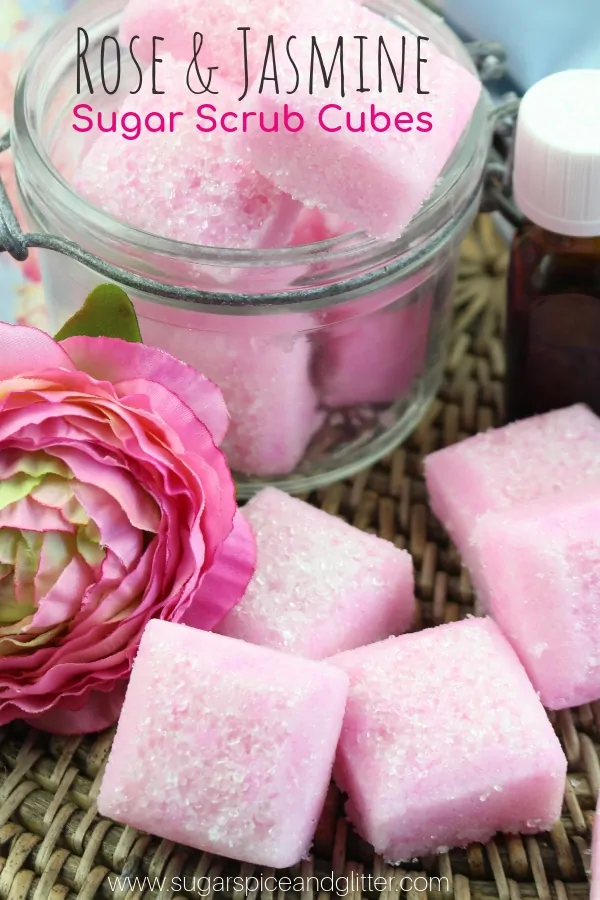
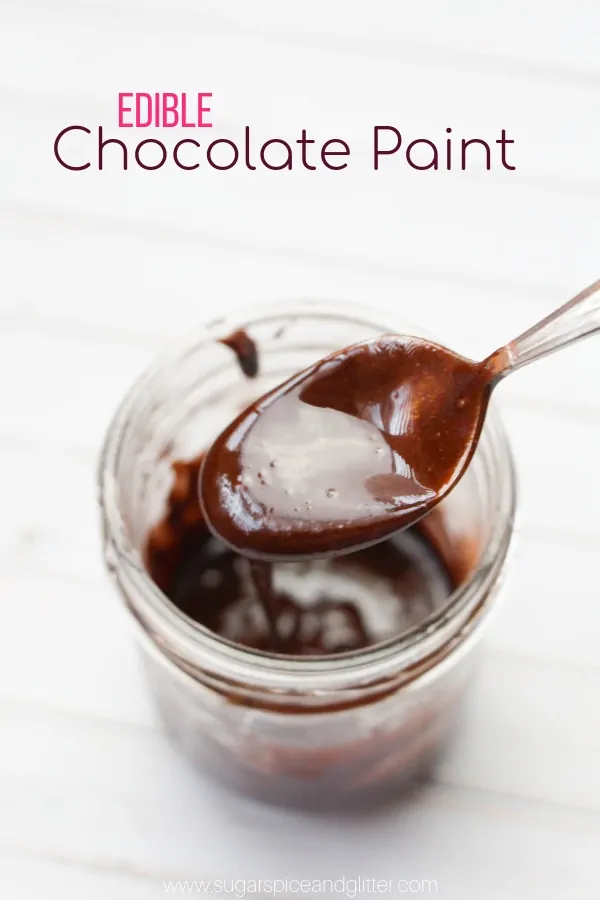
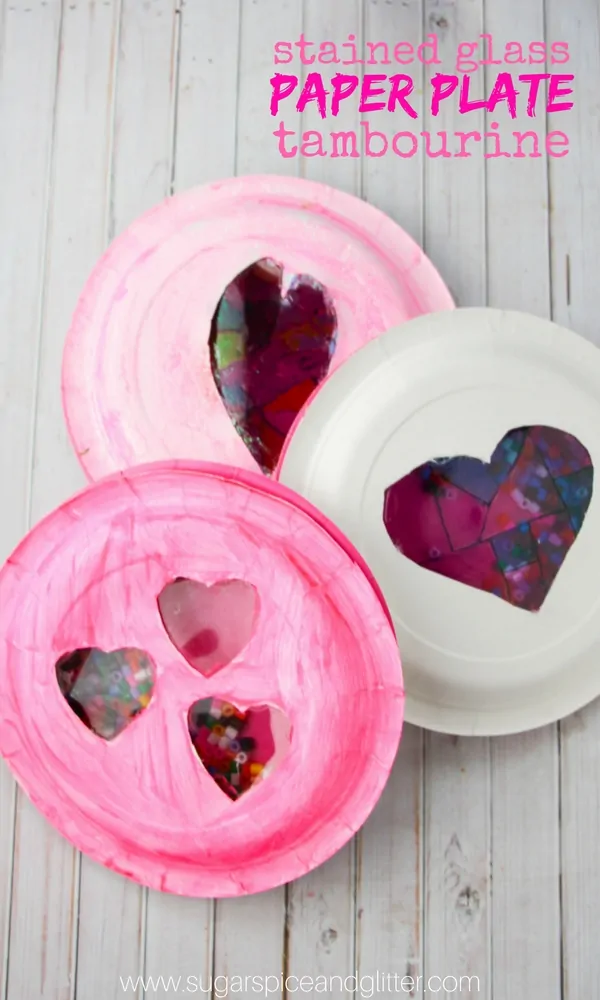
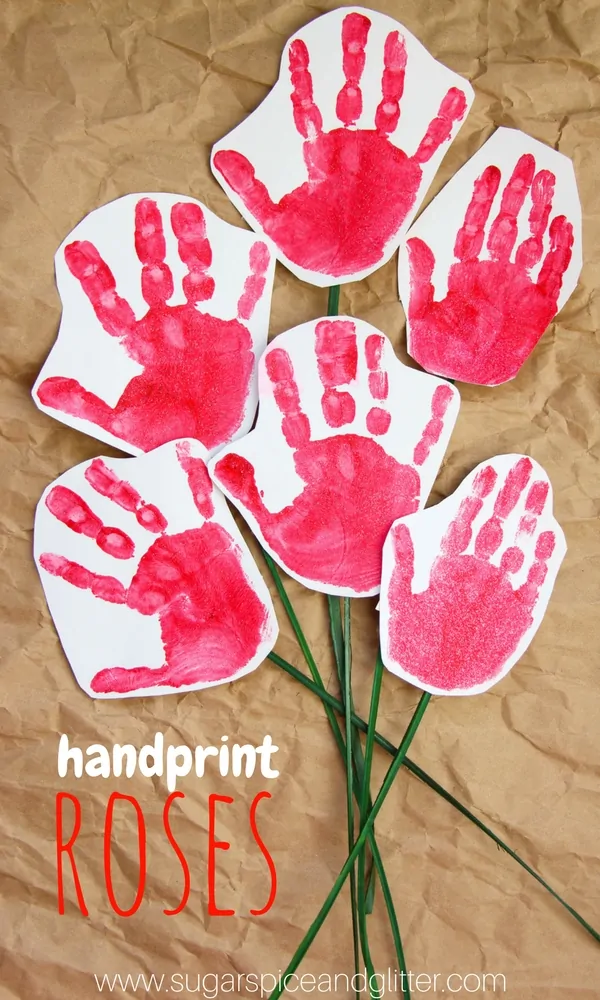
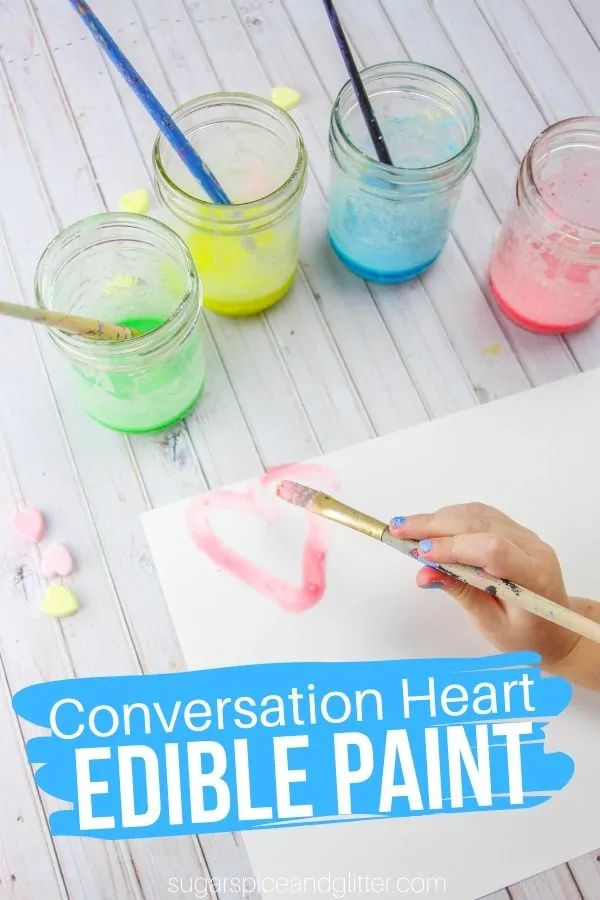
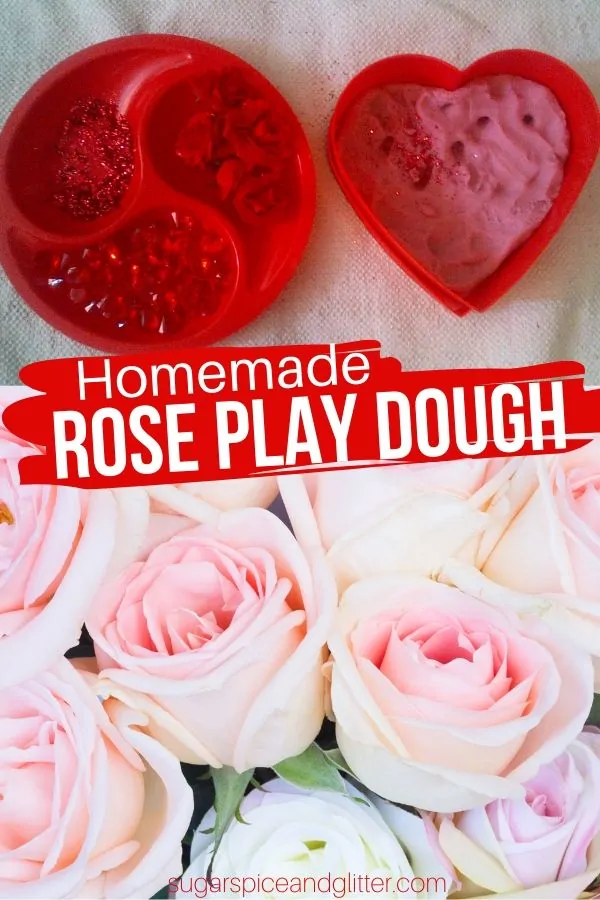
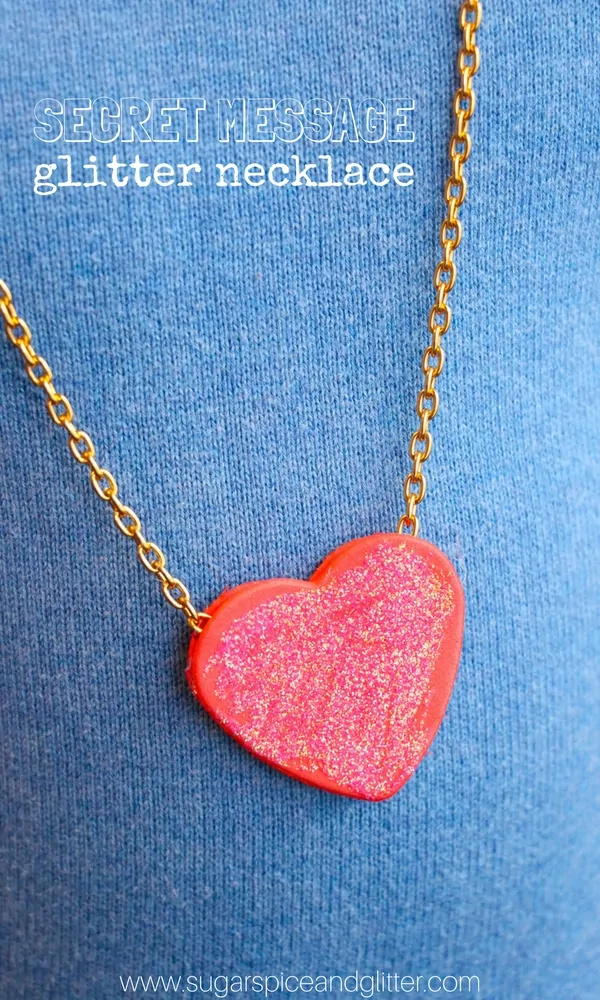
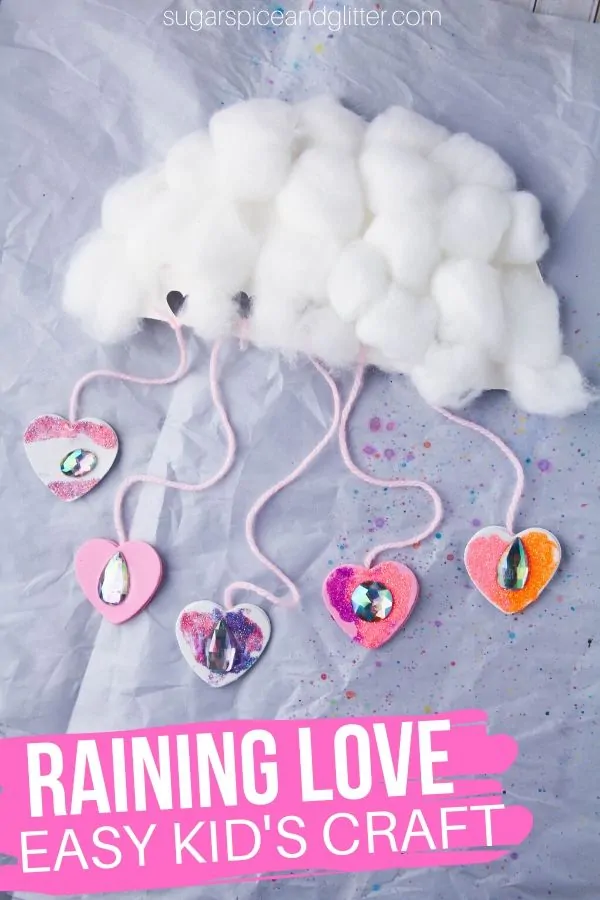
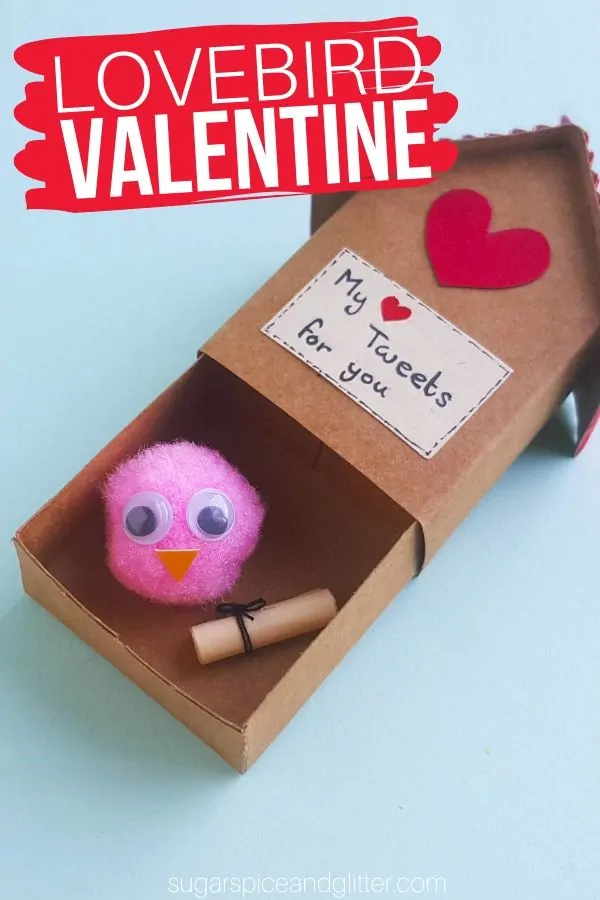
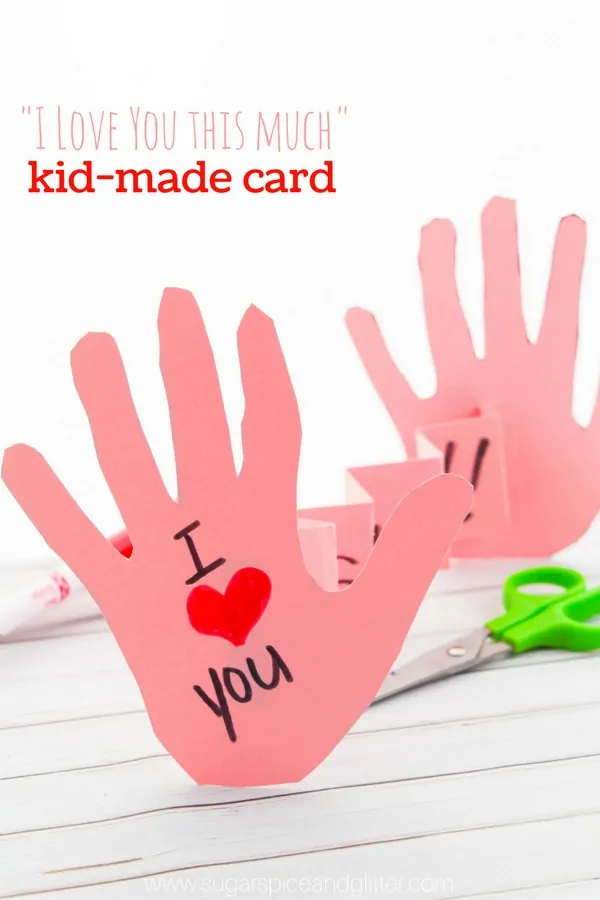
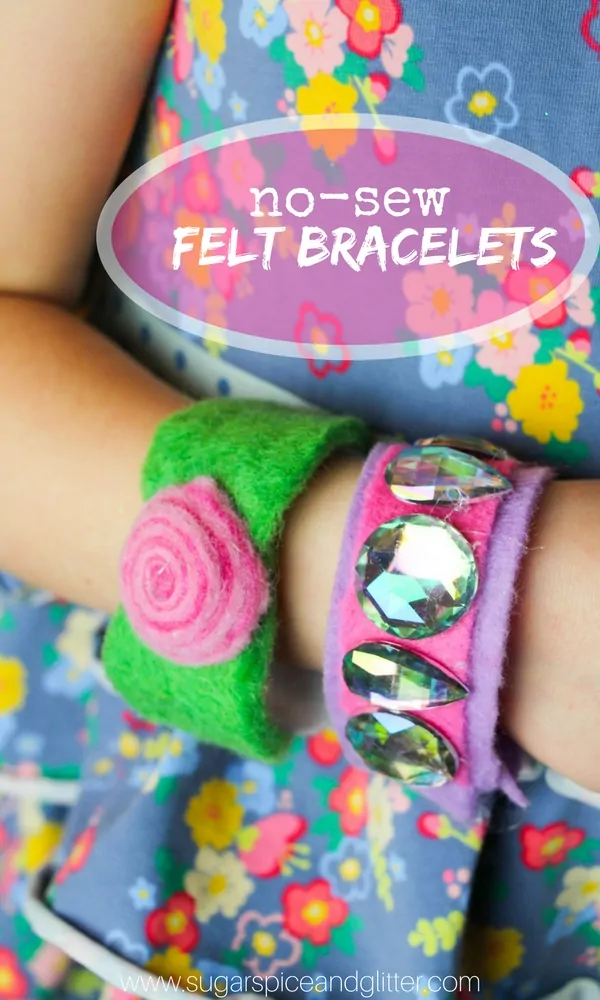
If you’re looking for more Valentine’s Day crafts for kids, check out:
")
")


")

")


")
")
")

")
How to Make Yarn Pom Poms
Now, if you’ve never made pom poms from scratch before, there are a couple of ways that you can make them.
By far the easiest way to make pom poms is to use a pom pom maker. There are two types:
- a circular pom pom maker where you wind the yarn all around the plastic circle and cut in specific places
- a two-pronged pom pom maker similar to how you would make it with your fingers – this is my preferred pom pom maker, especially when crafting with kids
You can also use a fork or your fingers. The fingers can be a bit uncomfortable and the fork prongs are quite small and the yarn can slip off easily, so if kids will be making the pom poms, I highly recommend using a pom pom maker to avoid frustration.
Yarn Pom Pom Materials
- Yarn of choice
- Scissors
- Pom pom maker
- Googly eyes
- Glue of choice
- Mini pom poms
- Other facial details (pipe cleaners, foam, etc)
How Many Times to Wind Yarn on Pom Pom Marker
How many times you wrap the yarn around your fingers will depend on how big you want the pompom to be: anywhere from 40 to 150 times! These pom poms were all between 40 to 60 rotations.
What Kind of Yarn is Best for Pom Poms
If crafting with kids, acrylic is the most affordable option, but if you want something soft and silky, go for a silk or silk-wool blend yarn. Wool makes the fluffiest pom poms.
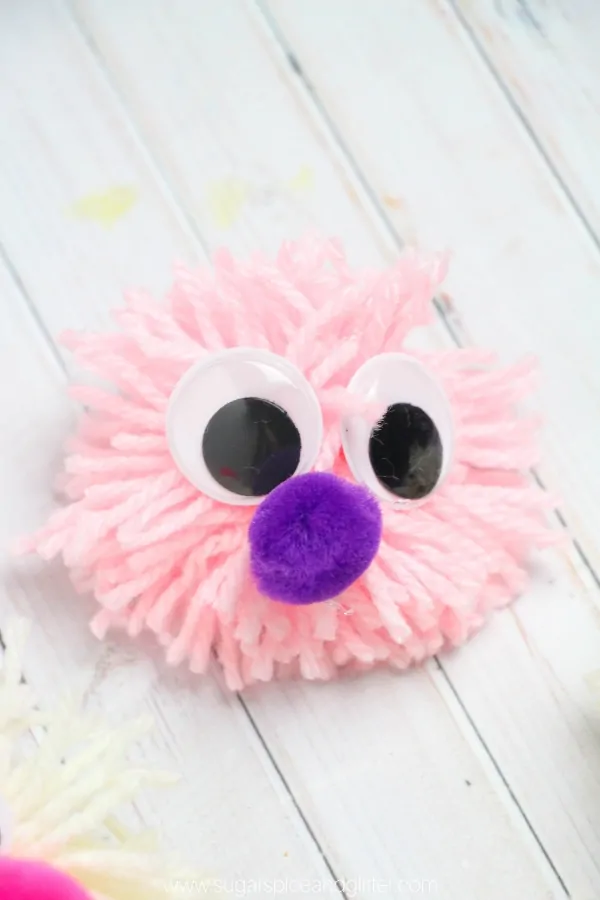
How to Make Love Bugs
Follow the instructions on your pom pom maker for best results. If your pom pom maker doesn’t come with instructions and you’re using a two-pronged pom pom maker (like I’ve shown in my pictures), you can follow these instructions:
- Wrap the wool around the outside of the prongs, until you get your desired number of loops. More loops will result in a fuller, fluffier pom pom
- Cut the wool, then use a small length of wool to tie around the center of the loops (in between the two prongs – as shown). Tie tightly and then slip the pom pom off of the pom pom maker’s prongs
- Cut all of the pom pom loops, then trim to a nice round shape, or make it shaggy if you want your love bug to have a bit more personality
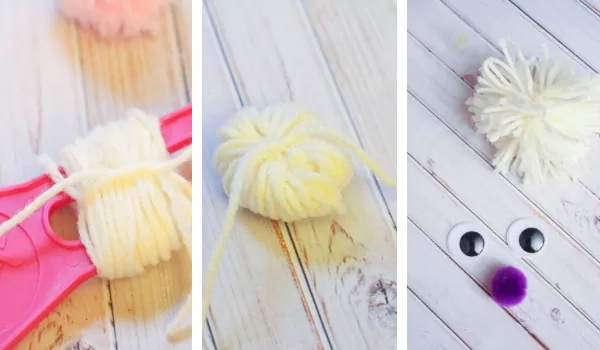
Next, to transform your pom pom into a love bug, add on some facial features: googly eyes, pom pom noses, foam mouths, pipe cleaner noses or mouths, etc etc. Have fun and be creative with this step – it’s a great way to use up loose ends in your craft bin/drawer.
We just used white craft glue and let them dry over a couple of hours, but you can use hot glue if you need them to dry faster.
Pin this Super Simple Lovebug Craft:
Grab your free printable for our wool love bug pom pom craft:
Want to Save This Recipe?
Enter your email & I'll send it to your inbox. Plus, get great new recipes from me every week!
By submitting this form, you consent to receive emails from Sugar, Spice and Glitter.
Pom-Pom Love Bugs
Materials
- Yarn of choice
- Googly eyes
- Glue of choice
- Mini pom poms
- Other facial details (pipe cleaners, foam, etc)
Tools
- Scissors
- Pom pom maker
Instructions
- Follow the instructions on your pom pom maker for best results. If your pom pom maker doesn't come with instructions and you're using a two-pronged pom pom maker (like I've shown in my pictures), you can follow these instructions:
- Wrap the wool around the outside of the prongs, until you get your desired number of loops. More loops will result in a fuller, fluffier pom pom
- Cut the wool, then use a small length of wool to tie around the center of the loops (in between the two prongs - as shown). Tie tightly and then slip the pom pom off of the pom pom maker's prongs
- Cut all of the pom pom loops, then trim to a nice round shape, or make it shaggy if you want your love bug to have a bit more personality
- Next, to transform your pom pom into a love bug, add on some facial features: googly eyes, pom pom noses, foam mouths, pipe cleaner noses or mouths, etc etc. Have fun and be creative with this step - it's a great way to use up loose ends in your craft bin/drawer.
- We just used white craft glue and let them dry over a couple of hours, but you can use hot glue if you need them to dry faster.
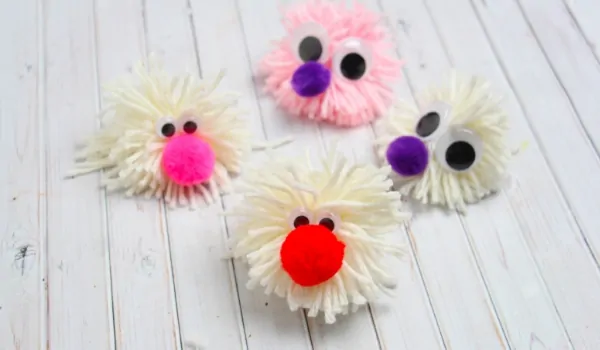
This super simple yarn craft for kids always leads to laughs and some cute creations. The crafts in these pictures were created by Ella and her friends at 5 years old. A couple of them were able to help make their pom poms, while others stuck to decorating pom poms after I did the tricky looping part for them.
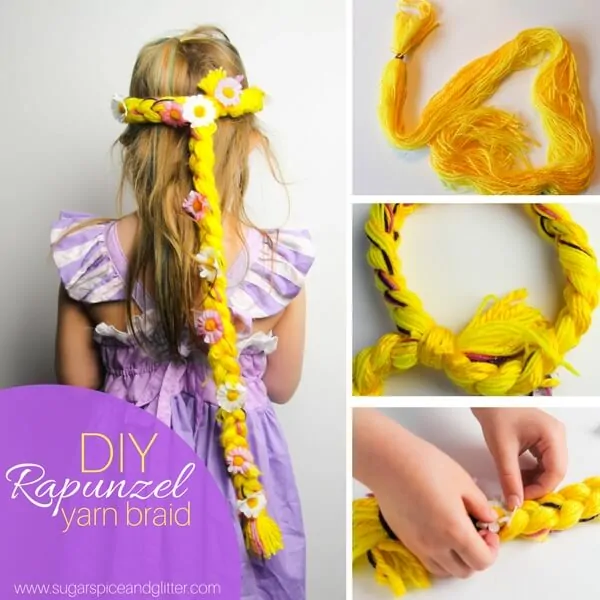
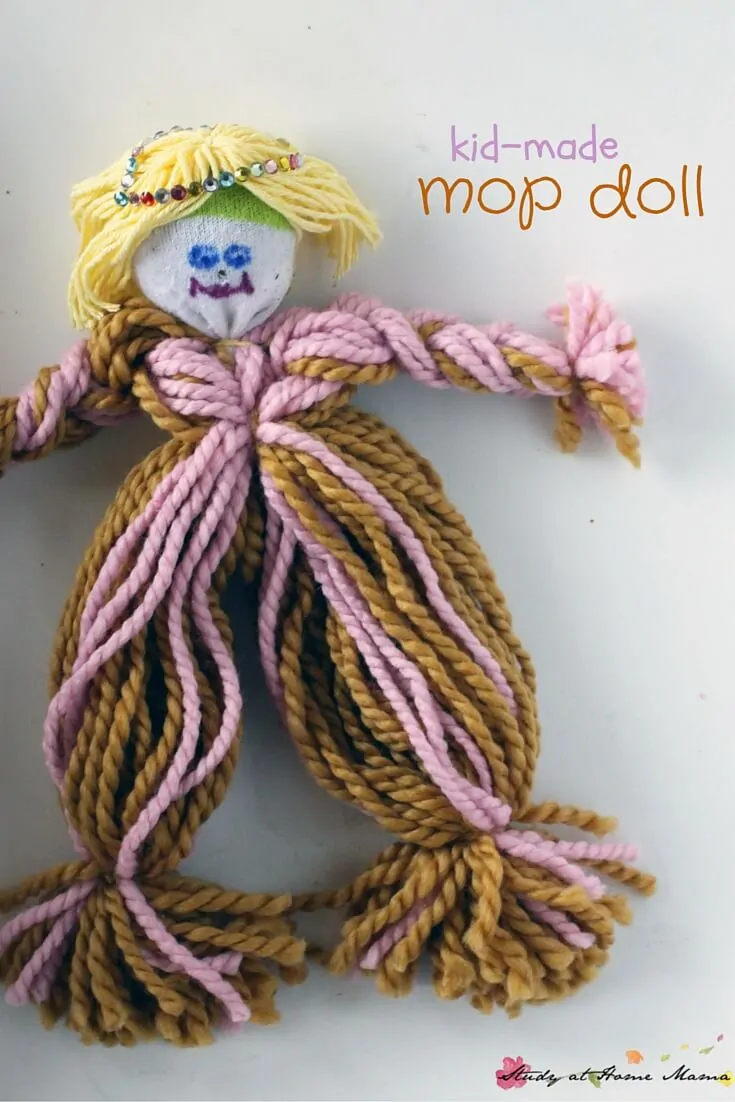
For more fun ways to craft with yarn, check out our Rapunzel Braid Headband or our Kid-Made Mop Doll.