Kid-Made Mop Doll
I love kids’ craft ideas that are realistic yet create something children can be proud of. I don’t want to be hovering over them, correcting them, trying to guide them to a Pinterest-perfect craft.
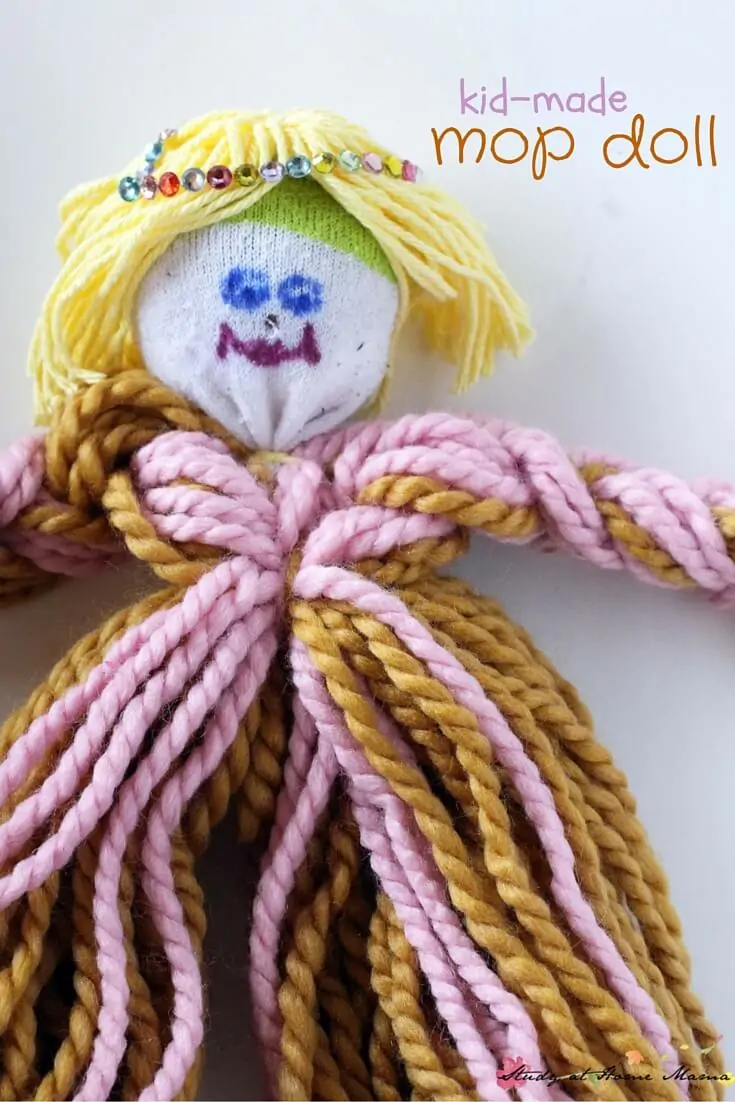
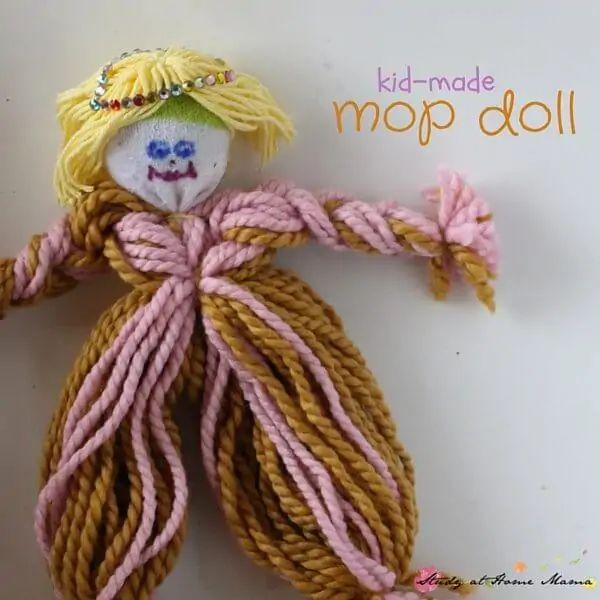
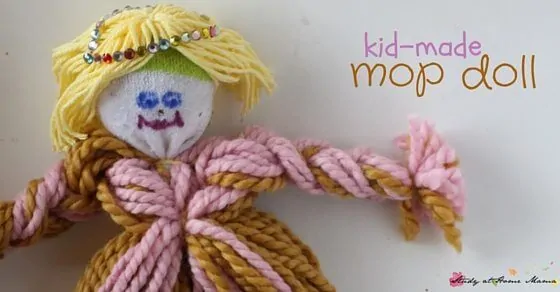
This easy mop doll craft is a craft that kids can have a lot of fun with, while practicing braiding and tying, and creates a cute homemade toy they can cherish.
My friend Melissa is a total Pinterest mom and does the cutest crafts with her four children. Recently, she made this homemade mop doll with her 6 year old, Miss E.
I asked if we could share this craft because I think it’s such a brilliant idea and I think there are so many little boys and girls out there who would love to make their own mop dolls!
I especially love that this is a feasible craft for children to complete almost independently, maybe just needing some help remembering how to tie a knot, or guidance as to the steps of the craft. With four kids at home, Melissa has no choice but to encourage independent crafts!
(If you’re looking for an easier sock-doll for younger children, check out our Olaf Sock Puppet.)
Make Your Own Mop Doll
Materials:
- 2 or 3 contrasting colours of yarn
- Clean sock (can be used, just make sure to sanitize and wash first)
- Permanent markers or fabric pens
- Any embellishments to make your doll special, like the jewel stickers used to make a headband here
- Fabric glue
- Pillow stuffing, wool roving, or cotton balls (to stuff the doll body)
Directions to Making Your Own Mop Doll:
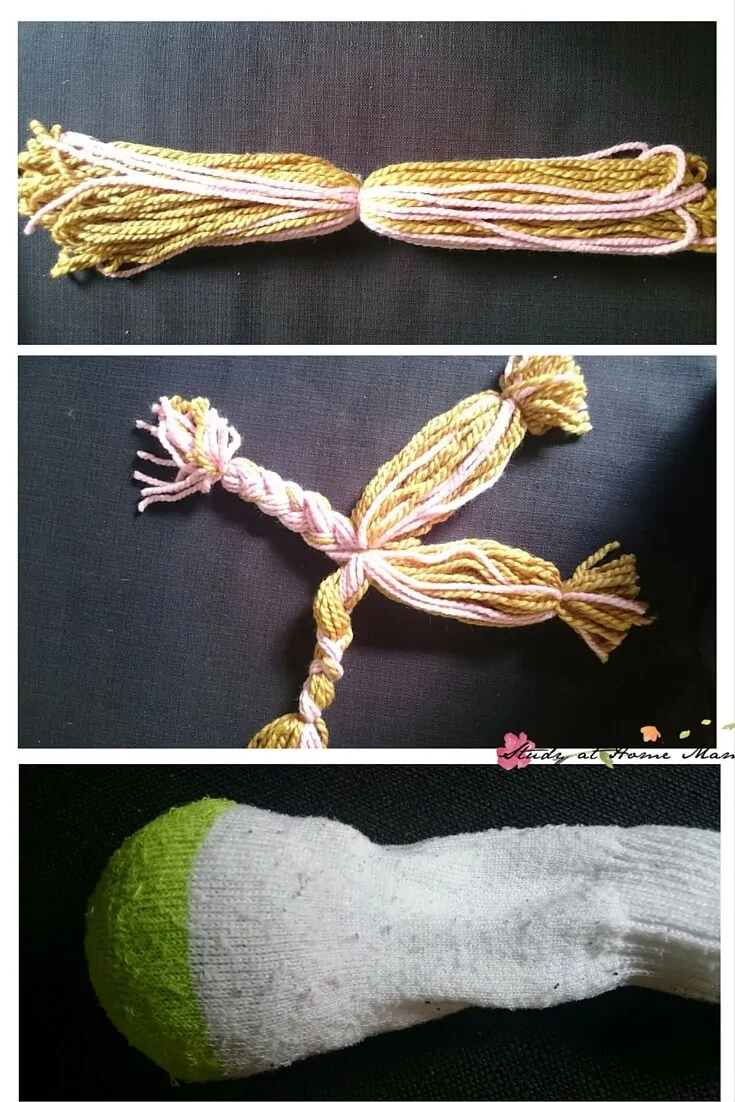
- Melissa had her daughter cut a section of yarn about 3.5 feet long (twice as long as she wanted her doll to be), and then encouraged her to lay out the rest of the yarn over top of the first cut in equal loops, as shown in the first picture.
2. They tied the middle of the pile with a small piece of yarn.
3. Next, they divided each half of the yarn in two – forming “arms” and “legs” of the doll.
4. They then cut all of the loops at the ends to prevent the doll from catching on things.
5. I love what Melissa did here – she did half of the doll, and then encouraged Miss E to practice what she showed her on the other half. So, Melissa tied a knot on one “leg” of the doll to make a foot, and then Miss E tied a knot on the other leg. Melissa braided one arm of the doll, Miss E braided the other arm. This is a great way to remind children how to do certain technical steps, without taking over the craft.
6. They cut the sock off at the ankle and filled it with a bit of stuffing, before tying it tightly with a bit of yarn.
7. Now this is a tricky step that may need adult help: tie the sock to the middle of the doll body (where the arms and legs are separated) and then tie the arms around the sock a bit further up (look at the doll to see where these two ties were made). This forms the “torso” of the doll. Arrange the yarn strands to cover up the sock torso.
8. Make the mop doll’s hair the same way that you formed the body – lay out a length of yarn twice as long as you want the hair, and lay down several additional loops before tying in the middle and cutting the loop ends.
9. Attach the hair to the doll’s head – Melissa encourages hot glue or fabric glue, but her daughter insisted on using white craft glue (which she allowed, hoping it will hold up, but knowing that if the craft glue doesn’t hold it can be easily fixed and Miss E will learn that different glues are better for different things in a natural way rather than being forced into using the fabric glue)
10. As a bonus step, you can create some bangs or “fringe” by cutting some of the front “hair strands” a bit shorter
11. Have your child draw on their doll’s face with fabric markers.
12. Embellish as desired.
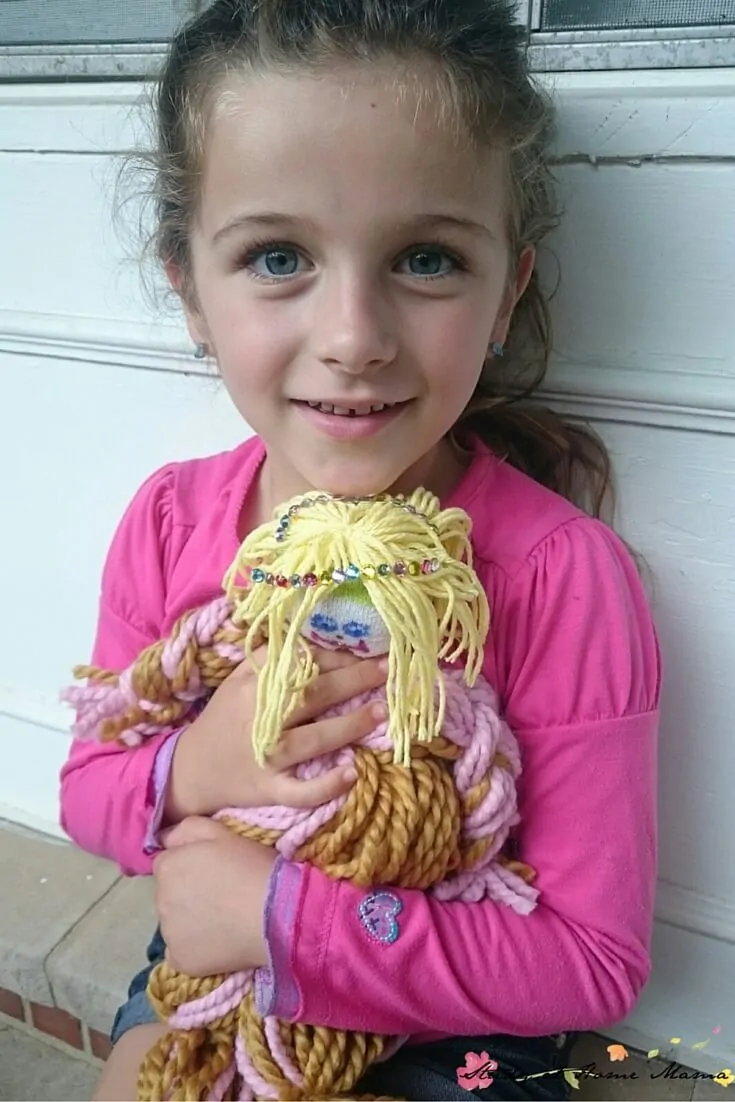
Would you look at how proud Miss E is of her gorgeous mop doll?! That is happiness and pride that can only come from feeling like you actually created something yourself. I think she did a beautiful job.
What do you think? Would your children enjoy making their own mop dolls?
Make sure to pin this for later and check out our other kids’ craft ideas!

I love this idea and cannot wait to make one with each of my kids, I am sure that they will all love this. Thank you!
These are adorable! My daughter will love this. Thank you for sharing at the Hip Homeschool Moms Blog Hop.
This is such a great achievable craft for kids! I love it. Thanks so much for sharing at A Round Tuit. Hope you have a lovely week!
Hey! This is my first visit to your blog! We are a team of volunteers and starting a new project in a community in the same niche. Your blog provided us beneficial information to work on. You have done a marvellous job!|
This is such a simple, but effective idea!
She looks super cuddly too 🙂
#Pintorials
This is so cute, my daughter would love to have a go at this I reckon. She’d love how you can customise it! I have pinned this. Thank you for sharing! Found via #pintorials