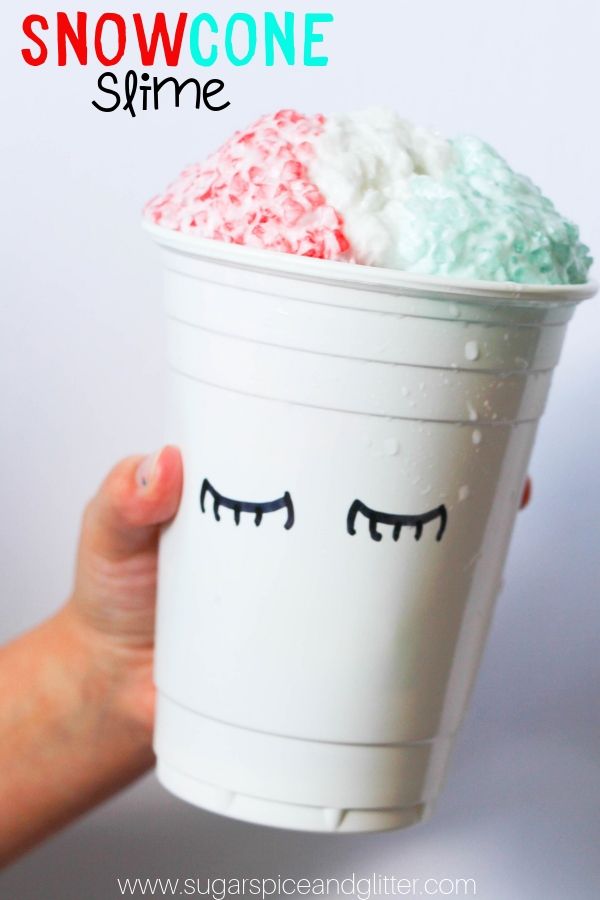
Snowcone Slime (with Video)
Welcome to Sugar, Spice & Glitter! Please note, this post may contain affiliate links. For more details, see our Full Disclosure.
A fun crunchy slime recipe perfect for summer – this Snowcone Slime provides a whole new sensory experience compared to any of our other slimes!
DIY Snowcone Slime Recipe
If you love the sensation of popping bubble wrap or squishing stress balls, you are going to love this fun textured slime!
Our Snowcone slime recipe is a fun twist on Aquarium slime, using clean aquarium rocks for a satisfying, crunchy texture that is perfect for playing with… not eating!
(I shouldn’t have to say this, but you know there will be that one person: just because it’s named after a food doesn’t mean it’s edible.)
This is a perfect way to use up extra aquarium rocks or those tiny pebbles sometimes used for terrariums or vase fillers. My pet peeve with “last little bits of things” is that I feel horrible throwing it out, but often there isn’t enough left to get another use out of or make it worth giving away. This recipe was the perfect way for Ella to get a whole month of play out of a couple handfuls of leftover aquarium rocks!
Slime can require a bit of experimentation and patience, especially if you’re still new to it. If you run into any slime fails, check out this troubleshooting post to help fix your slime.
Did you know that we wrote an entire DIY Slime book?!
I co-wrote the Ultimate Slime Guide alongside my friend, Stacey, who is the Queen of edible slimes. The Slime Book has over 50 amazing, unique slimes, including seasonal slimes, edible slimes, glow-in-the-dark slimes and also fun ideas on how to extend your child’s slime play.

You can also purchase The Slime Book on Amazon.
This video isn’t great quality, but I made it to show you the awesome texture and crunchy sounds that this Snowcone Slime makes:

Snowcone Slime Ingredients
- White Glue
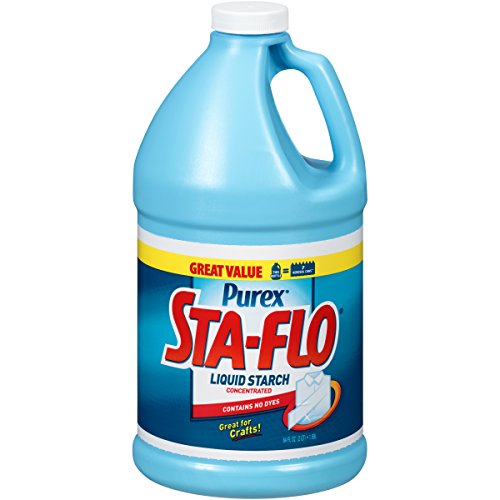
- Liquid Starch (can use 5 Tablespoons of contact solution instead)
- Aquarium pebbles
- Red and blue food dye
Scroll down to the printable recipe card for full measurements.
Tip: if you get glue-based slime stuck in fabric, carpet or hair, it can come loose quickly by soaking in vinegar.

How to Make Snowcone Slime
Place ⅓ cup of glue in a bowl, add in ⅓ cup of aquarium pebbles, or more as desired.
Add in 1 Tablespoon of contact solution or 3 Tablespoons liquid starch.
Stir until a cohesive ball starts to form.
Add more slime activator to achieve a not sticky slime.
Repeat with the remaining ingredients, dying one bowl blue and one bowl red before starting to knead.
Place all three slimes side by side in a plastic cup and have fun playing with your crunchy snowcone slime.
When the waterbeads are fully hydrated, drain out the excess water and start making your slime.
Place your glue in a separate bowl and mix in ½ cup of waterbeads, adding more as desired.
Add in ¼ cup of liquid starch and when a cohesive ball of slime forms, start kneading.
Knead for 2 minutes, adding in more liquid starch as needed.
Pin this Snowcone Slime recipe:

Grab your free printable recipe card for crunchy aquarium slime:
Want to Save This Recipe?
Enter your email & I'll send it to your inbox. Plus, get great new recipes from me every week!
By submitting this form, you consent to receive emails from Sugar, Spice and Glitter.
Snowcone Slime
A crunchy slime recipe that is perfect for summer! This Snowcone Slime is our fun take on an aquarium slime, using leftover aquarium rocks for a crunchy sensory experience
Materials
- 1 cup glue
- ½ cup liquid starch (can use 5 Tablespoons of contact solution instead)
- 1 cup aquarium pebbles, or more as desired
- Red and blue food dye
Tools
- Measuring cups and spoons
- Mixing bowl
- Spatula
Instructions
- Place ⅓ cup of glue in a bowl, add in ⅓ cup of aquarium pebbles, or more as desired.
- Add in 1 Tablespoon of contact solution or 3 Tablespoons liquid starch.
- Stir until a cohesive ball starts to form.
- Add more slime activator to achieve a not sticky slime.
- Repeat with the remaining ingredients, dying one bowl blue and one bowl red before starting to knead.
- Place all three slimes side by side in a plastic cup and have fun playing with your crunchy snowcone slime.
- When the waterbeads are fully hydrated, drain out the excess water and start making your slime.
- Place your glue in a separate bowl and mix in ½ cup of waterbeads, adding more as desired.
- Add in ¼ cup of liquid starch and when a cohesive ball of slime forms, start kneading.
- Knead for 2 minutes, adding in more liquid starch as needed.
Recommended Products
As an Amazon Associate and member of other affiliate programs, I earn from qualifying purchases.
-
 White Pebbles for air Plants and Succulent Aquarium Gravel River Rock,Natural Polished Decorative Gravel Polished Gravel 2lbs
 -
Purex Sta-Flo Concentrated Liquid Starch, 64 oz Bottle by Sta-Flo (1) (Original Version) (Original Version)
-
Elmer's Liquid School Glue, White, Washable, 32 Ounces - Great for Making Slime


This slime recipe is a real treat – giving satisfying sensory sensations with a fun summer theme!
For more fun slime recipes, check out our Lisa Frank-inspired Gold Foil slime or our Pink Sand Slime, which also has an amazing texture and is a great way to use up leftover craft sand (or even play box sand!)