
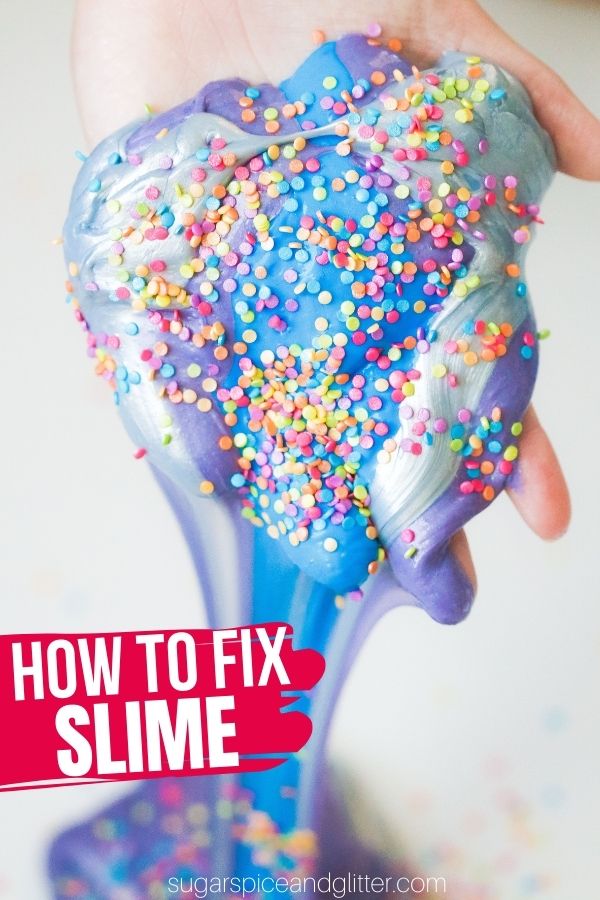
Why Isn’t My Slime Working?
Welcome to Sugar, Spice & Glitter! Please note, this post may contain affiliate links. For more details, see our Full Disclosure.
With over 50 unique slime recipes on the blog, we’ve had our fair share of slime fails. Today, I’m sharing tips and tricks on how to fix slime and how to troubleshoot the most common slime fails. If you have a slime fail question that I don’t cover in this blog post, please leave me a comment and I’ll answer it as best as I can.
Tips for Slime
So, we’ve been making slime for years. This website is home to the original fluffy slime and we even have a traditionally published slime book with over 45 amazing slime recipes.
The first few times you make slime, it will take a bit of experimentation and a bit of patience, but if you stick with it you will have some amazing sensory play and making slime will get easier with every batch.
Below I’m going to detail some common issues that you may run into when making slime and how to fix them. But first, here are some key things to keep in mind with every single batch of glue-based slime that you make:
1. USE NAME BRAND INGREDIENTS
I know it can be tempting to grab the off-brand glue, especially if you’re afraid to “waste money” on a failed batch of slime. However, through my own experimentation I have found the most consistent results using Elmer’s Glue. All of my slime recipes are developed using Elmer’s Glue unless otherwise mentioned.
While I’ve had a few good experiences with cheaper glues, I’ve had more bad experiences than good – and Dollar Store glitter glue just never works.
To save money on glue when making slime, you can use a store coupon or order a large container of glue online and then use it to refill smaller containers, as needed.
2. READ THE INSTRUCTIONS AND MEASURE CAREFULLY
Sometimes I will say 1/4 cup of liquid starch, as needed. This means to have at least 1/4 cup of liquid starch on hand before starting the recipe. But when you read the instructions, you will see that I specifically say “start by adding 2 Tablespoons.” This is because every batch of slime may potentially require slightly different amounts of ingredients, and if you add too much of something, it can ruin the batch.
Glue, liquid starch – any ingredient – can be slightly different based on the age of the product, if the liquid starch was shaken well before starting, if some of the glue has been used for crafting (so the bottle isn’t actually full when starting), etc. For this reason, you want to start slow and add more of your activators (liquid starch or contact solution/baking soda) as you go.
3. KNEAD YOUR SLIME
When I say knead your slime for two minutes – I mean it! Just like when you’re making bread, or play dough, or anything else that requires kneading, the kneading process helps bind your materials together and is absolutely essential to the final results.
Slime may seem too sticky or too wet when you start kneading, but you will notice that the consistency changes as you knead. After kneading your slime for a couple minutes, you may still find it too sticky or too wet, at which point you can add additional ingredients.
Why is my slime so sticky?
Either you have not kneaded your slime long enough, or you haven’t added enough activator.
If you are using liquid starch or a borax-based solution as your activator, add a tablespoon at a time and knead well with each inclusion.
If you are using contact solution and baking soda and you’ve already added all of the contact solution called for in the recipe, start by adding an additional half teaspoon of baking soda and kneading. If that doesn’t do the trick, add an additional two tablespoons of contact solution and a half teaspoon to a teaspoon of baking soda and continue to knead. Repeat as needed.
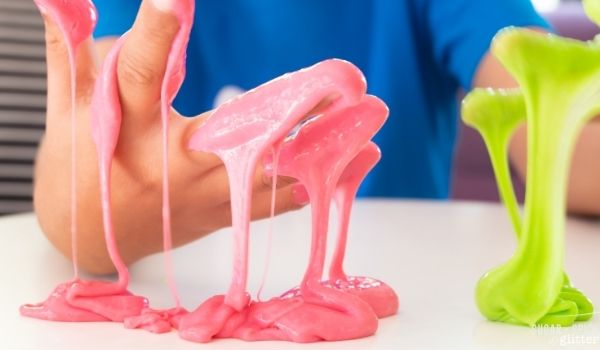
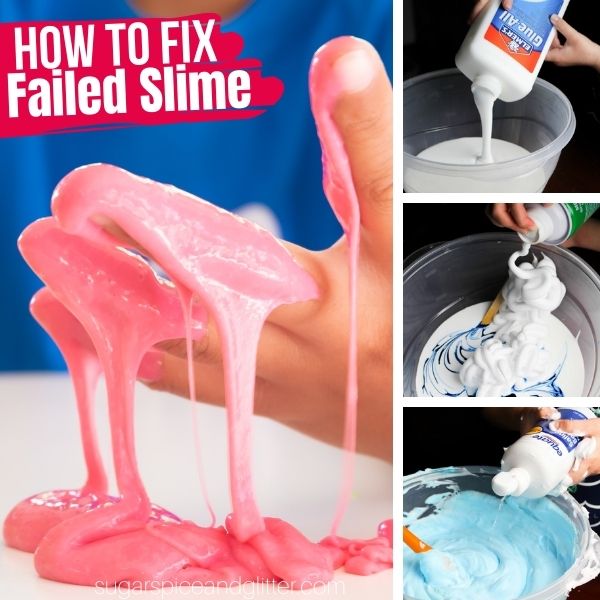
Why is my slime stringy?
Stringy slime is a result of too much activator or too much water.
Sometimes you can fix this slime by kneading it for a couple of minutes (and also draining off any standing liquid). If kneading it doesn’t work, try adding additional glue.
Why is my slime breaking?
This can also be a result of too much activator. You can start by kneading in a few tablespoons of water – or even hand lotion.
Slime Cleaning Tips
We’ve had slime stick to just about every surface over the years – carpet, clothing, hair, you name it!
The best way to remove slime is using a bit of vinegar. First, use your fingers to try to pick off as much slime as possible and then soak or dab at the stain with vinegar.
Unfortunately, vinegar will dry out hair – but it is the best solution. Make sure to do a deep conditioning treatment afterwards to repair as much of the damaging dryness afterwards. I’ve tried using peanut butter, oil, and condition to remove slime from hair and none of these solutions work nearly as well as quickly soaking the slime in a bit of vinegar to dissolve it. To prevent excessive drying of your hair, try to only soak the portion of hair that has the slime stuck to it and just soak for 10 seconds at a time.
Pin this post to help guide you through any future slime fails.
If you’re looking for the ultimate slime guide – you need to check out our Slime Book with over 40 amazing, unique slimes:

You can also purchase The Slime Book on Amazon.


Stringy slime might be a result of over-activating.
Yes it can – good point!
Our slime was too stringy and this helped immensely! Thanks so much for this resource!