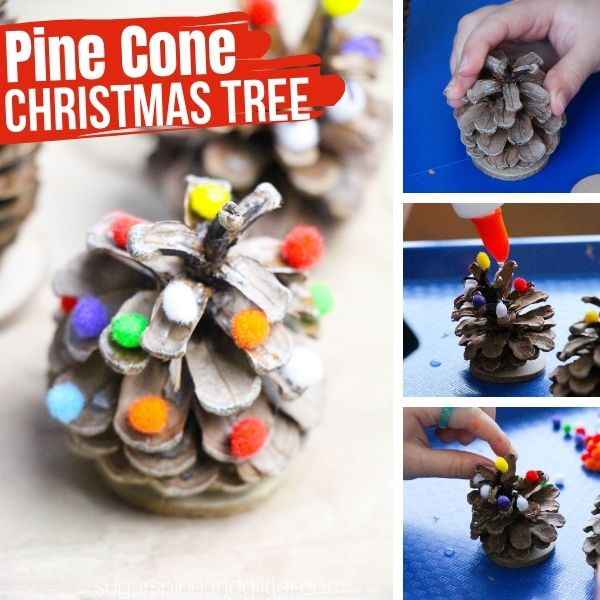
Pinecone Christmas Tree Craft
Welcome to Sugar, Spice & Glitter! Please note, this post may contain affiliate links. For more details, see our Full Disclosure.

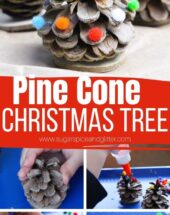
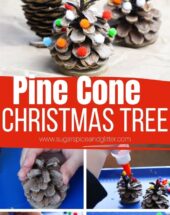
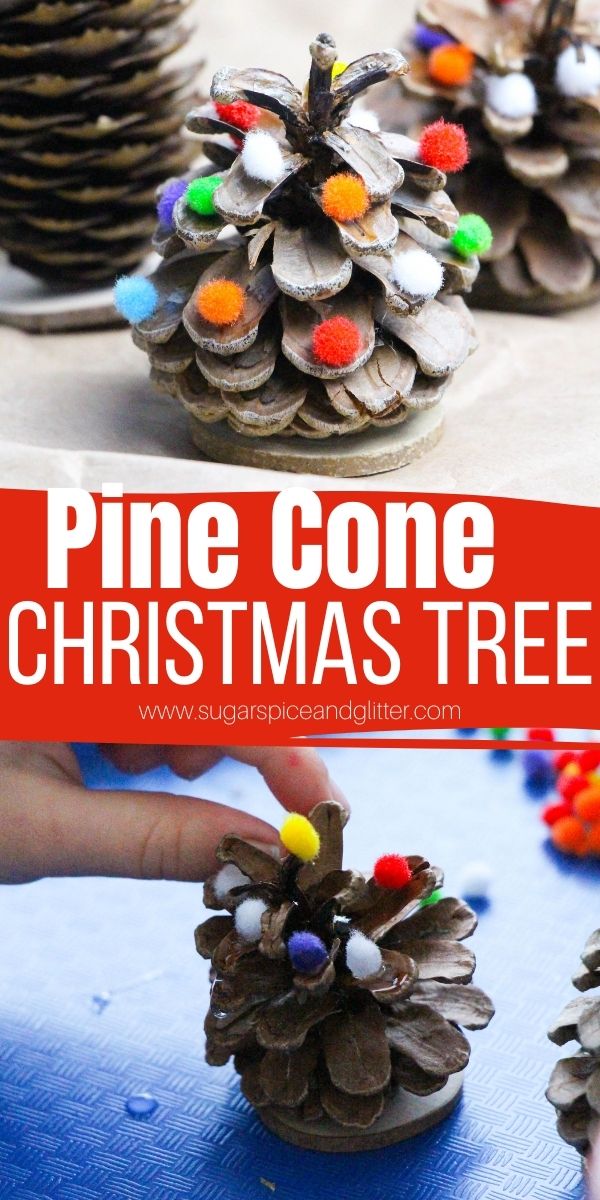
A classic Christmas craft for kids, these Pine Cone Christmas Trees have been a favorite with my daycare kids for years. Go on a pine cone hunt and then settle in with a few basic craft supplies to make your own.
Pine Cone Christmas Tree Craft
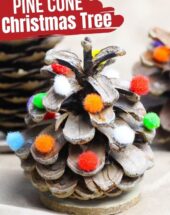
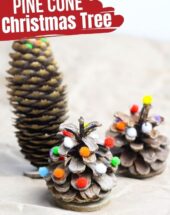
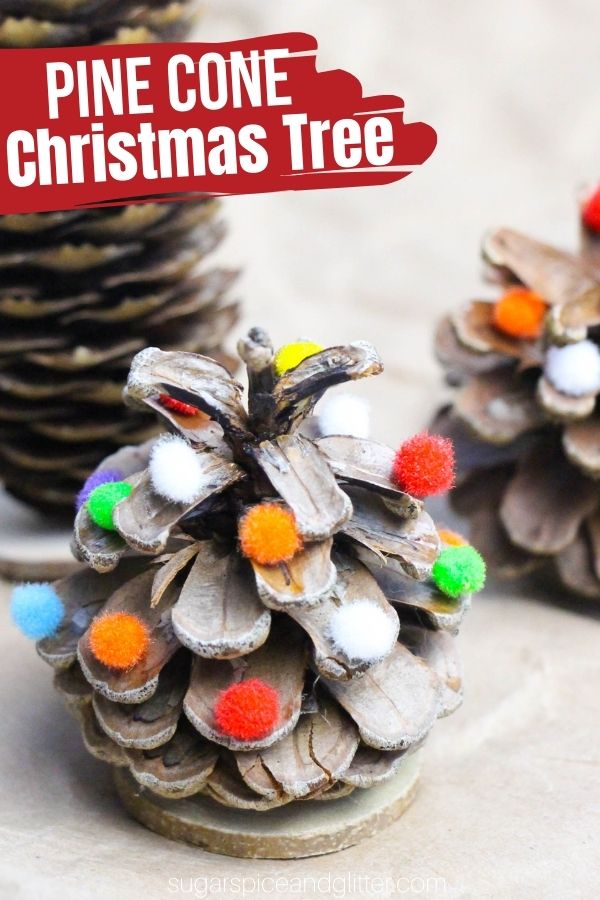
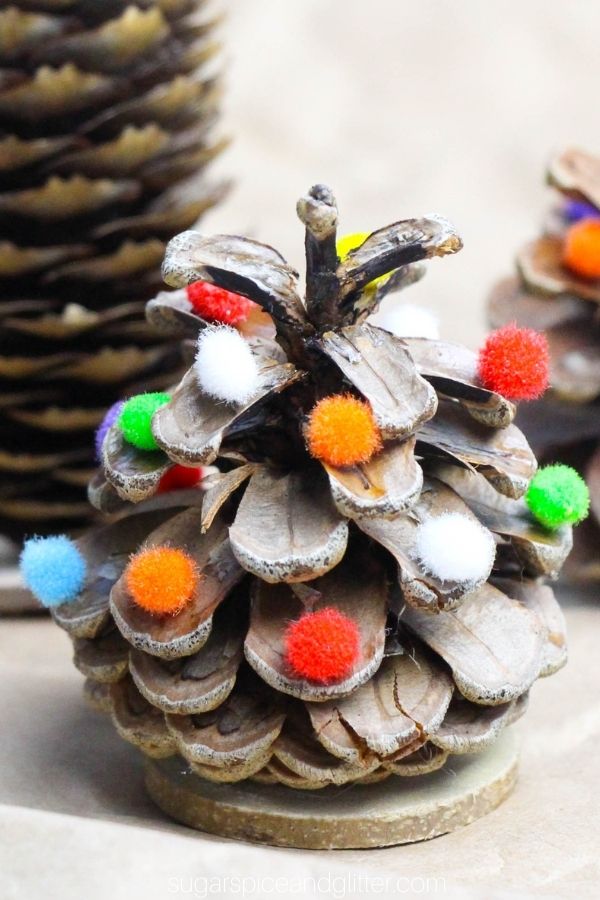
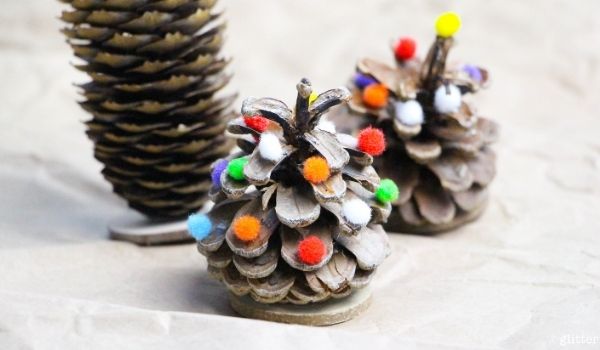
How cute are these colorful little pine cone trees?
Every year, dozens of pine cones make their way into my house via little hands and coat pockets and I always feel so guilty throwing these special treasures back outside.
We’ve used our pine cone collections to make a variety of crafts (like our Pine Cone Wreath) and the kids have also loved the fun sensory experience of painting with our pine cones or making squirrel sensory bins, but year after year, these pine cone Christmas trees are always a favorite.
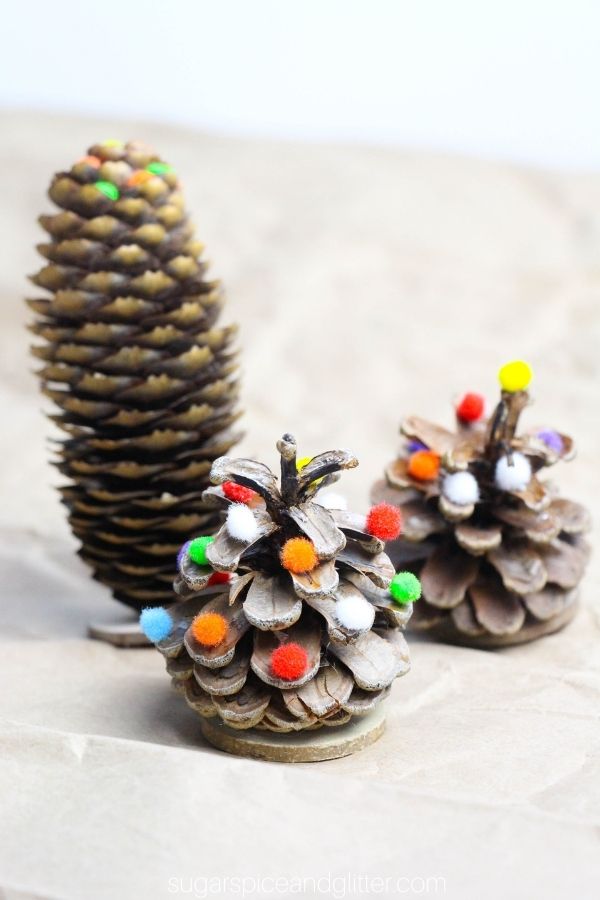
We usually do them a little bit differently every year. In the beginning, we didn’t use the wooden slices but I’ve started adding those to the bottom to help ensure that our pine cones are steady and can stand upright on display. We sometimes paint our pine cones first, but this year the kids decided they wanted to get right to decorating!
The pine cones can be displayed as-is, or you can attach a loop of baking twine or string to the top and turn them into cute Christmas tree ornaments.
If you have some air-dry clay or star-shaped beads, you can add little stars to these pine cone trees, too!
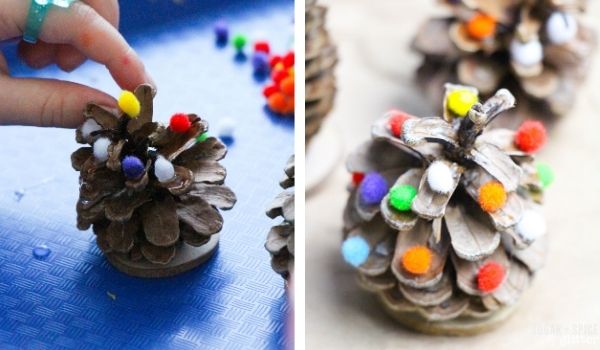
This craft is great for developing fine motor skills, especially working on children’s pincer grip when they are picking up and carefully placing their mini pompoms.
Also, you may notice the blue plastic trays in our pictures below. We usually use these sturdy plastic lunch trays for almost all of our craft or kitchen activities, as well as in our Montessori practical life activities. Ours have lasted for over 6 years and are still going strong, plus they are so great for containing messes and allowing the kids to set a project to the side while it dries (or if you have to clear off the table for supper).
Pinecone Christmas Tree Materials
- Pine Cones
- Mini PomPoms (regular sized pompoms are a bit too big for the pine cones we have around here)
- Glue
- Wooden Slices
- Paint, optional
- Star Beads, optional
Tip: you can also attach a loop of twine or string to turn these pine cones into ornaments.
How to Make Pine Cone Christmas Trees
If painting your Christmas trees, use a paintbrush to apply your paint. Allow to dry before proceeding with the rest of the craft.
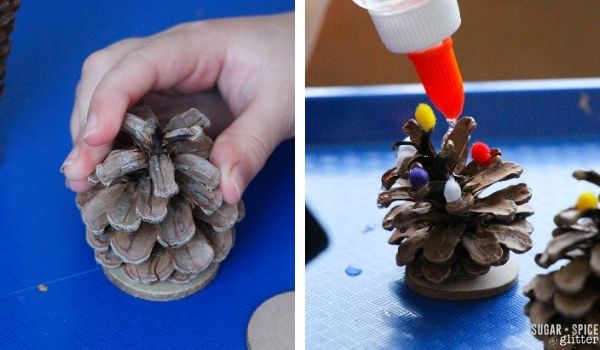
Use craft glue to firmly and securely glue the pine cones to the wooden slices to allow them to be steady while displaying. (You can skip this step if you plan on hanging your pine cones as ornaments.)
Apply small amounts of craft glue to the tips of the pine cones and carefully attach your mini pompoms.
If you want to make a clay star or attach a star bead to the top, do so now.
Allow the glue holding the pompoms to dry before attaching a loop of string or twine, if planning on making these into ornaments.
Pin this Pine Cone Christmas Tree for your Christmas crafting:
Grab your free printable instructions for our pine cone Christmas tree craft:
Want to Save This Recipe?
Enter your email & I'll send it to your inbox. Plus, get great new recipes from me every week!
By submitting this form, you consent to receive emails from Sugar, Spice and Glitter.
Pinecone Christmas Tree Craft
A simple pine cone craft for kids, these Pine Cone Christmas Trees are a classic Christmas craft that kids will love getting to make after they go on a pine cone scavenger hunt! Bonus: it helps develop fine motor skills while they are crafting.
Materials
- Pine Cones
- Mini PomPoms
- Glue
- Wooden Slices
- Paint, optional
- Star Beads, optional
Tools
- Paintbrushes, optional
Instructions
- If painting your Christmas trees, use a paintbrush to apply your paint. Allow to dry before proceeding with the rest of the craft.
- Use craft glue to firmly and securely glue the pine cones to the wooden slices to allow them to be steady while displaying. (You can skip this step if you plan on hanging your pine cones as ornaments.)
- Apply small amounts of craft glue to the tips of the pine cones and carefully attach your mini pompoms.
- If you want to make a clay star or attach a star bead to the top, do so now.
- Allow the glue holding the pompoms to dry before attaching a loop of string or twine, if planning on making these into ornaments.
Notes
Tip: if you want to turn these into ornaments, you can skip the wood slice base and attach a loop of twine or string to the top.
Recommended Products
As an Amazon Associate and member of other affiliate programs, I earn from qualifying purchases.
-
 5ARTH Natural Wood Slices - 30 Pcs 2.4-2.8 inches Craft Unfinished Wood kit Predrilled with Hole Wooden Circles for Arts Wood Slices Christmas Ornaments DIY Crafts
 -
Elmer's Liquid School Glue, White, Washable, 32 Ounces - Great for Making Slime
-
Caydo 2000 Pieces 20 Colors 1 cm Pompoms, Fuzzy Pom Poms Ball for DIY Art Craft Supplies


I hope your kids love getting to make their own Pine Cone Christmas Tree crafts as much as my daycare kids love getting to make them every year!
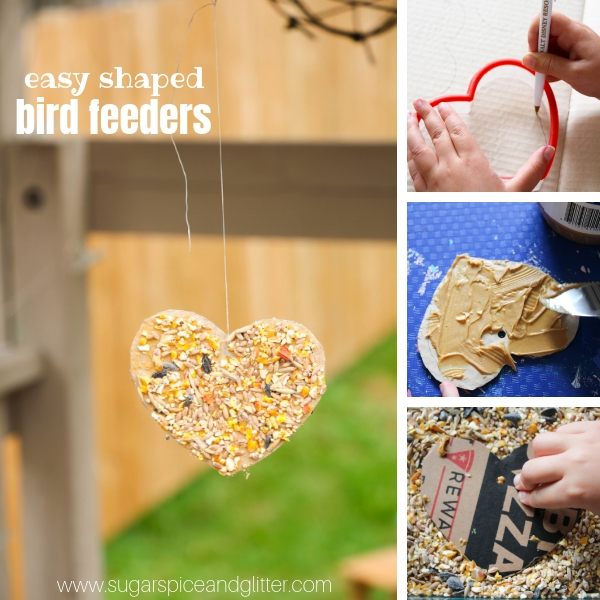
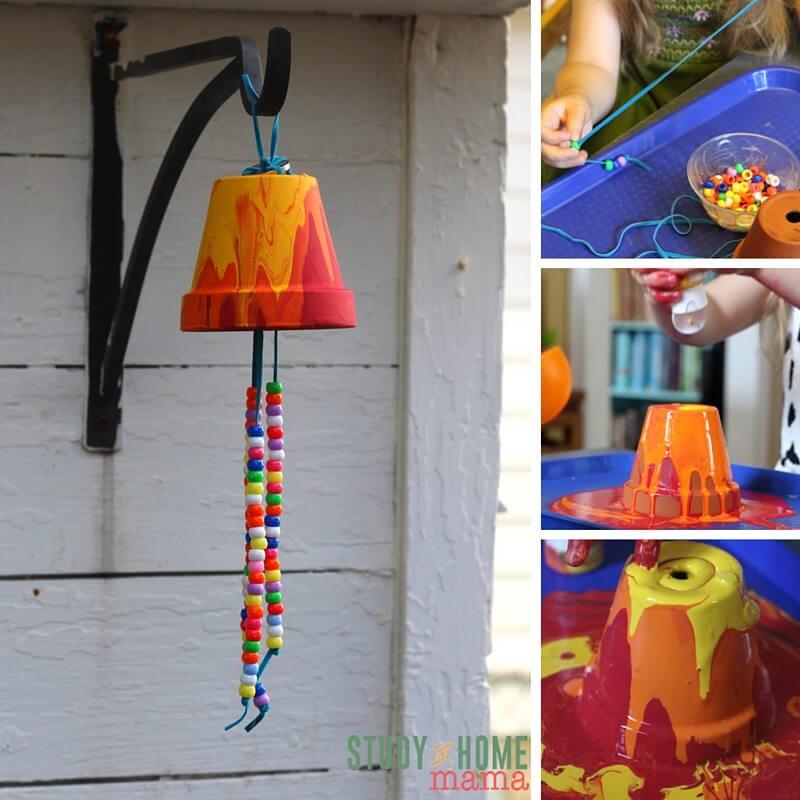
For more nature crafts for kids, check out our Easy Bird Feeder Craft for Kids or our Garden Wind Chimes Craft.