
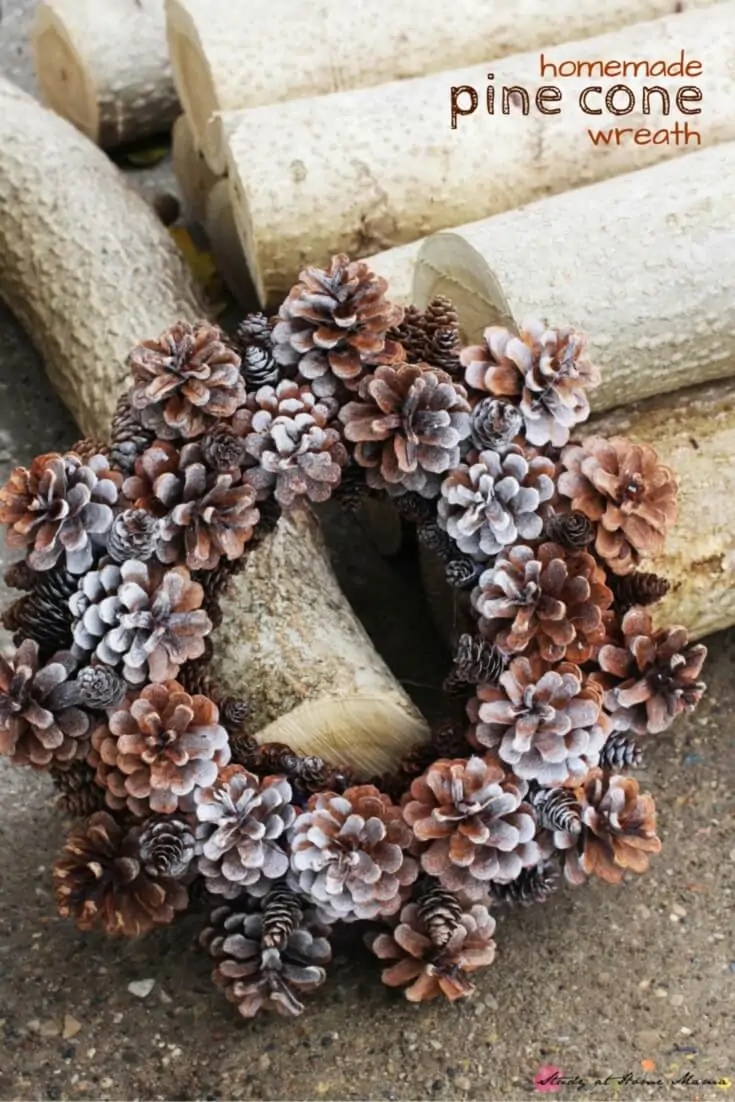
Pine Cone Wreath
Ella’s school has an amazing outdoor curriculum and it seems like every day she comes home with a new pine cone in her back pack.
We’ve developed quite a collection, so I’m starting to think up pine cone crafts that we can do to use them all up. This quick and easy Pine Cone Wreath is a gorgeous way to decorate your home for the winter.
This easy wreath craft took probably about 20 minutes to make, not including the various drying times.
While I intended for this to be a family project, Ella only helped towards the end. I think she resented the “practical” use of her precious pine cones, though she became excited about the wreath once she saw it start to come together. I even let her help with the spray paint portion of the project (which is optional but I love that frosted effect it gives the final product).

Materials for Making Your Own Pine Cone Wreath
While I used a heavy duty glue when I was attaching the pine cones, Ella used white school glue and it has held up just the same. The only real difference is the drying time.
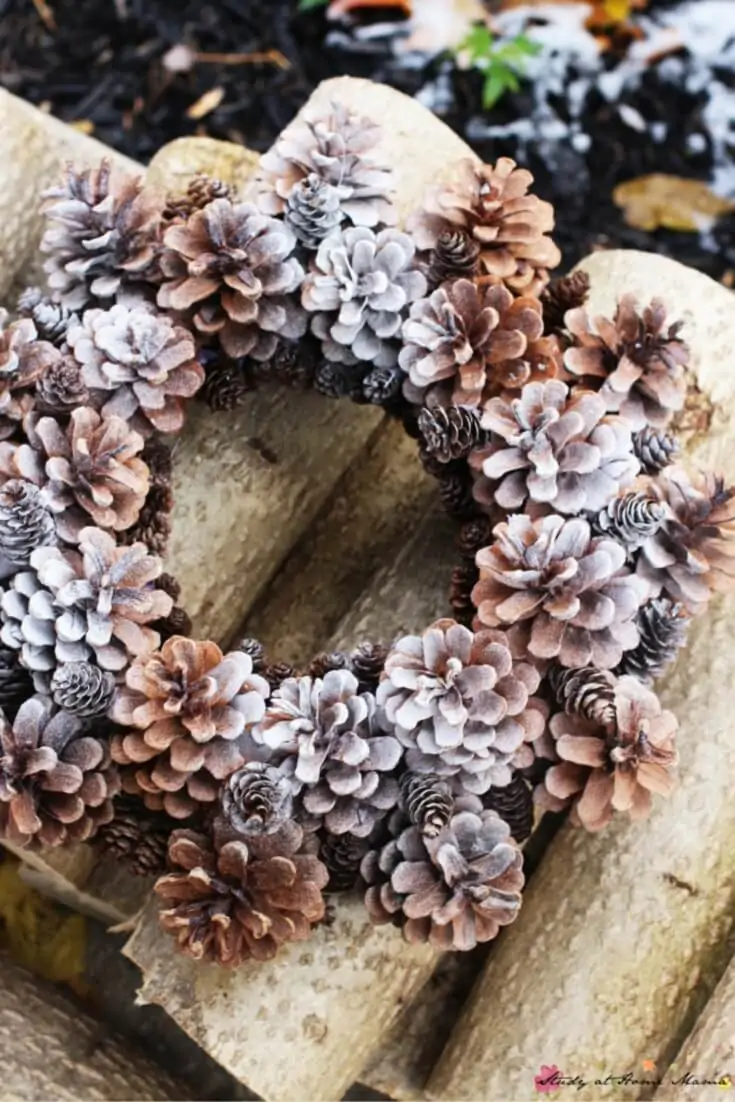
I found our foam wreath frame at the Dollar Tree, but you could use a wire frame, or even find a cheap pre-made wreath and strip it of any decorations to use as the base for this craft. The pine cones are so ornate that you won’t see what’s beneath.
We first arranged the pine cones in a pattern on our craft table beside the foam wreath frame, to keep the size and dimensions of the wreath in mind. Pre-arranging them allowed us to make adjustments to the design that wouldn’t have been possible had I started gluing them right away – and I think it’s important to sometimes encourage children to plan out their work, even if it’s a fun craft!
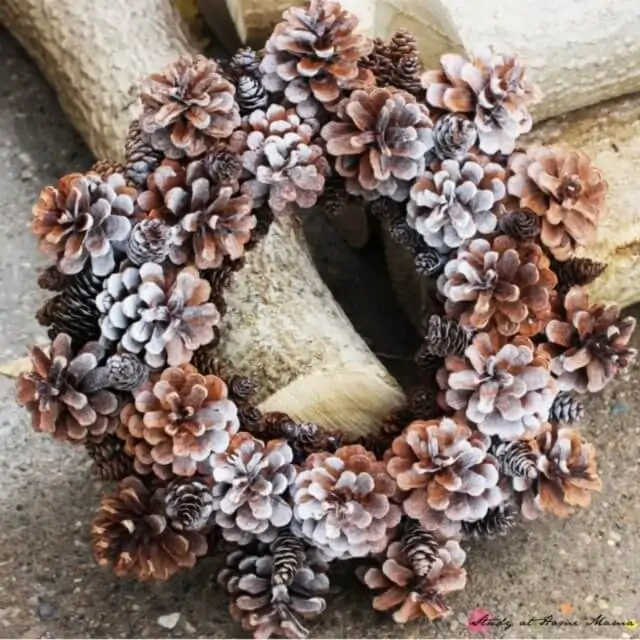
Once I had settled on a design that I liked, I slowly started attaching the big pine cones, working from the inside circle of the wreath outwards.
After the big pine cones were securely added and dried, Ella helped me fill in any gaps with the small pine cones. (We had a hard time finding enough small pine cones, so some are actually long and thin pine cones cut down to the size we wanted.)
We added a light mist of white spray paint for a frosted effect, however no spray paint or a complete coating of paint would both have a wonderful effect. Glitter would also be a fun addition!
Be sure to check out our other fun kids’ craft ideas and winter activities – including our kid-made Bird Feeder Wreath and DIY Charlie Brown Christmas Tree.
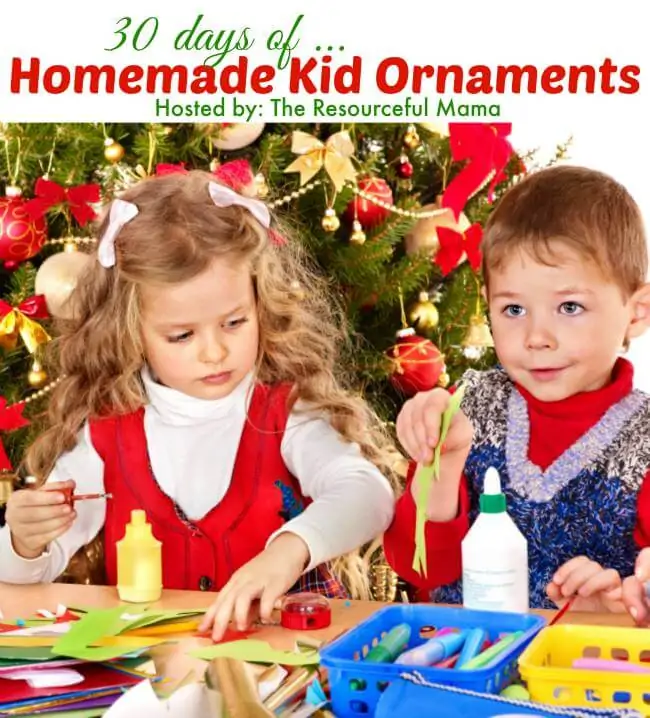
This post is part of the 30 Days of Homemade Kid Ornaments being hosted by the Resourceful Mama.
Check out the rest of the collection on her site!


Beautiful! How did you deal with the stickiness of the pine cones (or is that just our pine cones that do that, lol!)
Thanks! I find that the closed pine cones are always sticky, but not always the opened ones? I’ve heard that the difference is that the closed ones fall off during harsh weather – like rain or storms – and are closed to protect themselves?
My son is always collecting pine cones. This would be fun to make for Christmas. Thanks for participating in the ornament series.