
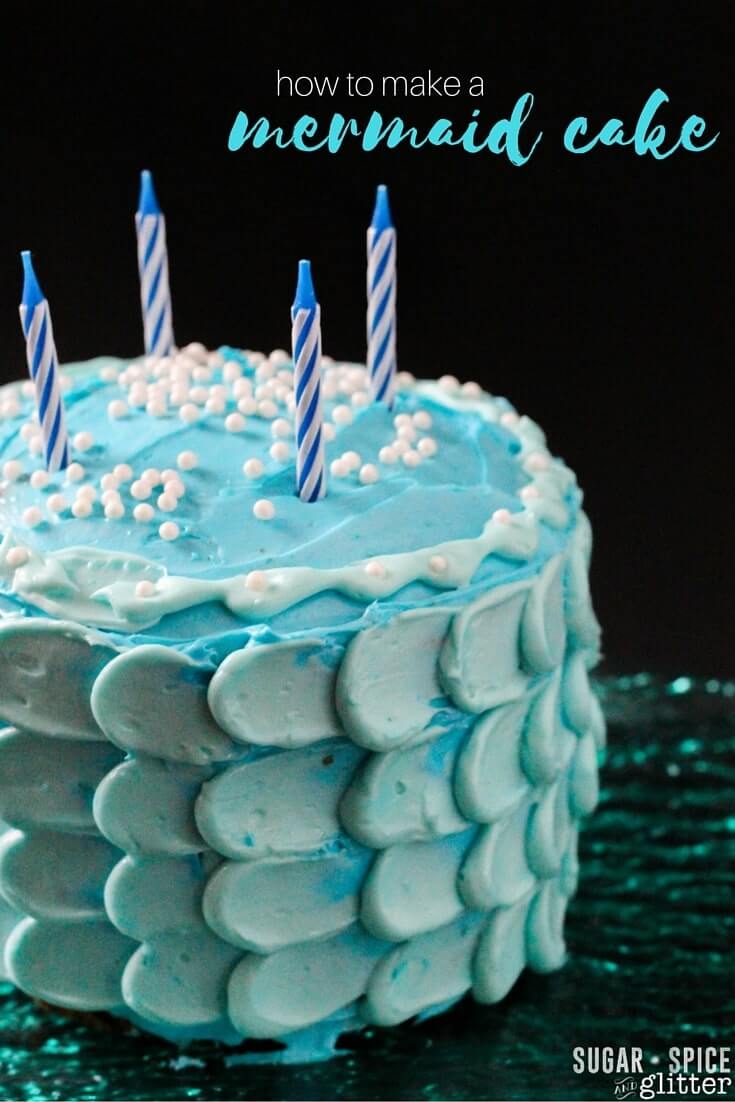
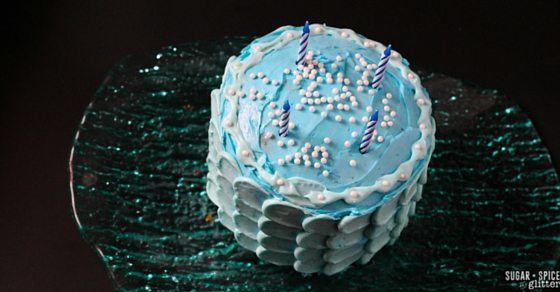
How to Make a Mermaid Cake
Welcome to Sugar, Spice & Glitter! Please note, this post may contain affiliate links. For more details, see our Full Disclosure.
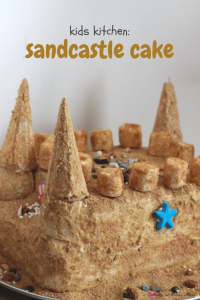
Last year, we shared Ella’s kid-made Sandcastle Cake which was the centrepiece of her birthday party’s food table, but I never shared the Mermaid Cake we made for our family celebration!
I first saw this petal frosting technique on Pinterest – a picture for the Cake Blog’s DIY Rainbow Petal Cake. It’s a really cool and surprisingly easy technique – so easy Ella was able to do most of the cake by herself.
(There’s also this video tutorial if you’d like.)
This cake frosting technique is so incredibly forgiving – it’s actually easier than trying to get a nice, even flat frosting. You could alternate the colors of the “scales” but since my then-3 year old was doing most of the work, we kept it simple.
How to Make a Mermaid Cake
First, assemble your materials:
- 2 round cakes, baked and cooled
- 1 cup butter
- 3-4 cups icing/powdered sugar
- 1 Tablespoon vanilla extract
- 2-4 Tablespoons heavy cream (or milk)
- Food dye in mermaid colors – we stuck with blue
- Offset spatula
- One piping bag for each color of frosting
- Pearl sugar sprinkles, optional
To make the frosting, beat the butter and icing sugar together and add the vanilla and just enough cream to get the consistency you want.
You don’t want a runny frosting, but you want it to be easy to spread – so adjust the consistency with more sugar for a tougher consistency, or more cream for a softer consistency.
Divide the frosting into as many bowls as you want colors of frosting, and dye with the food coloring. Spoon each color of frosting into it’s own piping bag, twisting the top and snipping off the tip. (I do not recommend zipper bags as those tend to split easily.)
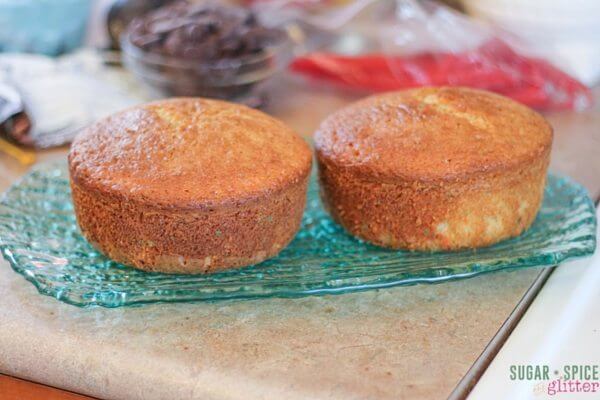
First, after your cakes are completely cooled, use your preferred way to cutting the domed tops off of the cakes – we like the dental floss technique.

Use a thick layer of frosting to stick the “raw” edges of the cake together. This will prevent crumbs from getting into the frosting.
Next, you’re going to do a “crumb coat.” This is simply a first layer of frosting that serves as a barrier between crumbs and the final layer of frosting on the cake.

Using the piping bag, make generous dollops of frosting on the cake, approximately a quarter in diameter and about a half Tablespoon of frosting each.
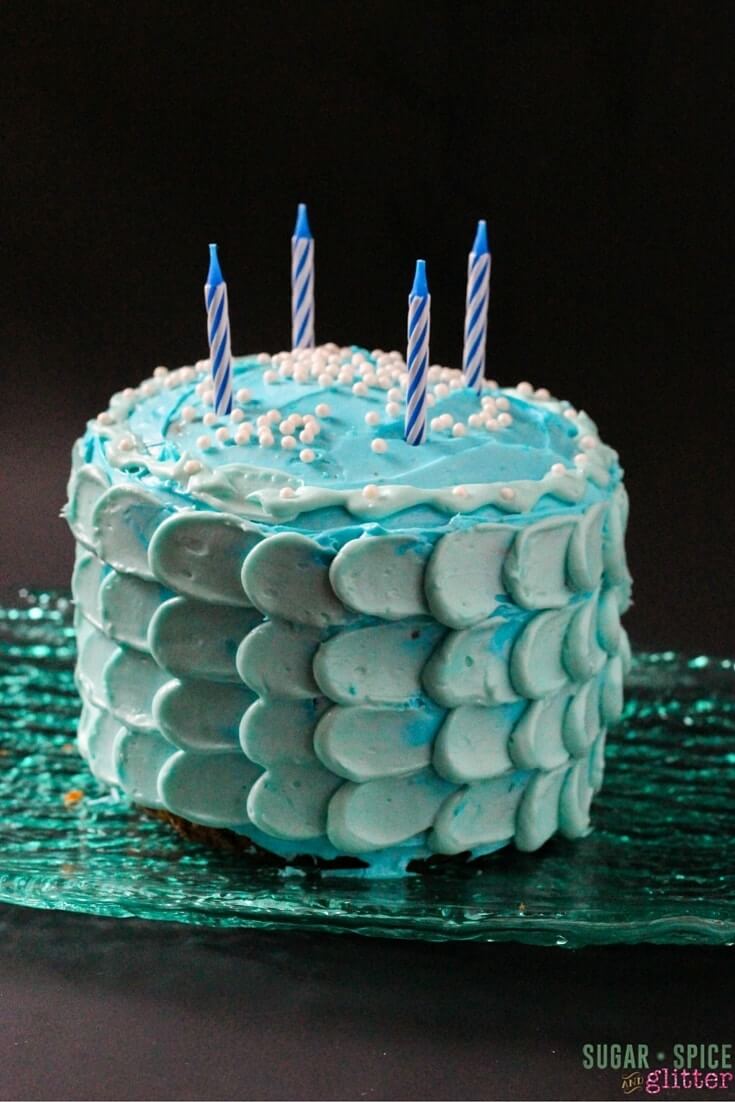
Take the offset spatula and gently touching it to one dollop of frosting at a time, pull the top of the dollop towards the side, starting with loose pressure and then evening the frosting out to the crumb coating. You want one edge of the dollop to remain full, and you’re kind of dragging-squishing the other side. (Refer to the video above for a demonstration.)
Repeat for the whole cake. For the last row, you may want to switch hands and come at the dollop from the opposite side – pushing it flat into the next dollop instead of pulling it against the cake.
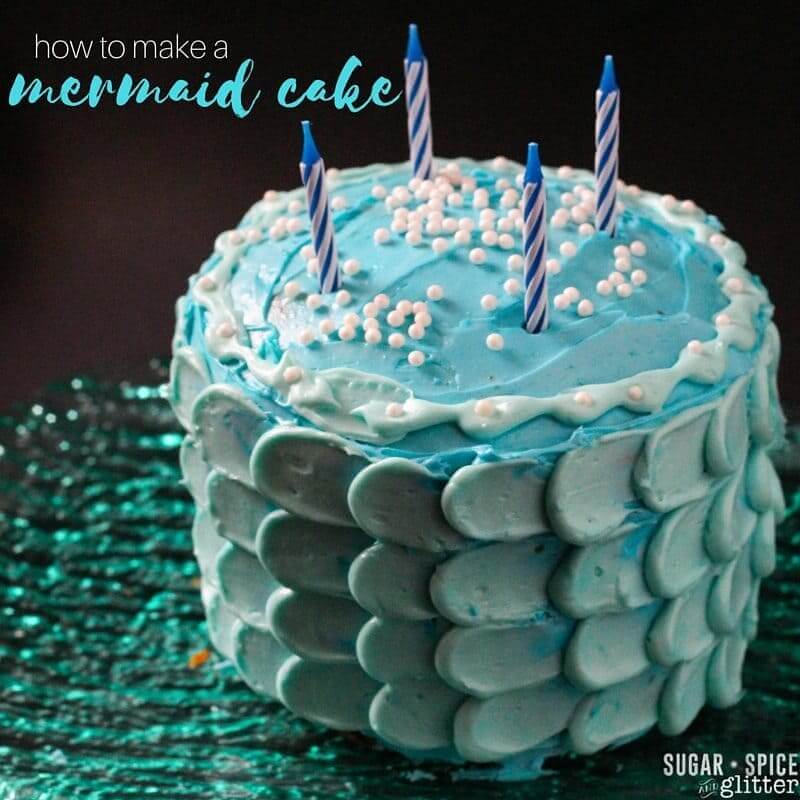
Decorate the top of the cake as you’d like – adding pearls, sprinkles, figurines, chocolate coins – whatever will make this a special mermaid cake for your celebration!
This cake frosting technique could easily be used to make a fish cake, a bird cake, or just do as the Cake Blog did and make a pretty pattern with the colours. I even think a white or chocolate frosted cake would look gorgeous like this.
Do you have a little mermaid who would love this cake for a special occasion? Make sure to pin it for later!
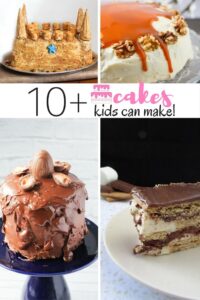
And check out our 10+ Cakes Kids Can Make (and definitely check out that Sandcastle Cake!)


The recipe for Mermaid Cake is astonishing. I tried this recipe and received many reviews for such a delicious recipe. Thankful to you!!