
Haunted Mansion DIY Mickey Halloween Wreath
Welcome to Sugar, Spice & Glitter! Please note, this post may contain affiliate links. For more details, see our Full Disclosure.
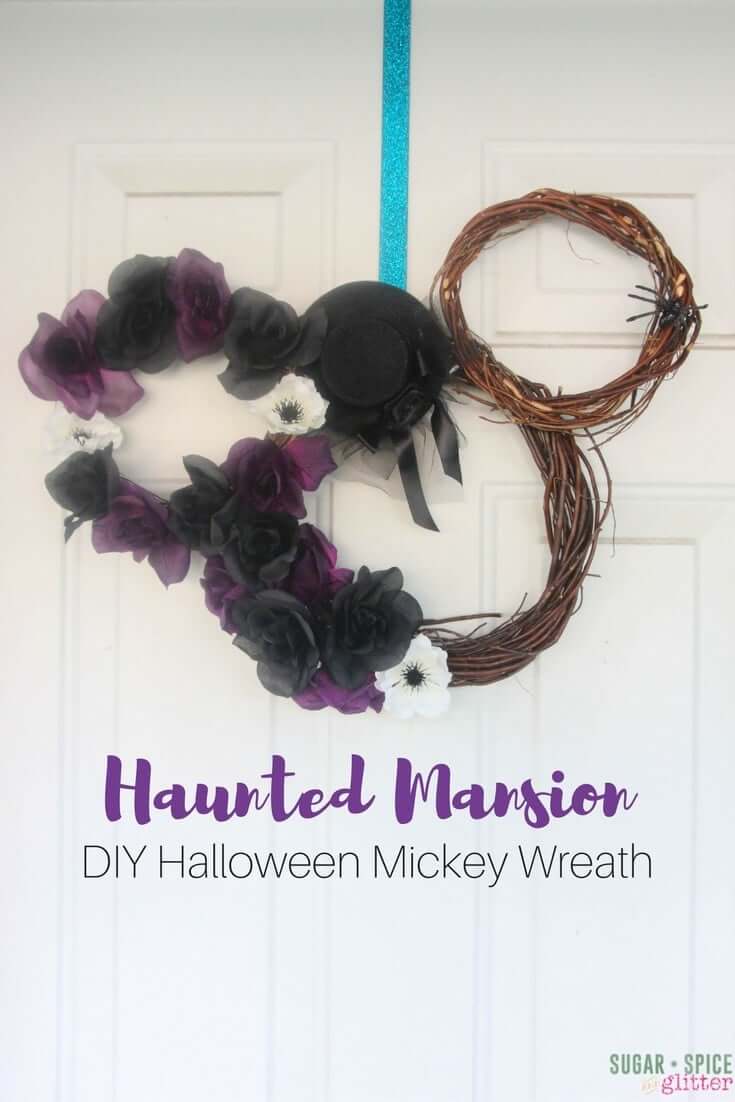
This year, Ella and I are decorating our home for Halloween with a Haunted Mansion theme and our easy DIY Mickey Wreath sets the tone before we even greet visitors with it’s Haunted Mansion-inspired colours and semi-gothic vibe.

I love decorating for Halloween – it’s the first decor-heavy holiday after a long stretch of summer holidays that don’t really necessitate dressing up your home. I grew up abroad where Halloween often wasn’t celebrated, but a lot of the other military and diplomat families would get together and arrange something resembling trick or treating for their kids.
We would often navigate maps marked with who was participating in this year’s “Trick or Treating,” and to the amazement of local children, we would knock on these unremarkable doors and receive candy! It was like we had a secret guide that led us to magical doors where a simple password would unlock a supply of candy – knock on the wrong door and your costume was bound to create some confusion.
Decorating my door with a themed wreath every year is my way of inviting the Halloween spirit and trick or treaters to our door – while distracting me from the ever-dropping temperatures that also seem to come around this time every year.
We also made these cute apothecary-style bottles in the same colour scheme to decorate our living room TV table, which substitutes for a mantle!
More DIY Halloween Wreaths

How to Make a DIY Haunted Mansion Mickey Wreath
First, gather your supplies:
- 1 large branch wreath
- 2 small branch wreaths
- Assortment of flowers (we went with black and purple roses and white poppies)
- Floral or craft wire
- Plastic craft spiders
- Hot glue or E600 craft glue
- Small hat or fascinator

Assemble your supplies to figure out the lay-out of your wreath – and take a quick cell phone shot to remember how you had everything laid out.
Experiment with different lay-outs and patterns before you start gluing or using your wire to fasten things into place.

Using the craft wire, secure the two smaller wreaths to the large wreath. Intertwine the wire at several different points where the wreaths overlap to create a secure bond and prevent shifting/drooping Mickey ears.
Next, start embellishing the wreath with the largest items first. I used E600 craft glue to secure this dollarstore hat (which we removed from it’s headband) to the center. These are clamps from Ella’s homemade fort kit that I borrowed so I wouldn’t have to sit there holding the glue in place for several minutes.

Try to allow each large piece to dry before adding more embellishments or moving the wreath around too much.

I liked using the spiders to cover up the wires on the flower-less ear.

I then took my time securing each individual flower with E600, holding each flower in place for about 30 seconds for the glue to start setting.
Our wreath has been up for a month and is still going strong, with no flowers falling off and no droopy ears!
I think we’ll be repeating this same DIY Mickey Wreath idea for each holiday or season, it’s such a fun way to show our Disney and Halloween spirit at the same time.

What theme are you decorating your home with for this Halloween?
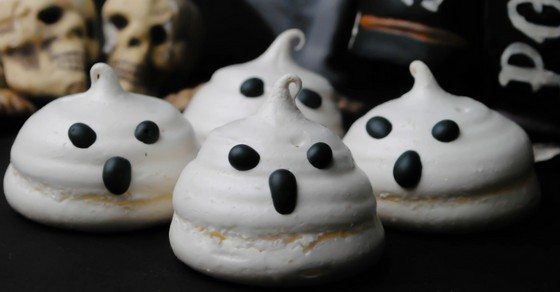
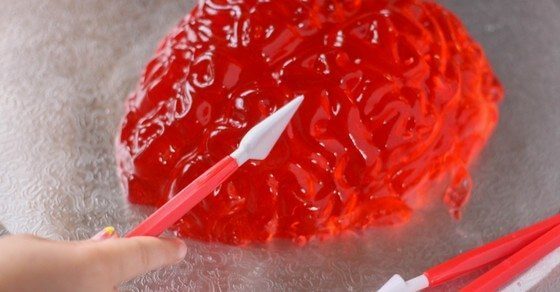
Check out some of our other creative Halloween ideas, like our easy Ghost Meringue cookies or Jell-O Brain Dissection Sensory Play.


Whoa, it happens therefore rarely when the particular post
features of which quality!
I like the way this author makes recommendations and presents arguments.
So everything I really could say is “Thank you so
much! Let me wait with regard to further posts.”