
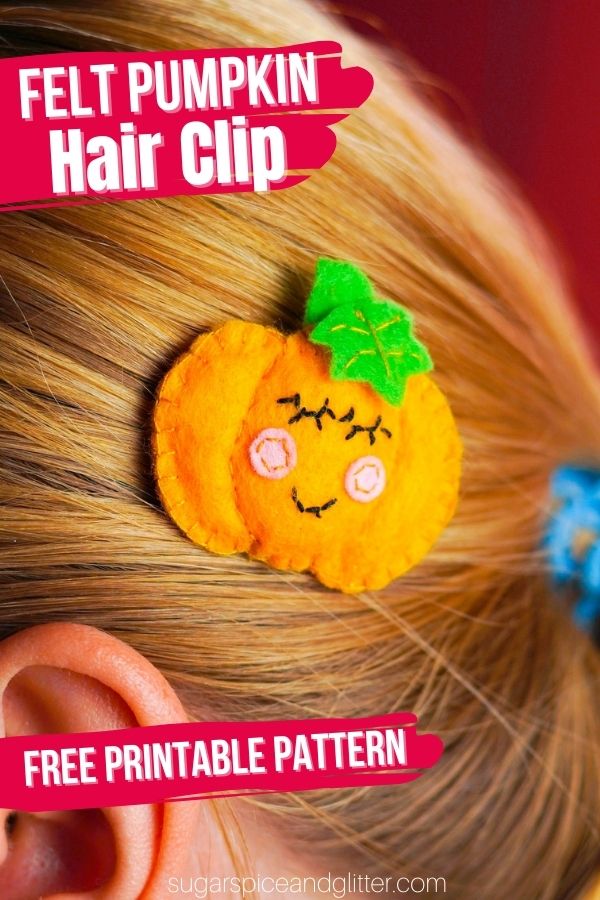
Felt Pumpkin Hair Clip (with Video)
Welcome to Sugar, Spice & Glitter! Please note, this post may contain affiliate links. For more details, see our Full Disclosure.
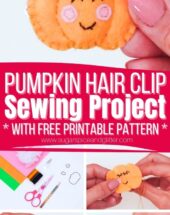
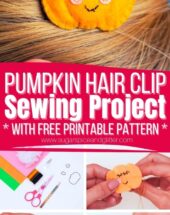
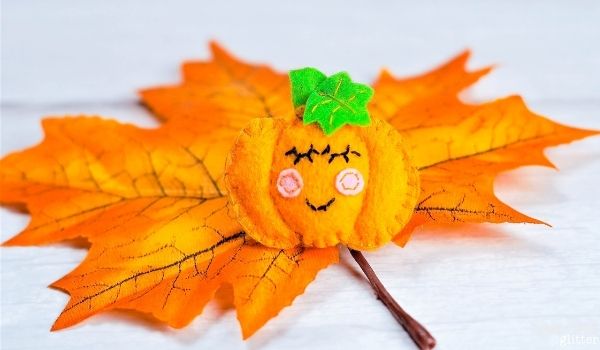
Last year I shared a free pattern to make your own felt pumpkin stuffie and today we’re bringing a fun, fresh update to that craft – making our own Kawaii-inspired Felt Pumpkin Hair Clip! This is such a fun fall sewing project for kids to make and then display their cute creations by getting to wear them.
DIY Felt Pumpkin Hair Clip Craft
I’ve talked so much about how awesome it is for kids to learn how to sew. Not only is it a great life skill to have, it’s a great way for them to explore and express their creativity.
My Ella is a much more experienced sewer than me already. She’s made skirts, scrunchies, pillows and a variety of little stuffies.
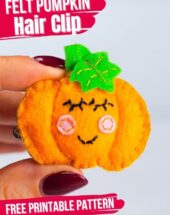
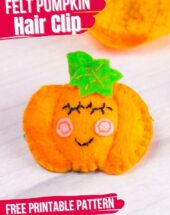
These little pumpkin hair clips were her latest creation. I made a simple pattern for her and she had so much fun making a little patch of pumpkin hair clips to hand out to her friends. I really like the Kawaii-style facial features of the pumpkin, but you could leave them off for a straight-forward pumpkin, if desired.
Really, any of the stuffie crafts on our site can be turned into hair clips or headband. Just make the pattern a bit smaller (you can do this on your printer settings) and follow our method below for sewing the stuffie onto a hair clip. Sewing it on helps it be a bit more secure than gluing, but I personally would also add a dab of glue just to make things extra secure for active kids.
Whenever we need to cut out intricate shapes from felt, I always grab some freezer paper and use the freezer paper trick to cut out our felt shapes, but good-quality felt and a sharp pair of scissors also makes all the difference.
This Felt Pumpkin is a great sewing project for kids, no matter their level of sewing ability. I’ve provided a free printable template for you to cut the pattern out from, and then you just need to know how to do a basic whip stitch and cross stitch. (A cross stitch is pretty easy to fake.) This craft allows kids to practice those simple stitches, but is pretty quick and not too labor-intensive.
More DIY Accessories Kids Can Make:
- Circle Loom Friendship Bracelet (with Video)
- Fantastic Beasts Niffler Necklace
- Pixie Dust Jar Necklace
- Kid-Made Felt Bracelets
Check out our quick video to see how to make your own felt pumpkin hair clip using our free printable felt pumpkin sewing pattern – and then don’t forget to scroll down to grab the pattern and instructions:
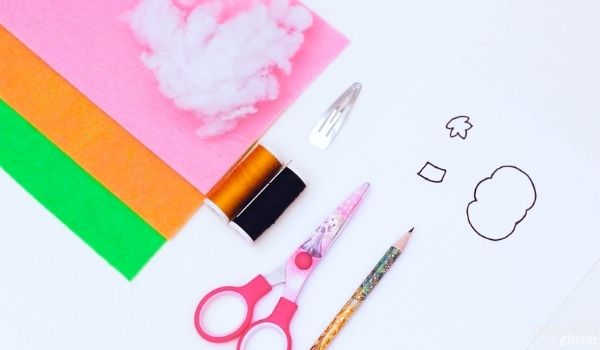
Materials to Make a Felt Pumpkin Hair Clip
- Felt <– green, rose pink and orange
- Pencil or fabric marker
- Scissors
- Freezer paper and iron (if using the freezer paper trick)
- Needle
- Thread <– orange and black
- Hair Clip
- Cotton Batting, optional
- Felt Pumpkin Pattern
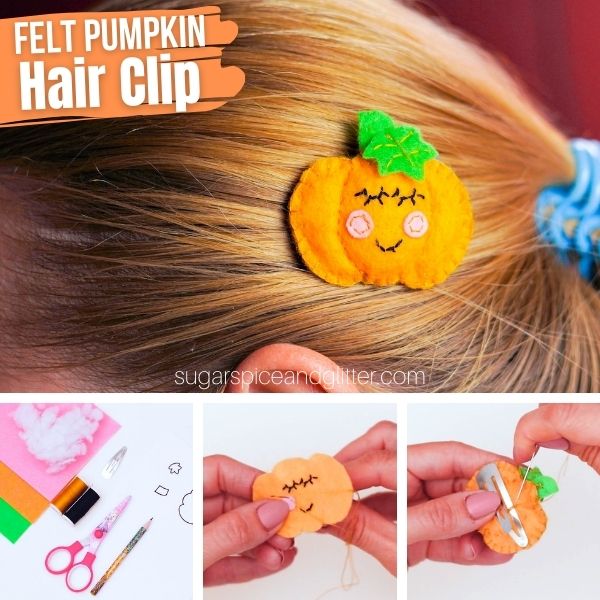
How to Make a Felt Pumpkin Hair Clip
Print and cut out the felt pumpkin template.
Trace the pumpkin shape onto the orange felt twice, then cut out.
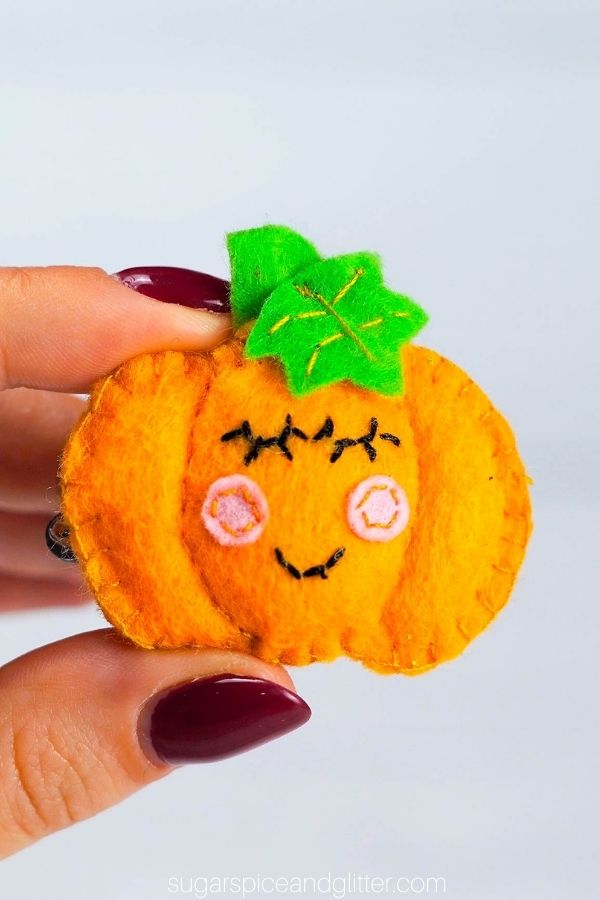
Use a pencil to draw on the eyes and mouth of the pumpkin, then stitch over with the black thread using a cross stitch.
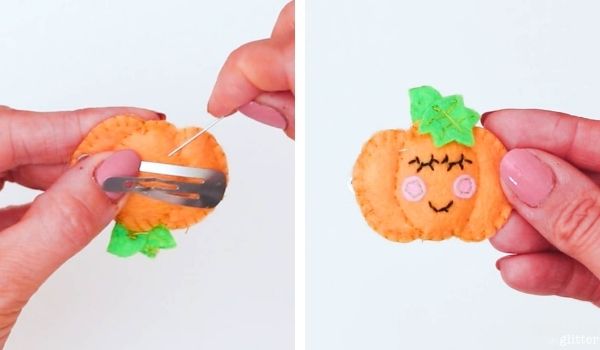
Cut out two small circles out of the pink felt and stitch onto the pumpkin’s “cheeks” using a cross stitch. We used orange thread but if you have pink thread, that would be great to use to attach the pink cheeks. Set aside.

Trace the stem and leaf pattern shapes onto the green felt. Sew the pumpkin stem to the back of the pumpkin shape with the facial features so that about 2/3 of the stem peeks out from behind the pumpkin shape. Set aside.
Use the orange felt to create leaf veins on the on leaf using a cross stitch. Set aside.
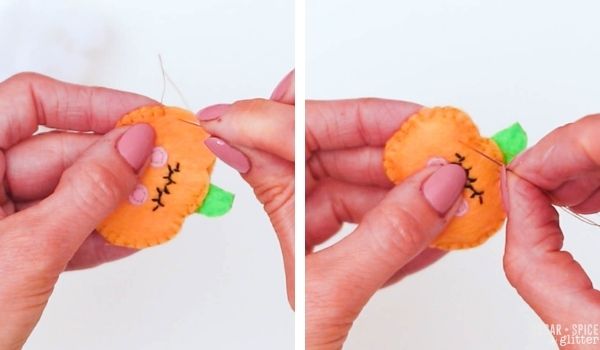
Place the pumpkin shape with the facial features over top of the plain pumpkin shape. Use the orange thread to whip stitch around 3/4 of the edges of the pumpkin.
Fill the pumpkin with cotton stuffing, then complete sewing around the remaining edge of the pumpkin and tie off.
Sew the leaf shape on the front of the pumpkin, overlapping with the stem.
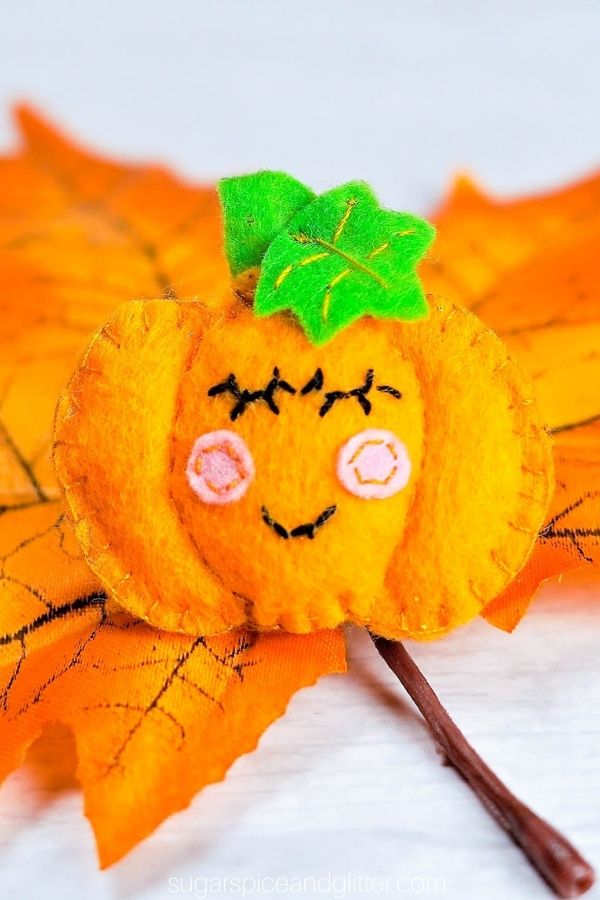
To create a more 3D pumpkin effect, use a cross stitch to sew two curved, vertical lines connecting the two dips in the pumpkin shape, framing the facial features. (As shown in pictures.)
Finally, securely sew the pumpkin to the hair clip.
Pin this Fall Sewing Project for a fun beginner sewing project for kids:
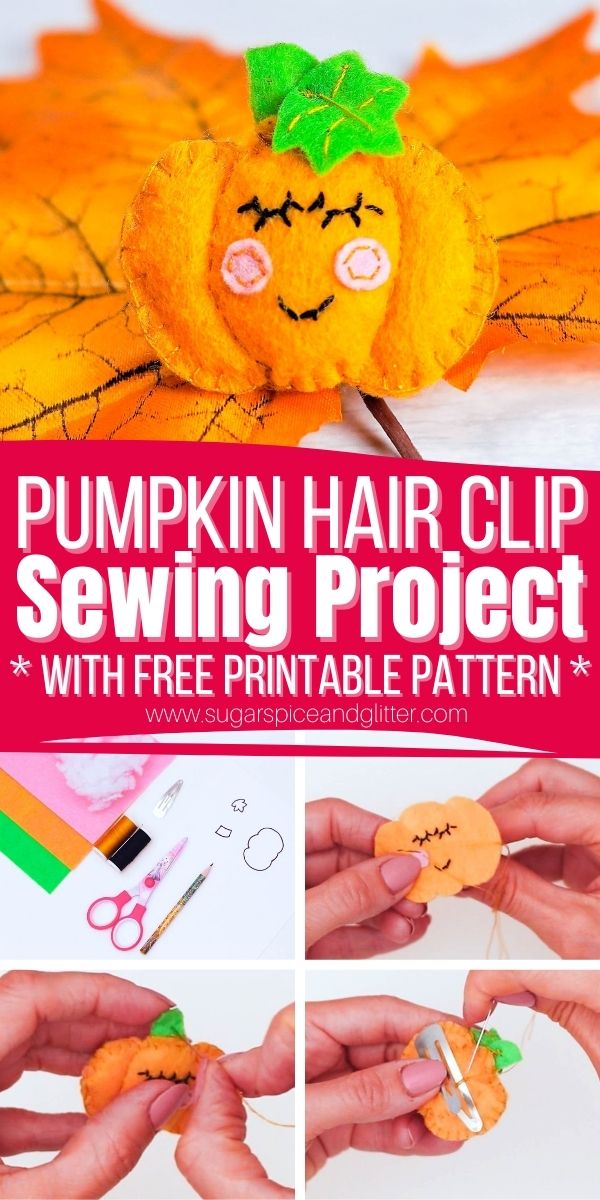
Grab your free printable instructions for our felt pumpkin craft – and don’t forget to grab your free felt pumpkin pattern template:
Want to Save This Recipe?
Enter your email & I'll send it to your inbox. Plus, get great new recipes from me every week!
By submitting this form, you consent to receive emails from Sugar, Spice and Glitter.
Felt Pumpkin Hair Clip
An easy fall sewing project for kids, this felt pumpkin hair clip tutorial includes a free felt pumpkin pattern to print and use for a seamless sewing activity for kids. A fun DIY fall accessory or DIY fall gift for kids to wear and make!
Materials
- Felt, green, rose pink and orange
- Thread, orange and black
- Hair Clip
- Cotton Batting, optional
Tools
- Pencil or fabric marker
- Scissors
- Needle
Instructions
- Print and cut out the felt pumpkin template.
- Trace the pumpkin shape onto the orange felt twice, then cut out.
- Use a pencil to draw on the eyes and mouth of the pumpkin, then stitch over with the black thread using a cross stitch.
- Cut out two small circles out of the pink felt and stitch onto the pumpkin's "cheeks" using a cross stitch. We used orange thread but if you have pink thread, that would be great to use to attach the pink cheeks. Set aside.
- Trace the stem and leaf pattern shapes onto the green felt. Sew the pumpkin stem to the back of the pumpkin shape with the facial features so that about 2/3 of the stem peeks out from behind the pumpkin shape. Set aside.
- Use the orange felt to create leaf veins on the on leaf using a cross stitch. Set aside.
- Place the pumpkin shape with the facial features over top of the plain pumpkin shape. Use the orange thread to whip stitch around 3/4 of the edges of the pumpkin.
- Fill the pumpkin with cotton stuffing, then complete sewing around the remaining edge of the pumpkin and tie off.
- Sew the leaf shape on the front of the pumpkin, overlapping with the stem.
- To create a more 3D pumpkin effect, use a cross stitch to sew two curved, vertical lines connecting the two dips in the pumpkin shape, framing the facial features. (As shown in pictures.)
- Finally, securely sew the pumpkin to the hair clip.
Recommended Products
As an Amazon Associate and member of other affiliate programs, I earn from qualifying purchases.


I hope your kids (or you) love getting to make and wear their own felt pumpkin hair clips!
For more free sewing patterns, check out our full collection of easy sewing projects for kids here:
For more fun fall crafts, check out our full fall craft collection here:
For more crafts you can wear, check out our full DIY Accessories collection here:


What a cute idea! I’m sending this to my mom to make for my daughters.
Hey,
I really appreciate reading the post here and also it’s great that the people here are giving their opinion which is really useful for me to decide whether it is good or not. Thank you so much for this detailed info you shared. For a newbie like me , it’s totally helpful for me.
OMG these turned out so cute – can’t wait to surprise my daughter and nieces with their pumpkin clips for Halloween. They are going to love them
Aw, I’m so glad to hear that!! I would love to see how they turned out if you want to send me an e-mail or tag me on social media 🙂