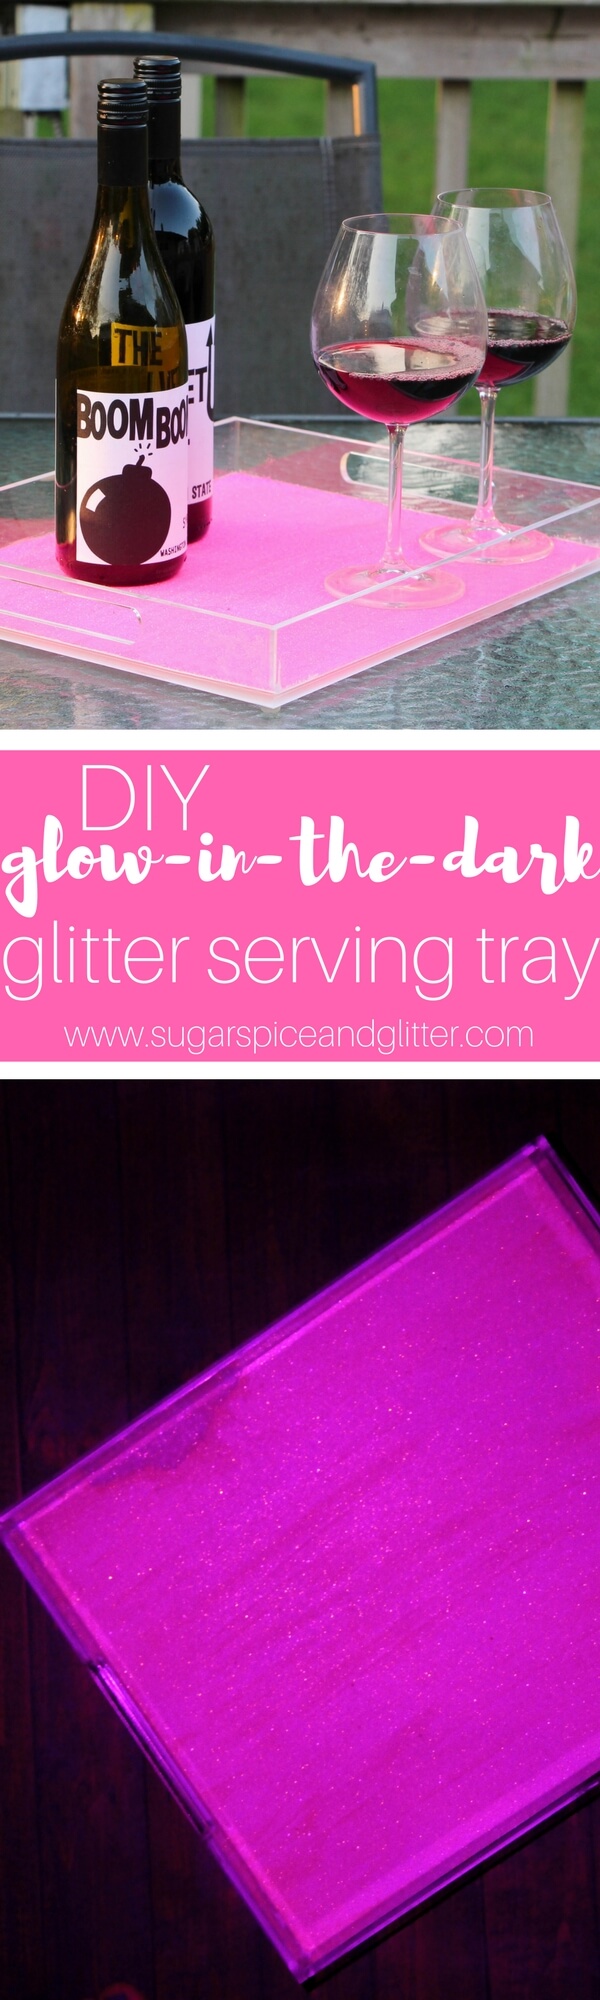
DIY Glitter Glow-in-the-Dark Tray
Welcome to Sugar, Spice & Glitter! Please note, this post may contain affiliate links. For more details, see our Full Disclosure.
This shop has been compensated by Collective Bias, Inc. and its advertiser. All opinions are mine alone. The following content is intended for readers who are 21 or older. #WAWineTime #CollectiveBias
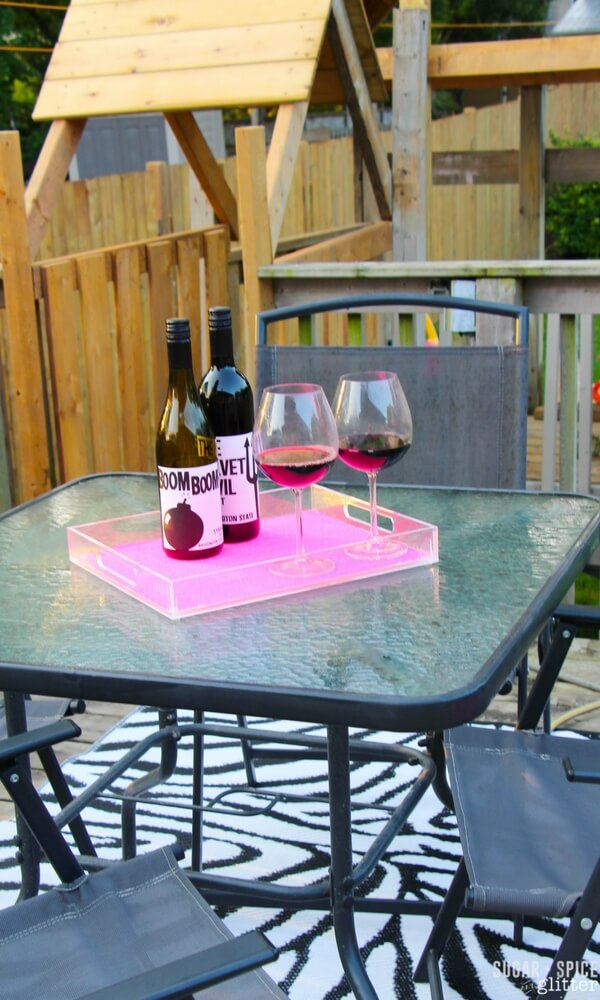
Serving trays are not only functional, but they are an easy way to add a modern, colourful touch to your entertaining set-up without a huge investment.
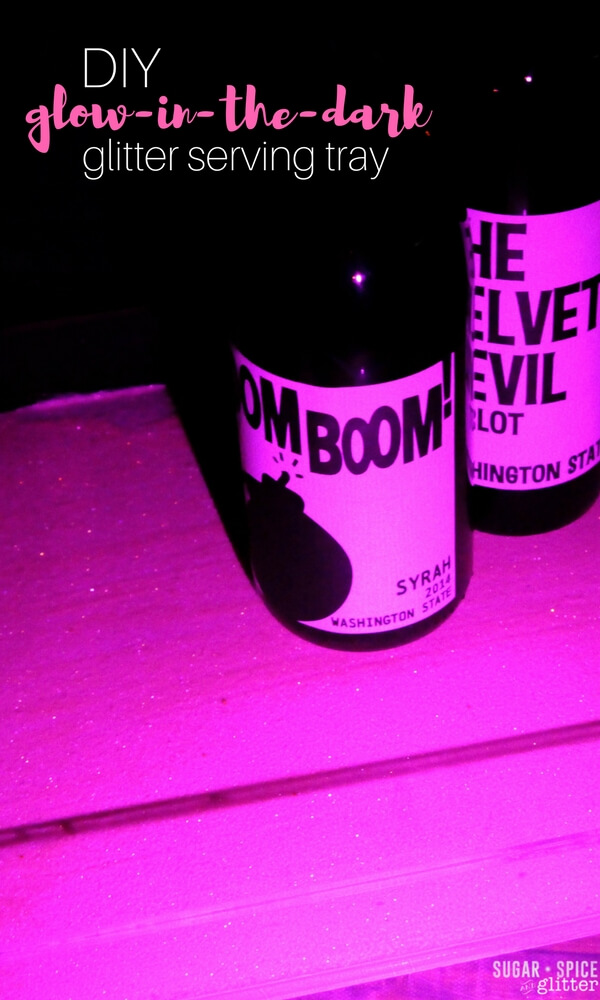
This DIY Glitter & Glow in the Dark Acrylic Tray was a lot of fun to make and even more fun to use – adding a pop of color to daytime events and some neon glow to evening entertaining or movie nights.
I am loving the acrylic table trend, but I didn’t want to invest in a new coffee table while we were in the middle of renovations so a DIY serving tray was the perfect option to add the modern acrylic aesthetic to our home without a huge investment.
And when the DIY cost is low, you can have more fun with experimenting! Glitter AND Glow-in-the-Dark? Why not?! I definitely think it works, but then again, I did name my site Sugar, Spice & Glitter so my obsession with all things glitter is well-established.
This DIY idea would definitely work with a wooden tray or a metal tray if primed properly.
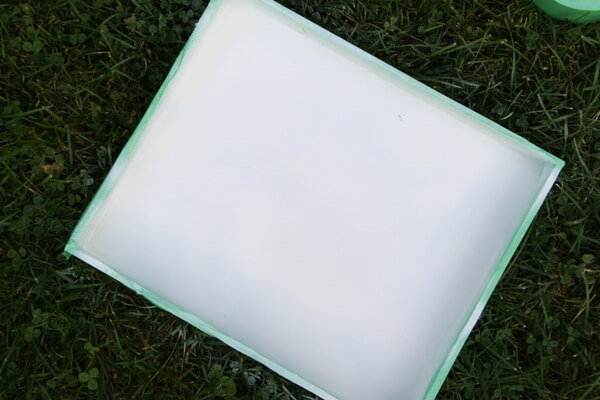
I grabbed a scratched acrylic tray for cheap, although you could use a square of plexiglass and drill to add handles to it if you wanted to go the full DIY route. (I’m okay with just customizing a premade tray and calling it a DIY!)
This project took two days to complete due to the drying times. I probably could have done it in one day but I was drying it inside and wanted to ensure every layer was completely set before adding on the next one. You probably could finish this in one day if you let each layer dry in the sun.

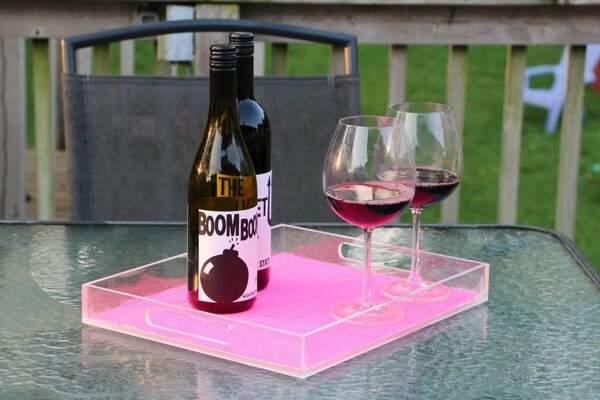
And for it’s inaugural use, I used my pretty new tray to serve up some Charles Smith Wines because I loved their rock n’roll labeling (Charles Smith used to be a rock band manager so go figure).
The wines are really smooth and have some pretty impressive credentials backing them – Smith is currently the only person to have won Winemaker of the Year by both Food & Wine and Wine Enthusiast. The Boom Boom! Syrah is a full-bodied, soft, dry red wine with complex flavors of blackberry and boysenberry with notes of white pepper, savory herbs and crushed granite. It is also a top selling Syrah backed by top wine publications. The Velvet Devil Merlot is a full-bodied, juicy, dry red wine, bursting with flavors of cherry and blackberry, brimming with cedar, pipe tobacco, and earth, and it has been the Wine Enthusiast Best Buy 3 years in a row.
Charles Smith Wines are based in Washington which is currently celebrating Washington Wine Month – I had no idea that Washington state had over 900 wineries and 350 vineyards!

Materials for a Glitter Glow-in-the-Dark Tray
- acrylic tray
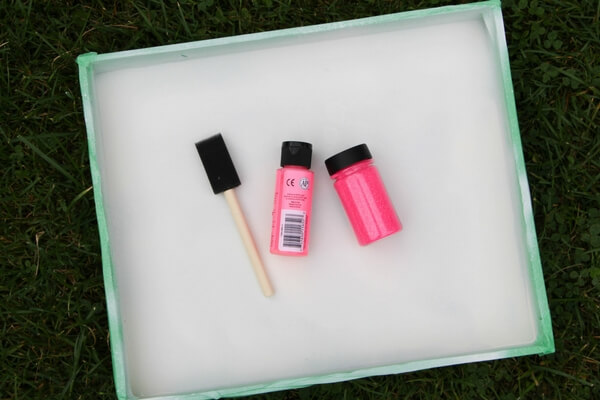
- glow-in-the-dark paint
- matching glitter
- primer spray
- sealant spray or dimensional sealant
- foam paintbrush
- paint or masking tape
How to Make a DIY Glow-in-the-Dark Tray
First, place painting tape on the tray where you don’t want primer or paint to protect the surface.
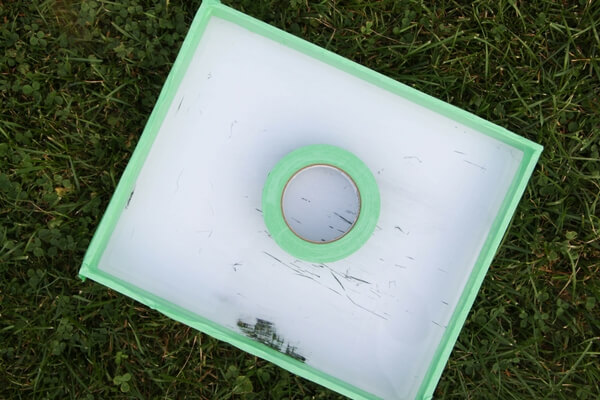
Spray the acrylic tray with primer, being careful to fully cover without making “puddles” with the primer.
Allow to dry completely before adding the next layer.
With the foam paintbrush, add a thin but complete layer of the glow in the dark paint.
Wash the paintbrush and let the tray dry completely before adding a second layer of paint.
While the second coat of paint is still tacky, liberally add the glitter. The paint will serve as the “glue” but it’s okay if there is some excess glitter, as the sealant will help secure that.
Allow the second layer of paint to dry (preferably overnight) before adding a first coat of sealant spray.
Let dry, and if you want a really durable surface (like I did) add a second coat of sealant.
Let dry completely – preferably 24-28 hours – before using to really allow everything to set. By being patient while making this tray, you ensure that it will give you years of use!
Pin this easy DIY Glitter Serving Tray:
Grab your free printable for our DIY Glow-in-the-Dark Serving Tray:
<>
…
For more fun DIY crafts, check out our 20+ DIY Star Wars gifts or DIY Mickey Haunted Mansion Wreath.