
Botany for Kids: Egg Planting Experiment
Welcome to Sugar, Spice & Glitter! Please note, this post may contain affiliate links. For more details, see our Full Disclosure.
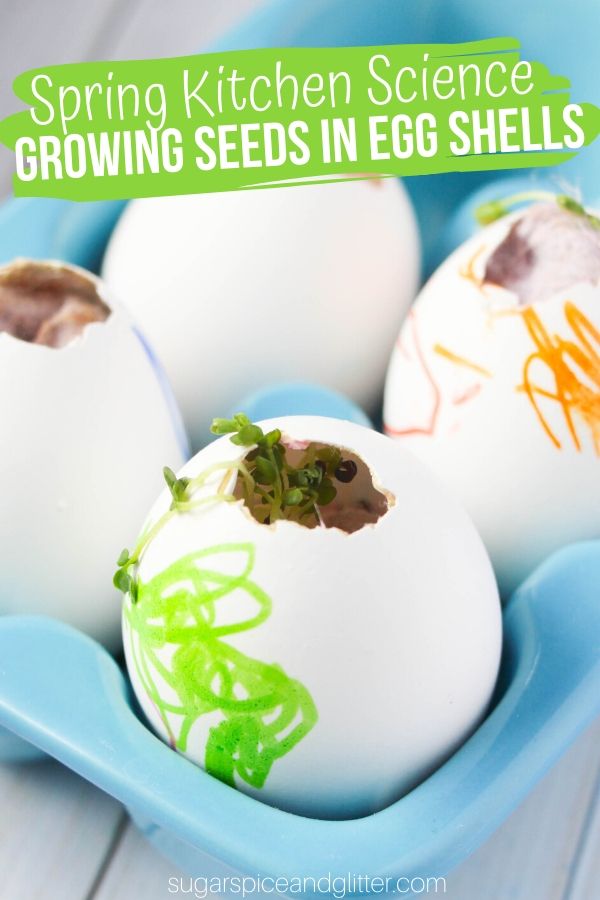
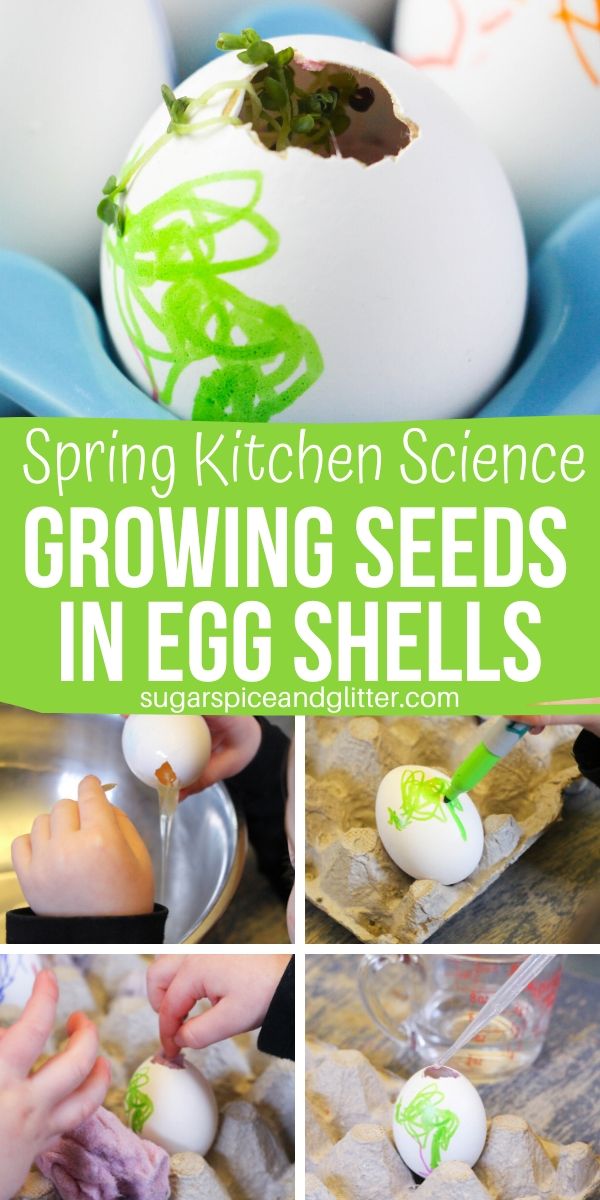
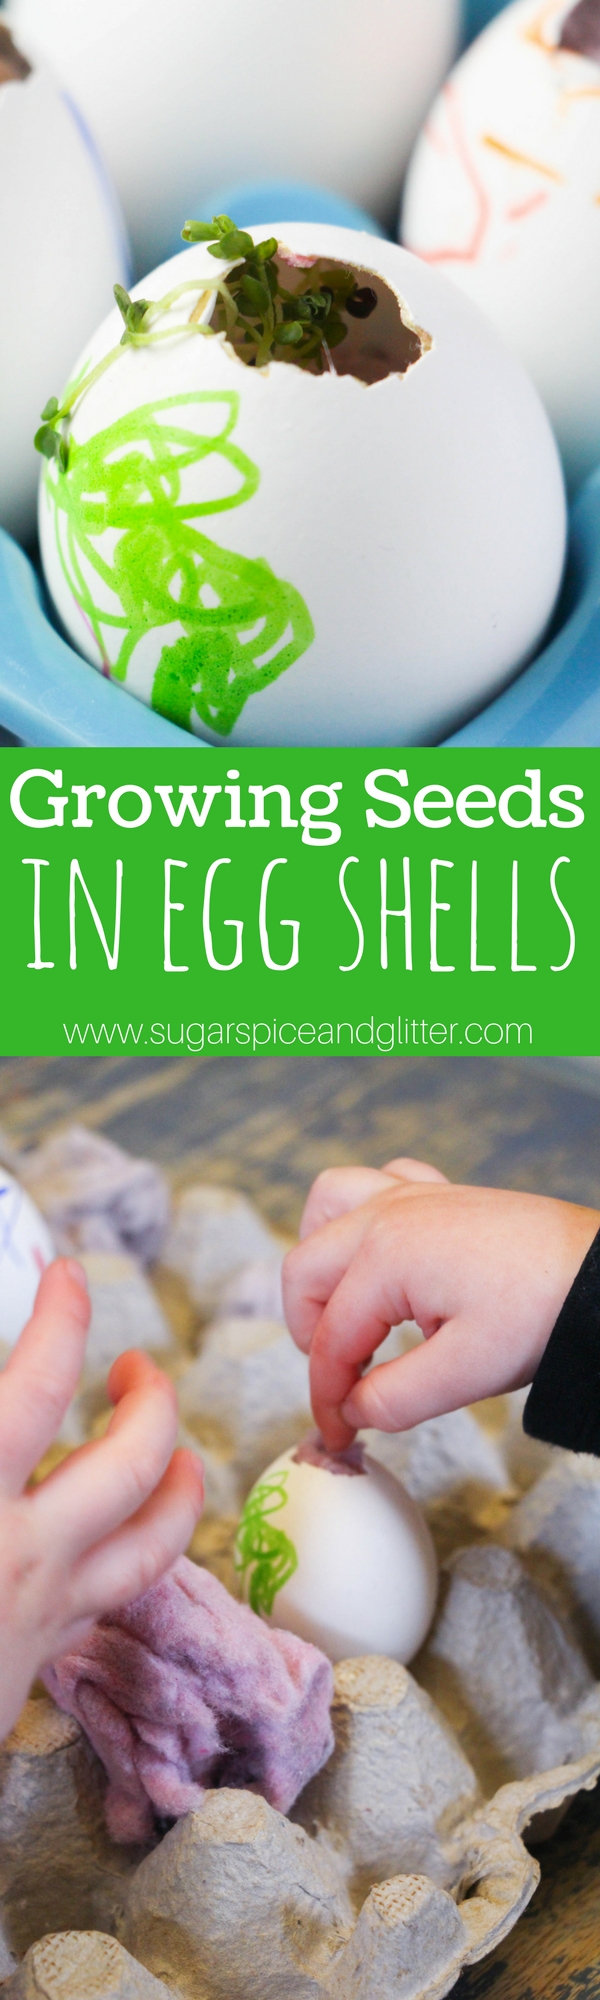
A simple kids’ kitchen science experiment to add onto our Botany for Kids series: Growing Seeds in Egg Shells. A simple plant science experiment that just requires seeds and supplies you probably already have on hand!
Planting Seeds in Egg Shells Experiment
Where I live in Canada, we can’t really start planting in the garden until May or June but my kids love all things nature and gardening (even if I have a complete black thumb when it comes to it).
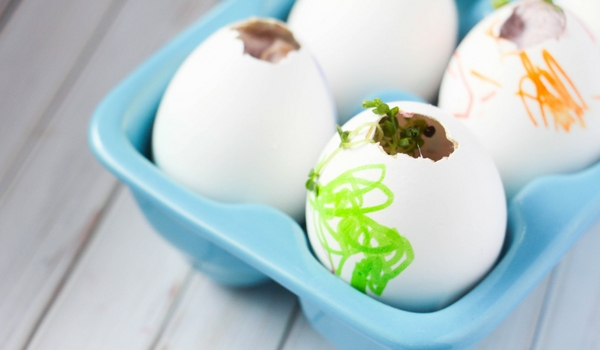
Since it’s nearly the first day of Spring, I thought we’d experiment with some starter plants and use egg shells. Not only are the egg shells biodegradable (so they will break down if we choose to directly plant the plants like this) they are also easy to break and dispose of if we choose to replant these starter plants. I also love the Easter-inspired touch they bring to our kitchen window, where they are currently on display.
You can decorate the eggs anyway you want – I suggested several options to the kids and we decided to use markers – but the washable markers did not show up very well on the egg shells. We ended up having to use permanent markers which the kids were very excited and careful about. Of course, you can dye the egg shells, decorate with stickers or temporary tattoos, or leave them plain.
We also used shamrock seeds to further play up the Spring motif – sent to me by my good friend, Sharon, whose mom sent them direct from Ireland!
I intended for the kids to do a couple of different egg shell planters each and compare how the seeds grew in different materials: soil, dryer lint, and shredded paper… but my kids only wanted to experiment with water and dryer lint. It worked great, but it ended up being more of a “project” than an eggs-periment.
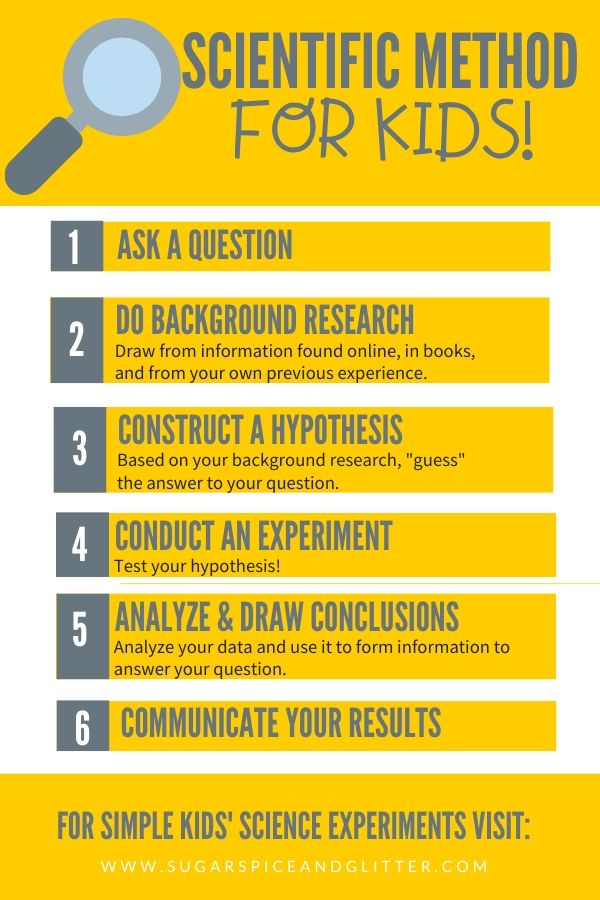
PS – if you want a printable PDF copy of the above graphic, you can download it by clicking here: Scientific Method Printable
This simple plant science experiment teaches kids the necessities for growing plants, allows them to compare and contrast different variables, and because these seeds grow quickly (within a week) it rewards their efforts quickly.
This would also be a cute homemade Easter gift! I’m not a plant expert by any means, but my research showed that even the quickest flowering seeds would take up to 70 days to flower so I’d personally stick with chia, shamrock seeds, marigolds, or even some simple herbs. How awesome would it be to get a little box of egg shell planters filled with herbs you can use in your kitchen?!
If you’re looking for an even easier way to conduct science experiments at home, check out the boxes available at Groovy Lab in a Box – they also have a subscription service which would be a great birthday gift for a budding scientist!

Materials for Egg Shell Plants
- Eggs
- Markers or decorating supplies
- Spoon or knife
- Tray or egg carton
- Shamrock seeds (or other easy-grow seeds)
- Dryer lint
- Soil, optional (…apparently)
- Shredded paper, optional
- Cup of water
- Pipettes or eyedroppers
Tip: to do the experiment, each child should have 3 egg shells – you may want to do an extra in case one breaks during the planting process.
How to Plant Seeds in Egg Shells
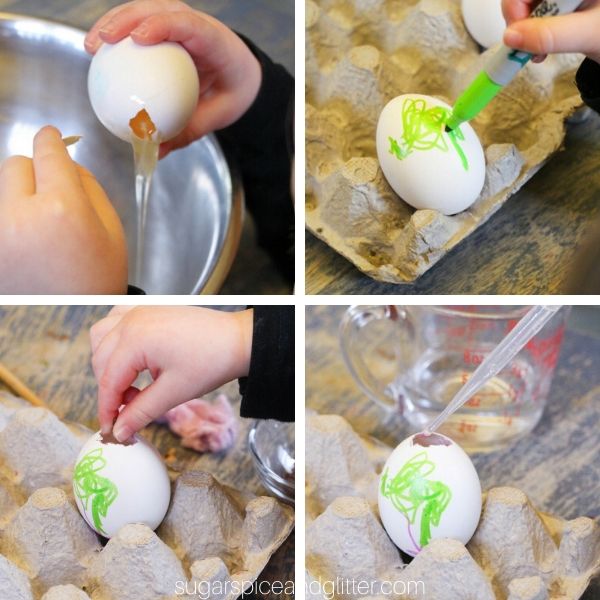
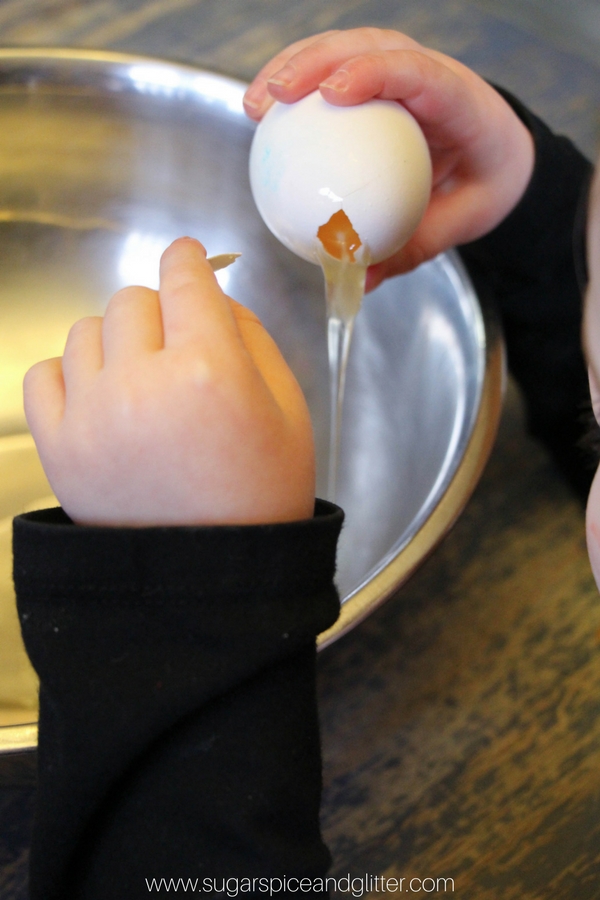
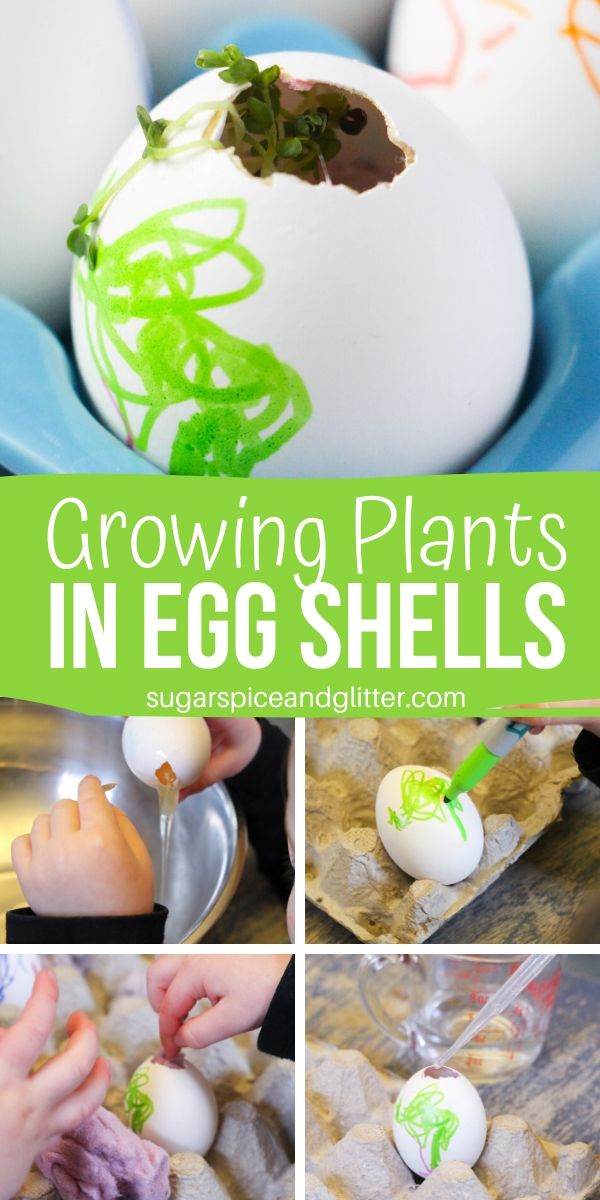
First, you want to empty your eggs. You can do this in advance or allow the kids to help.
We tapped the tops of the eggs with a spoon and broke off just enough to allow the yolk through the hole. You can break off up to half of the shell.
Clean the egg shells thoroughly to remove the membrane/egg white and any bacteria. (You can do this by cleaning with a toothbrush or submerging into boiling water for 2 minutes.)
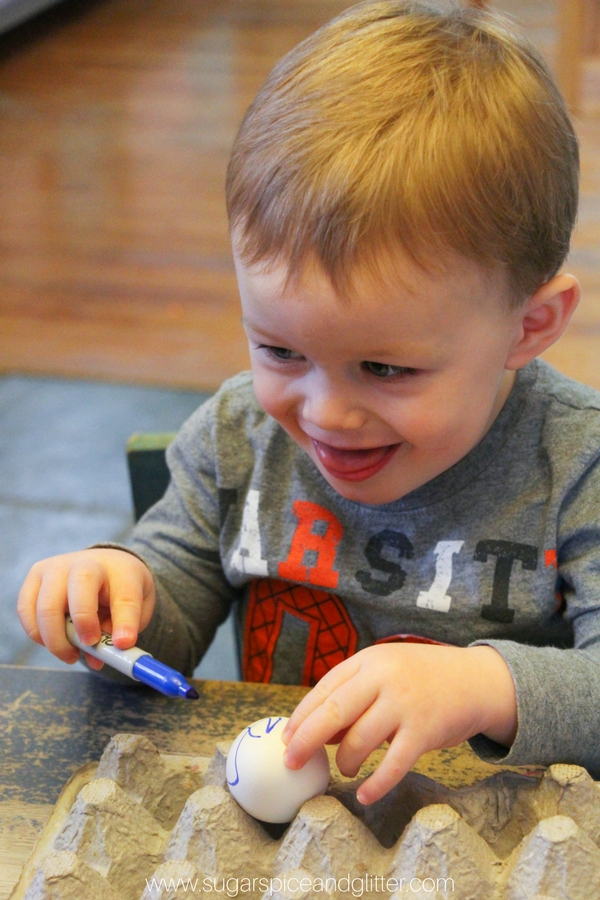
Encourage the kids to decorate their egg shells so they can remember which ones were theirs! (Some were very excited at being allowed to use permanent markers…)
Preferably, have each child decorate 2-3 egg shells for their experiment.
When you’re done decorating your egg shells, add dryer lint to one (filling 3/4 of the way), soil to another, and shredded paper to the third.
Add a sprinkle of the seeds on top of the materials.
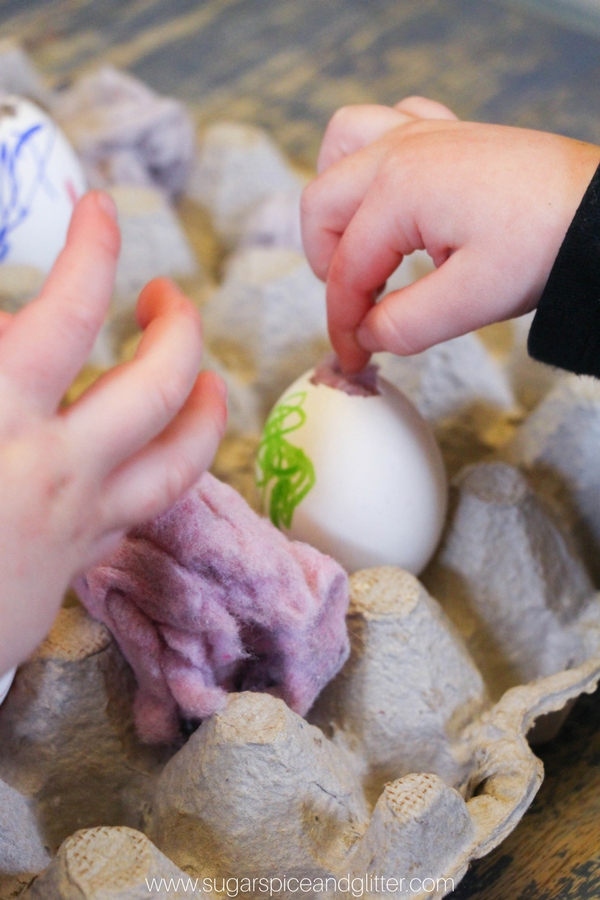
Using your eye dropper or pipettes, add about 1-2 teaspoons of water to each egg shell.
Have the children “hypothesize” which plants will do the best based on their being grown in soil, lint or shredded paper. Record their hypotheses.
Water the plants equally, daily.

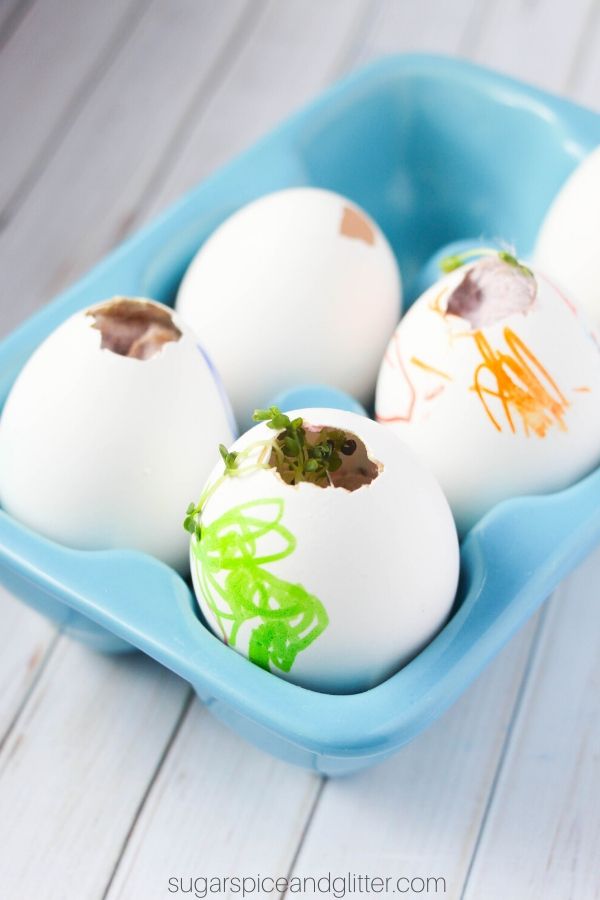
After 2 weeks have the children compare the progress of their plants. For us, since we only used dryer lint we noticed that some plants had grown well while others hadn’t grown at all and we made hypotheses as to why that may have happened. (A popular theory was that those children didn’t plant enough seeds.)
Pin this fun Kids’ Kitchen Science Experiment:
Grab your free printable for our spring plant science experiment:
Want to Save This Recipe?
Enter your email & I'll send it to your inbox. Plus, get great new recipes from me every week!
By submitting this form, you consent to receive emails from Sugar, Spice and Glitter.
Egg Planting Experiment
A simple kitchen science experiment to teach children the basics of gardening and what a plant needs to survive. Controlling the variable of soil/lint/shredded paper allows them to practice comparing and contrasting their results.
Materials
- Eggs
- Markers or decorating supplies
- Shamrock seeds (or other easy-grow seeds)
- Dryer lint
- Soil, optional (...apparently)
- Shredded paper, optional
- Cup of water
Tools
- Spoon or knife
- Tray or egg carton
- Pipettes or eyedroppers
Instructions
- First, you want to empty your eggs. You can do this in advance or allow the kids to help.
- We tapped the tops of the eggs with a spoon and broke off just enough to allow the yolk through the hole. You can break off up to half of the shell.
- Clean the egg shells thoroughly to remove the membrane/egg white and any bacteria. (You can do this by cleaning with a toothbrush or submerging into boiling water for 2 minutes.)
- Encourage the kids to decorate their egg shells so they can remember which ones were theirs! (Some were very excited at being allowed to use permanent markers...)
- Preferably, have each child decorate 2-3 egg shells for their experiment.
- When you're done decorating your egg shells, add dryer lint to one (filling 3/4 of the way), soil to another, and shredded paper to the third.
- Add a sprinkle of the seeds on top of the materials.
- Using your eye dropper or pipettes, add about 1-2 teaspoons of water to each egg shell.
- Have the children "hypothesize" which plants will do the best based on their being grown in soil, lint or shredded paper. Record their hypotheses.
- Water the plants equally, daily.
- After 2 weeks have the children compare the progress of their plants. For us, since we only used dryer lint we noticed that some plants had grown well while others hadn't grown at all and we made hypotheses as to why that may have happened. (A popular theory was that those children didn't plant enough seeds.)
Notes
These plants will take approximately a week to grow.
Recommended Products
As an Amazon Associate and member of other affiliate programs, I earn from qualifying purchases.


This Eggs-periment was an easy Kids’ Kitchen Science Activity perfect for Spring.
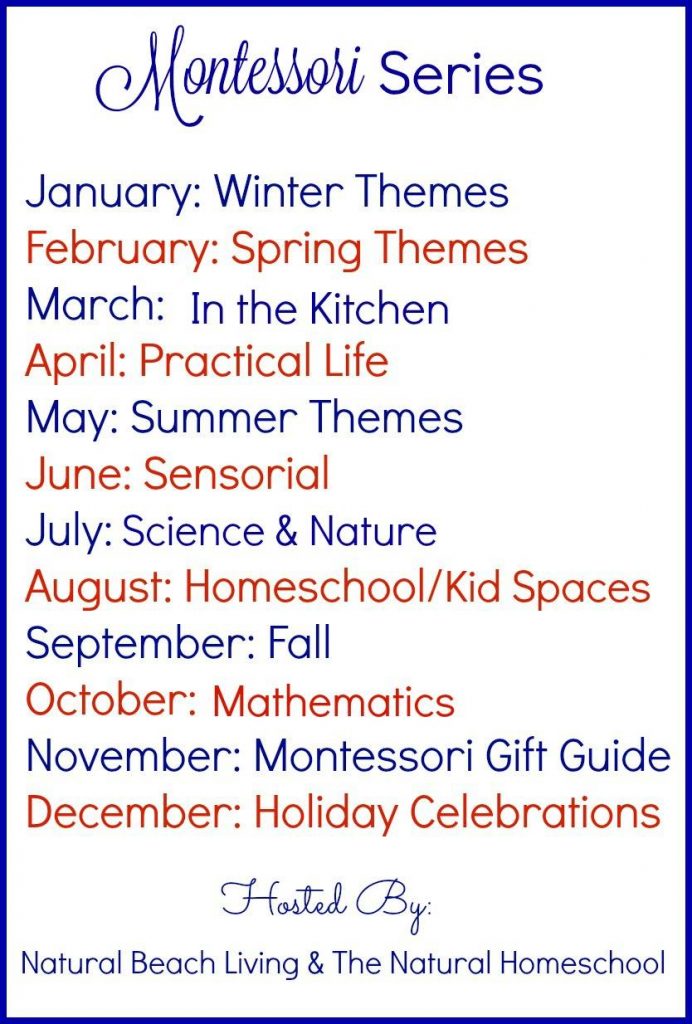
For more awesome Spring learning activities, check out the following posts from my fellow Montessori Mamas as part of our 12 Months of Montessori series:
The Best Butterfly Life Cycle Activities for Kids | Natural Beach Living
How to Plant a Garden Steps & Printable Montessori 3-Part Cards | The Natural Homeschool
Montessori Nature Tray with Bird-Themed Nest Building and Art Appreciation | Living Montessori Now
Spring Baby Bird Craft | Mama’s Happy Hive
Gardening Ideas for Spring | The Kavanaugh Report
A Walkthrough of Animal Study for Preschoolers | The Pinay Homeschooler
5 Simple Butterfly Activities to Boost Fine Motor Skills – with Free Printables | Uno Zwei Tutu


Totally borrowing this idea!