
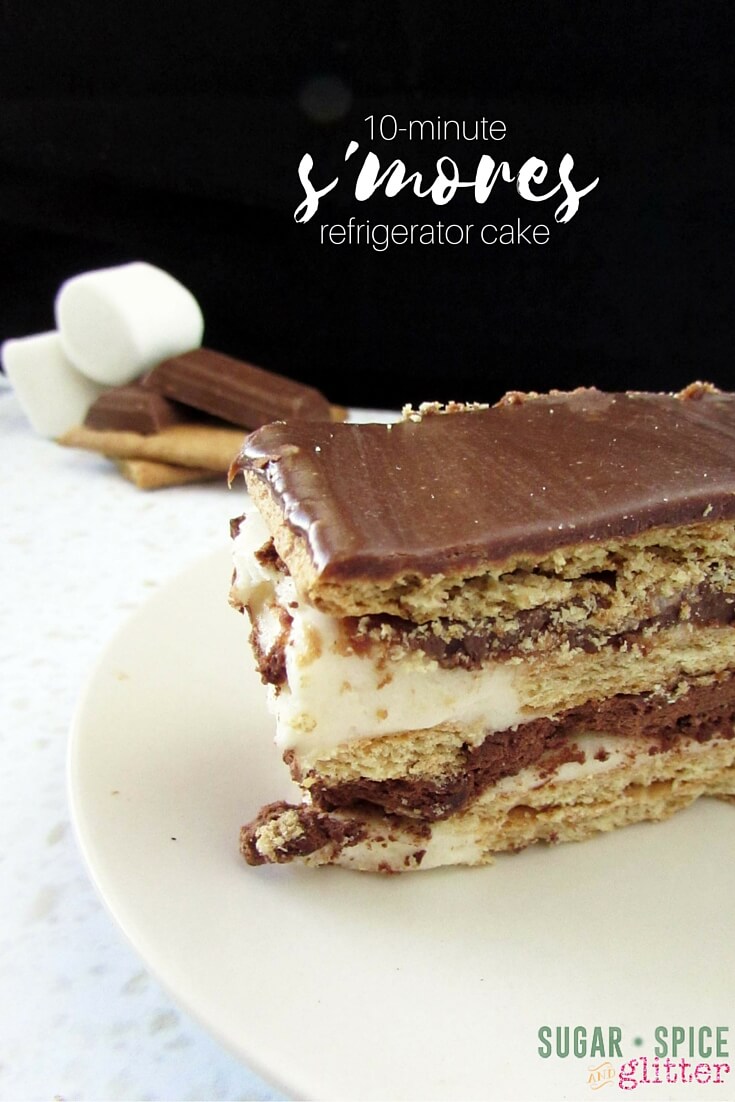
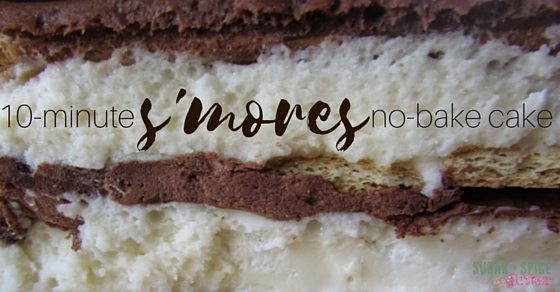
10-Minute S’mores Refrigerator Cake (with Video)
Welcome to Sugar, Spice & Glitter! Please note, this post may contain affiliate links. For more details, see our Full Disclosure.
S’mores are one of my favourite summer treats, but I don’t want to have to build a campfire or fire up the oven every time I want to enjoy one, especially if I’m entertaining guests. To keep your summer entertaining easy, I spent an afternoon perfecting this 10-minute S’mores Refrigerator Cake. (Proving that you don’t always need a campfire to make s’mores!)
6-ingredients. 10-minutes. S’mores. What’s not to love?
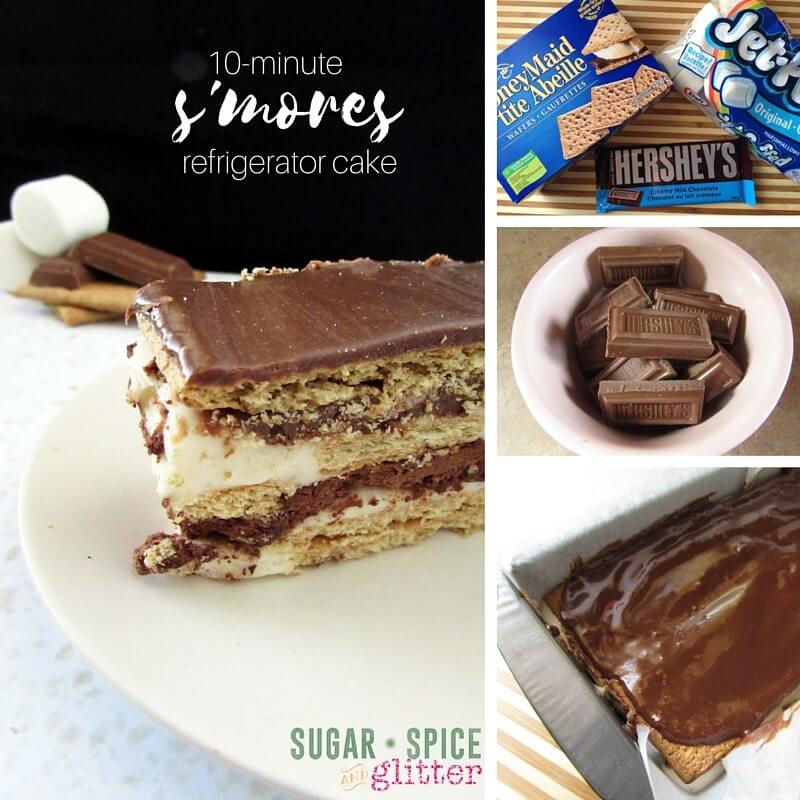
Now, I’ll be completely honest here: I was compensated for the ingredients I used for this post, but I have no obligation to speak well of the products or pretend to like something that I don’t. I truly love Honey Maid Crackers and Hershey’s Chocolates (my daughter’s first necklace was a Hershey’s Kiss charm necklace from our family trip to Chicago), and I’m a firm believer that off-brand marshmallows do not perform as well as Jet-Puffed (and their brand is forever tied with my childhood favourite, Ghostbusters, so that works in their favour). I highly recommend using these products if you attempt this S’mores Refrigerator Cake.
Okay, enough talk about the ingredients – let’s get on to that recipe.
And, just for fun, I’m going to count us down from 10-minutes, Jamie Oliver 15-minute recipe style. (Yes, we’re Jamie-obsessed in this household…)
How to Make S’mores Cake
10 minutes to go
Assemble your ingredients and equipment:
- Loaf pan
- Parchment paper or loaf liner
- 1 large microwaveable dish
- 1 small microwaveable dish
- Electric mixer or fork (and a strong wrist)
- Spoon
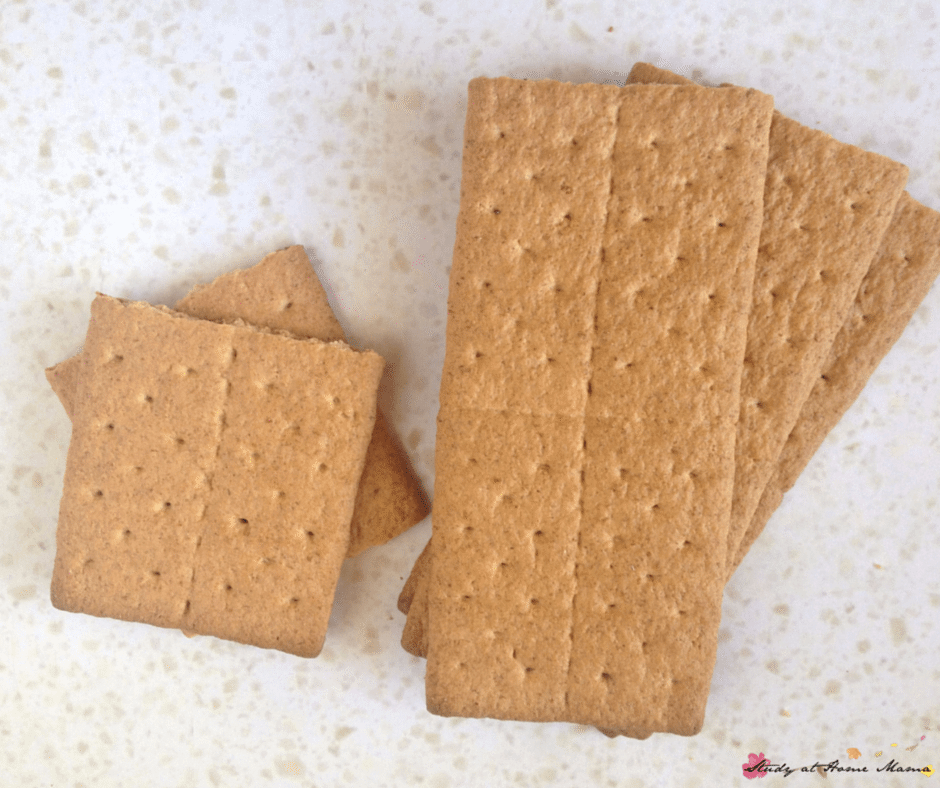
- 1 package insert Honeymaid Graham Crackers
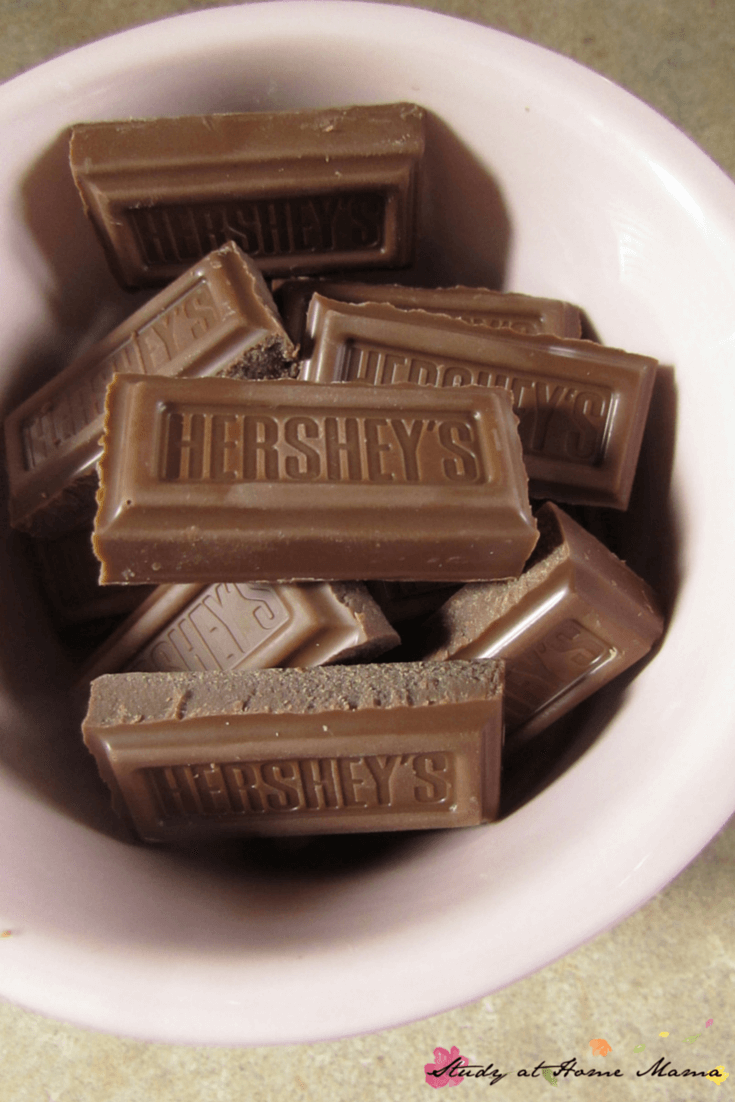
- 100g bar of Hershey’s Milk Chocolate
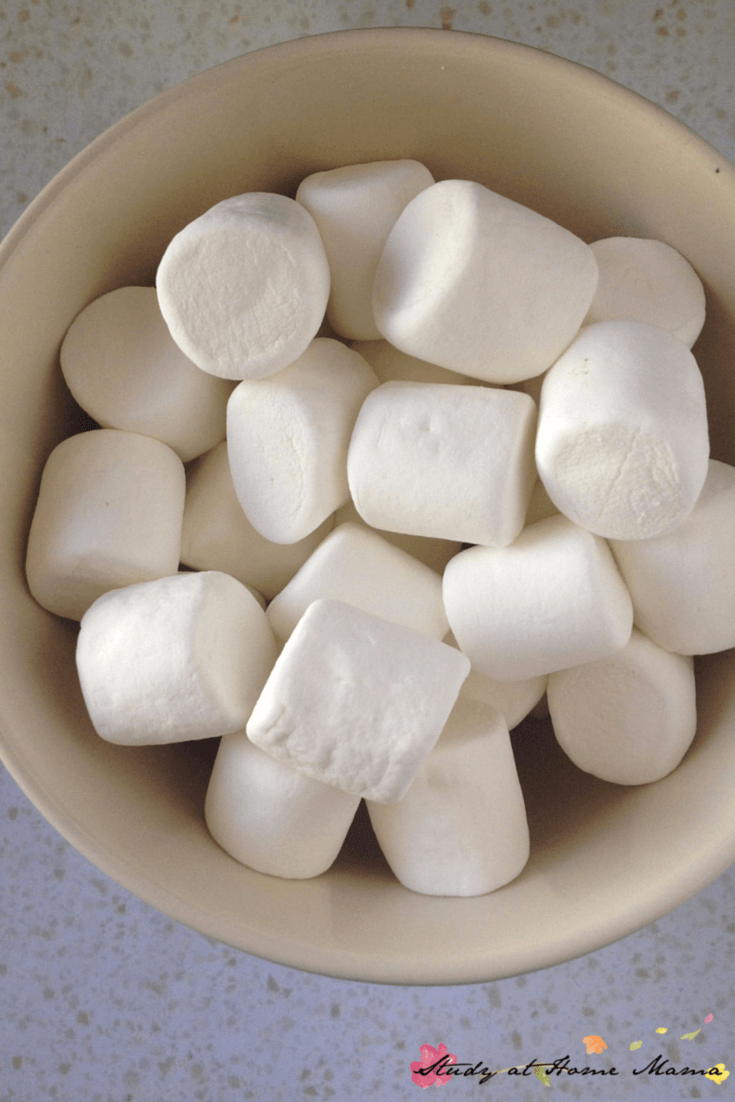
- 32 Jet-Puffed Marshmallows
- 1 Tablespoon butter
- 1/4 cup milk
- 8 Tablespoons Cool Whip (100g)
9 minutes to go
Put 32 marshmallows (8 oz) and 1 Tablespoon of butter into a microwaveable dish and melt for 45 seconds. (Start at 30 seconds in case your microwave is stronger than mine — you can alternatively melt the marshmallows in two batches.)
While the marshmallows are melting, line a loaf pan with parchment paper or a loaf liner. Line the bottom with graham crackers, breaking the pieces to fit.
Remove the bowl of melted marshmallows carefully from the microwave.
8 minutes to go
Quickly break one bar of Hershey’s milk chocolate (100 g) into a microwaveable dish and zap it in the microwave for 35 seconds.
While the chocolate is melting, stir 1/8 cup of milk into your melted marshmallows. At first, the mixture will be clumpy, but with a thorough mixing it will become smooth and silky (feel free to use a mixer). Add in the remaining milk if you do not get a smooth texture within a minute or two of beating.
7 minutes to go
Pour half of the homemade marshmallow cream mixture over top of the graham crackers and set aside.
6 minutes to go
Stir the melted Hershey’s chocolate and slowly add in 100g of Cool Whip, or homemade whipped cream.
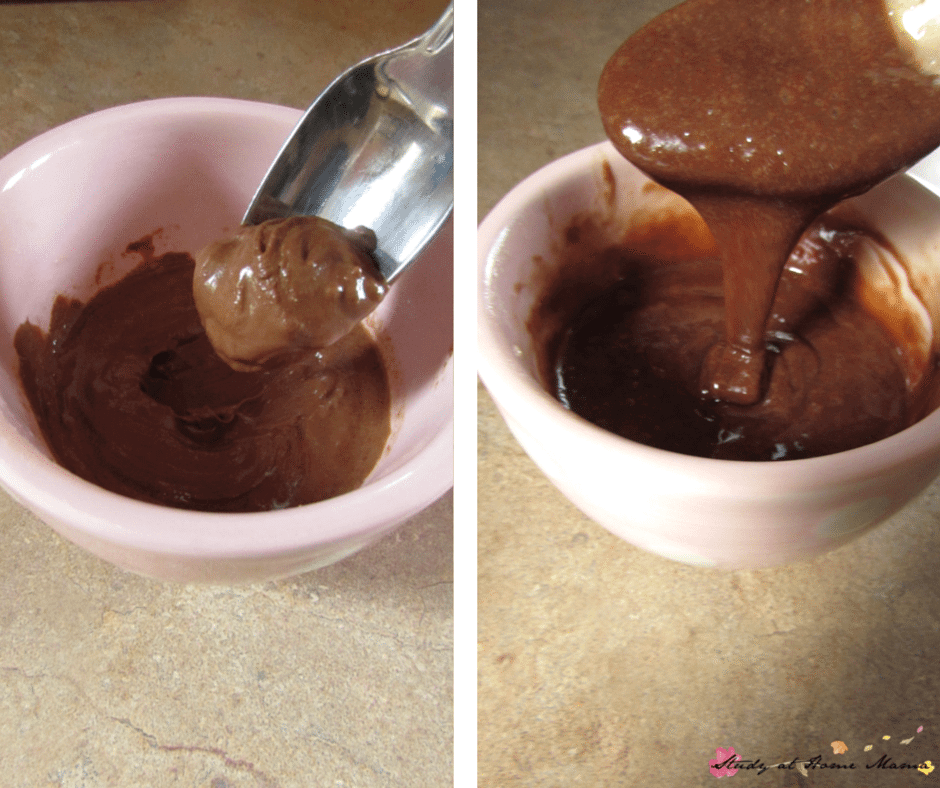
You will get a wonderful, shiny syrup similar to a soft ganache. Pour one third of this chocolate mixture overtop of the marshmallow cream layer of your cake.
5 minutes to go
Lay down another layer of graham crackers and pour the remaining homemade marshmallow cream over top.
Add on a third of the chocolate mixture and use a spoon to smooth it out and ensure even chocolate coverage.
4 minutes to go
A little more neatly this time, cover the chocolate layer with your final layer of graham crackers (as this will be the only visible layer) and pour the remaining chocolate mixture evenly over top.
Use the back of a spoon to ensure even coverage and smooth waves of chocolate ganache.

3 minutes to go
Cover the loaf pan loosely with plastic wrap or tinfoil (or use a loaf pan with a reusable lid) and place in the refrigerator.
2 minutes to go
Clean up! 2 bowls and a couple of utensils – that’s not even going to take you the full 2 minutes. You might want to put the kettle on so you can enjoy a cup of tea while the cake sets up in the fridge!
The cake can be enjoyed right away, but I love the texture if left overnight.
The graham crackers are soft but retain their crumbly texture, the marshmallow cream is light and spongy, while the chocolate ganache is melt-in-your-mouth perfection.
This S’mores Refrigerator Cake is not too sweet and will not melt at room temperature if you want to set it out a bit early to create some anticipation for your guests. It is the perfect easy summer dessert recipe!
Pin this Super-Easy 10 Minutes Smores Icebox Cake:

This S’mores Refrigerator Cake is now my favourite way to enjoy S’mores — what’s your favourite way to make and enjoy S’mores?
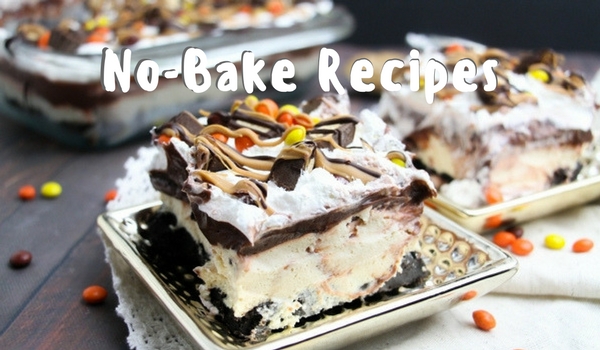
Check out some of our other No Bake Recipes:

This looks really sweet… and tasty. It would be a hit at the church potluck. 🙂
Oh, you will definitely make some people happy by bringing this! I hope you enjoy 🙂
I’m dropping by from the link party on Maybe She Made It. This recipe looks absolutely yummy! And so easy to make. I’m putting it on my to-make-immediately list!
I’m trying to grow my own link party. I invite you to participate and share this (and 2-3 other ideas). It starts tomorrow and goes through Friday. I think my readers would really love your idea. You can find my party at Grandma Ideas http://grandmaideas.com.
All the best,
Nina
Hi Nina – I’ve added you to my list. Thank you for stopping by, and I hope you like it!
What’s it take to become a sublime expoendur of prose like yourself?
Perfect for summer1 I love easy recipes like this. Stopping over from Tuesday Talk, first time to your blog 🙂 Thanks for sharing!
Thanks for stopping by, Alexis!
What a great way to reinvent smores! That looks delicious! Visiting you from Tuesday Talk. 🙂
Thank you, Whitney!
Yum looks awesome! Also, I love your countdown in the recipe, adorable. Pinning it!
That’s Kelsey. It’s too bad I couldn’t have Jamie Oliver’s voice doing the count-down, LOL 🙂
Looks like a fun dessert for while my grandchildren are visiting this summer. One question though. You say use a loaf pan, which is what I make break in but your picture looks like it’s a baking pan maybe 13×9. What size pan did you use?
Hi Marcy – I’m so sorry I missed your question! It was a regular loaf pan, 8 by 4. I’m not sure why it looks so big in the pictures — I definitely think my fork looks GIANT in that top picture, though!
I hope they love it and thank you so much for visiting 🙂
This is really a GREAT idea – glad I popped by from Two Cup Tuesday Link up – I pinned this for future! YUM
Thanks for visiting – I hope you like it!
THIS is GENIUS! I featured this fabulous recipe of yours on my fb page and can’t wait to make it myself. Terrific girl!!! Carrie, A Mother’s Shadow
😀 THANKS, CARRIE!
what size pan did you use?
Regular loaf size pan, I gave the dimensions in another comment and am currently drawing a blank, lol. I linked to an example in my post.
what size pan did you use?
i didn’t already ask this question , someone else did and question wasn’t answered
Hi Kitty,
It was a loaf pan – 8×4 🙂
Oh-oh! An easy-to-make treat that includes chocolate and doesn’t require cooking? I’m in! Thanks! This looks great. I’ll definitely give it a try. 🙂
Thanks, Jeanne – I hope you like it!
I am visiting from the #FoodieFriDIY. This looks like a winner! Pinning it!
Thanks, Susan!
The exitsepre shines through. Thanks for taking the time to answer.
YUM! That looks so good!
Thanks, Brittany – it is SO good 😉
Good to find an expert who knows what he’s talinkg about!
Congrats! I saw your feature on Idea Box and wanted to stop by & mention how good this looks! We’d have to eat it all in one sitting.. my husband, son and I.. LOL and then work out for hours! It would be worth it though!
It would TOTALLY be worth it 😉 Thanks, Wendi!
Oh my goodness. I can’t wait to make this!! It looks sooooooo delicious! THanks for sharing this awesome recipe!!
Right up my ally. Will try it as soon as I replace my micro wave.
This did not work at all. The chocolate hardened with the cool whip and the broken graham crackers made a messy stack. How exactly are you supposed to eat it anyway? Maybe I missed something here, but this was hugely unsuccessful for me.
Hi Birttany,
I’m sorry your cake didn’t work properly. I’m thinking that the Cool Whip had some ice or water if it caused the chocolate to harden/freeze while mixing. The chocolate will harden in the fridge as the recipe sets up (and you do want that).
The graham crackers are not supposed to be stacked – you break them on a cutting board or somewhere away from the loaf pan and lay down neat layers. The graham crackers I used have lines down the centers for cleaner breaks.
After the cake sets in the fridge, it slices quite nicely, as shown in the pictures above. You can eat it with your fingers or a fork – I just cut in thin slices and eat with my fingers like a cookie.
Let me know if there was a confusing instruction that I can clarify, I definitely want you to have a successful experience trying any of my recipes!
I see why Brittany thought to combine the chocolate and whipped cream together, I did the same thing because the directions do state to do so. Under “6 minutes left to go” the directions say:
“Stir the melted Hershey’s chocolate and slowly add in 100g of Cool Whip, or homemade whipped cream. You will get a wonderful, shiny syrup similar to a soft ganache. Pour one third of this chocolate mixture overtop of the marshmallow cream layer of your cake.”
Like Brittany, when I mixed the chocolate and Cool Whip together the mixture was not a shiny ganache, it was thick and difficult to spread. I mixed in more melted chocolate which helped.
Whoo hoo! This is EXACTLY what I needed! I was in search of a last minute potluck idea that would be delicious and just as importantly, EASY. The fact that it is also a perfect summer-time recipe just seals the deal! Thank you, thank you, thank you! Will be making this tomorrow after my grocery run to take to a BBQ.
I made it, twice, and it was ultimately delicious! I did have some hurdles during the process so I’ll share my experience to hopefully help others avoid the same.
First: Crisco EVERYTHING the melted marshmallow is going to touch! The bowl, the spoon, the parchment paper, etc. You will not regret this. The melted marshmallow is very, very, very sticky.
Second: You will probably have better luck with the chocolate and cool whip mixture if you add more chocolate to it. Before I added more, it was clumpy and too thick to spread easily. Not a sauce at all.
Third: Don’t try to serve this the same day you make it, especially if it is a warm day. Even after a few hours in the fridge, the cake did not set. I served it anyway, and it was a sticky, gloppy mess. The second one I made, I refrigerated almost 24 hours and it was wonderful! I could slice with a knife and there was no stickiness. Everything set. The cake could be served in slices. The slices were not at all messy. The flavor was delicious!!
Overall, after the above mentioned tips, I love the end result! I will likely make it again. Next time I might try doubling and putting in a squared pan with extra layers.
I agree that the chocolate and cool whip mixture did not do what the recipe shows. I ended up adding 2 additional hershey bars to get a darker cream, and then melted a darker chocolate I had to pour over the top.
Thank you for adding those tips. I need to revamp this recipe to show in-process images and convert the measurements to cups instead of grams to make replicating it more smooth.