Rainbow Tree Process Art Project
Welcome to Sugar, Spice & Glitter! Please note, this post may contain affiliate links. For more details, see our Full Disclosure.
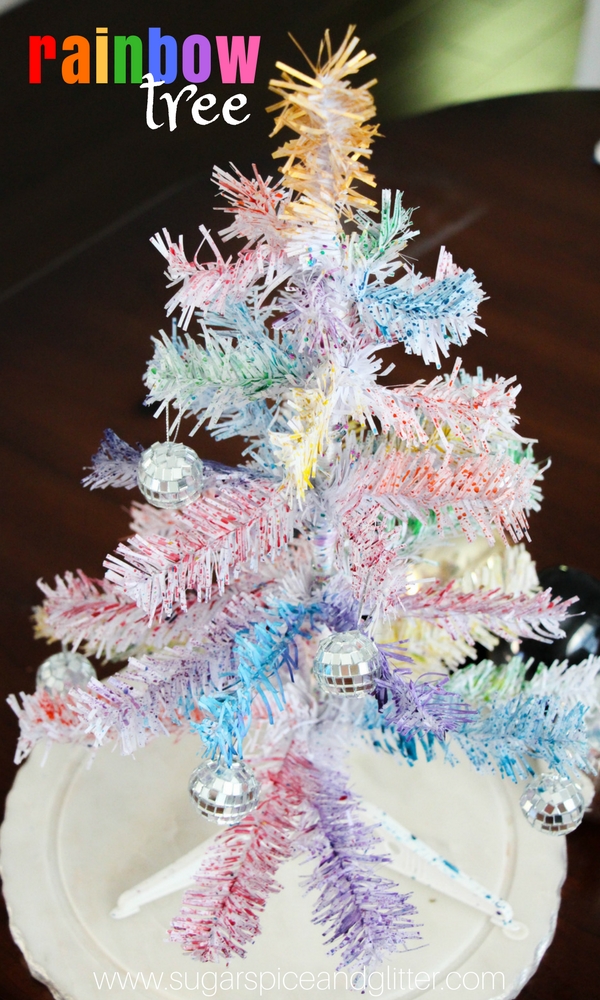
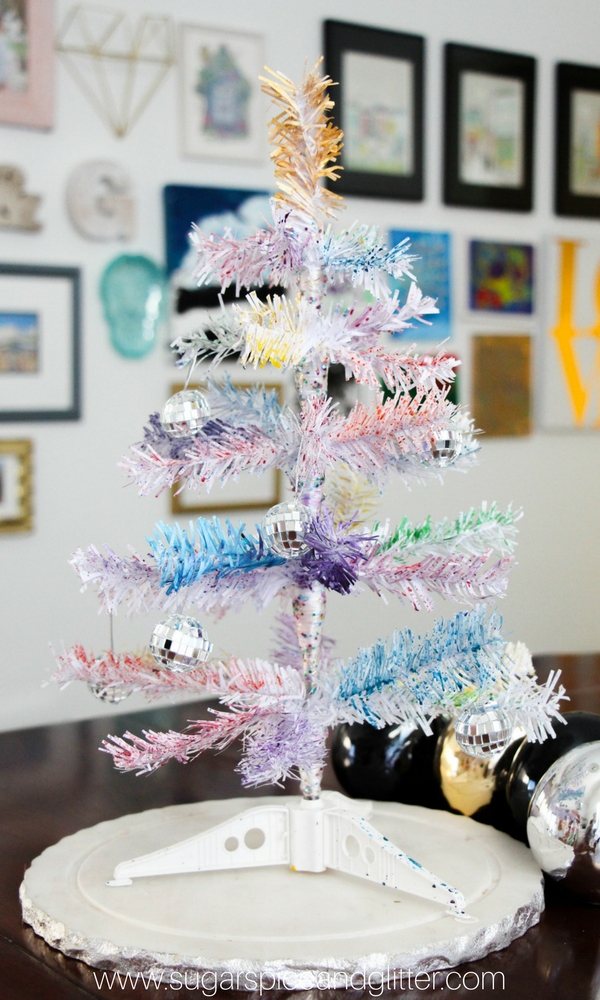
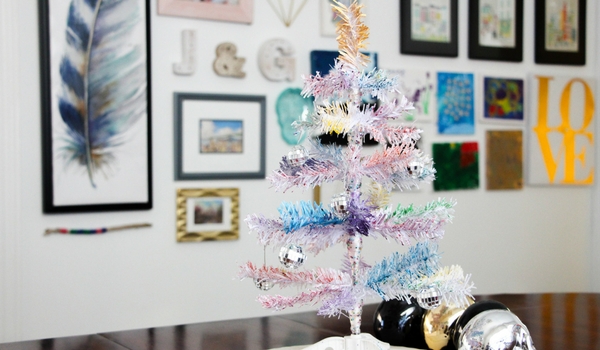
A colorful and open-ended Christmas craft, this Rainbow Tree is a beautiful process art activity that brings a bit of magic to your holiday decor.
We were grabbing some craft supplies from the Dollar Tree when I spotted these mini white trees.
A tree. From the Dollar Tree.
How do you say no to that??
I had no idea what I was going to do with it – possibly a Christmas-themed centrepiece – but I knew the possibilities for crafting with a mini tree were going to be endless so it was a safe bet adding it to my cart.
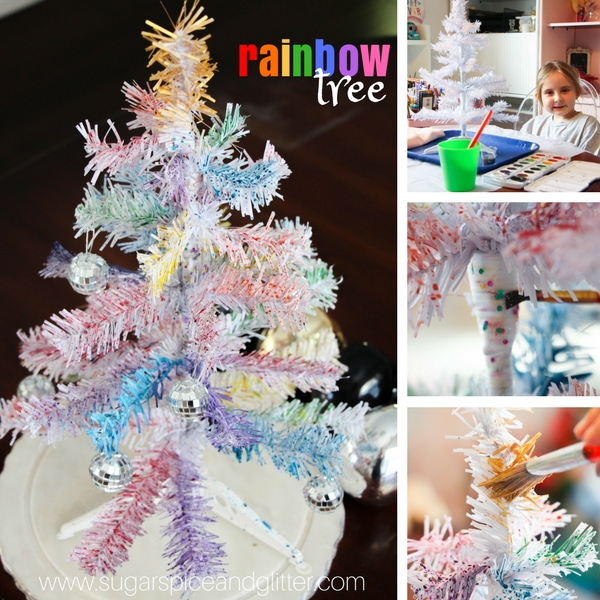
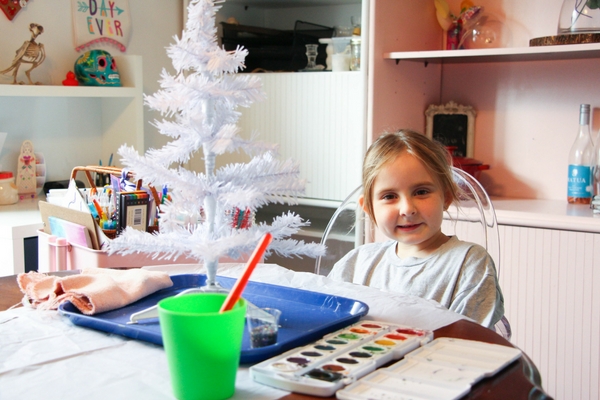
By the time we got home, Ella had already claimed our tree as her own and asked if we could paint it.

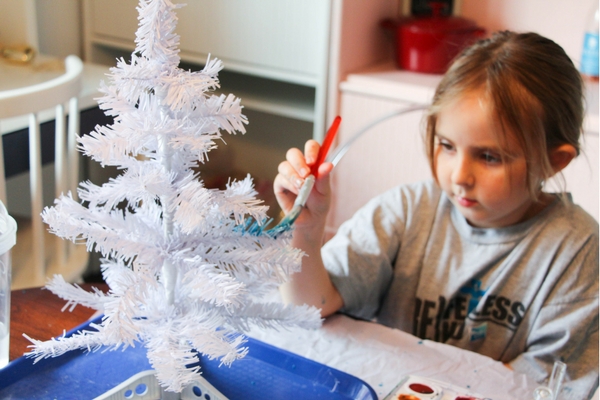
To be honest, I didn’t think it would work – usually paint just flakes off of plastic unless you’re dealing with a special spray paint – but I’m a big believer in letting kids experiment and come up with solutions in hands-on ways, so we went with it.
We decided on a rainbow pattern, which was great for helping Ella remember the order of the rainbow (like our rolling rainbow slime activity) and also it gave her a 3D understanding of the color wheel. (The only difference being we left out “indigo.”)
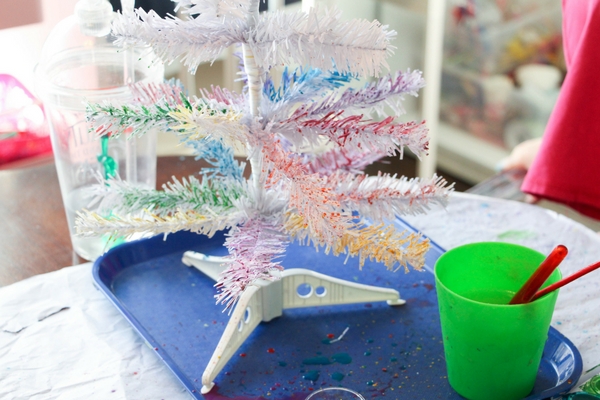
The watercolor paint beaded when painted onto the branches, resulting in a really cool polka dot effect. The soft plastic actually absorbed enough of the paint to make it adhere – it worked!
This activity was a bit messy – the branches kind of flicked the watercolor paint back at my daughter as she painted, giving her a sprinkling of rainbow freckles! So messy clothes and a bit of paper on the table are a must for this activity.
Our rainbow tree looks so pretty and whimsical in the center of our table – I can’t think of a centrepiece I would enjoy more!
I had no idea before we started this craft that there is a book called Our Magical Rainbow Tree which would pair up perfectly with this craft. I also think this would be a perfect tree for our Kindness Elves to leave little notes and surprises under each day.
Materials to Make a Rainbow Tree
- White mini Christmas tree <– this is the exact one we used
- Watercolor paint palatte
- Lots of water
- Paintbrushes
- Rag or paper towel for cleaning brushes
- Tray or newspaper for under the tree
Tip: if you’re not able to buy the white tree link to above, any light colored tree will work.
How to Make a Rainbow Tree
Set up the Christmas tree by building the stand and unfolding all of the branches.
Set up your activity so that kids can easily reach everything without risking knocking anything over.
Mix water with the watercolor paint and apply generously to the tree.
We used a rainbow pattern for our tree, so it may be helpful to either have a color wheel on hand or keep repeating the order of the color wheel.
In between colors, thoroughly clean the brush by swirling it in water and then wiping on the rag or paper towels when switching colors. Apply the paint in a rainbow pattern until all branches have
For us, we decided to do each branch in one color – but this is supposed to be an open ended activity so have fun! Add glitter, glitter paint, glue on pom poms – your imagination is the only limit with this craft!
Let the tree dry fully before adding on ornaments or additional decor.
Pin this Fun Christmas Process Art Activity:

Grab your free printable for our rainbow tree process art project:
Want to Save This Recipe?
Enter your email & I'll send it to your inbox. Plus, get great new recipes from me every week!
By submitting this form, you consent to receive emails from Sugar, Spice and Glitter.
Rainbow Tree Process Art Project
Ingredients
- White mini Christmas tree <-- this is the exact one we used
- Watercolor paint palatte
- Lots of water
- Paintbrushes
- Rag or paper towel for cleaning brushes
- Tray or newspaper for under the tree
Instructions
- Set up the Christmas tree by building the stand and unfolding all of the branches.
- Set up your activity so that kids can easily reach everything without risking knocking anything over.
- Mix water with the watercolor paint and apply generously to the tree.
- We used a rainbow pattern for our tree, so it may be helpful to either have a color wheel on hand or keep repeating the order of the color wheel.
- In between colors, thoroughly clean the brush by swirling it in water and then wiping on the rag or paper towels when switching colors. Apply the paint in a rainbow pattern until all branches have
- For us, we decided to do each branch in one color - but this is supposed to be an open ended activity so have fun! Add glitter, glitter paint, glue on pom poms - your imagination is the only limit with this craft!
- Let the tree dry fully before adding on ornaments or additional decor.
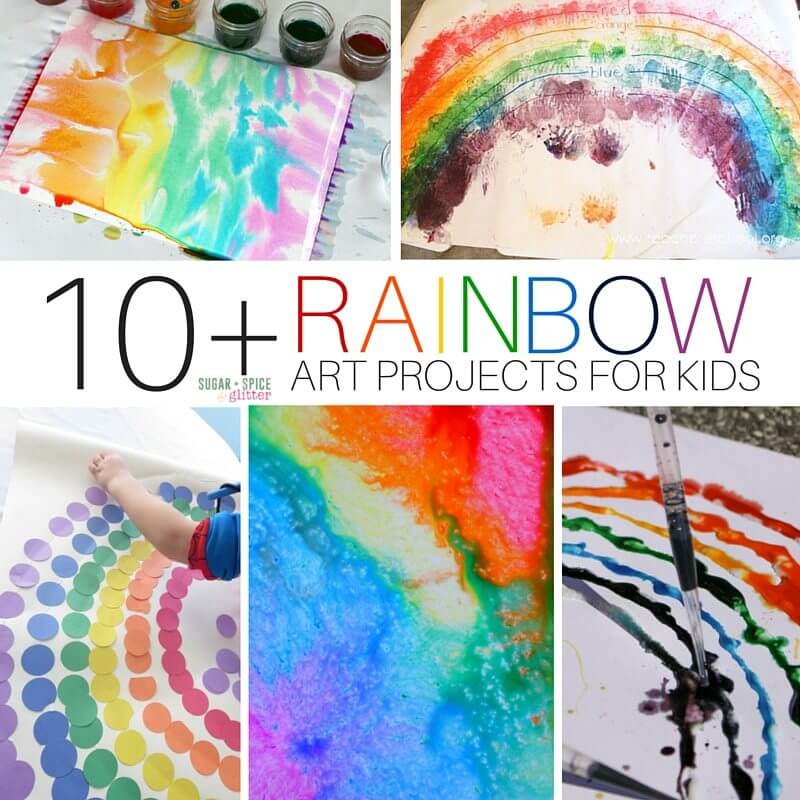
For more awesome rainbow art ideas, check out our Paper Plate Rainbow Loom or these 10+ Rainbow Art Activities for Kids.