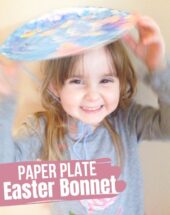
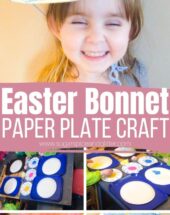
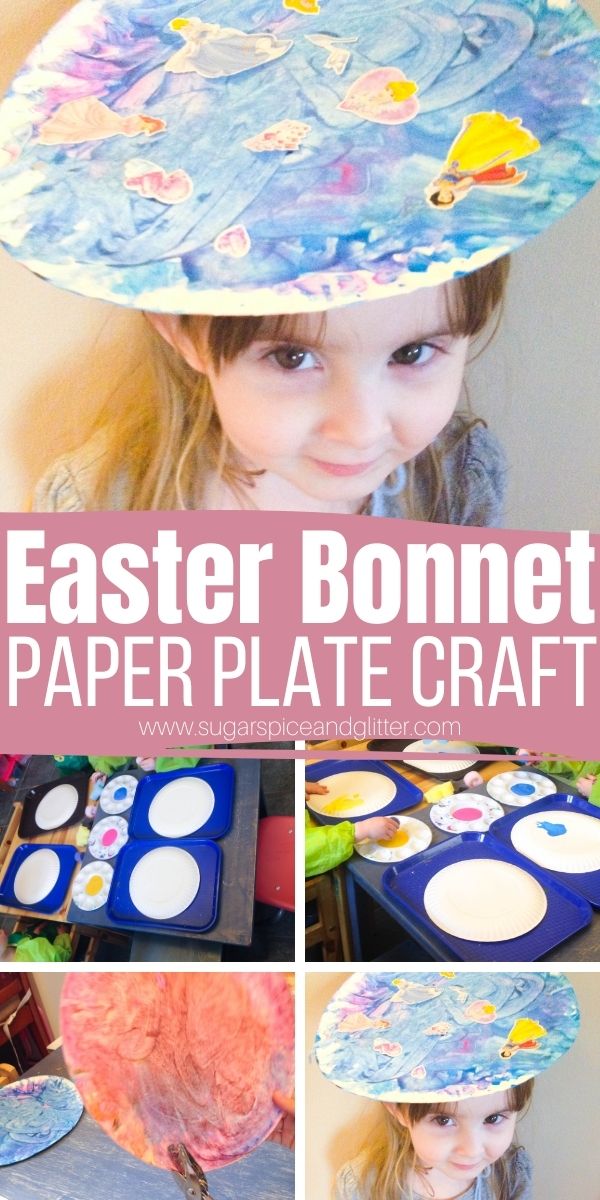
Paper Plate Easter Bonnets
Welcome to Sugar, Spice & Glitter! Please note, this post may contain affiliate links. For more details, see our Full Disclosure.
A super simple Easter craft for kids, these Paper Plate Easter Bonnets are so easy for kids to customize and make their own – no matter how old your littles are!

Paper Plate Easter Bonnet Craft
It’s always so interesting for me which crafts my daughter looks back on with fondness.
It’s rarely ever the Pinterest-perfect crafts or the ones that I splurged on expensive materials for. Usually, it’s the super simple crafts that she and our daycare kids would make, sitting around the kitchen table, going crazy with paint, sticks, glue and other inexpensive materials.
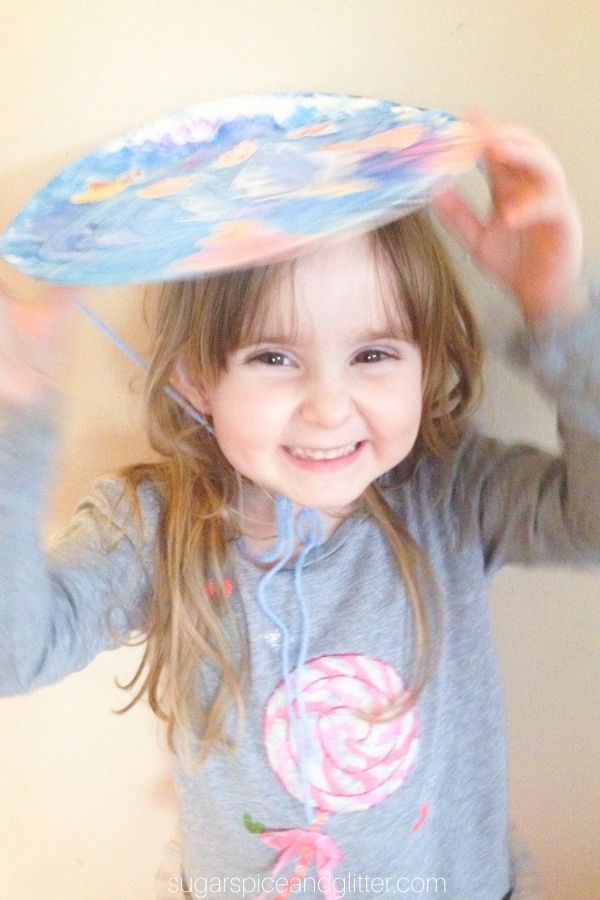
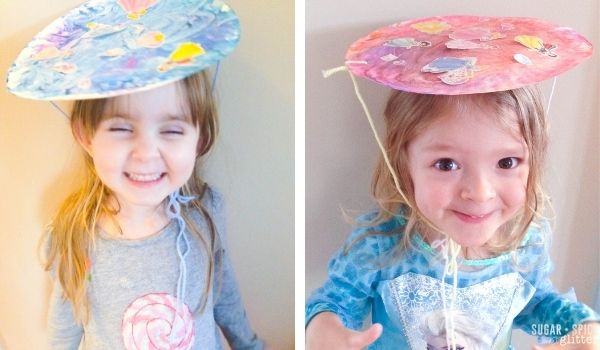
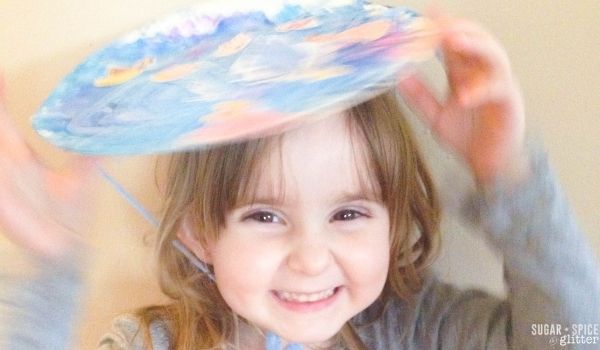
She recently reminded me about these Paper Plate Easter Bonnets and how much fun they had not just creating their unique “Easter hats” but the little dance party we had afterwards with all of the kids excitedly jumping around and showing off their creations. The pictures are old and not the best quality – but those smiles and the excitement speak for themselves.
All of the kids got to decorate their bonnets using a variety of odds and ends that we had on hand: feathers, gems, pom poms, etc. Ella and Miss N both were going through a serious Disney Princess phase (it was the height of Frozen fever) so they both opted to cover their bonnets with princess stickers and let me tell you – they were just as happy wearing those paper plate hats as they would have been wearing overpriced plastic tiaras.
If you want your paper plate bonnets to last longer, you can laminate them after the kids have finished decorating them if they used flat decorations. (Laminate after the paint has dried if they plan to use 3D decorations.)
This is the laminator I use, and I just buy the super cheap packages of laminate sheets from Amazon. It costs about 13 cents a sheet to laminate, which is a small price to pay to prevent tears over the bonnets ripping. (Although these are simple enough that the kids can just make several as back-ups.)
More Easy Easter Crafts for Kids
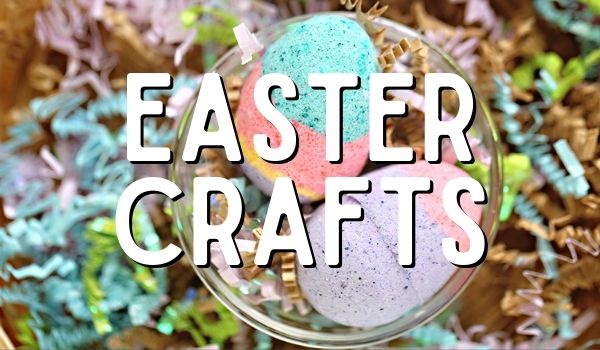
- Easter Egg Bath Bombs
- DIY PEEPS Crayons
- Easter Egg Puffy Paint Craft
- Spring Waldorf Hand Kite
- 50 Easter Egg Decorating Ideas
- Easter Bunny Corner Bookmark
For even more fun Easter Ideas, check out our Easter Planning eBook, featuring 32 of our favorite Easter crafts, recipes and decor ideas – it’s free for e-mail subscribers:

Materials for Paper Plate Bonnets
- Paper Plates
- Stickers, acrylic gems or another embellishments
- Glue
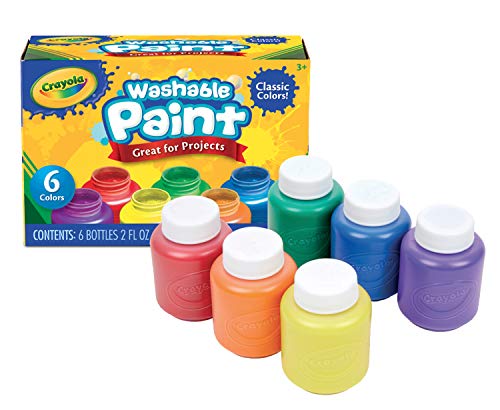
- Washable Paints
- Paintbrushes or Sponges
- Hole Punch
- Yarn or Ribbon
- Sticks or other adornments
How to Make Easter Bonnets with Paper Plates
Have your children paint the paper plates using the paintbrushes and sponges. Allow the paint to dry for a couple of hours, so that the adornments can stick to a dry surface.
Decorate the bonnet with flowers, pom poms, stickers – whatever you have on hand.
Use the hole punch to make two even holes 1″ from the edge of the plate, on opposite sides of the plate.

Thread the yarn through one side of the plate, using the hole. Tie a double knot big enough for the yarn to be secured in the paper plate or tie around the edge of the plate.
Measure out how much of a length you will need by placing it on your child’s head and stretching the yarn underneath their chin and around their head to the second hole. Cut to a length that firmly keeps the bonnet on your child’s head without hurting their neck or chin. Tie securely and cut off the excess yarn.
Pin this Easy Paper Plate Easter Craft to keep the kids happy and busy:
Grab your free printable instructions for our Paper Plate Easter Bonnet craft:
Want to Save This Recipe?
Enter your email & I'll send it to your inbox. Plus, get great new recipes from me every week!
By submitting this form, you consent to receive emails from Sugar, Spice and Glitter.
Paper Plate Easter Bonnets
A super simple Easter craft for kids, these Paper Plate Easter Bonnets can be as simple or as ornate as your kids want. Provide a variety of craft odds and ends to allow them to be as creative as they desire.
Materials
- Paper Plates
- Stickers, acrylic gems or another embellishments
- Glue
- Washable Paints
- Yarn or Ribbon
- Sticks or other adornments
Tools
- Paintbrushes or Sponges
- Hole Punch
Instructions
- Have your children paint the paper plates using the paintbrushes and sponges. Allow the paint to dry for a couple of hours, so that the adornments can stick to a dry surface.
- Decorate the bonnet with flowers, pom poms, stickers - whatever you have on hand.
- Use the hole punch to make two even holes 1" from the edge of the plate, on opposite sides of the plate.
- Thread the yarn through one side of the plate, using the hole. Tie a double knot big enough for the yarn to be secured in the paper plate or tie around the edge of the plate.
- Measure out how much of a length you will need by placing it on your child's head and stretching the yarn underneath their chin and around their head to the second hole. Cut to a length that firmly keeps the bonnet on your child's head without hurting their neck or chin. Tie securely and cut off the excess yarn.
Recommended Products
As an Amazon Associate and member of other affiliate programs, I earn from qualifying purchases.

I hope your kids love getting to make their own Easter Bonnets as much as mine did!
For more Easter crafts, check out our full collection here:
To check out our full collection of kids’ crafts, see our full collection here: