Rainbow Paper Plate Wind Spinner
Welcome to Sugar, Spice & Glitter! Please note, this post may contain affiliate links. For more details, see our Full Disclosure.
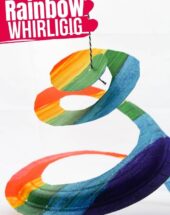
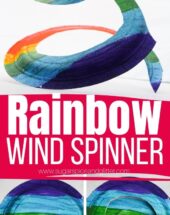
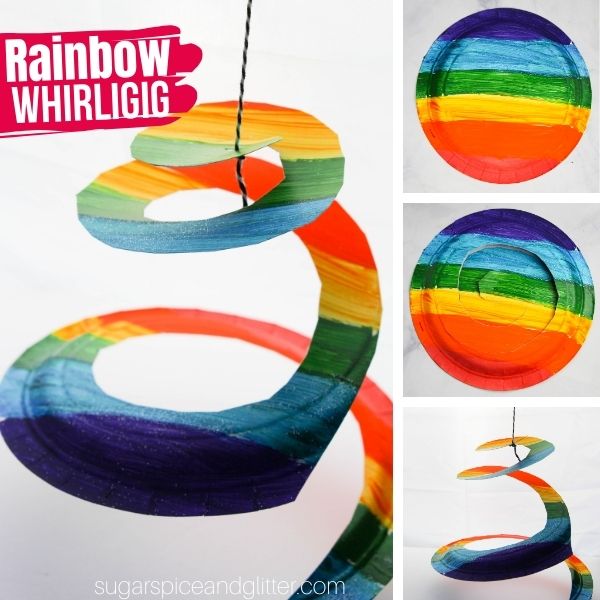
A fun and easy rainbow craft for kids, these Rainbow Wind Spinners are a quick craft for a rainy day that twist and twirl when they catch a gust of wind.
DIY Wind Spinner Craft
Do you call these whirligigs or wind spinners?
I think whirligig is such a fun name that evokes thoughts of fantastical Roald Dahl books, but I’m pretty sure no one would know what you’re talking about if you said you made whirligigs with the kids today. (But maybe that can be part of the fun!)
These rainbow paper plate whirligigs are so incredibly easy to make – and once you make one, you can quickly turn out dozens of them. You could have a whole window full of these twirly, magical paper plate wind spinners, all with unique, fun designs.
(I’ve since made these Love Bug Paper Plate Twirlers and Starry Night Sky versions for my friend Maggie’s site.)
My daycare kids love watching their DIY wind spinners twirl in the wind as they fall asleep for nap time and I think the glitter paint really adds to the magic.
More Paper Plate Crafts for Kids
- Stained-Glass Paper Plate Tambourines
- Paper Plate Rainbow Mobile (a craft I made for my friend Krissy over at B-Inspired Mama)
- DIY Paper Plate Loom Yarn Art
- You Are My Sunshine Spinning Paper Plate Craft from the Soccer Mom Blog
DIY Wind Spinner Materials
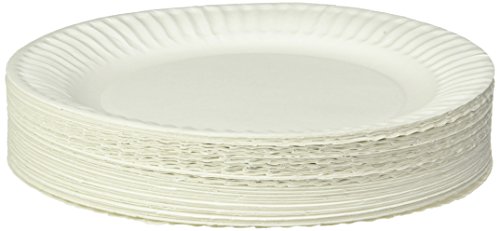
- Paper Plate
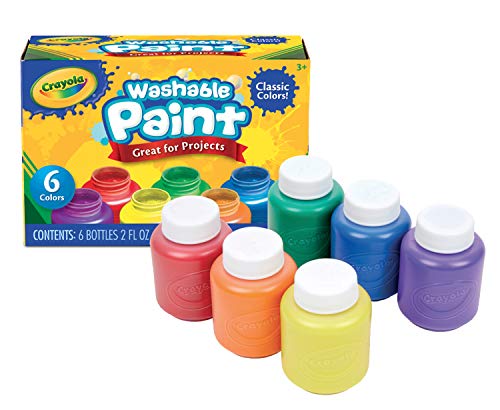
- Washable Paint in all rainbow colors
- Paintbrushes
- Scissors <– these are the ones we have and they have lasted for years in our daycare, and unlike some other safety scissors – they actually cut things!
- Embroidery Thread or String
Tip: I highly recommend grabbing a couple of these sturdy plastic lunch trays. I use these for almost all of our craft or kitchen activities, as well as in our Montessori practical life activities. Ours have lasted for over 6 years and are still going strong, plus they are so great for containing messes and allowing the kids to set a project to the side while it dries (or if you have to clear off the table for supper).
How to Make a Whirligig
Set out rainbow paints and the paper plates on a protected surface.
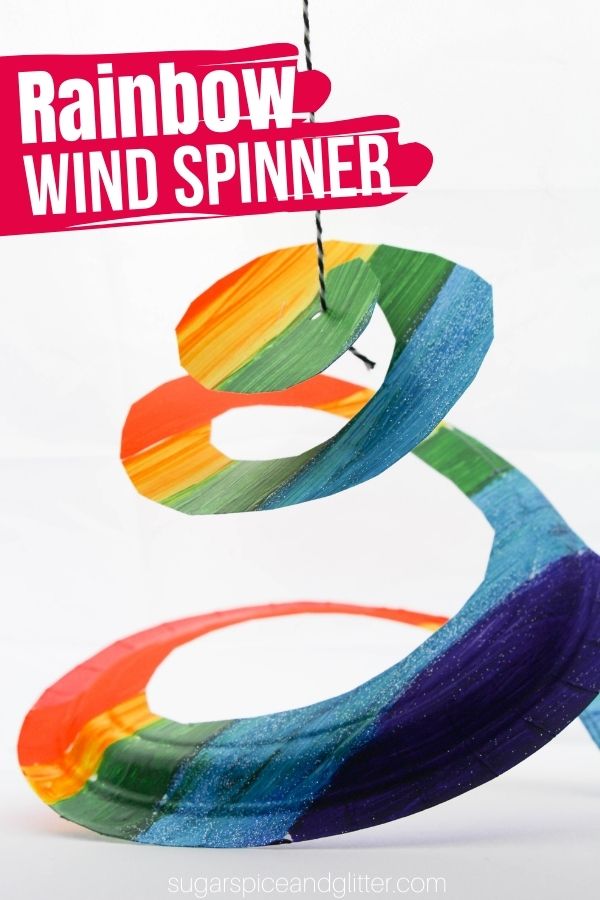
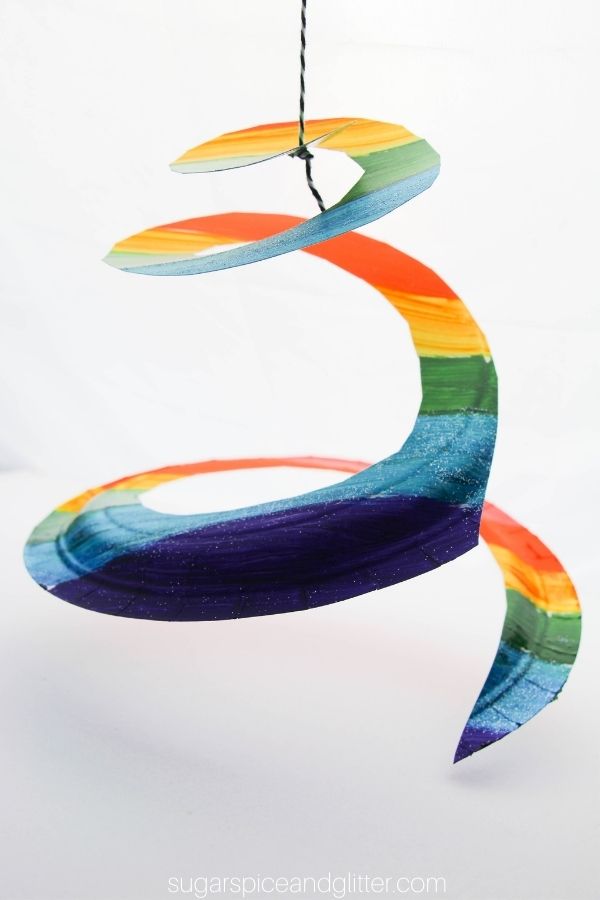
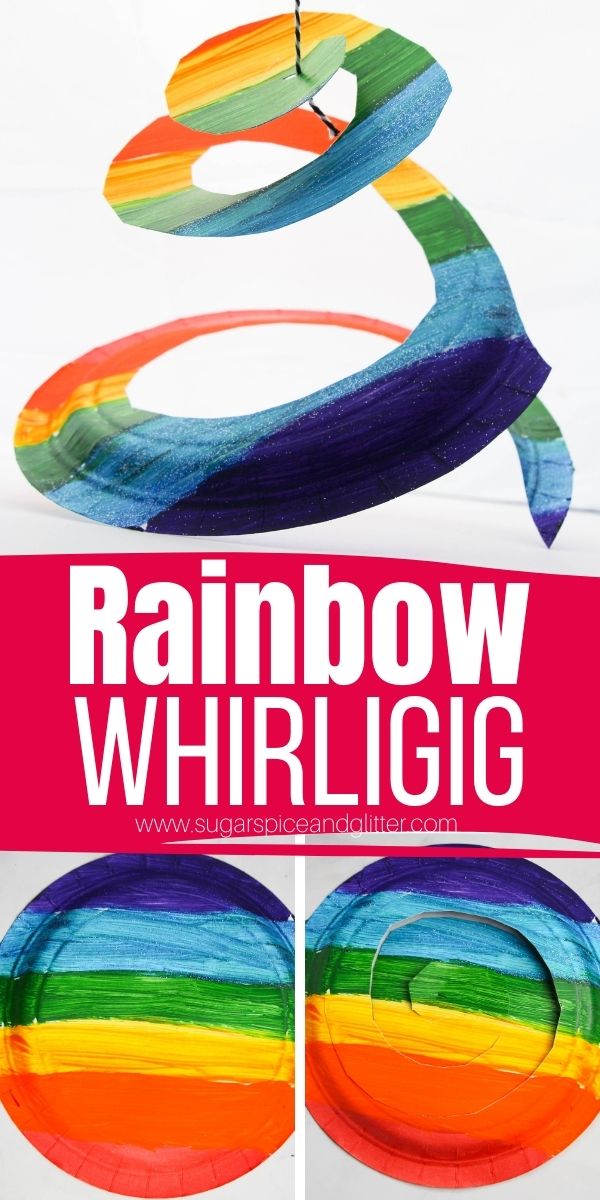
Provide your children with paintbrushes and encourage them to paint with all of the rainbow colors, however they see fit. (I just did a striped rainbow pattern for this example craft.)
Once they are done painting their rainbow paper plate, allow the paint to dry. You may need to add more than one coat if your paint is opaque or the paper plate absorbs some of the paint.
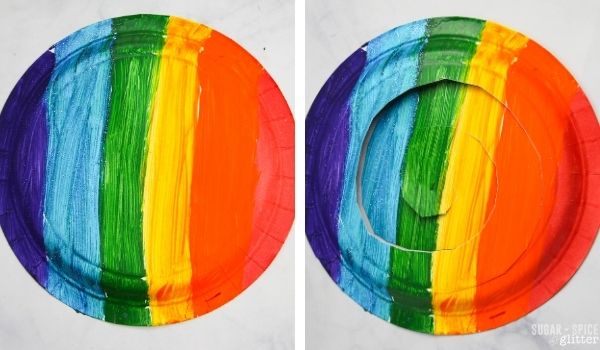
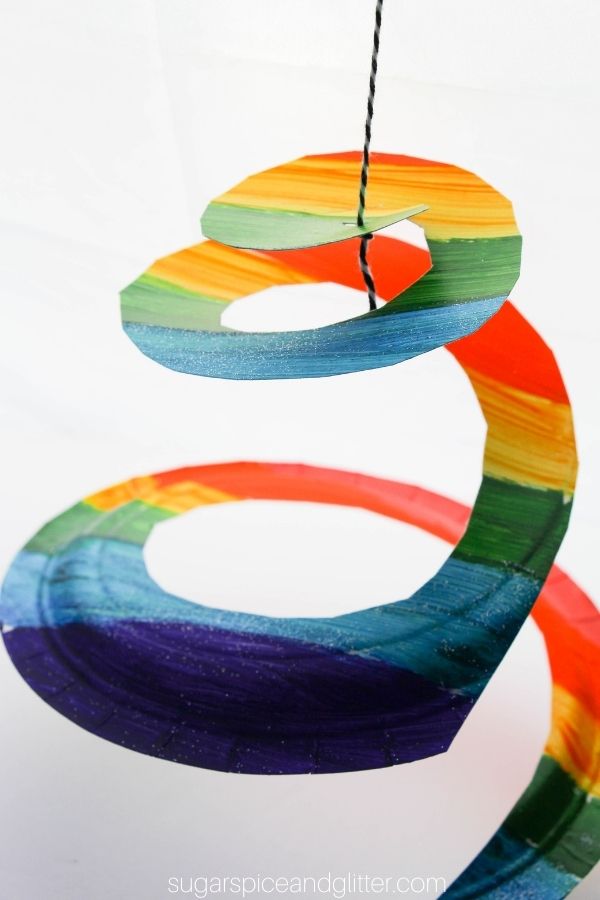
Working from the outer edge of the paper plate, cut a swirl pattern into the plate, leaving a 2″ circle in the middle. (As shown.)
Poke a hole in the center of the circle and thread your embroidery thread or string through it. Secure with a double knot.
Hang your wind spinner in front of a window or somewhere where it will catch gusts of wind.
Pin this Easy Paper Plate Wind Spinner for a fun rainy day craft:
Grab your free printable instructions for our rainbow paper plate spinners:
Want to Save This Recipe?
Enter your email & I'll send it to your inbox. Plus, get great new recipes from me every week!
By submitting this form, you consent to receive emails from Sugar, Spice and Glitter.
Rainbow Paper Plate Wind Spinner
A fun and easy paper plate craft for kids, these rainbow wind spinners or whirligigs are super simple to make and are absolutely mesmerizing for young kids to watch as they twist and twirl in front of a window. There are so many unique ways you can decorate your own DIY wind spinners.
Materials
- Paper Plate
- Washable Paint in all rainbow colors
- Embroidery Thread or String
Tools
- Paintbrushes
- Scissors
Instructions
- Set out rainbow paints and the paper plates on a protected surface.
- Provide your children with paintbrushes and encourage them to paint with all of the rainbow colors, however they see fit. (I just did a striped rainbow pattern for this example craft.)
- Once they are done painting their rainbow paper plate, allow the paint to dry. You may need to add more than one coat if your paint is opaque or the paper plate absorbs some of the paint.
- Working from the outer edge of the paper plate, cut a swirl pattern into the plate, leaving a 2" circle in the middle. (As shown.)
- Poke a hole in the center of the circle and thread your embroidery thread or string through it. Secure with a double knot.
- Hang your wind spinner in front of a window or somewhere where it will catch gusts of wind.
Recommended Products
As an Amazon Associate and member of other affiliate programs, I earn from qualifying purchases.


I hope your kids love getting to make their own paper plate wind spinners as much as my daycare kids did! Let me know what fun design ideas you come up with!
Check out our full collection of craft ideas here:

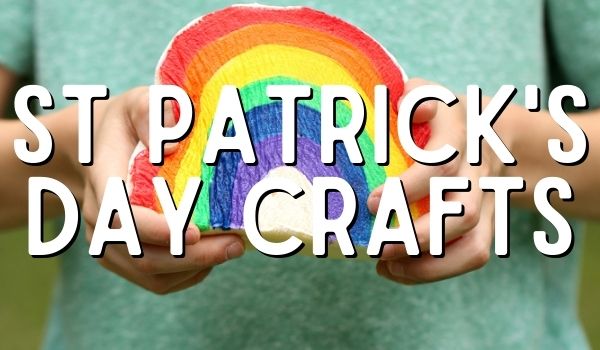
Or, for more rainbow-inspired crafts, check out our collection of St Patrick’s Day crafts for kids: