
Rainbow Floam Slime (with Video)
Welcome to Sugar, Spice & Glitter! Please note, this post may contain affiliate links. For more details, see our Full Disclosure.


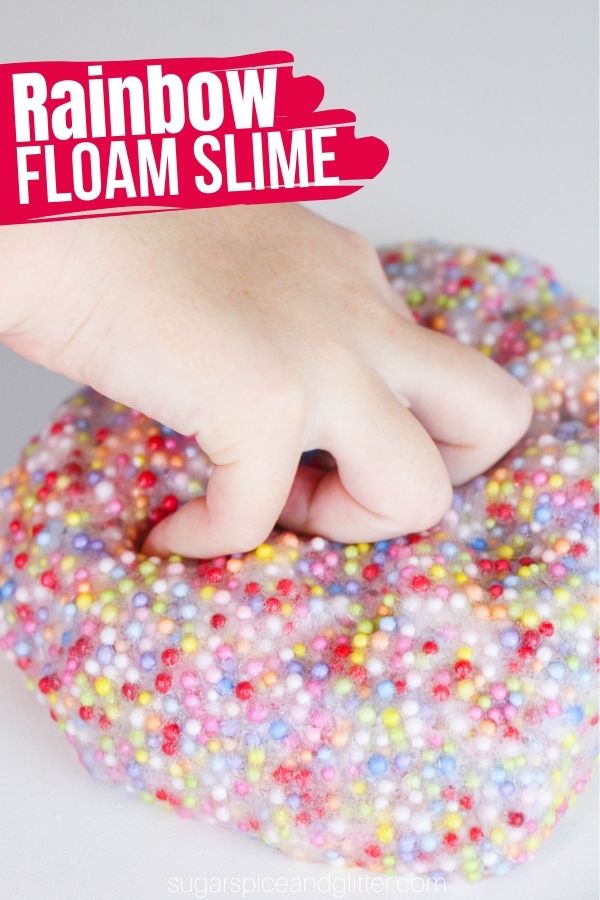
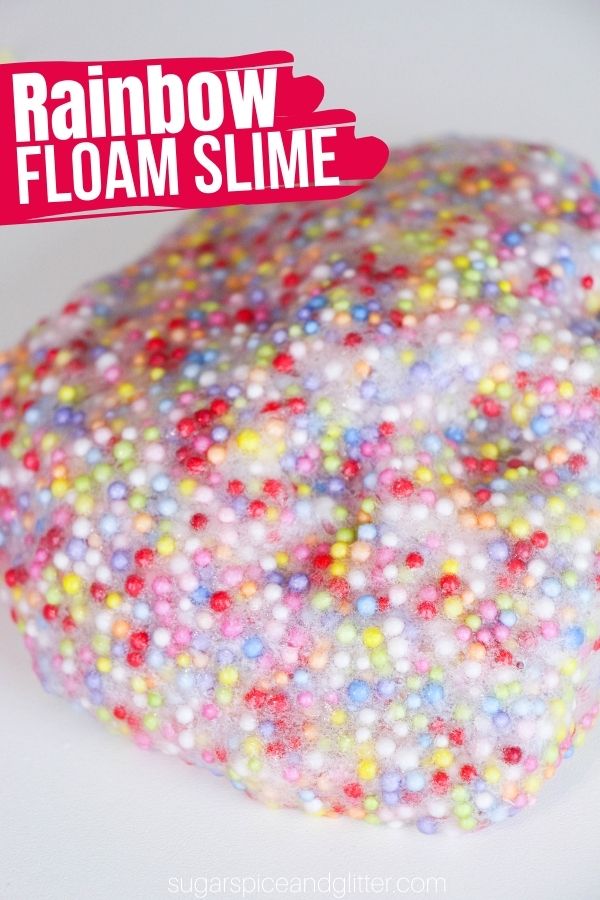
An easy homemade floam recipe, this Rainbow Floam Slime is squishy and stretchy with an amazing texture that kids just love. Perfect for any occasion that calls for rainbows, or for an Inside Out movie night.
Rainbow Floam Recipe
A few years ago, one of my daughter’s friends gifted her a bag of these rainbow styrofoam balls in a birthday gift. They were so pretty, but I couldn’t for the life of me come up with an idea for how to use them!
If added to a sensory bin, they stuck to everything and were just impossible to clean up. I tried turning them into homemade stress balls by funnelling some into an empty balloon, which worked well… until the balloon got a hole in it and I had rainbow foam balls stuck to everything in my daughter’s room.
Then I started seeing pricey slime kits showing the rainbow beads as being used to make a fun, textured slime – and that seemed like the perfect solution.
This homemade floam slime has the wonderful, bumpy texture of floam paired with the squishy, stretchy qualities of slime.
If you don’t already have rainbow foam beads on hand – or don’t want to buy them – you can swap in rainbow-colored beads or confetti. Just note, that the styrofoam gives a bit of a textured surface for the slime to adhere to, so the foam beads don’t pop out of the slime. When we’ve made slime with beads before, they will occasionally fall out and need to be kneaded back in. (Playing over a container or tray can help contain the mess.)
This slime would be perfect for a rainy day, rainbow party, St Patrick’s Day or an Inside Out-themed movie night activity.

Slime can require a bit of experimentation and patience, especially if you’re still new to it. If you run into any slime fails, check out this troubleshooting post to help fix your slime.
More Disney-inspired Sensory Play Ideas:
- Frozen Slime
- Queen of Hearts Slime
- Inside Out Edible Rainbow Sensory Bin
- Princess and the Frog Play Dough Kid
- Circle of Life Yoga Series for Kids
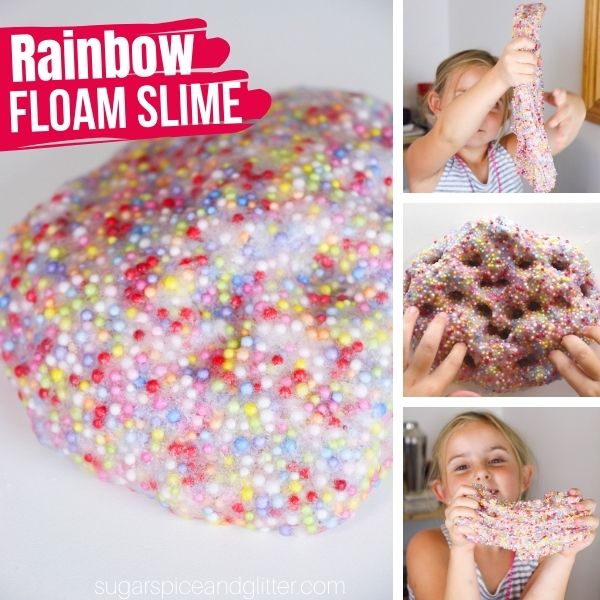
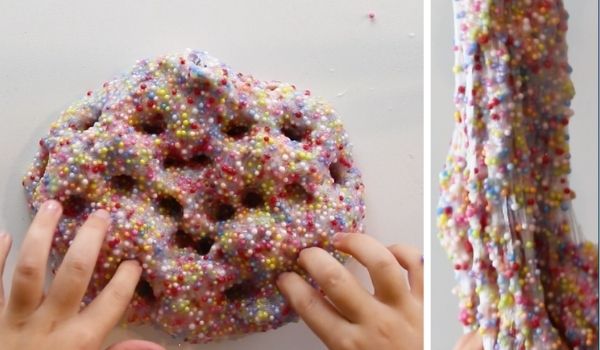
Check out our video of Ella making and playing with our DIY Rainbow Floam – and then don’t forget to scroll down to grab your free printable recipe card:
If you’re looking for the ultimate slime guide – you need to check out our Slime Book with over 40 amazing, unique slimes:
You can also purchase The Slime Book on Amazon!
Rainbow Floam Slime Ingredients
- Clear Glue
- Water
- Baking soda
- Contact solution <– this is the brand we use, it must contain boric acid to work as a slime activator
- Rainbow Foam Balls
Scroll down to the printable recipe card for full measurements.
Tip: I highly recommend grabbing a couple of these sturdy plastic lunch trays. I use these for almost all of our craft or kitchen activities, as well as in our Montessori practical life activities. Ours have lasted for over 6 years and are still going strong, plus they are so great for containing messes and allowing the kids to set a project to the side while it dries (or if you have to clear off the table for supper).
Kitchen Tools You May Find Helpful
- Measuring Cups and Spoons
- Mixing Bowl
- Container to Store Slime

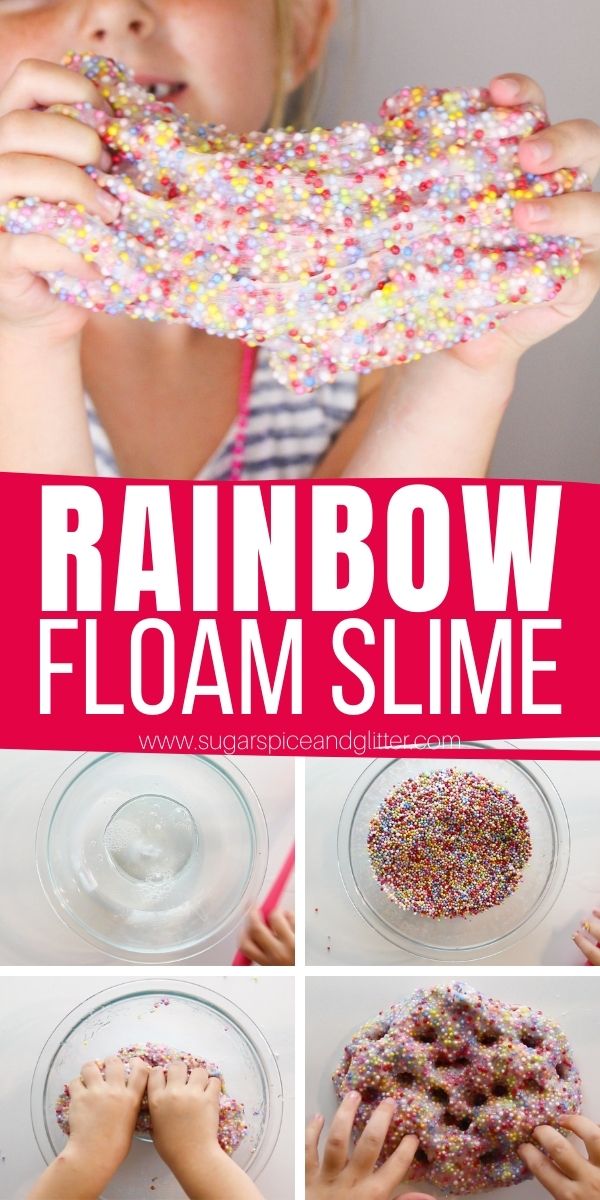
How to Make Rainbow Floam Slime
Pour the clear glue into a bowl and stir in the water.
Stir in the baking soda until dissolved, then stir in the contact solution.

Pour in the rainbow foam balls and stir to combine and coat with the glue solution fully. Add more balls, as needed.
Knead the slime for 2 minutes, until it is no longer sticky. Add more contact solution or water as needed. (The contact solution will reduce stickiness and stiffen the slime, while water will make it a bit more stretchy.)

The foam balls will mostly stay in the slime, but a few may come loose. They can be easily kneaded back in.
The rainbow foam slime can be kept in a sealed container for up to a month. You may have to knead the slime for a minute after it’s been sitting in the container. If it’s still really sticky after kneading, add a small squirt of the contact solution and knead in.

Pin this Rainbow Slime for a fun rainy day activity:
Grab your free printable instructions for our rainbow floam slime recipe:
Want to Save This Recipe?
Enter your email & I'll send it to your inbox. Plus, get great new recipes from me every week!
By submitting this form, you consent to receive emails from Sugar, Spice and Glitter.
Rainbow Floam Slime
A fun homemade slime recipe with a great texture and bright pops of color, this homemade Floam slime combines the squishy, stretchy fun of slime with the bumpy, moldable texture of Floam. You can also make this Floam slime with rainbow colored beads or confetti.
Materials
- 1 6-8oz bottle Clear Glue
- 1/4 cup Water
- 1-2 teaspoons Baking soda
- 2-3 Tablespoons Contact solution
- 2 cups Rainbow Foam Balls
Tools
- Measuring Cups and Spoons
- Mixing Bowl
- Container to Store Slime
Instructions
- Pour the clear glue into a bowl and stir in the water.
- Stir in the baking soda until dissolved, then stir in the contact solution.
- Pour in the rainbow foam balls and stir to combine and coat with the glue solution fully. Add more balls, as needed.
- Knead the slime for 2 minutes, until it is no longer sticky. Add more contact solution or water as needed. (The contact solution will reduce stickiness and stiffen the slime, while water will make it a bit more stretchy.)
- The foam balls will mostly stay in the slime, but a few may come loose. They can be easily kneaded back in.
- The rainbow foam slime can be kept in a sealed container for up to a month. You may have to knead the slime for a minute after it's been sitting in the container. If it's still really sticky after kneading, add a small squirt of the contact solution and knead in.
Recommended Products
As an Amazon Associate and member of other affiliate programs, I earn from qualifying purchases.


I hope your kids love playing with this rainbow floam slime as much as mine did!
For more fun slime recipes, check out our full collection here.


One Comment