Felt Witch’s Hat Pencil Topper Sewing Project
Welcome to Sugar, Spice & Glitter! Please note, this post may contain affiliate links. For more details, see our Full Disclosure.

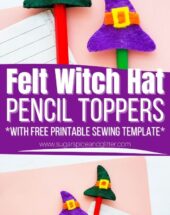
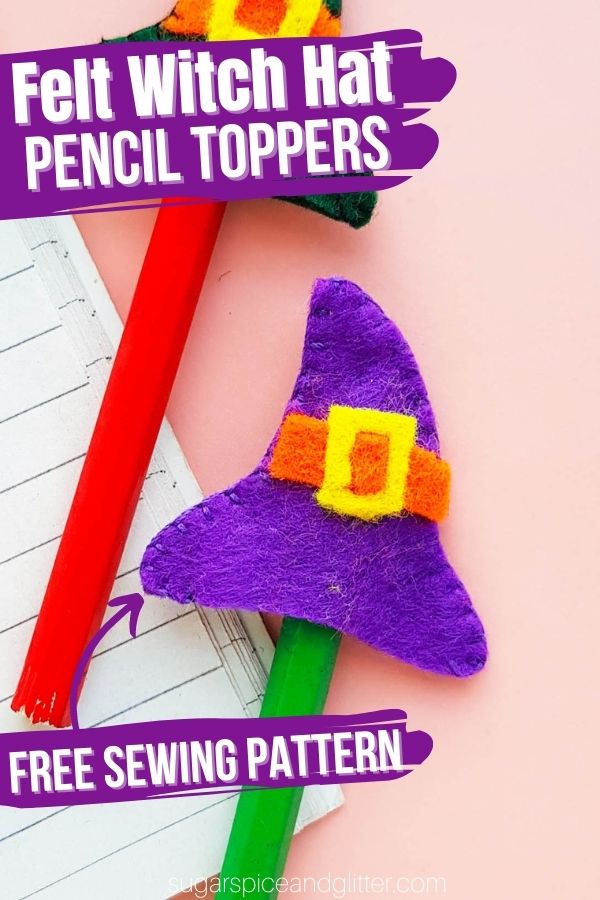
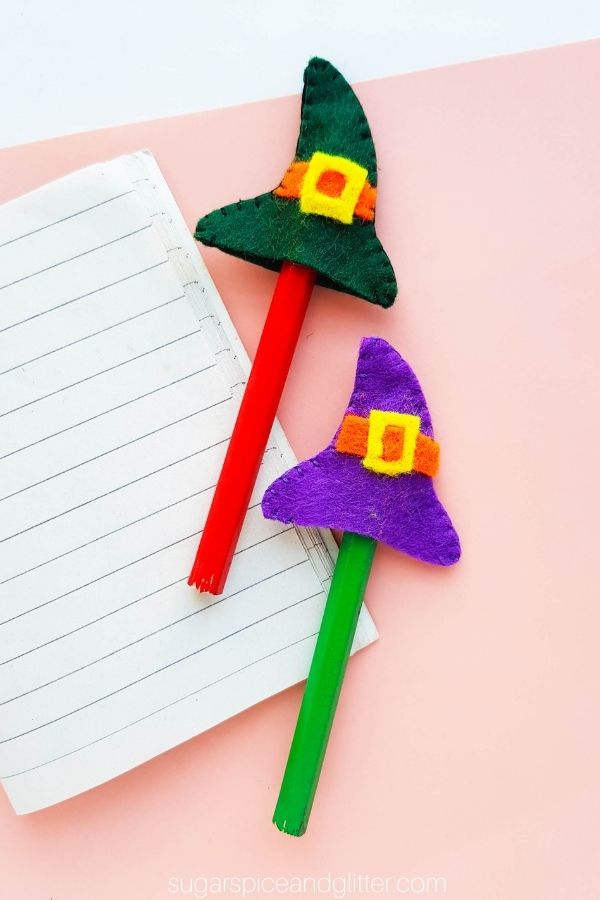
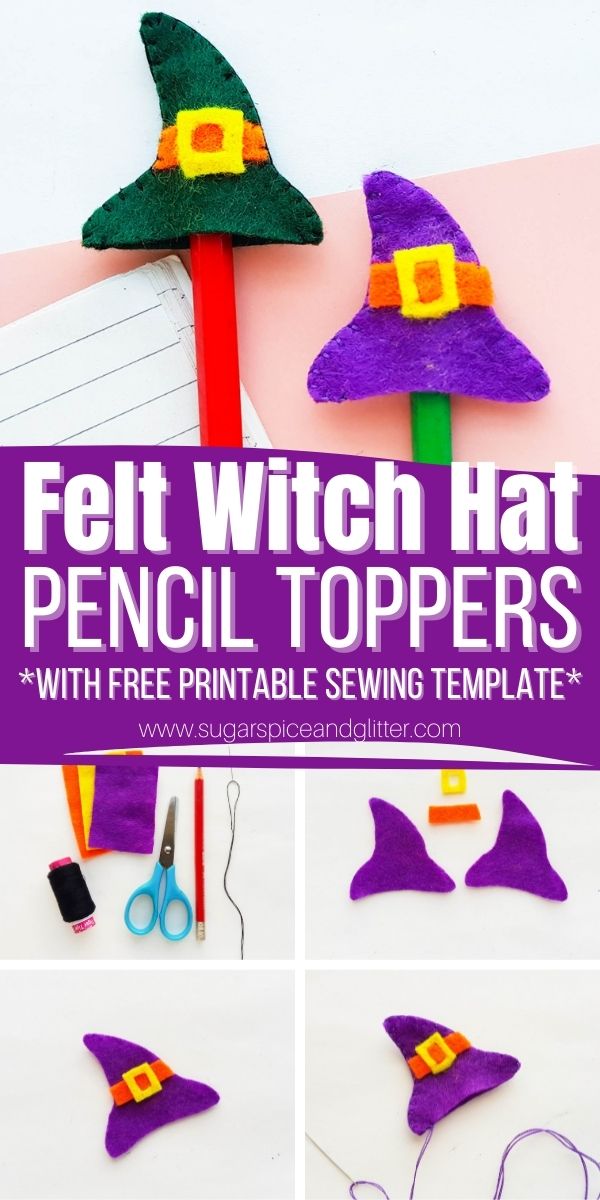
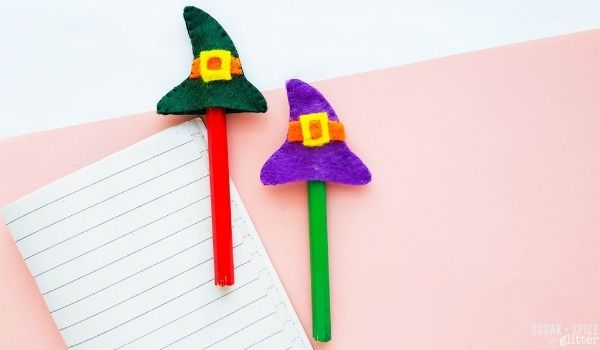
A quick and easy Halloween Sewing Project for Kids, today’s Felt Witch Hat Pencil Toppers are a fun way to add some Halloween flair to your child’s school supplies or desk.
Witch Hat Sewing Craft for Kids
My daughter Ella has been obsessed with The Worst Witch TV series and books for a couple of years now. She has read all 8 books and eagerly awaits each new season of the show.
Since the latest season has been delayed (like most of our favorites during the pandemic), I thought making a fun witch-themed craft for our latest sewing project would be perfect!
We’ve made several of these felt pencil topper crafts over the years – Ella loves making a few and handing them out to her friends so they can have matching “school accessories.” She can usually whip up 3 or 4 in about an hour.
Of course, you don’t have to use this pattern to make pencil toppers – you can use the pattern to:
- make witch hats for your child’s favorite small stuffed animals or figurines
- attach the witch hat to a headband or hair clip
- add a keychain for a backpack charm
- make a mini bunting banner by attaching several witch hats to a ribbon or string
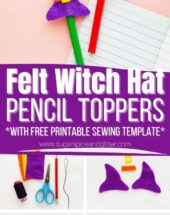
Whenever we need to cut out intricate shapes from felt, I always grab some freezer paper and use the freezer paper trick to cut out our felt shapes, but good-quality felt and a sharp pair of scissors also makes all the difference.
This Witch Hat Pencil Topper is a great sewing project for kids, no matter their level of sewing ability. I’ve provided a free printable template for you to cut the pattern out from, and then you just need to know how to do a basic whip stitch. You can use a cross-stitch to attach the hat’s ribbon and buckle, or just glue them in place with fabric glue.
More Halloween Sewing Projects for Kids
- Felt Pumpkin
- Felt Owl
- Spider Softie from Sum of their Stories
- Halloween Sleeping Masks from Pysselbolaget
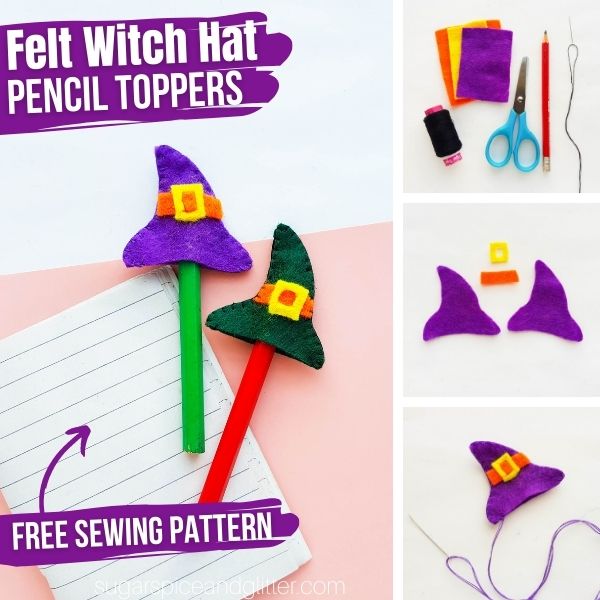
Materials for Felt Witch Hat Pencil Toppers
- Felt
- Pencil or fabric marker
- Scissors
- Freezer paper and iron (if using the freezer paper trick)
- Needle
- Thread <– match to your felt colors
- Fabric Glue, optional
- Witch Hat Sewing Pattern
How to Make Mini Felt Witch Hats
Print and cut out your sewing pattern.
Trace the hat base patterns onto your main felt color using a pencil or felt/fabric marker.

Select a felt color for the hat ribbon, trace the ribbon template onto it, and then select a felt color for the hat buckle and trace the square buckle pattern onto it.
Cut out all felt pieces.
Stitch or glue the hat buckle onto the middle of the ribbon piece.
Stitch or glue the ribbon and buckle piece to the front of one of the hat pieces, just above the brim of the hat.
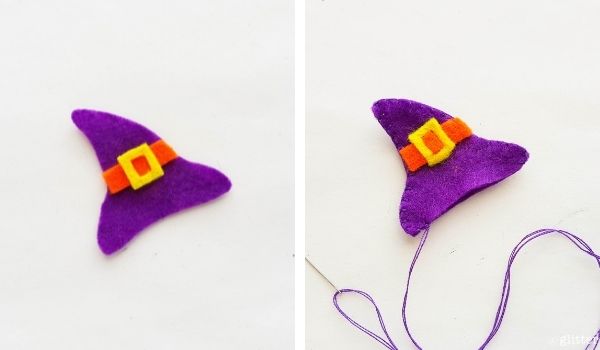
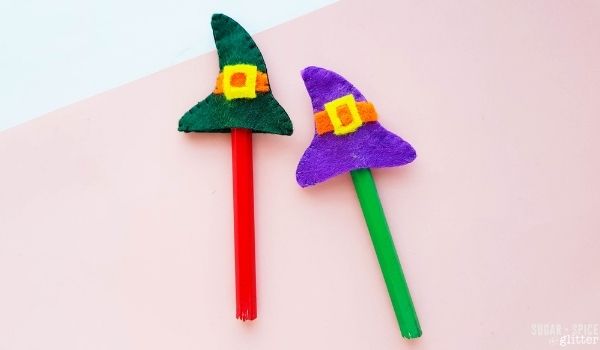
Place the second hat piece underneath the first and line up the edges.
Thread your needle with the matching thread and sew the two hat pieces together along the sides of the hat – leaving the bottom of the hat open if you intend to use these as pencil toppers.
Once you’ve reached the opposite side of the hat from the side you started from, tie a double knot and cut off the excess thread.
Pin this Easy Halloween Sewing Project for Kids:
Grab your free printable instructions for our felt witch hat sewing project – and don’t forget to grab your free printable template here:
Want to Save This Recipe?
Enter your email & I'll send it to your inbox. Plus, get great new recipes from me every week!
By submitting this form, you consent to receive emails from Sugar, Spice and Glitter.
Felt Witch's Hat Pencil Topper Sewing Project
A quick and easy Halloween sewing project for kids, this Felt Witch Hat Pencil Topper can also be used to make witch hat hair clips, backpack charms, or little hats for toys.
Materials
- Felt
- Thread
- Fabric Glue, optional
- Witch Hat Sewing Pattern
Tools
- Pencil or fabric marker
- Scissors
- Freezer paper and iron (if using the freezer paper trick)
- Needle
Instructions
- Print and cut out your sewing pattern.
- Trace the hat base patterns onto your main felt color using a pencil or felt/fabric marker.
- Select a felt color for the hat ribbon, trace the ribbon template onto it, and then select a felt color for the hat buckle and trace the square buckle pattern onto it.
- Cut out all felt pieces.
- Stitch or glue the hat buckle onto the middle of the ribbon piece.
- Stitch or glue the ribbon and buckle piece to the front of one of the hat pieces, just above the brim of the hat.
- Place the second hat piece underneath the first and line up the edges.
- Thread your needle with the matching thread and sew the two hat pieces together along the sides of the hat - leaving the bottom of the hat open if you intend to use these as pencil toppers.
- Once you've reached the opposite side of the hat from the side you started from, tie a double knot and cut off the excess thread.
Recommended Products
As an Amazon Associate and member of other affiliate programs, I earn from qualifying purchases.


I’d love to hear if your kids make these felt witch pencil toppers – or if they come up with another creative way to use these mini witch hats!
Check out our full collection of Kids’ Sewing Projects here.