
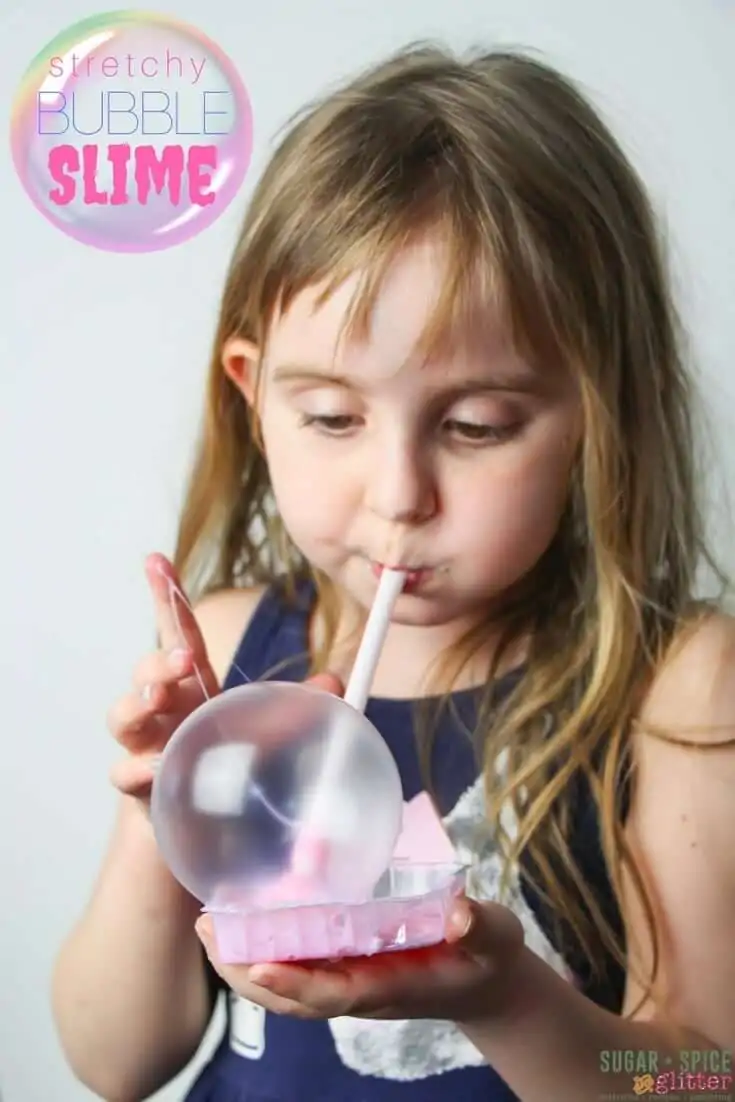
Bubble Slime
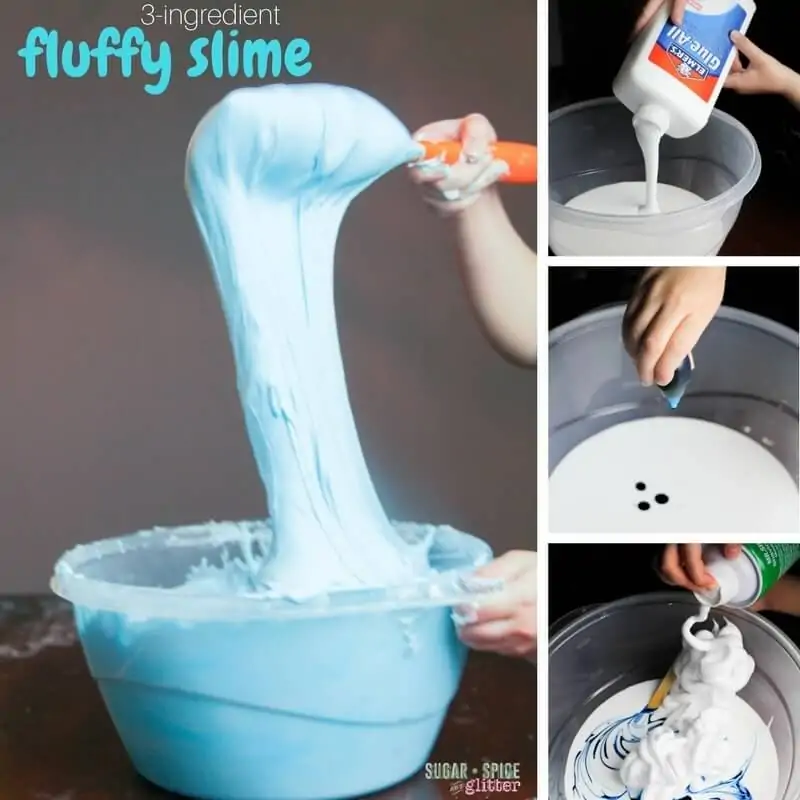
Things got a little crazy with our new fluffy slime recipe – so I thought I’d give it a couple weeks before I stirred things up again with another awesome slime recipe. This time – we’re bringing you bubble slime! A fun, stretchy slime that you can actually blow bubbles with!
So, this recipe actually came about as a “failed attempt” at making a crackly slime which we’re still trying to figure out – but it was so cool in it’s own special way and has lasted in a container for weeks so I’m not thinking of it as a failure at all.
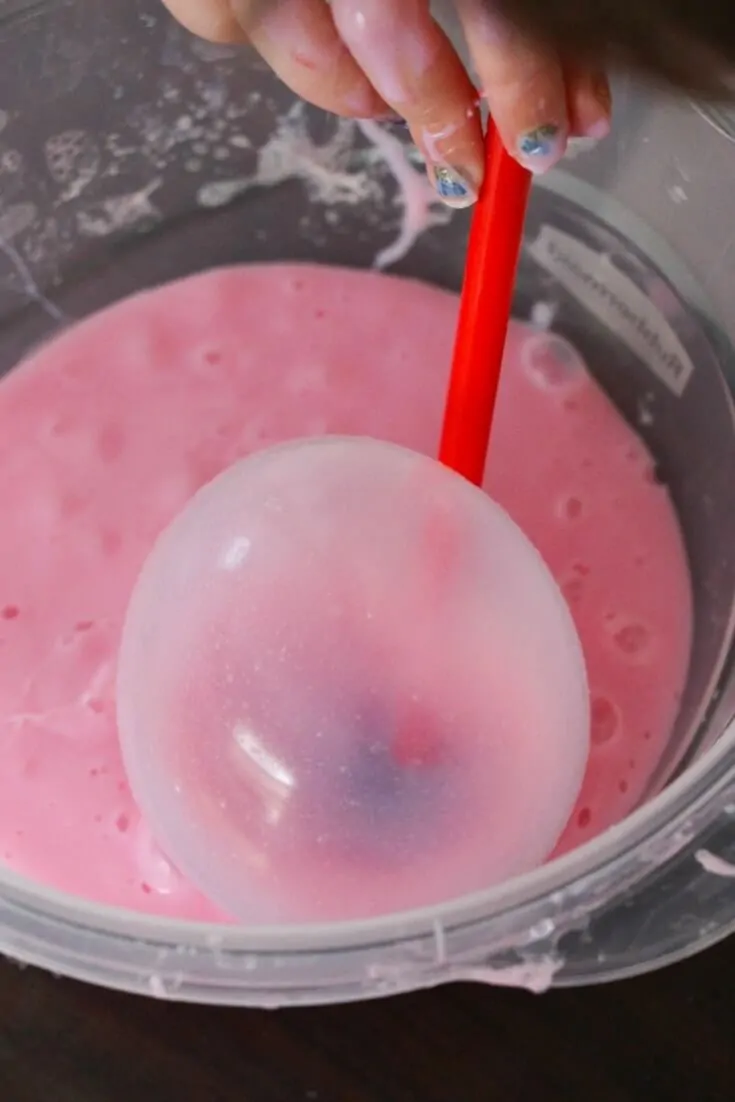
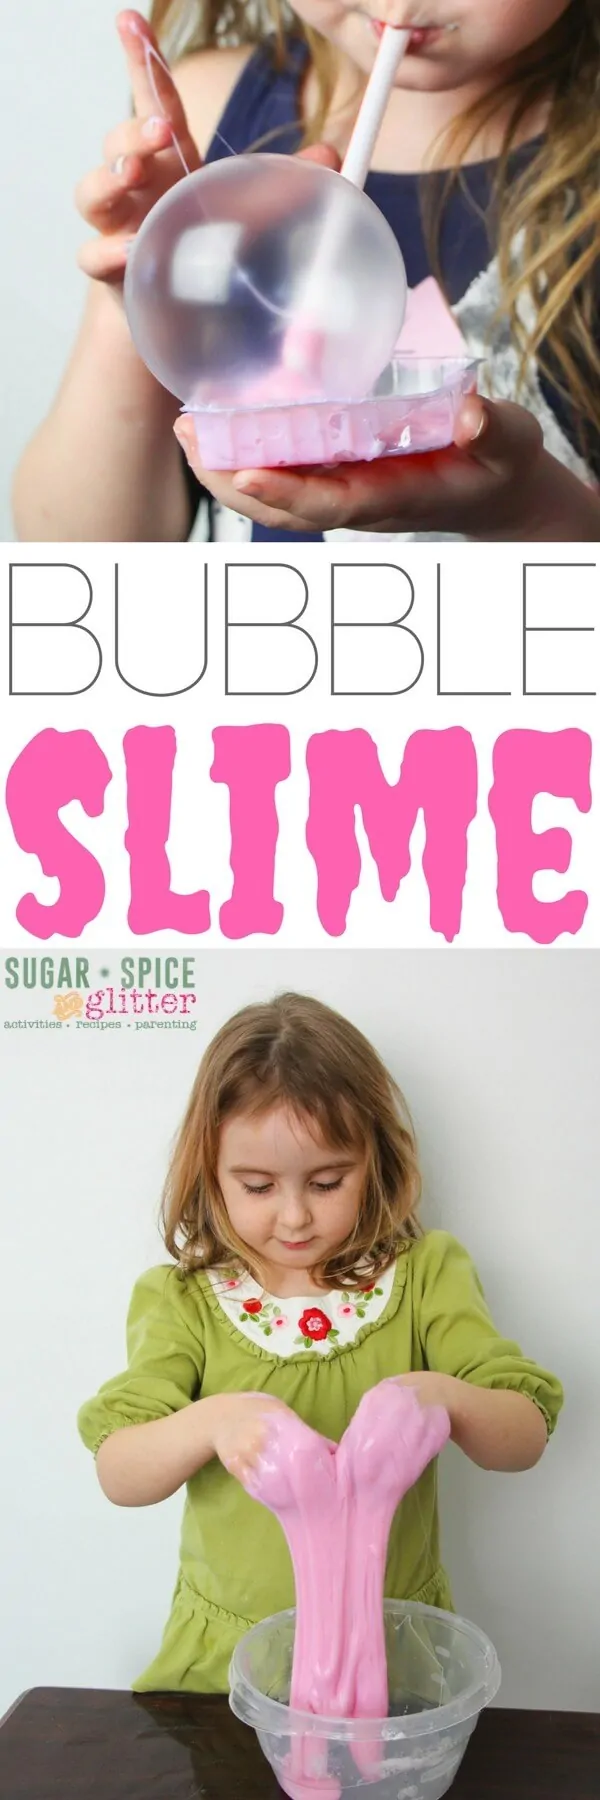
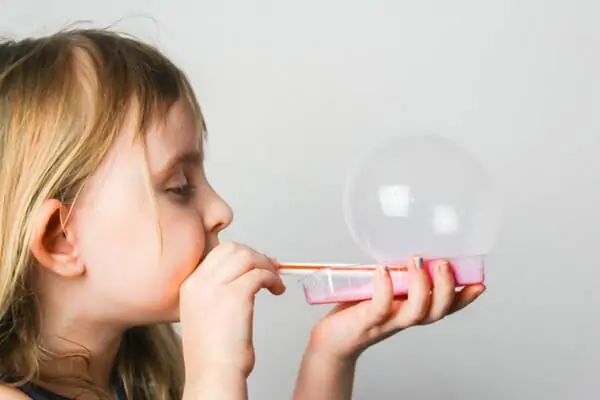
After realizing that this slime wasn’t crunchy or crackly like we wanted, we decided to just experiment with it – at one point Ella grabbed a straw and started blowing bubbles! These bubbles were touchable and stretchy – which was so fun for Ella to try to blow them as big as she could without popping them, and then grab and stretch them while they were still inflated.
This slime pulls double duty – giving some great sensory play and then making some awesome bubbles – it’s especially great for kids who need to practice sustained breath exercises (ie, asthmatic children or children with anxiety issues).
I think *most* thin slime recipes (like our rainbow slime recipe) could blow bubbles, but I love that this slime lasted so long without changing texture. (While sometimes other slimes need to be re-adjusted or kneaded after they’ve been stored for awhile.)
My friend Sarah has this awesome reusable bubble flubber that uses a different recipe which we can’t wait to try next! And if you don’t have straws on hand, my friend Trisha over at MomDot has 2 ways to blow bubbles using slime!
Slime can require a bit of experimentation and patience, especially if you’re still new to it. If you run into any slime fails, check out this troubleshooting post to help fix your slime.
Before we get to the recipe, I had to tell you that it’s finally here! I wrote The (Ultimate) Slime Book oozing with over 50 pages of stretchable, squishy sensory fun – including a year of seasonal slimes, edible slimes and unique ways to play with slime. Click here to get more details.
You can purchase The Slime Book on Amazon, Book Depository, or at your local bookstore!
Ingredients for Bubble Slime
- 1 1/2 cups of glue (we used 2 6oz bottles)
- 1 Tablespoon hand lotion
- 1 Tablespoon water
- 15 pumps foaming hand soap
- 1/2 cup shaving cream PLUS 1 handful extra
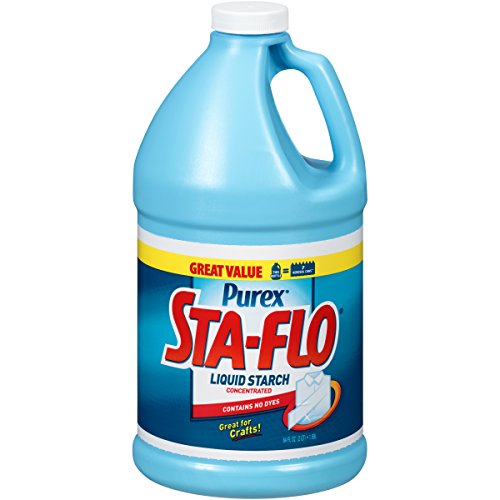
- 2-4 Tablespoons liquid starch
- Food dye, optional
- Glitter, optional
- Liquid Starch
- White glue
- Shaving cream
- Baking soda
- Contact solution <– this is the brand we use, it must contain boric acid to work as a slime activator
- Clear Glue
Scroll down to the printable recipe card for full measurements.
Tip: you can use a borax & water solution instead of liquid starch, but I personally dislike using borax in slime.
Kitchen Tools You May Find Helpful
- Plastic food storage container with lid
- Popsicle sticks for stirring the slime or Spatula <– I like these spatulas because they are one solid piece and don’t have removable heads for bacteria to get trapped underneath. Plus they are heat-resistant and have a lifetime warranty.
- Large bowl
- Measuring cups and spoons
- Vinegar, for clean-up
- Straws for blowing bubbles
How to Make Stretchy Bubble Slime
Empty your glue bottles into your mixing/storage container.
Add the water, mix well, then the hand lotion and mix well.
Add 5 pumps of the foaming hand soap at a time, stirring each addition in before adding more.
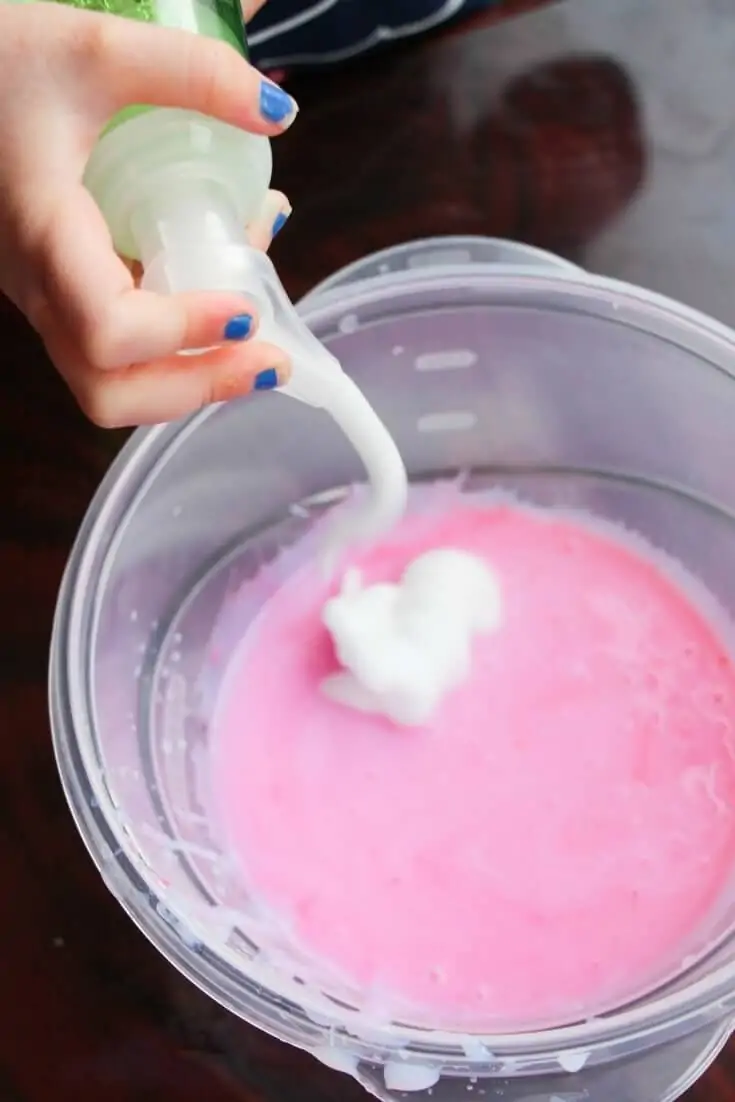
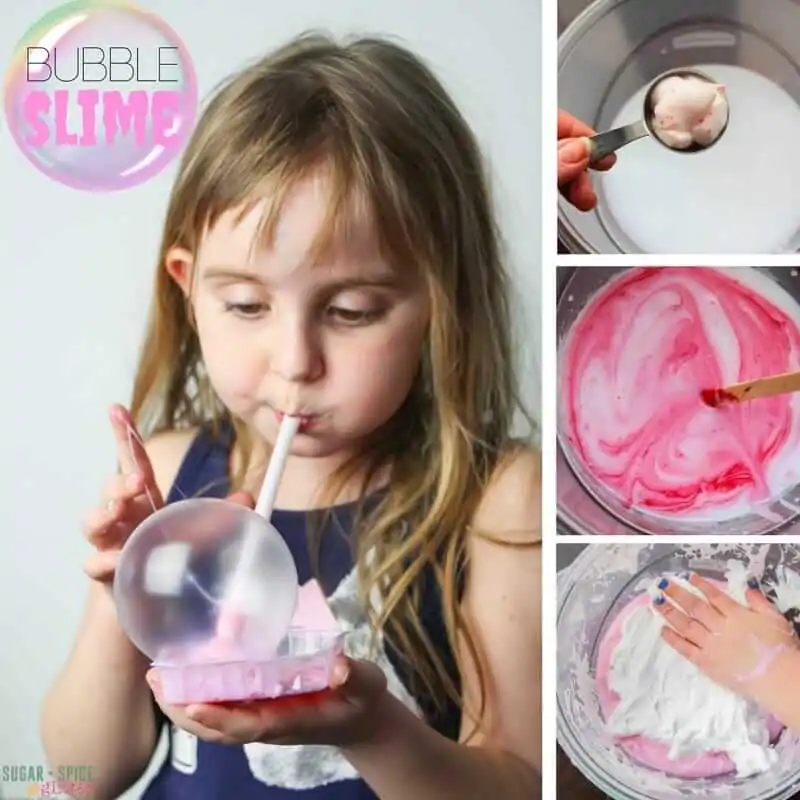
Add the food coloring and foaming shaving cream and completely mix.
Add the liquid starch slowly – 1 Tablespoon at a time and stirring well in between each addition. Watch how your slime forms with each addition – you want it to be cohesive and pulling away from the sides of the container.
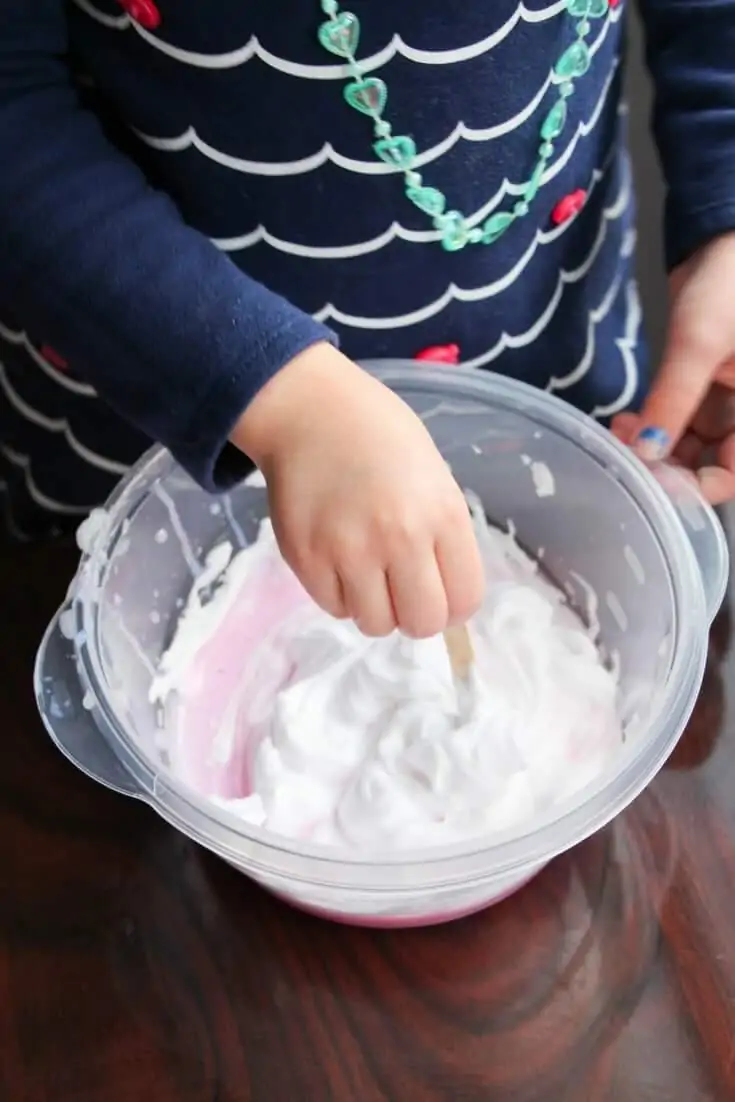
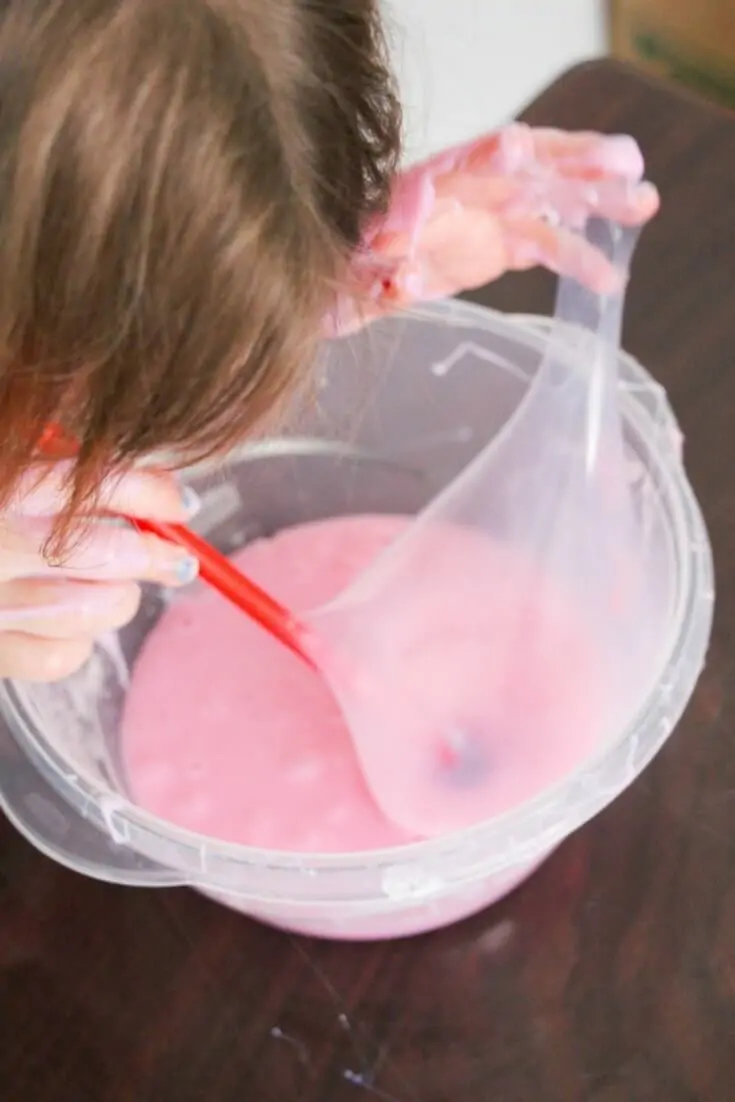
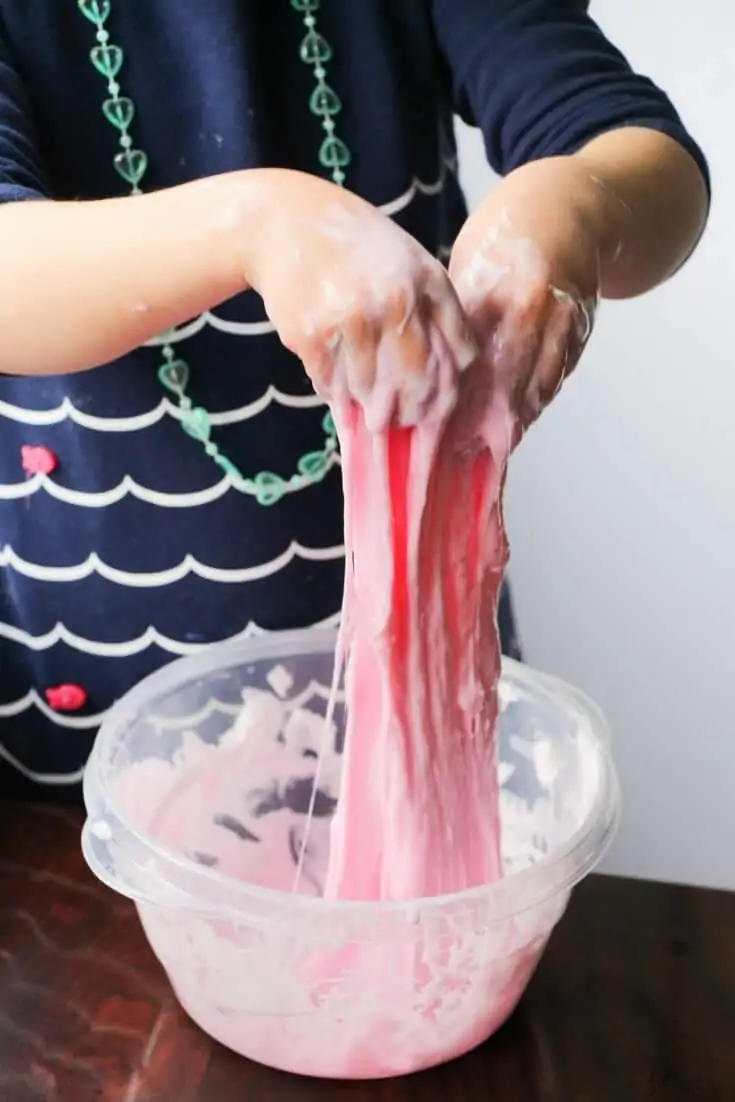
Knead the slime well for at least 2 minutes. You can play with it for awhile before moving onto the next step.
(Below is what it will look like before it is fully kneaded – it will not actually be that sticky!)
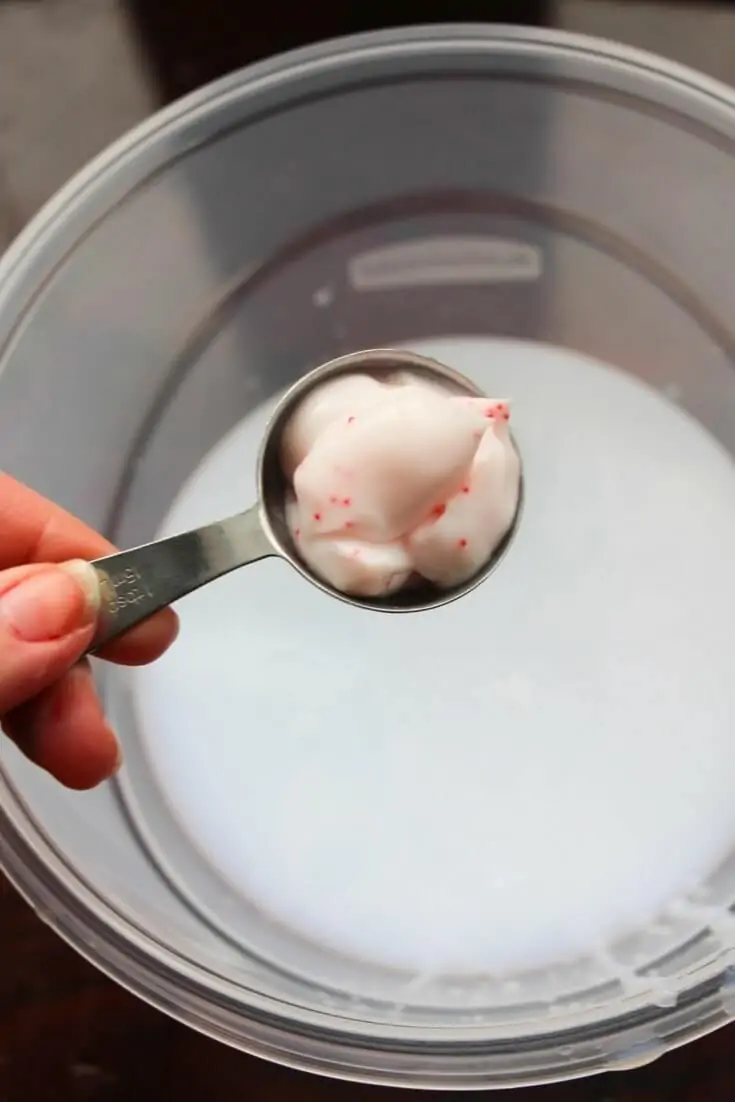
When you are done kneading/playing with the slime, place it back in the container and cover with a handful of the shaving cream (covering the top completely).
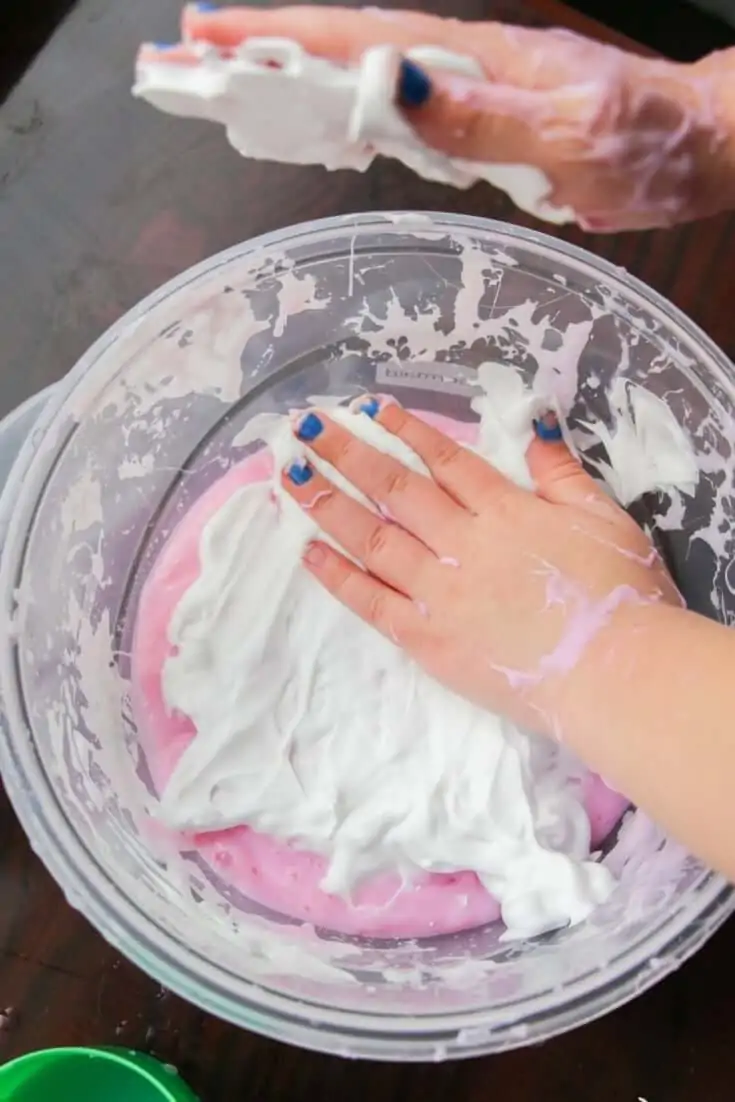
Cover the slime tightly with the lid and leave sitting at room temperature for 2 days.
When ready to play, remove the lid and dig in!
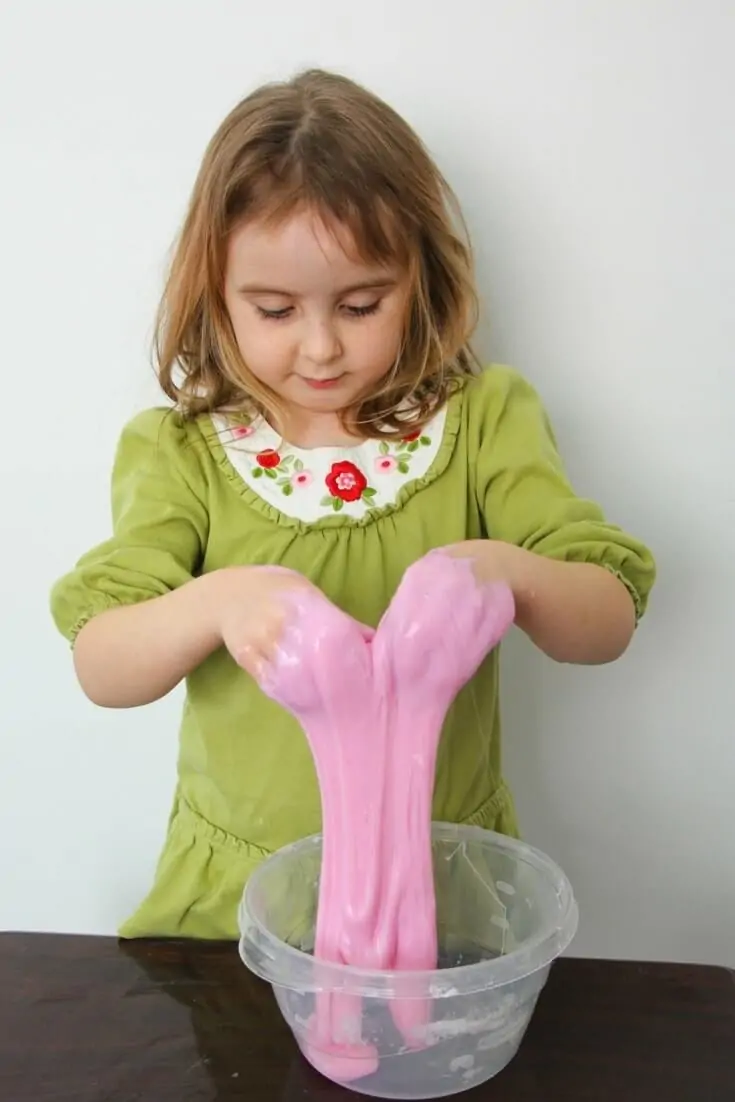
To make the bubbles, insert a straw into the slime and blow. The bubbles are super stretchy and can be touched.
This slime will last for weeks, just place it back in the container when not in use.
Pin this super stretchy bubble slime:
Grab your free printable for our super stretchy bubble slime recipe:
Want to Save This Recipe?
Enter your email & I'll send it to your inbox. Plus, get great new recipes from me every week!
By submitting this form, you consent to receive emails from Sugar, Spice and Glitter.
Bubble Slime

Bubble Slime - the perfect stretchy slime for blowing bubbles! A fun way to play with slime without your hands
Materials
- 1 1/2 cups of glue (we used 2 6oz bottles)
- 1 Tablespoon hand lotion
- 1 Tablespoon water
- 15 pumps foaming hand soap
- 1/2 cup shaving cream PLUS 1 handful extra
- 2-4 Tablespoons liquid starch
- Food dye, optional
- Glitter, optional
Tools
- Plastic food storage container with lid
- Popsicle sticks for stirring the slime
- Large bowl
- Measuring cups and spoons
- Vinegar, for clean-up
- Straws for blowing bubbles
Instructions
- Empty your glue bottles into your mixing/storage container.
- Add the water, mix well, then the hand lotion and mix well.
- Add 5 pumps of the foaming hand soap at a time, stirring each addition in before adding more.
- Add the food coloring and foaming shaving cream and completely mix.
- Add the liquid starch slowly - 1 Tablespoon at a time and stirring well in between each addition. Watch how your slime forms with each addition - you want it to be cohesive and pulling away from the sides of the container.
- Knead the slime well for at least 2 minutes. You can play with it for awhile before moving onto the next step.
- When you are done kneading/playing with the slime, place it back in the container and cover with a handful of the shaving cream (covering the top completely).
- Cover the slime tightly with the lid and leave sitting at room temperature for 2 days.
- When ready to play, remove the lid and dig in!
- To make the bubbles, insert a straw into the slime and blow. The bubbles are super stretchy and can be touched.
- This slime will last for weeks, just place it back in the container when not in use.
Recommended Products
As an Amazon Associate and member of other affiliate programs, I earn from qualifying purchases.


This stretchy bubble slime was an unexpected treat and so much fun to play with. It makes a great addition to our growing collection of slime recipes and I love that it can be stored for so long.
For more fun slime recipes, check out our new 3-ingredient fluffy slime recipe or our original (secret ingredient) fluffy slime recipe.


Thanks for publishing. Can’t wait to try it.
Good post. I be taught one thing more challenging on completely different blogs everyday. It would at all times be stimulating to read content material from different writers and practice somewhat one thing from their store. I desire to use some with the content material on my weblog whether or not you don mind. Natually Il provide you with a hyperlink in your net blog. Thanks for sharing.
van cleef replique bracelet alhambra http://www.marquebijoux.net/
ok
Have you seen all the slime recipes floating around online recently? It seems Slime shops is really popular right now.
That’s amazing! I tried the recipe you shared and it worked! Everyone praised them very well. Thank you for sharing with me and everyone.
I’m so glad you liked it! Thank you for coming back to leave me a comment, Lena.