Practical Life: Using a Mortar and Pestle
Welcome to Sugar, Spice & Glitter! Please note, this post may contain affiliate links. For more details, see our Full Disclosure.
I’m so thankful to have Beth Holley back today with another Montessori Practical Life Lesson, this time Grinding Spices with a Mortar and Pestle.
This is a wonderfully inviting activity for the children that engages their senses, develops hand strength, and reinforces the Montessori Method’s approach to orderly work.
Many of the Montessori practical life activities give the child an opportunity to actively contribute to her classroom or family. Working together to prepare and serve food can become a social event including everyone. The little child can be offered the task of preparing one or two ingredients, such as grating cheese or grinding spices. This is where the mortar and pestle comes in!
How to Present Grinding Spices with a Mortar and Pestle
Direct Purpose:
to develop the movements needed for manipulating a mortar andpestle; Indirect: to strengthen the hand in preparation for writing; independence and concentration.
Material:
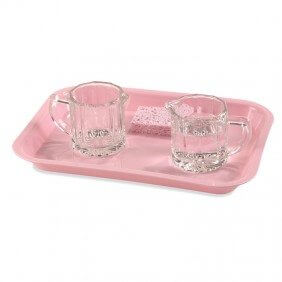
- two small identical bowls or ramekins, one empty and one partially filled with an unground spice such as coriander or anise seeds, or whole cloves;
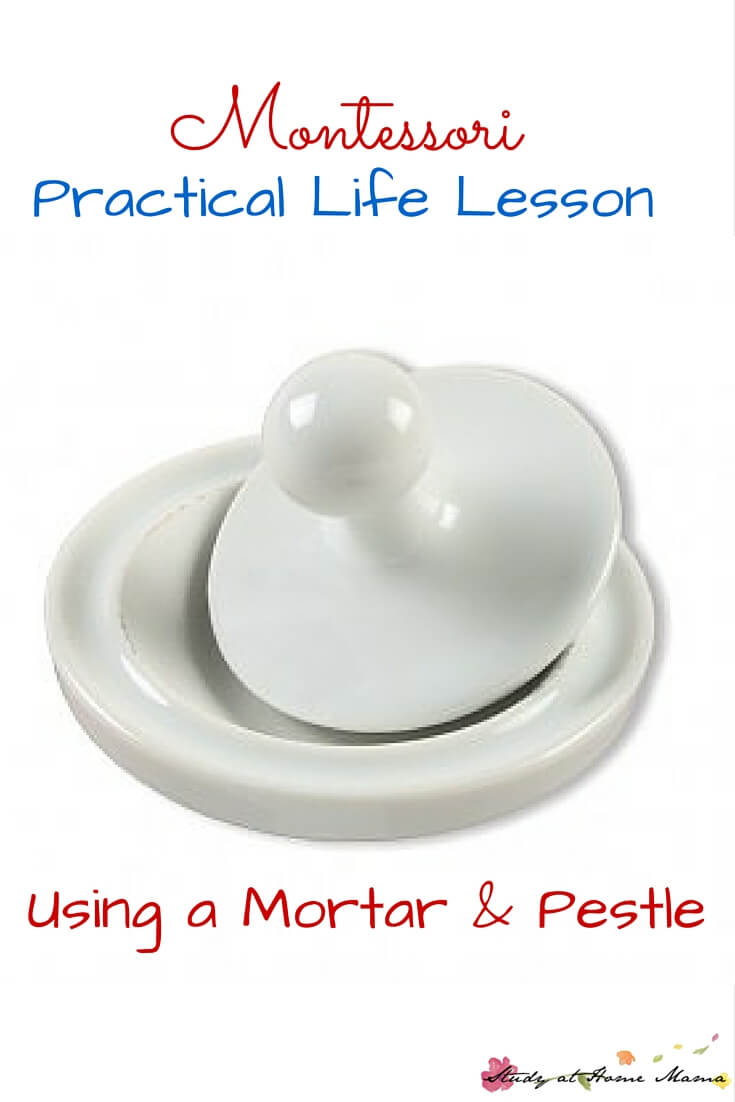
- a small mortar and pestle;
- small spoon;
- a child-sized tray with a slight edge or lip for grasping, 12” or less in width
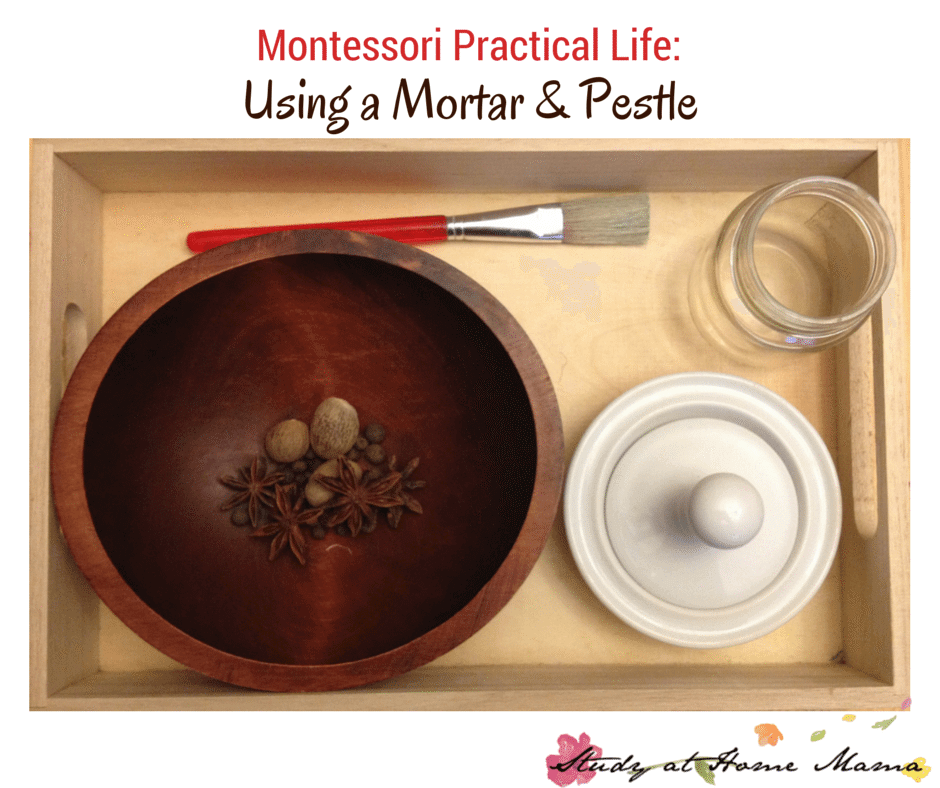
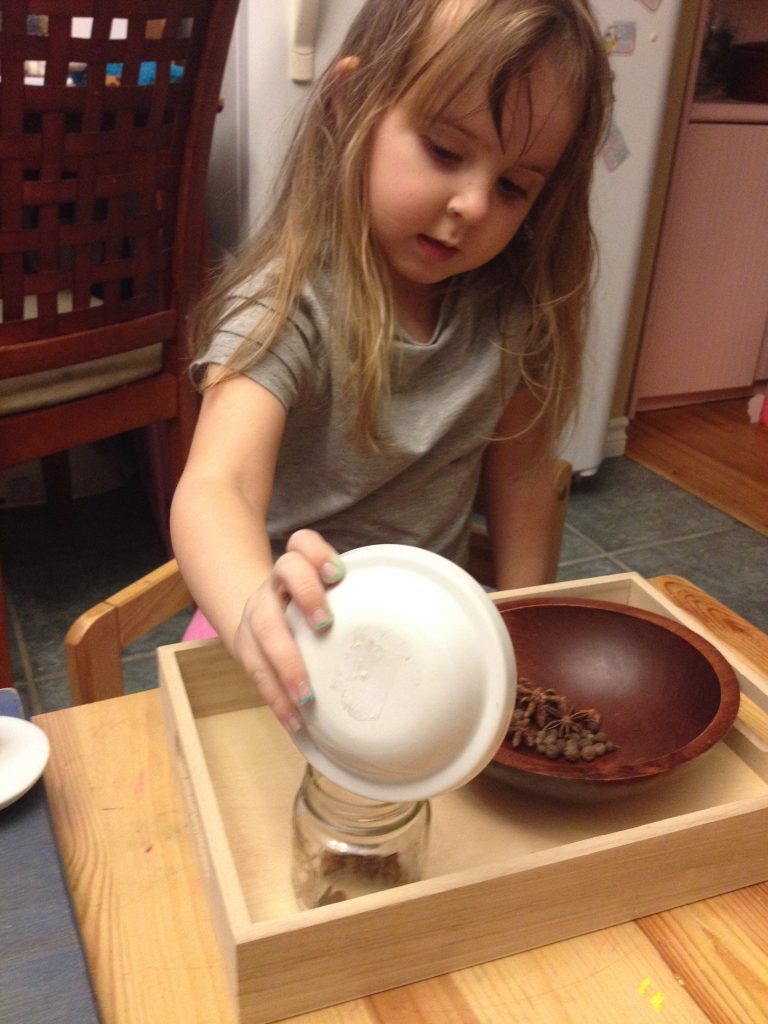
Note: the tray set up in these pictures is different than what Beth describes, but both presentations are accurate. The main point is to be orderly and attractive, and use whatever you have on hand whenever possible! I included a “dusting” paintbrush to help remove the fine powder of the spices from the mortar.
(You can alternatively buy the grinding activity set from Montessori Services, which comes with everything you need for egg shell grinding.)
Age: 2 ½ – 5
Presentation:
1. Carry the tray containing the ramekins, mortar and pestle, and spoon to the table and gently set it down (ramekins are placed above the mortar and pestle, and the unground spice is in the left-hand ramekin).
2. Sit, then gently place the pestle on the tray.
3. Pick up the spoon with your thumb on top and middle finger supporting the handle, steady the left-hand ramekin with one hand, then spoon one small scoop of the unground spice into the mortar.
4. Gently place the spoon on the tray and pick up the pestle.
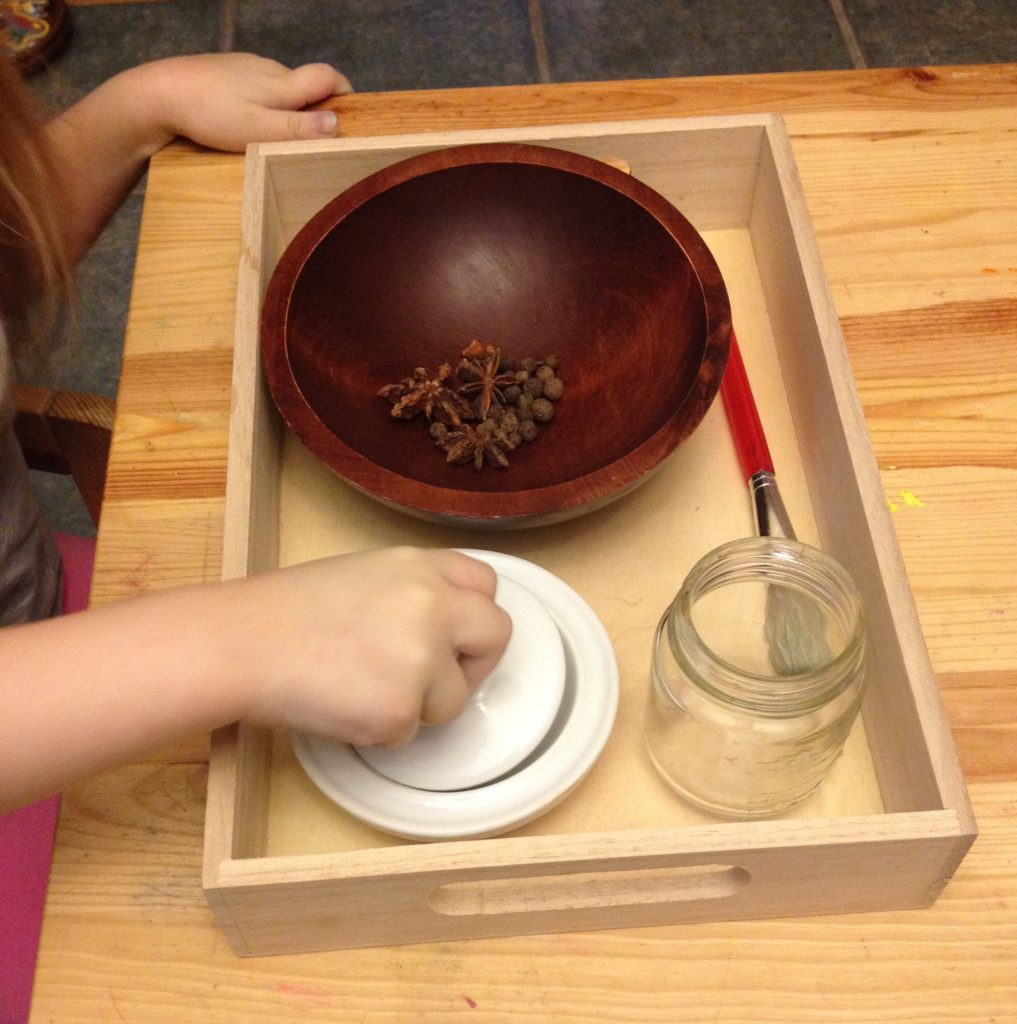
5. Steady the mortar with one hand and demonstrate grinding the spice with the pestle in the other, using downward pressure and a twisting motion.
6. Repeat until the spice is well ground.
7. Gently place the pestle on the tray.
8. Pick up the mortar with one hand and the spoon with the other; tilt the mortar over the empty ramekin and gently sweep the ground spice into the empty bowl with the spoon.
9. Place the mortar and spoon on the tray.
10. Invite the child to try.
Points of Interest:
Does the child steady the ramekin when scooping out the unground spice?
Does she steady the mortar when grinding?
Does she apply enough downward pressure to successfully grind the spice?
Does she use a twisting motion to grind?
Note: Small, porcelain mortar and pestle sets can be found at Montessori Services (the one used in this post) and World Market. They are just the right size for small hands. Spices can be ground for baking and cooking of course, but also for putting in the sensorial smelling bottles.
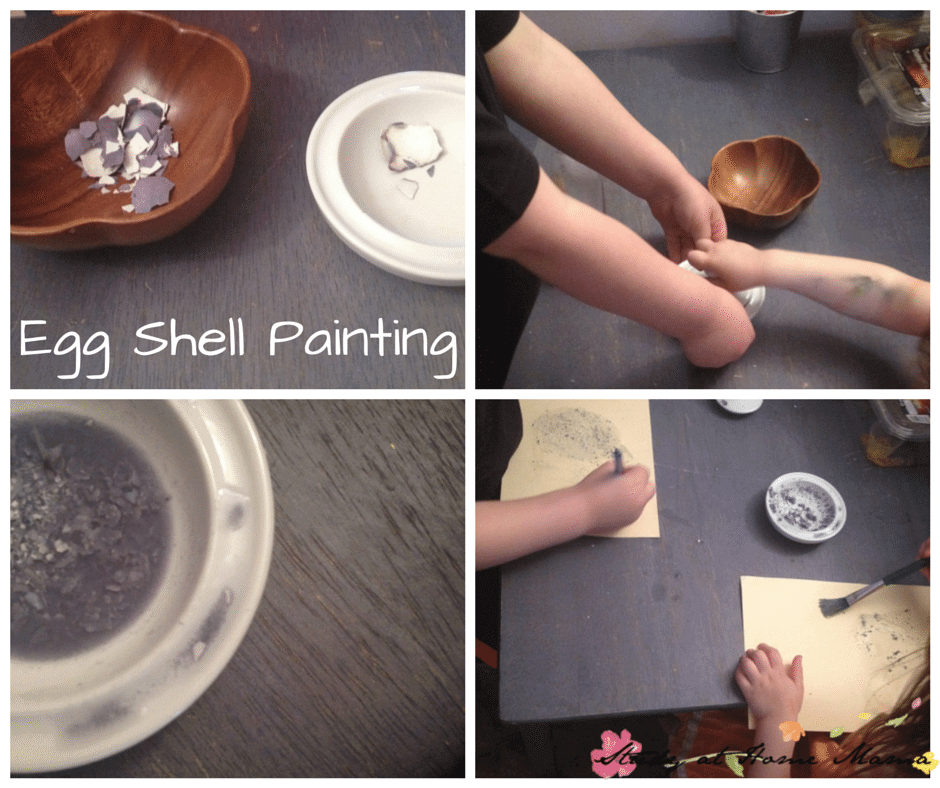
Occasionally, I would include grinding sterilized eggshells on the practical life shelf, and we would make sidewalk chalk from the eggshell powder. As much as possible, the practical life exercises should relate to a real every day activity or product.
If your next recipe calls for a cracker-crumb topping or crust, your child just might enjoy helping crush it all up with the mortar and pestle exercise.
To learn more about Montessori theory, please visit Beth’s blog A Montessori Lexicon, and you can also find her on Teachers Pay Teachers.
Did you enjoy this lesson? Next up are pouring rice and pouring water.