Toy Story Woody Ornament
Welcome to Sugar, Spice & Glitter! Please note, this post may contain affiliate links. For more details, see our Full Disclosure.
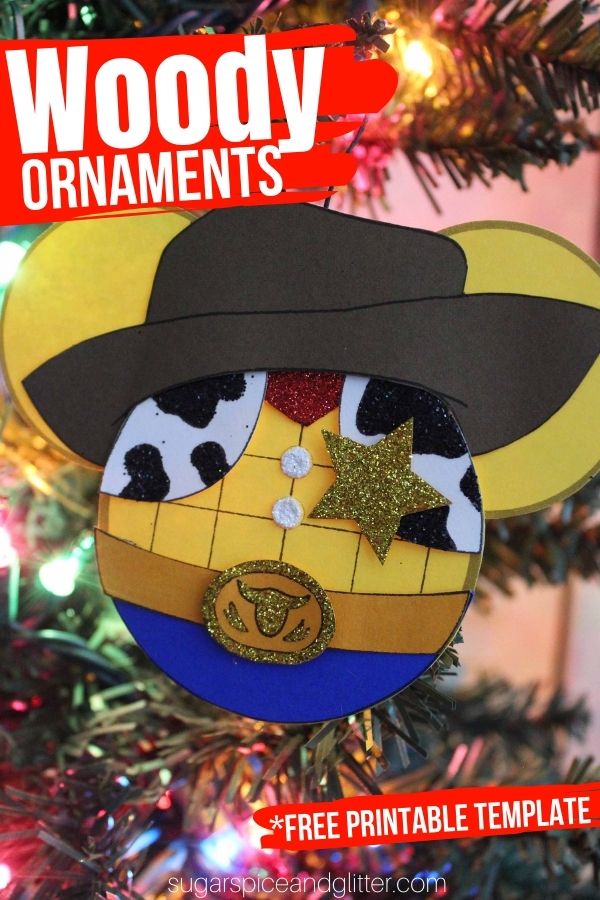
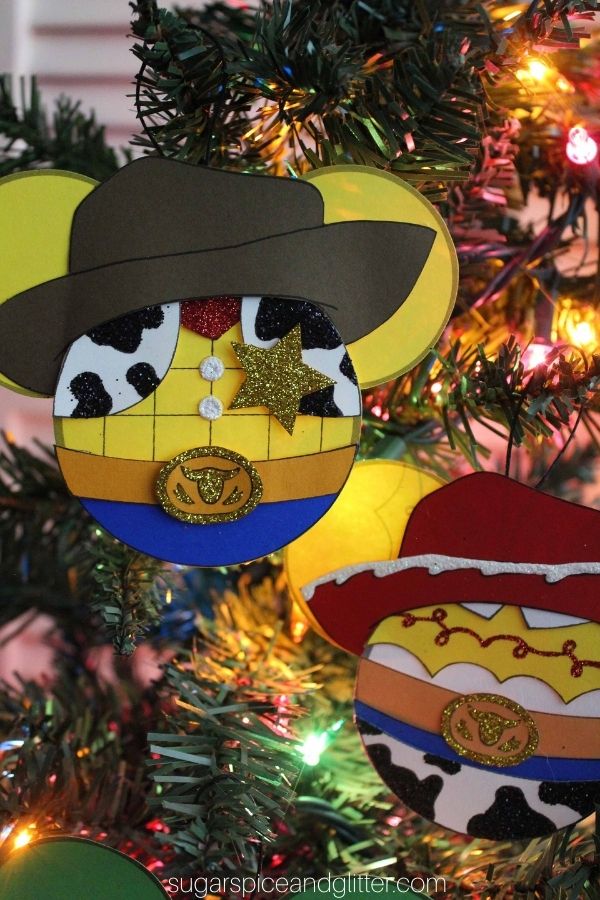
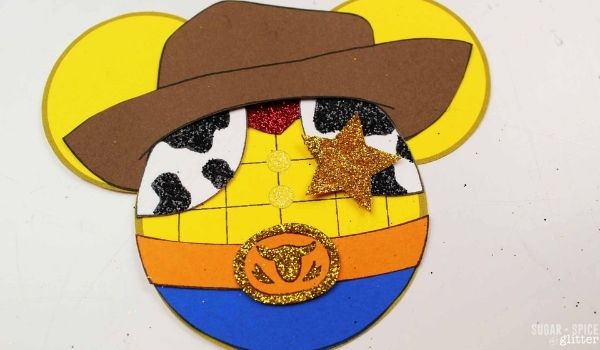
The latest addition to our DIY Toy Story Ornaments, these Sheriff Woody Ornaments bring some Disney magic to your Christmas decor!
DIY Sheriff Woody Ornament Craft
Since we won’t be finding ourselves at the Disney parks this Christmas, I decided to bring some Disney magic home with a crazy amount of DIY Disney ornaments and Christmas decor.
The latest has been a collection of paper Toy Story ornaments, all with free printable craft templates to make your crafting experience super simple and straightforward.
I love all of the little details on these Sheriff Woody Ornaments. The little buttons, his longhorn belt buckle and the glittery cow-print vest.
I may have gone a little glitter crazy with this one, but this site is called Sugar, Spice and Glitter after all!
You can also use these for cute homemade cards, make a few of the Mickey heads and make a bunting banner or even use them to cut out some adhesive vinyl for another Disney decor craft. I’d love to see any creative twists you make on this craft.
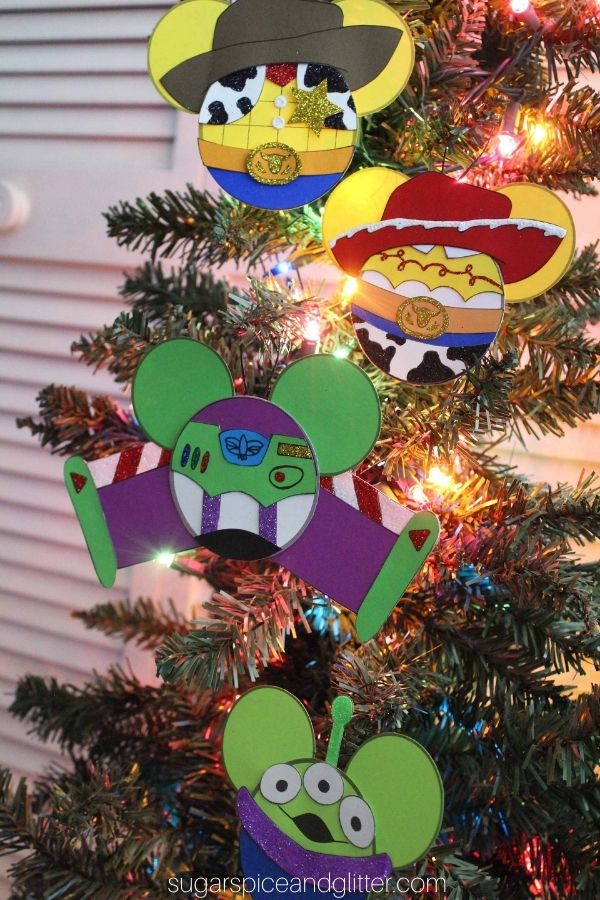
Check out the full collection of Toy Story Ornaments here.
Tip: I like to laminate crafts like this so we can use them multiple times and don’t have to worry about them tearing.
This is the laminator I use, and I just buy the super cheap packages of laminate sheets from Amazon. It costs about 13 cents a sheet to laminate which lets us get so much use out of any activity we print out.
Materials for a Toy Story Woody Ornament
- Cardstock
- Glue
- Scissors <– these are the ones we have and they have lasted for years in our daycare, and unlike some other safety scissors – they actually cut things!
- Ribbon, Thread, Twine Etc.
- Glitter
- Printable Woody Ornament Template
Tip: laminate these ornaments if you want to keep and use them year after year.
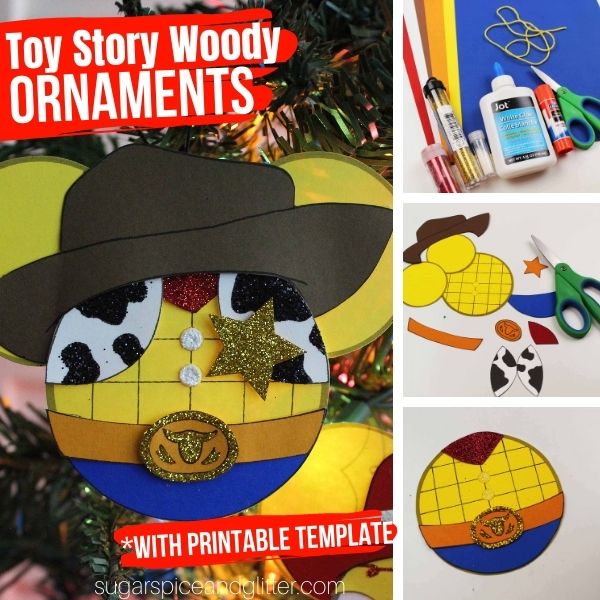
How to Make Sheriff Woody Ornaments
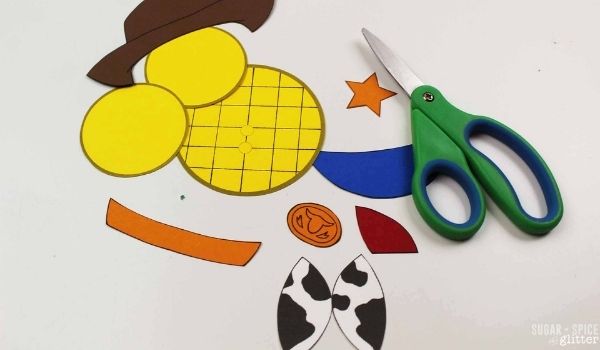
Download and print out the Sheriff Woody ornament template onto corresponding colored papers or cardstock.
Cut out the shapes and set aside.

Starting out with Woody’s main body, use craft glue to attach the blue “jeans” half circle to the bottom of the large yellow circle with the grid pattern. Position the jeans underneath the buttons.
If using glitter, add two drops of glue to the button spots and sprinkle on white or yellow glitter. Shake off excess glitter.
Apple craft glue to the red triangle piece and sprinkle on red glitter. Shake off excess.
Fill out the lines on the belt buckle with craft glue and shake on gold glitter. Shake off excess.
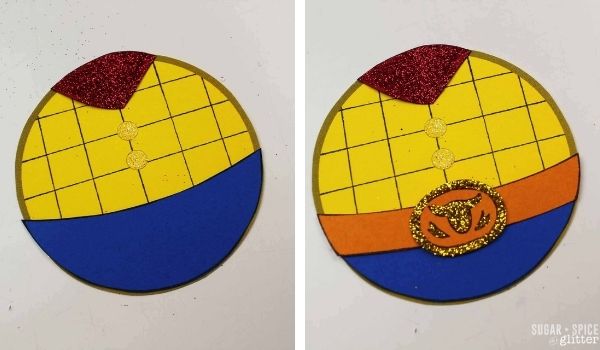
Glue Woody’s handkerchief to the top of the yellow grid circle, over the buttons.
Glue the orange or brown strip of paper along the top of the blue “jeans” piece and then glue on the longhorn belt buckle. Set aside and let glue dry before proceeding with the craft.
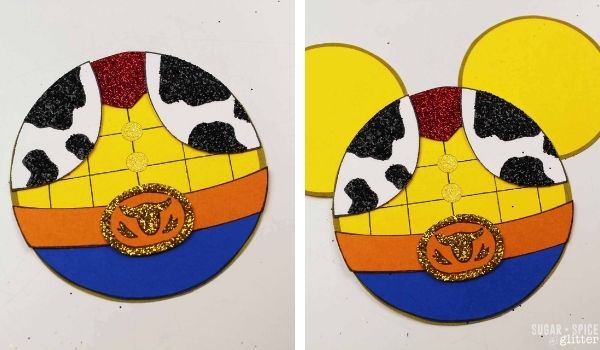
Apply craft glue to the cow-print spots on the vest pieces. Sprinkle on black glitter and shake off excess.
Glue the two vest pieces on the top of the main body, on either side of the handkerchief.
Glue the Mickey Ears to the back of the Mickey body, ensuring they are a finger width apart.
Glue on the cowboy hat.
If laminating your ornaments, do that now.
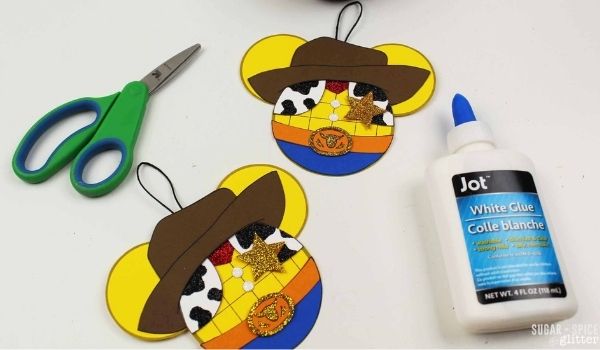
Take a length of ribbon or string and form a loop. Glue or tape in place on the back of the ornament.
Wait til all of the glue has dried before hanging your Sheriff Woody ornament.
Pin this Toy Story Ornament to add some Disney magic to your Christmas crafting:
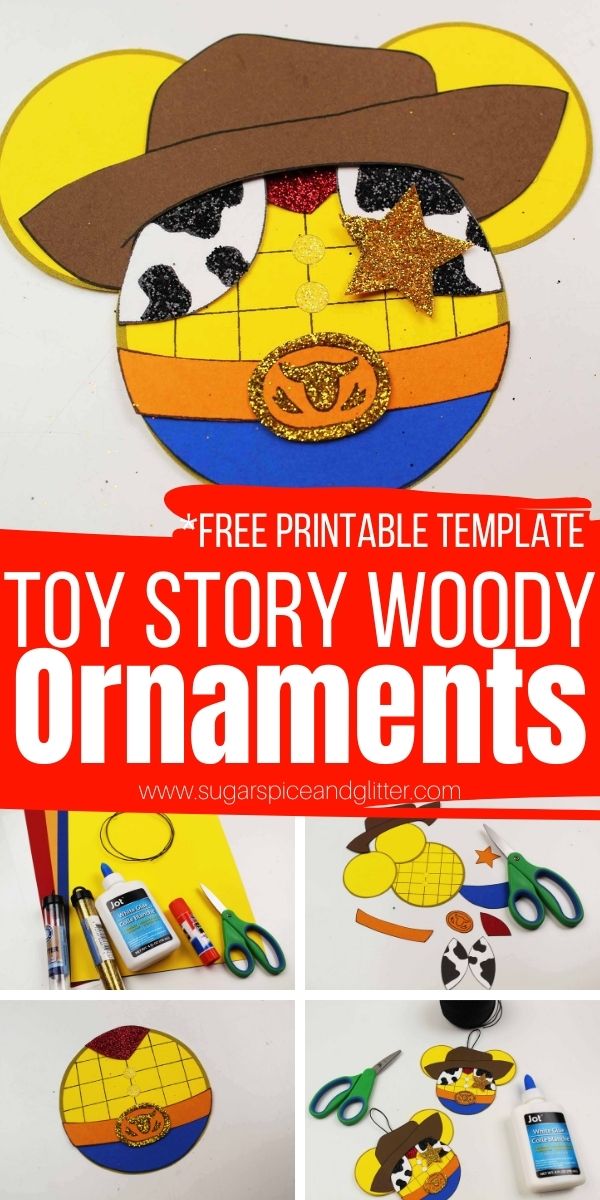
Grab your free printable instructions for our Toy Story Woody ornament and don’t forget to grab your free Printable Woody Ornament Template:
Want to Save This Recipe?
Enter your email & I'll send it to your inbox. Plus, get great new recipes from me every week!
By submitting this form, you consent to receive emails from Sugar, Spice and Glitter.
Toy Story Woody Ornament
Free printable craft template to make your own Toy Story Woody Christmas Ornaments. A fun Toy Story craft for Christmas
Materials
- Cardstock
- Glue
- Ribbon, Thread, Twine Etc.
- Glitter
- Printable Woody Ornament Template
Tools
- Scissors
Instructions
- Download and print out the Sheriff Woody ornament template onto corresponding colored papers or cardstock.
- Cut out the shapes and set aside.
- Starting out with Woody's main body, use craft glue to attach the blue "jeans" half circle to the bottom of the large yellow circle with the grid pattern. Position the jeans underneath the buttons.
- If using glitter, add two drops of glue to the button spots and sprinkle on white or yellow glitter. Shake off excess glitter.
- Apple craft glue to the red triangle piece and sprinkle on red glitter. Shake off excess.
- Fill out the lines on the belt buckle with craft glue and shake on gold glitter. Shake off excess.
- Glue Woody's handkerchief to the top of the yellow grid circle, over the buttons.
- Glue the orange or brown strip of paper along the top of the blue "jeans" piece and then glue on the longhorn belt buckle. Set aside and let glue dry before proceeding with the craft.
- Apply craft glue to the cow-print spots on the vest pieces. Sprinkle on black glitter and shake off excess.
- Glue the two vest pieces on the top of the main body, on either side of the handkerchief.
- Glue the Mickey Ears to the back of the Mickey body, ensuring they are a finger width apart.
- Glue on the cowboy hat.
- If laminating your ornaments, do that now.
- Take a length of ribbon or string and form a loop. Glue or tape in place on the back of the ornament.
- Wait til all of the glue has dried before hanging your Sheriff Woody ornament.
Notes
Tip: laminate these ornaments if you want to keep and use them year after year.
Recommended Products
As an Amazon Associate and member of other affiliate programs, I earn from qualifying purchases.
-
 Westcott Soft Handle Kids Scissors with Anti-Microbial Protection, Assorted Colors, 5" Pointed (14597-030)
 -
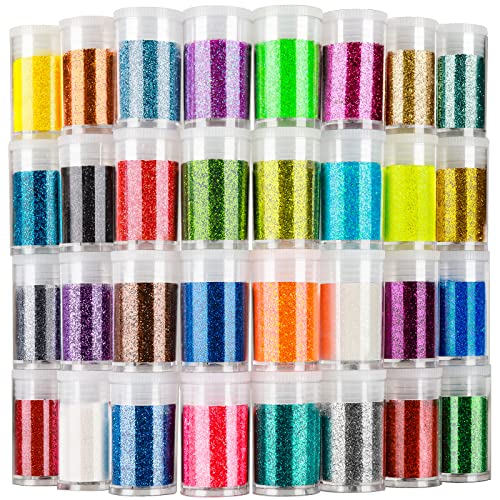
Fine Slime Glitter, Set of 32 Colors, LEOBRO Multi Purpose Glitter Powder for Arts, Crafts, Epoxy Tumblers, Decoration Weddings Cards Flowers, Scrapbooking, Body, Face, Nail, Glitter Slime Making
-
Astrobrights Colored Cardstock, 8.5” x 11”, 65 lb / 176 gsm, "Spectrum" 25-Color Assortment, 75 Sheets (80944-01)


I hope your little Sheriff loves getting to make their own Sheriff Woody ornament – or receiving it as a gift!
For more fun Disney crafts, check out our full collection here.